1. Introduction: The Magic of Scarcity
In the culinary world, some of the greatest innovations are born not from abundance, but from necessity. Enter the Wacky Cake. Also known as “Crazy Cake” or “Joe Cake,” this deep, dark chocolate sponge emerged during the Great Depression. When milk, butter, and eggs were either too expensive or strictly rationed, home bakers refused to let the era dampen their spirits—or their dessert plates.
The “wackiness” of this cake lies in its chemistry. Without eggs to provide structure or butter to provide fat, the recipe relies on a reaction between baking soda and vinegar to create a light, airy crumb. It is a testament to American resilience and kitchen science. It’s a cake mixed right in the pan, requiring no bowls, no whisks, and very little cleanup. Whether you are a vegan baker, a budget-conscious cook, or someone who just realized they’ve run out of eggs, the Wacky Cake is a nostalgic journey into a time when a little bit of cocoa and a lot of ingenuity went a long way.
2. Recipe Overview
- Cuisine Type: American Heritage / Retro
- Difficulty Level: Beginner (One-pan method)
- Prep Time: 10 minutes
- Cook Time: 30–35 minutes
- Total Time: 45 minutes
- Dietary Classifications: Vegan, Dairy-Free, Egg-Free, Nut-Free, Vegetarian.
3. Equipment and Tools
To maintain the authentic “one-pan” spirit of this recipe, you’ll need specific tools to ensure the cake bakes evenly:
- Baking Pan: 8-inch or 9-inch square metal or glass baking dish.
- Depth: At least 2 inches deep to allow for rising.
- Measuring Cups & Spoons: Both dry and liquid measuring tools for precision.
- Sifter/Sieve: Essential for removing lumps from the cocoa powder and flour.
- Fork or Small Whisk: For mixing the dry ingredients directly in the pan.
- Toothpick or Cake Tester: To check for doneness.
- Wire Cooling Rack: To prevent the bottom of the cake from becoming soggy.
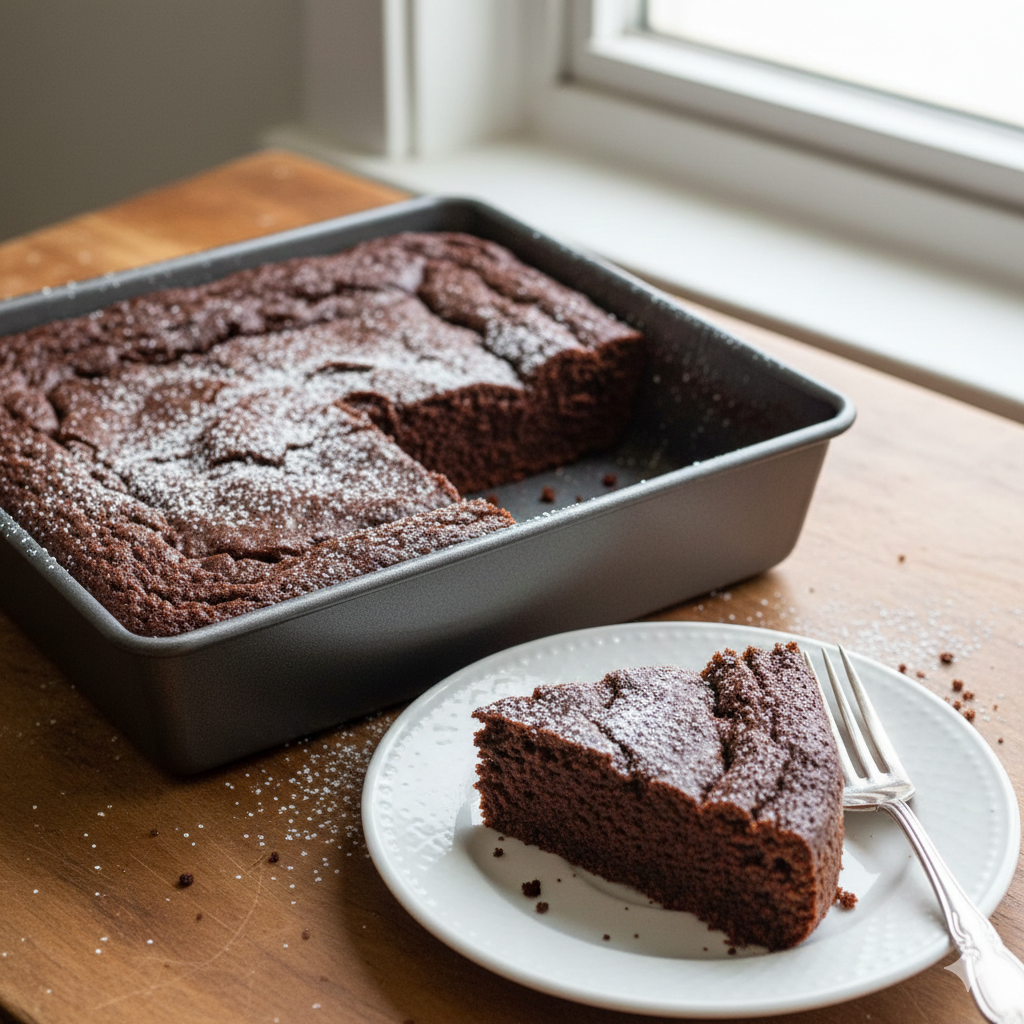
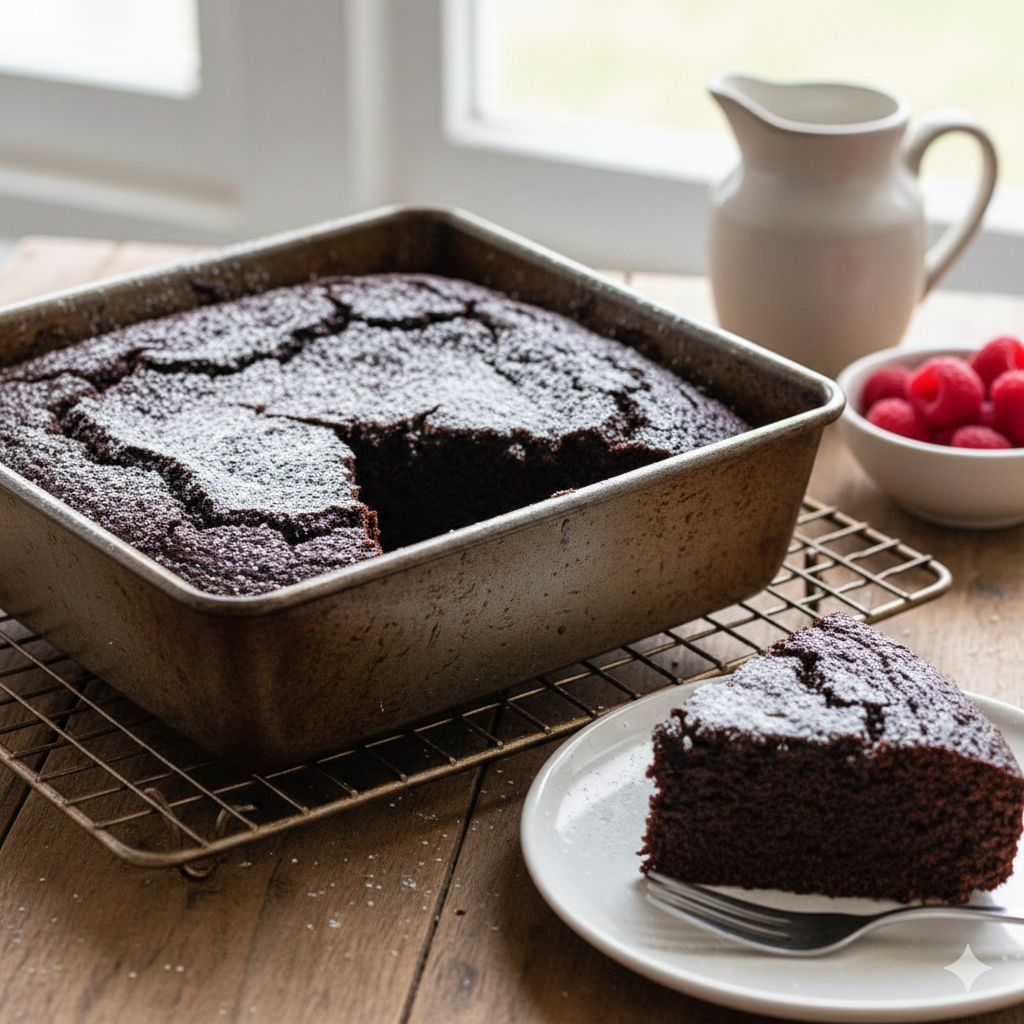
4. Serving Suggestions
Wacky Cake is incredibly versatile. Its fudgy texture makes it delicious both warm and cold.
- Plating: Serve a square slice with a generous dusting of powdered sugar.
- Garnish: Fresh raspberries or a sprig of mint add a pop of color against the dark chocolate.
- Side Dishes: A scoop of dairy-free vanilla bean ice cream or a dollop of coconut whipped cream.
- Beverage Pairings: A robust black coffee or a cold glass of oat milk perfectly balances the cocoa intensity.
5. Nutritional Information
(Estimated per serving based on 9 servings per cake)
| Nutrient | Amount |
| Calories | 245 kcal |
| Total Fat | 9g |
| Saturated Fat | 1.5g |
| Carbohydrates | 40g |
| Fiber | 2g |
| Sugars | 22g |
| Protein | 3g |
Note: This cake is naturally cholesterol-free as it contains no animal products.
6. Storage and Reheating
- Room Temperature: Cover the pan with foil or plastic wrap. It stays moist for up to 3 days.
- Refrigeration: While it doesn’t require chilling, refrigeration can extend its life to 5–6 days.
- Freezing: Wrap individual slices in parchment paper and place in a freezer bag. Store for up to 3 months. Thaw at room temperature.
- Reheating: To regain that “fresh-out-of-the-oven” feel, microwave a slice for 15 seconds.
7. Expert Tips and Variations
Professional Chef Tips
- Don’t Overmix: Once you add the liquid to the dry ingredients, mix just until the flour streaks disappear. Over-mixing develops gluten, which makes the cake tough rather than tender.
- The Vinegar Secret: Don’t worry—you won’t taste the vinegar! It reacts instantly with the baking soda to create carbon dioxide bubbles.
Creative Variations
- Mocha Wacky Cake: Replace the water with cold-brewed coffee to intensify the chocolate flavor.
- Spiced Chocolate: Add 1 teaspoon of cinnamon and a pinch of cayenne for a “Mexican Chocolate” twist.
- Gluten-Free: Swap the all-purpose flour for a high-quality 1:1 gluten-free baking blend.
8. Ingredients Section
Dry Ingredients
- All-Purpose Flour: 1 ½ cups (190g)
- Granulated Sugar: 1 cup (200g)
- Unsweetened Cocoa Powder: 3 tablespoons (22g) – High quality Dutch-processed yields a darker color.
- Baking Soda: 1 teaspoon
- Salt: ½ teaspoon
Wet Ingredients
- Vegetable Oil: 5 tablespoons (75ml) – Or any neutral oil like canola or melted coconut oil.
- White Vinegar: 1 tablespoon – Apple cider vinegar also works.
- Vanilla Extract: 1 teaspoon
- Water: 1 cup (240ml) – Room temperature.

9. Step-by-Step Instructions
- Preheat and Prep: Preheat your oven to 350°F (175°C). There is no need to grease the pan, though you can lightly spray it if you prefer extra insurance.
- Sift Dry Ingredients: Directly into your 8×8 baking pan, sift the flour, sugar, cocoa, baking soda, and salt. Use a fork to whisk them together until the color is uniform.
- Make the “Craters”: This is the “wacky” part! Use a spoon to poke three holes (wells) into the dry mixture—two small ones and one large one.
- Fill the Wells: * Pour the vinegar into one small well.
- Pour the vanilla extract into the other small well.
- Pour the vegetable oil into the large center well.
- Add Water and Mix: Pour the water over the entire mixture. Using a fork, stir everything together. Make sure to scrape the corners of the pan where dry flour likes to hide. Mix until the batter is smooth.
- Bake: Immediately place the pan in the oven. Bake for 30–35 minutes.
- Testing for Doneness: Insert a toothpick into the center. If it comes out clean or with just a few moist crumbs, it’s done.
- Cool: Let the cake cool completely in the pan on a wire rack before slicing.
10. Frequently Asked Questions (FAQ)
Q: Can I use butter instead of oil? A: You can, but it technically stops being a “Depression Cake.” Melted butter adds a richer flavor but can make the cake slightly denser than the traditional oil version.
Q: Why didn’t my cake rise? A: Check the expiration date on your baking soda. Because this cake lacks eggs, the baking soda-vinegar reaction is the only thing providing lift. Also, ensure you get the cake into the oven immediately after mixing.
Q: Can I make this as cupcakes? A: Absolutely! Line a muffin tin with liners. Fill them 2/3 full and bake for 18–22 minutes.
Q: Does the type of vinegar matter? A: White distilled vinegar is standard for the cleanest flavor, but Apple Cider Vinegar adds a very slight fruity depth that complements chocolate well. Avoid balsamic or malt vinegar.
Q: Can I add chocolate chips? A: Yes! Sprinkling half a cup of chocolate chips over the top before baking adds a lovely texture.


