1. Introduction: The Soul of the Fried Chicken Box
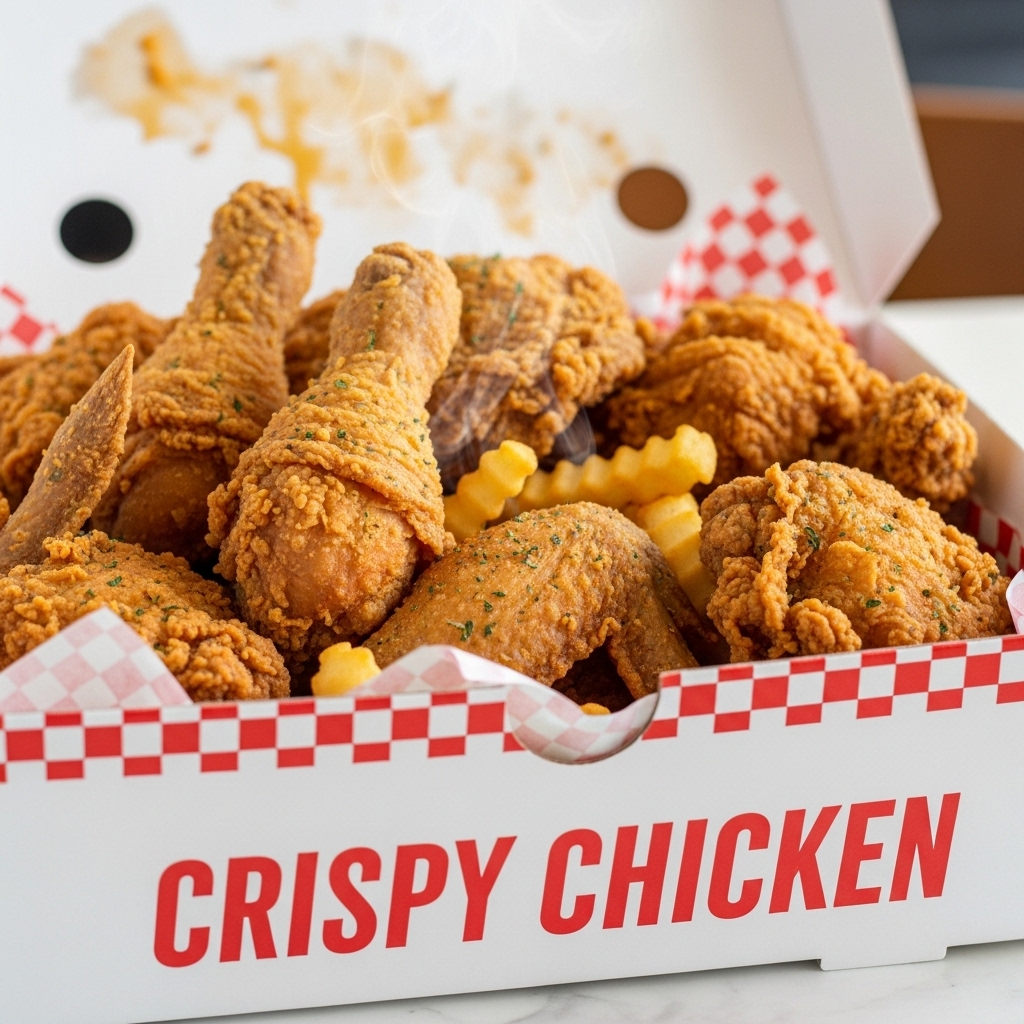
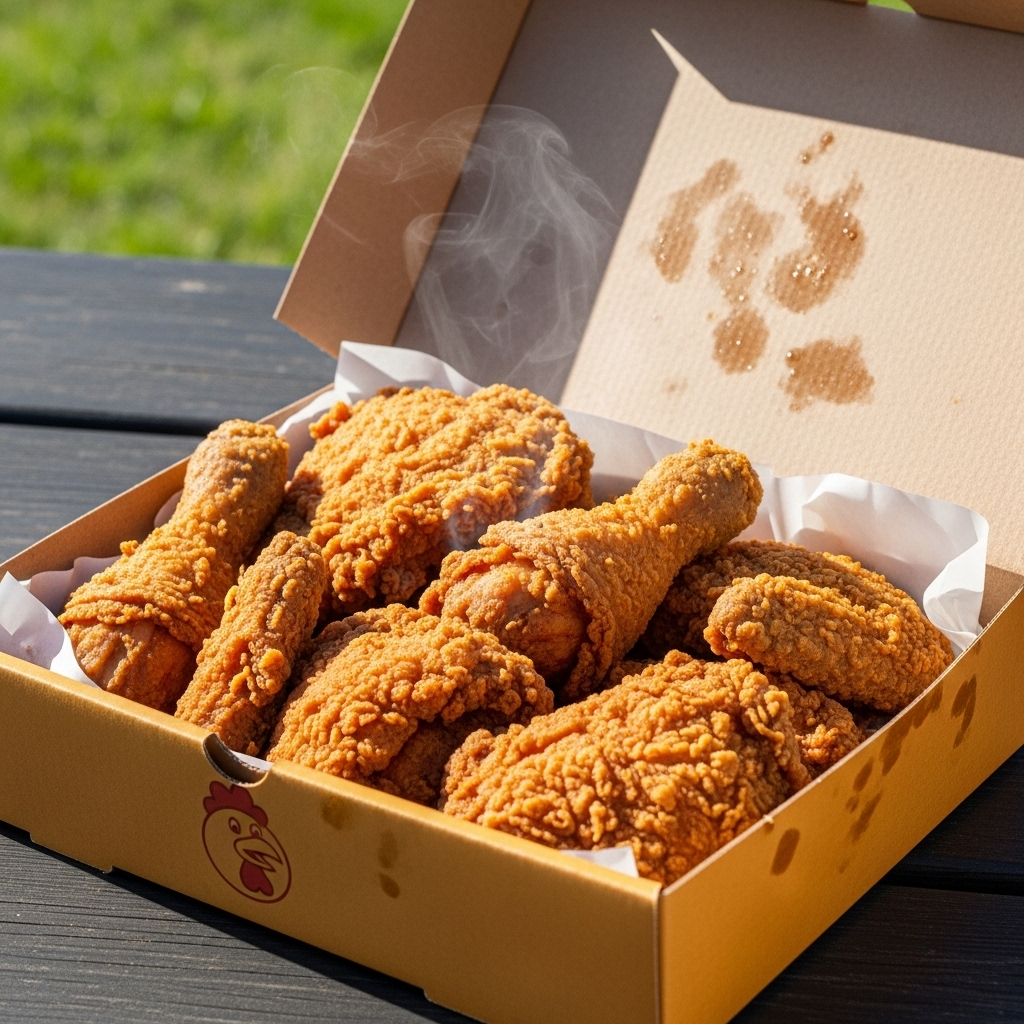
There is a specific kind of magic contained within a cardboard box lined with grease-proof paper. The Fried Chicken Box isn’t just a meal; it’s a cultural icon of convenience, comfort, and culinary craftsmanship. Whether you’re sitting on a park bench in New York, enjoying a late-night snack in Seoul, or opening a family bucket in the heart of the South, that first whiff of steam and savory spice is universal.
The significance of the “box” format evolved from the need for portability. In the mid-20th century, as the world moved faster, fried chicken became the ultimate communal fast food. But “fast” shouldn’t mean “low quality.” A true Fried Chicken Box is an architectural marvel—balancing the heat-retention needs of the chicken with the ventilation required to keep the skin from becoming soggy.
In this guide, we aren’t just making dinner; we are engineering the perfect portable feast. We’ll explore the science of the brine, the geometry of the breading, and the art of the fry to ensure that when you close that lid, the treasure inside remains shatteringly crisp.
2. Recipe Overview
- Cuisine Type: American Soul Food / Fusion
- Difficulty Level: Intermediate (Requires temperature management)
- Total Preparation Time: 14 hours (Includes overnight brining)
- Active Cooking Time: 45 minutes
- Dietary Classifications: High Protein, Nut-Free (Contains Gluten and Dairy)
3. Equipment and Tools
To achieve professional results, your home kitchen needs to mimic a high-volume fry station.
- Large Dutch Oven or Heavy-Bottomed Pot: 6 to 8-quart capacity. Cast iron is preferred for its superior heat retention.
- Deep-Fry Thermometer: Essential. You cannot “guess” oil temperature and expect consistency.
- Wire Cooling Rack with Sheet Pan: Allows air to circulate around the chicken after frying, preventing the bottom from steaming.
- Stainless Steel Mixing Bowls: One for the wet wash, one for the dry dredge.
- Tongs: Long-handled to avoid oil splatter.
- The Box: A standard 9x9x3 inch ventilated cardboard food box or a paper-lined wicker basket for serving.
4. Serving Suggestions
The Fried Chicken Box is a team effort. No bird is an island.
- Plating: Layer the bottom of your box with parchment paper. Place the largest pieces (breasts/thighs) at the back and smaller pieces (wings/legs) at the front.
- Garnish: A heavy sprinkle of flaky sea salt and a side of quick-pickled cucumbers to cut through the fat.
- Side Dishes: * Creamy Coleslaw: The acidity balances the richness.
- Honey Butter Biscuits: Use the residual heat of the oven to keep these warm.
- Spicy Remoulade or Hot Honey: For those who crave an extra kick.
- Beverage Pairings: A crisp, cold Pilsner or a high-acid sparkling wine (like Champagne) works wonders to scrub the palate between bites. For non-alcoholic options, a tart lemonade or sweetened iced tea is the classic choice.
5. Nutritional Information
(Per Serving: 2 Pieces of Chicken)
- Calories: 640 kcal
- Total Fat: 38g
- Saturated Fat: 8g
- Protein: 42g
- Carbohydrates: 28g
- Sodium: 1,150mg
Health Benefit Note: When fried at the correct temperature ($350^\circ F$ or $175^\circ C$), the moisture in the chicken creates steam that pushes outward, preventing excess oil from soaking into the meat.
6. Storage and Reheating
Refrigeration: Store leftovers in an airtight container for up to 3 days.
Freezing: Fried chicken can be frozen for up to 2 months. Thaw completely in the fridge before reheating.
The Golden Rule of Reheating: Never use a microwave. It will turn your crust into a damp sponge.
- Oven Method: Place chicken on a wire rack over a baking sheet. Bake at $375^\circ F$ ($190^\circ C$) for 15–20 minutes until the skin sizzles.
- Air Fryer: 3-5 minutes at $360^\circ F$ ($180^\circ C$) provides a near-fresh experience.
7. Expert Tips and Variations
- The “Double Dredge”: For extra-thick “crags,” dip the chicken in the flour, then the buttermilk, then the flour again.
- Oil Choice: Use oils with high smoke points like Peanut, Canola, or Grapeseed. Avoid Olive Oil or Butter.
- Common Mistake: Crowding the pot. Adding too many pieces at once drops the oil temperature, leading to greasy chicken.
- Variation – Korean Style: Replace the flour with cornstarch and double-fry for a glass-like crunch.
- Variation – Nashville Hot: Whisk a half-cup of the hot frying oil with cayenne pepper, brown sugar, and garlic powder; brush over the chicken immediately after frying.
8. Ingredients Section
The Brine (The Secret to Juiciness)
- 1 quart (950ml) Buttermilk
- 2 tbsp Kosher Salt
- 1 tbsp Smoked Paprika
- 1 tsp Cayenne Pepper
The Chicken
- 4 lbs (1.8kg) Bone-in, skin-on chicken pieces (broken down into 8-10 pieces)
The Dredge (The Crunch)
- 3 cups (375g) All-purpose flour
- 1/2 cup (65g) Cornstarch (adds lightness)
- 1 tbsp Onion powder
- 1 tbsp Garlic powder
- 2 tsp Dried oregano
- 2 tsp Freshly ground black pepper
- 1 tsp White pepper (for a floral heat)
9. Step-by-Step Instructions
- The Brine (Overnight): In a large bowl, whisk buttermilk and spices. Submerge the chicken pieces, cover, and refrigerate for at least 8 hours (ideally 12-24). This breaks down proteins and seasons the meat to the bone.
- The Tempering: Remove chicken from the fridge 30 minutes before cooking. Cold chicken will drop your oil temperature too rapidly.
- The Flour Station: In a wide shallow dish, whisk together the flour, cornstarch, and spices.
- The Coating: Remove a piece of chicken from the buttermilk. Let the excess drip off. Dredge in the flour mixture, pressing firmly so the flour adheres to every nook and cranny. Pro Tip: Drizzle 2 tablespoons of buttermilk into the dry flour and mix with a fork to create small clumps; these become the ultra-crunchy bits.
- The Resting: Let the breaded chicken rest on a rack for 10 minutes. This “sets” the coating so it doesn’t fall off in the fryer.
- The Fry: Heat 2 inches of oil in your Dutch oven to $350^\circ F$ ($175^\circ C$).
- Execution: Fry in batches. Dark meat (thighs/legs) takes about 12-15 minutes. White meat (breasts/wings) takes about 8-12 minutes.
- The Doneness: Use an instant-read thermometer. Chicken is safe at $165^\circ F$ ($74^\circ C$), but dark meat is often more tender at $175^\circ F$ ($80^\circ C$).
- The Drain: Place immediately on a wire rack. Do not use paper towels directly under the chicken, as they trap steam and soften the bottom crust.
- The Assembly: Line your box, add your sides, and serve immediately while the crust is at its peak resonance.
10. FAQ
- Q: Can I use an Air Fryer?
- A: Yes, but it won’t be a traditional Fried Chicken Box. Spritz heavily with oil spray and cook at $375^\circ F$, turning halfway.
- Q: My crust is falling off. What happened?
- A: Usually, the chicken was too wet, or you didn’t let the breaded chicken “rest” before frying. That 10-minute rest is crucial for the flour to hydrate and bond to the skin.
- Q: Can I use boneless breasts?
- A: You can, but bone-in chicken stays much juicier during the high-heat frying process and provides more flavor.
- Q: What is the best oil?
- A: Peanut oil is the gold standard for its high smoke point and neutral flavor.
- Q: Why add cornstarch?
- A: Cornstarch prevents gluten development, resulting in a crispier, more “shatter-like” texture rather than a bready one.
- Q: How do I keep the second batch warm?
- A: Keep a finished batch in a $200^\circ F$ ($95^\circ C$) oven on a wire rack while you finish the rest.