1. Introduction
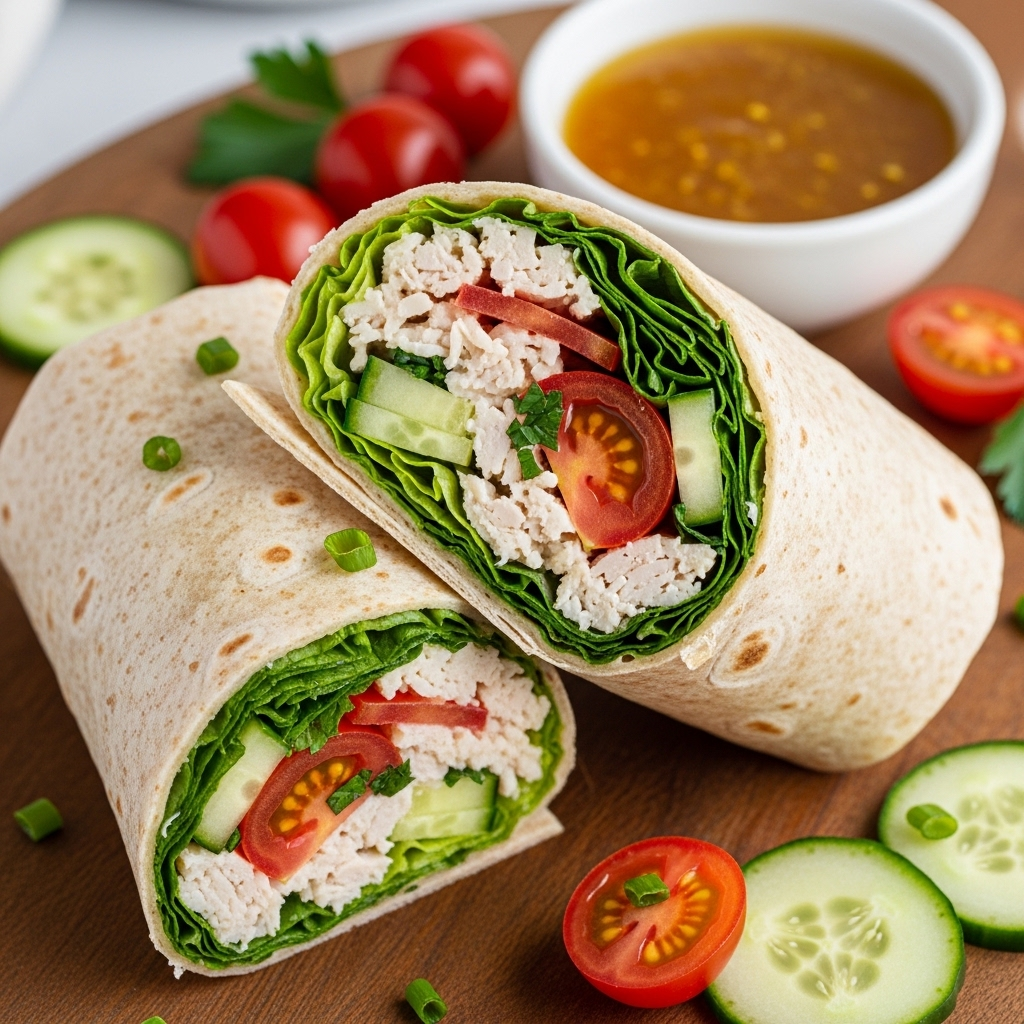
In the modern culinary landscape, the most valuable ingredient isn’t saffron or truffles—it’s time. The No-Cook Chicken Wrap is a testament to the idea that “convenience” doesn’t have to mean “compromise.” Born from the fast-paced deli culture of the late 20th century and elevated by the modern meal-prep movement, this dish relies on the brilliance of the store-bought rotisserie chicken.
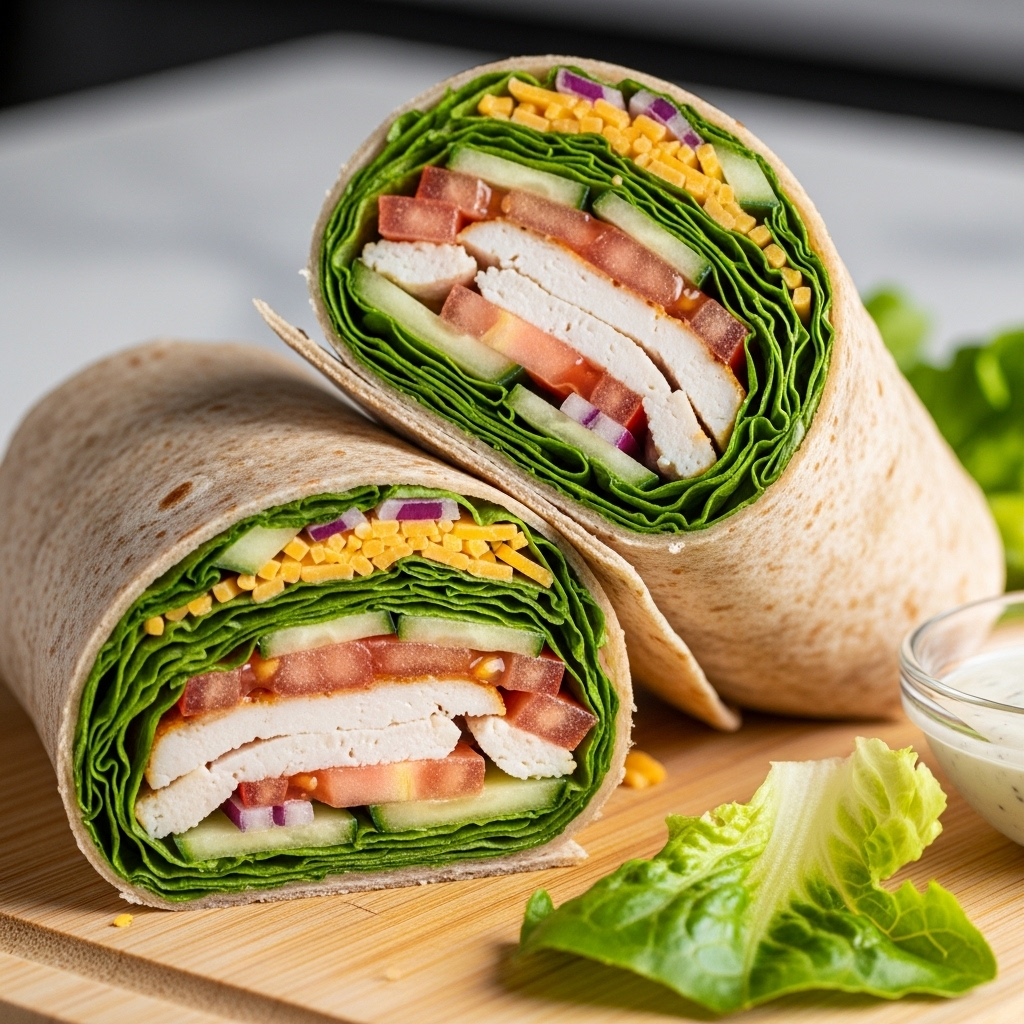
The beauty of a no-cook wrap lies in its architectural integrity. It isn’t just a sandwich in a different shape; it is a portable vessel of balanced nutrition. Culturally, the wrap is a global citizen, drawing inspiration from the Mediterranean gyro, the Middle Eastern shawarma, and the Mexican burrito. This specific version, however, celebrates the “Californian Clean” aesthetic—prioritizing crisp raw vegetables, lean pre-cooked proteins, and bright, acidic dressings that wake up the palate without the need for a stove.
Whether you’re a busy parent, a professional avoiding the office microwave, or a hiker looking for a sturdy trail lunch, the no-cook chicken wrap is a culinary lifesaver. It is the art of assembly at its finest.
2. Recipe Overview
- Cuisine Type: Modern American / Fusion
- Difficulty Level: Beginner
- Total Preparation Time: 15 minutes
- Cooking Time: 0 minutes
- Dietary Classifications: High-protein, Nut-free. (Can be modified for Gluten-Free or Dairy-Free diets).
3. Equipment and Tools
While this recipe requires no heat, the quality of your tools will dictate the ease of assembly and the beauty of the final presentation.
- Large Cutting Board: A stable surface of at least 12×18 inches is essential for laying out large tortillas.
- Chef’s Knife: A sharp 8-inch blade ensures clean cuts through the wrap without tearing the delicate tortilla.
- Mixing Bowls: One medium-sized stainless steel or glass bowl for tossing the chicken salad mixture.
- Small Offset Spatula: Ideal for spreading sauces evenly to the very edge of the wrap (the “glue” technique).
- Kitchen Shears: Useful for quickly shredding rotisserie chicken or snipping fresh herbs.
- Mandoline Slicer (Optional): If you prefer paper-thin radishes or cucumbers for a more refined texture.
4. Serving Suggestions
Presentation is the difference between a “snack” and a “meal.”
- Plating: Always slice the wrap on a sharp bias (45-degree angle). Use a toothpick to secure the halves if the filling is particularly generous.
- Garnish: A sprinkle of microgreens or a dash of smoked paprika on the exposed filling adds a professional touch.
- Side Dishes: Pair with a chilled quinoa salad, a handful of sea-salt kettle chips, or a refreshing fruit medley of melon and mint.
- Beverage Pairings: * Tea: An unsweetened iced green tea with lemon.
- Wine: A crisp, high-acidity Pinot Grigio or a dry Rosé.
- Sparkling: Cucumber-infused sparkling water.
5. Nutritional Information
(Per serving/one large wrap)
Health Benefits: High in lean protein to support muscle recovery and rich in Vitamin K and C from fresh greens and bell peppers.
6. Storage and Reheating
Storage
- Refrigeration: Store in an airtight container for up to 24 hours. To prevent sogginess, wrap the finished product tightly in parchment paper before placing it in a container or bag.
- Freezing: Not recommended. Fresh vegetables and mayonnaise-based dressings do not retain their texture after freezing.
Reheating
- Note: This is a “No-Cook” dish intended to be eaten cold or at room temperature.
- If you prefer it warm: Only warm the tortilla in a dry pan for 30 seconds before assembly. Do not microwave the finished wrap, as the lettuce and cucumbers will become unpleasantly soft.
7. Expert Tips and Variations
Professional Tips
- The Moisture Barrier: Always place your “dry” greens (like large leaf lettuce or spinach) directly against the tortilla. This prevents the moisture from the chicken or dressing from seeping into the bread and making it soggy.
- The “Double Fold”: Tuck the sides in first, then roll from the bottom. This creates a closed-end “envelope” that prevents leaks.
Variations
- The Buffalo Style: Toss the chicken in buffalo sauce and swap the dressing for blue cheese crumbles and celery.
- The Thai-Inspired: Use a peanut dressing, shredded carrots, and cilantro.
- Low-Carb Adaptation: Replace the flour tortilla with large, blanched collard green leaves or butter lettuce cups.
8. Ingredients Section
The Foundation
- Tortilla: 1 Large (10-12 inch) Flour, Spinach, or Whole Wheat tortilla.
- Chicken: 1.5 cups (approx. 200g) Shredded rotisserie chicken (skin removed for leaner option).
The “Crunch” (Vegetables)
- Romaine Lettuce: 1/2 cup, shredded.
- Bell Pepper: 1/4 cup, thinly sliced (julienned).
- Cucumber: 4-5 thin rounds.
- Red Onion: 1 tbsp, finely minced (soak in cold water for 10 minutes to reduce sharpness).
The Creamy Element
- Dressing: 2 tbsp Greek yogurt or mayonnaise.
- Acidity: 1 tsp Lemon juice or Apple Cider Vinegar.
- Herbs: 1 tbsp fresh dill or parsley, chopped.
- Seasoning: Salt and freshly cracked black pepper to taste.
9. Step-by-Step Instructions
- Prepare the Chicken: In a medium bowl, combine the shredded chicken with your choice of dressing, lemon juice, herbs, and seasonings. Mix until the chicken is evenly coated but not “swimming” in sauce.
- Condition the Tortilla: If the tortilla is stiff, place it between two damp paper towels and microwave for 10 seconds. This makes the gluten more pliable and prevents tearing.
- The Base Layer: Lay the tortilla flat. Place the shredded lettuce in the center, leaving about 2 inches of space from the edges.
- The Build: Layer the chicken mixture over the lettuce. Top with bell peppers, cucumbers, and onions. Avoid overstuffing; a wrap should be roughly the thickness of your wrist.
- The Fold: Fold the left and right sides of the tortilla toward the center (they don’t need to touch).
- The Roll: Use your thumbs to lift the bottom edge of the tortilla over the fillings. Pull the tortilla back slightly to tighten the roll, then continue rolling upward until sealed.
- The Set: Place the wrap seam-side down on the board for 30 seconds to let the “seal” hold.
10. Frequently Asked Questions (FAQ)
Q: Can I use canned chicken instead of rotisserie? A: Yes, but ensure you drain and rinse the canned chicken thoroughly to remove excess sodium and the “tinny” flavor.
Q: How do I keep the wrap from falling apart? A: The secret is the “roll-and-tuck.” Ensure you are pulling the tortilla tight as you roll. If it still feels loose, wrap it tightly in parchment paper and cut through both the paper and the wrap.
Q: What is the best gluten-free wrap? A: Look for almond flour or cassava flour tortillas. They are generally more pliable than corn-based gluten-free options.
Q: Is this meal-prep friendly? A: It is better to prep the components separately (chopped veg, shredded chicken) and assemble the wrap the morning you plan to eat it.
Q: How can I add more spice? A: Add sliced jalapeños or a drizzle of Sriracha directly into the chicken mixture before rolling.


