1. Introduction: A Symphony of Air and Elegance
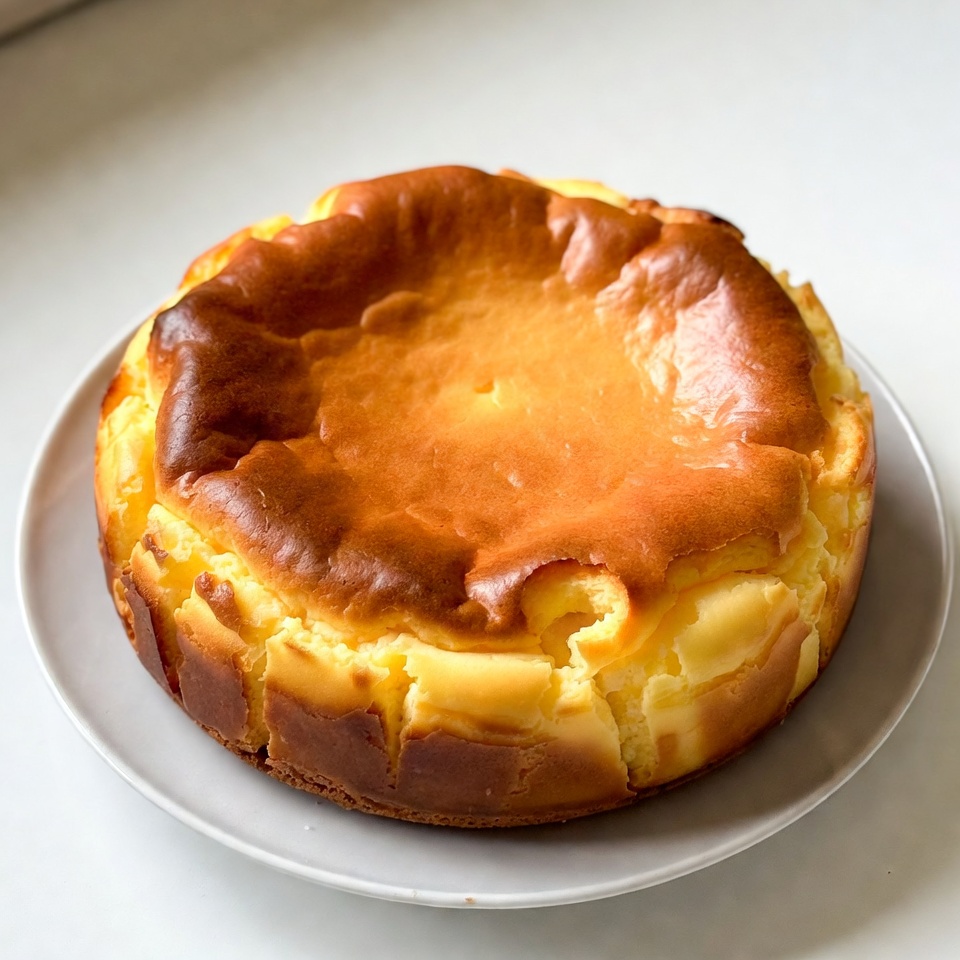
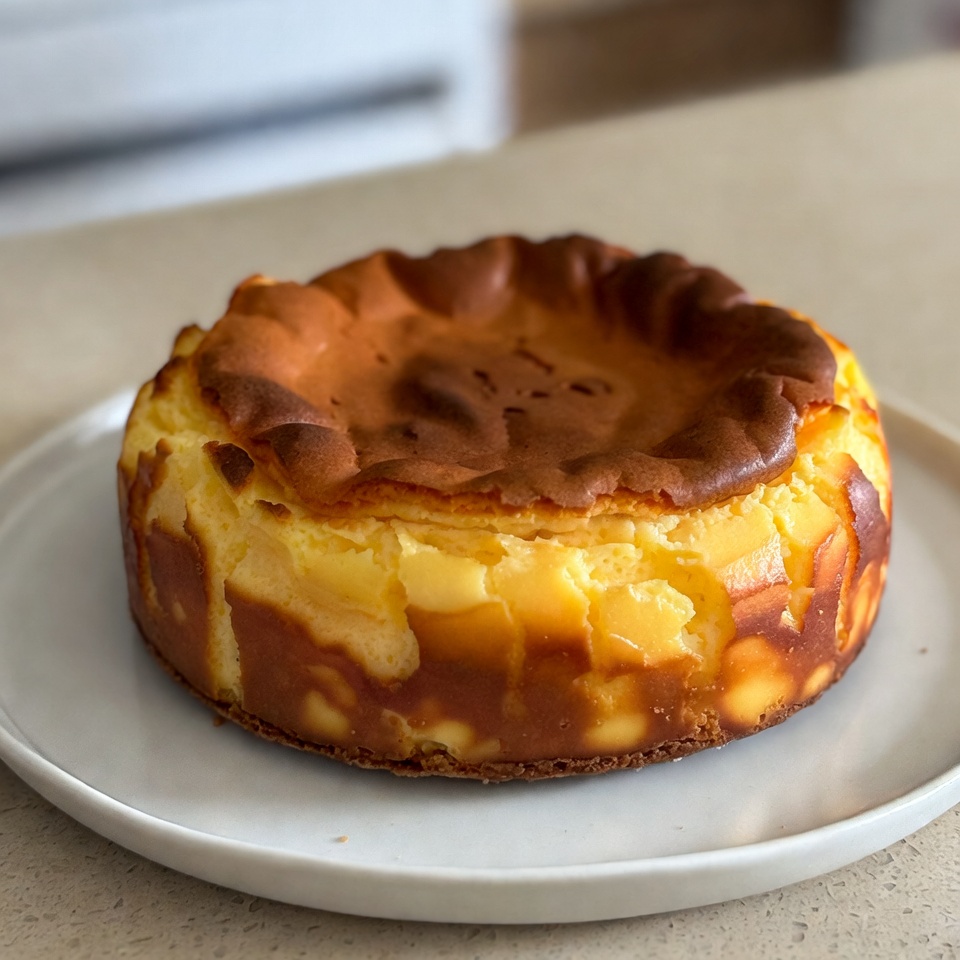
In the world of pastry, few things capture the imagination quite like the Japanese Cheesecake. Often referred to as “Soufflé Cheesecake” or “Cotton Cheesecake,” this dessert is a masterclass in texture. Unlike the dense, graham-cracker-crusted New York style cheesecake, the Japanese iteration is crustless, incredibly light, and possesses a signature “jiggle” that has made it a global viral sensation.
The Cultural Narrative
The story of the Japanese cheesecake is one of culinary cross-pollination. While cheesecake has ancient European roots, the Japanese version evolved in the late 1940s and 50s. It was famously popularized by Uncle Rikuro’s Cheesecake in Osaka during the 1980s. The Japanese philosophy of Kaizen (continuous improvement) was applied to the heavy American cheesecake, stripping away the excess sugar and density to create something that feels more like a cloud than a confection.
Why It Stands Out
What makes this dish significant is its reliance on physics rather than chemical leaveners. There is no baking powder here; the entire rise depends on the structural integrity of a French meringue folded into a creamy yolk-and-cheese base. It represents a perfect balance of Japanese minimalism and European technique, making it a must-try for any serious home baker.
2. Recipe Overview
- Cuisine Type: Japanese / Fusion
- Difficulty Level: Intermediate to Advanced (Requires precision with egg whites)
- Total Time: 2 hours (30 mins prep, 70-80 mins cook, plus cooling)
- Dietary Classifications: Vegetarian, Nut-Free, Low-Sugar (compared to traditional cheesecake)
3. Equipment and Tools
Precision is your best friend when attempting this recipe. Using the wrong pan can lead to a collapsed cake or uneven cooking.
- 8-inch (20cm) Round Cake Pan: Ideally a fixed-base pan. If using a springform, you must wrap it meticulously in heavy-duty foil to prevent water from the bain-marie leaking in.
- High-Side Walls: The pan should be at least 3 inches (7.5cm) deep.
- Electric Hand Mixer or Stand Mixer: Essential for achieving the specific “soft-peak” meringue.
- Fine Mesh Sieve: For sifting flours to ensure a lump-free batter.
- Large Roasting Pan: This will hold the water bath. It should be deep enough to allow water to reach halfway up the sides of your cake pan.
- Parchment Paper: You will need this for both the bottom and the sides. Pro tip: Make the side parchment 2 inches higher than the pan rim to support the “climb.”
- Silicone Spatula: For the delicate “cut and fold” motion.
4. Serving Suggestions
Plating and Aesthetics
Japanese cheesecake is traditionally served plain to highlight its golden-brown top. However, for a professional touch:
- Garnish: A light dusting of powdered sugar or a few fresh raspberries provides a beautiful contrast.
- Sides: A dollop of unsweetened whipped cream or a tart berry coulis (strawberry or blackcurrant) cuts through the richness of the cream cheese.
Beverage Pairings
- Tea: A high-quality Sencha or Matcha green tea is the classic pairing, providing an earthy balance to the sweetness.
- Coffee: A light-roast pour-over coffee with floral notes works beautifully.
- Wine: If serving as a formal dessert, a glass of chilled Moscato d’Asti offers a refreshing effervescence that mirrors the cake’s lightness.
5. Nutritional Information
(Estimated per slice based on 12 servings)
- Calories: 215 kcal
- Total Fat: 14g
- Saturated Fat: 8g
- Cholesterol: 110mg
- Carbohydrates: 16g
- Sugar: 11g
- Protein: 6g
Dietary Note: While lighter than a standard cheesecake, it remains a rich source of Vitamin A and Calcium due to the high egg and dairy content.
6. Storage and Reheating
Refrigeration
This cake is highly sensitive to humidity. Store it in an airtight container in the refrigerator for up to 3 to 4 days. The texture will become slightly denser and more “fudgy” when cold.
Freezing
Freezing is possible but may slightly alter the delicate crumb. Wrap slices individually in plastic wrap and then foil. Freeze for up to 1 month. Thaw in the fridge overnight.
Reheating
To bring back that “freshly baked” feel:
- Place a slice on a microwave-safe plate.
- Microwave for 10–15 seconds just to take the chill off.
- Do not overheat, or the structure will collapse and become rubbery.
7. Expert Tips and Variations
The “Bird’s Peak” Secret
The most common mistake is over-whipping the meringue. You are looking for soft peaks—when you lift the whisk, the tip should curl over like a bird’s beak. If the peak stands straight up (stiff peaks), your cake will likely crack in the oven.
Creative Variations
- Matcha Infusion: Replace 15g of the cake flour with high-grade Matcha powder.
- Chocolate: Fold in 50g of melted dark chocolate to the cheese base before adding the meringue.
- Lemon Zest: Add the zest of two organic lemons for a bright, citrusy finish.

8. Ingredients Section
The Cream Cheese Base
- 250g (8.8 oz) Cream Cheese: Use full-fat, brick-style (e.g., Philadelphia). Do not use spreadable tub varieties.
- 6 Large Egg Yolks: Room temperature is vital for emulsification.
- 70g (2.5 oz) Caster Sugar: Also known as superfine sugar.
- 60g (2.1 oz) Unsalted Butter: High-quality European butter provides the best flavor.
- 100ml (3.4 fl oz) Full Cream Milk.
The Flour Mix
- 60g (2.1 oz) Cake Flour: Lower protein content ensures a tender crumb.
- 20g (0.7 oz) Cornstarch: Adds “stiffness” to the structure without making it heavy.
The Meringue
- 6 Large Egg Whites: Ensure your bowl is completely grease-free.
- 70g (2.5 oz) Caster Sugar.
- 1/4 tsp Cream of Tartar: A stabilizer that prevents the meringue from collapsing.
9. Step-by-Step Instructions
Step 1: Prep the Environment
Preheat your oven to 160°C (320°F). Line your pan with parchment paper. If using a fixed-base pan, grease the bottom slightly so the paper stays put. Do not grease the sides; the cake needs to “grip” the paper to rise.
Step 2: The Double Boiler Melt
In a heatproof bowl over a pot of simmering water (the bain-marie), combine the cream cheese, butter, and milk. Whisk until the mixture is silk-smooth. Remove from heat and let it cool until just warm to the touch.
Step 3: Incorporating the Yolks
Whisk the egg yolks into the cheese mixture one at a time. Sift the cake flour and cornstarch into the bowl. Whisk gently until just combined. Critical Step: Pass this mixture through a fine-mesh sieve into a clean bowl to remove any undissolved flour or egg particles.
Step 4: Mastering the Meringue
In a separate, perfectly clean bowl, beat the egg whites with cream of tartar until frothy. Gradually add the sugar in three stages while continuing to beat. Stop as soon as you reach soft, glossy peaks.
Step 5: The Folding Process
Take 1/3 of the meringue and whisk it into the cheese base to “lighten” the batter. Now, switch to a spatula. Fold in the remaining meringue in two batches using a gentle “J-fold” motion. Stop the moment the color is uniform.
Step 6: The Steam Bake
Pour the batter into the pan. Tap the pan on the counter three times to pop large air bubbles. Place the pan in the roasting tray. Fill the tray with hot water ($50^\circ\text{C}$) until it reaches 1.5 inches up the side of the pan.
Step 7: Timing and Temperature
- Bake at 160°C (320°F) for 20 minutes.
- Reduce temperature to 140°C (285°F) and bake for another 40–50 minutes.
- The Cooling Stage: Turn off the oven. Crack the door open by 1 inch and leave the cake inside for 15 minutes. This prevents a “temperature shock” collapse.
10. Frequently Asked Questions (FAQ)
Q: Why did my cheesecake crack?
A: Usually, this is caused by the oven being too hot or the egg whites being whipped to stiff peaks. High heat causes the cake to rise too fast, stretching the surface until it breaks.
Q: Why is there a rubbery layer at the bottom?
A: This indicates the batter wasn’t fully emulsified or the meringue wasn’t folded in evenly, causing the denser cheese mixture to sink to the bottom.
Q: Can I use granulated sugar instead of caster sugar?
A: Caster sugar is preferred because it dissolves faster in the egg whites, creating a more stable meringue. You can pulse granulated sugar in a blender for 5 seconds to make your own.
Q: My cake didn’t jiggle. What happened?
A: You likely overbaked it. The “jiggle” is a result of the moisture held within the airy structure. If the cake is dry, it will be firm rather than bouncy.
Q: Why did the cake shrink so much after cooling?
A: Some shrinkage (about 1/2 inch) is normal. Significant shrinkage happens if the meringue was over-beaten or if the cake was removed from the oven too abruptly.