1. Introduction: The Renaissance of the Morning Bowl
There is a profound, quiet satisfaction in the ritual of crafting the perfect breakfast. For decades, the dairy-based Greek yogurt bowl reigned supreme—celebrated for its thick, velvety mouthfeel and its ability to act as a neutral yet tangy canvas for seasonal bounty. However, the rise of plant-based culinary arts has sparked a revolution. We are no longer settling for thin, watery alternatives; we are crafting bowls that rival, and often surpass, their traditional counterparts in complexity and vibrancy.
The Vegan Greek Yogurt Bowl is more than just a quick meal; it is a testament to the versatility of plant-based ingredients like cultured soy, coconut, and almond. Rooted in the Mediterranean tradition of strained, concentrated dairy, this modern version adapts these techniques using nut-based milks and plant-derived cultures. Whether you are a lifelong vegan or a curious omnivore looking for a nutrient-dense start to your day, this bowl provides the perfect balance of creamy indulgence and wholesome energy.
2. Recipe Overview
- Cuisine Type: Modern Plant-Based / Mediterranean-Inspired
- Difficulty Level: Simple / Beginner-Friendly
- Total Time: 5–8 minutes
- Dietary Classifications: 100% Vegan, Naturally Gluten-Free (verify granola labels), Dairy-Free, Refined Sugar-Free.
3. Equipment and Tools
To achieve professional-grade results, using the right equipment is essential.
- Chilled Mixing Bowl: A 500ml (approx. 2 cup) capacity glass or ceramic bowl. Tip: Placing your bowl in the refrigerator for 10 minutes prior to assembly helps maintain the yogurt’s structure.
- Silicone Spatula: Essential for folding in sweeteners or nut butters without breaking the emulsion of the yogurt.
- Microplane Zester: For adding fine ribbons of citrus zest, which distribute oils more effectively than a standard grater.
- Scale or Measuring Cups: Precision is key for maintaining the macronutrient balance.
- Small Cast-Iron Skillet (Optional): For quick-toasting nuts or coconut flakes to release essential oils.
4. Serving Suggestions
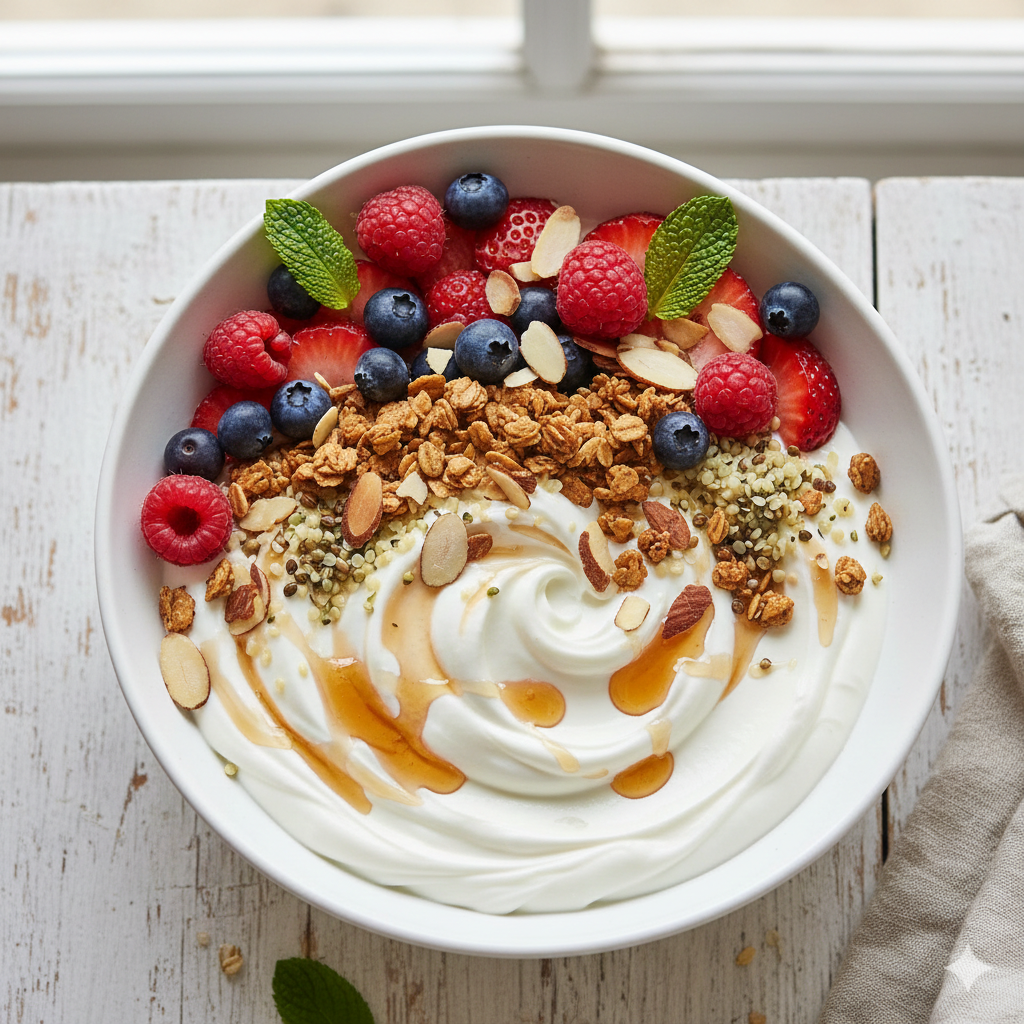
Plating: The “Golden Ratio”
To make the bowl look as good as it tastes, follow the rule of thirds. Allocate one-third of the bowl to your primary fruit, one-third to your crunchy elements (granola/seeds), and leave the remaining space to showcase the texture of the yogurt itself.
Pairing Ideas
- Garnish: Freshly torn basil or mint leaves provide a bright, aromatic contrast.
- Beverage: A warm cup of loose-leaf Earl Grey or a cold-pressed green juice complements the tangy profile of the yogurt.
- Side: A small slice of sourdough toast drizzled with extra virgin olive oil and a pinch of sea salt creates a savory-sweet balance.
5. Nutritional Information (Per Serving)
- Calories: 350 kcal
- Protein: 14g (Higher in soy-based varieties)
- Fiber: 9g
- Healthy Fats: 16g
- Sugars: 8g (primarily from fruit)
Health Benefits: This bowl is rich in plant-based proteins, essential for satiety, and loaded with fiber to support a healthy digestive microbiome. The inclusion of healthy fats from nuts and seeds aids in the absorption of fat-soluble vitamins.
6. Storage and Reheating
- Storage: Keep components separate. The yogurt can be stored in an airtight container for up to 5 days.
- Freezing: While the yogurt itself can technically be frozen, the texture will change significantly upon thawing. We recommend enjoying it fresh.
- Reheating: Never heat the entire bowl. If you prefer warm fruit, sauté your berries in a pan for 60 seconds before placing them on top of the cold yogurt.
7. Expert Tips and Variations
Professional Chef Tips
- The “Salt” Secret: A literal grain of high-quality sea salt (like Maldon) added to the yogurt base will elevate the sweetness of the fruit by suppressing the perception of bitterness.
- Texture Control: If your yogurt is too soft, strain it through a clean piece of muslin or cheesecloth set over a mesh sieve for 1 hour to achieve a “labneh-style” consistency.
Seasonal Adaptations
- Spring: Top with macerated strawberries and rhubarb.
- Autumn: Use poached pears, toasted walnuts, and a hint of cardamom.
8. Ingredients Section
- 1 ½ cups (350ml) High-quality Vegan Greek-style Yogurt.
- 2 tbsp Raw or lightly toasted walnut halves.
- 1 tbsp Hemp seeds (adds an earthy, nutty profile).
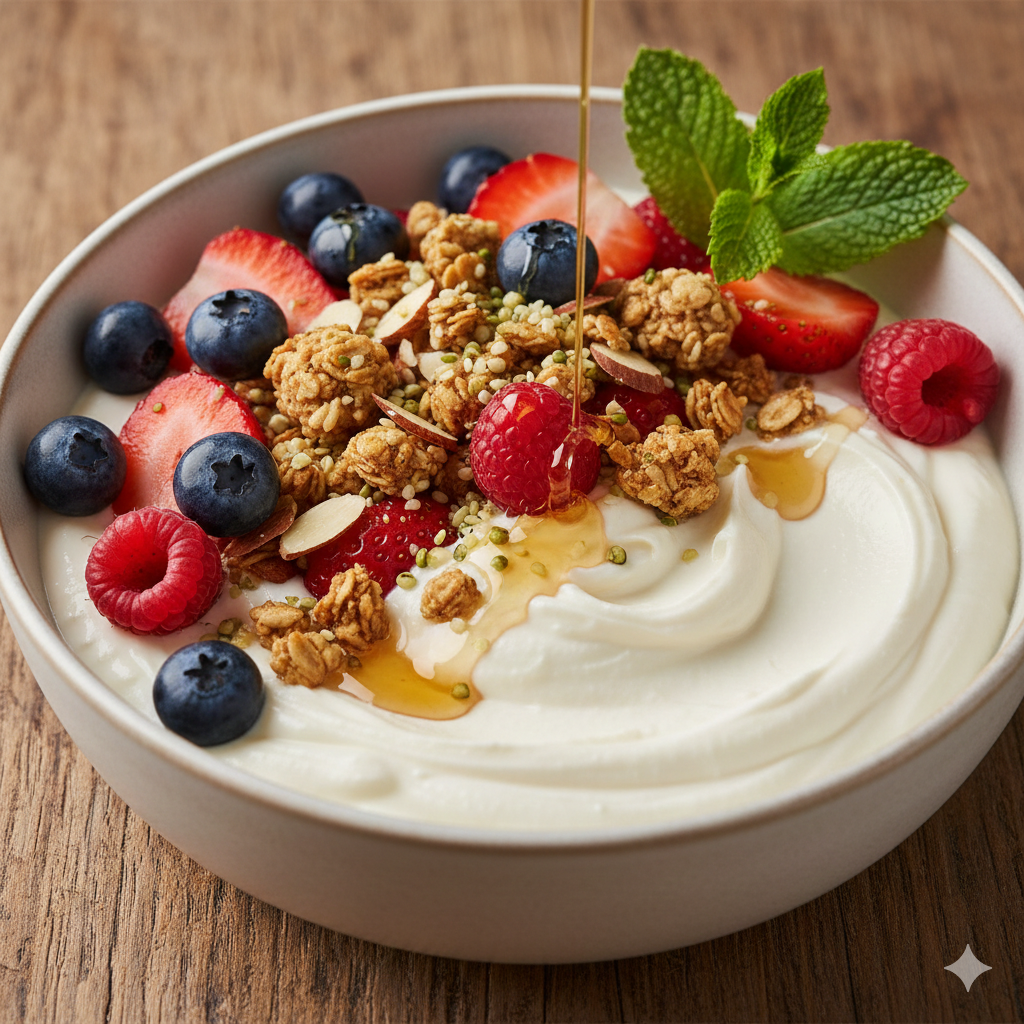
- ½ cup (75g) Seasonal berries.
- 1 tsp Grade A maple syrup.
- ¼ tsp Pure vanilla bean paste.
9. Step-by-Step Instructions
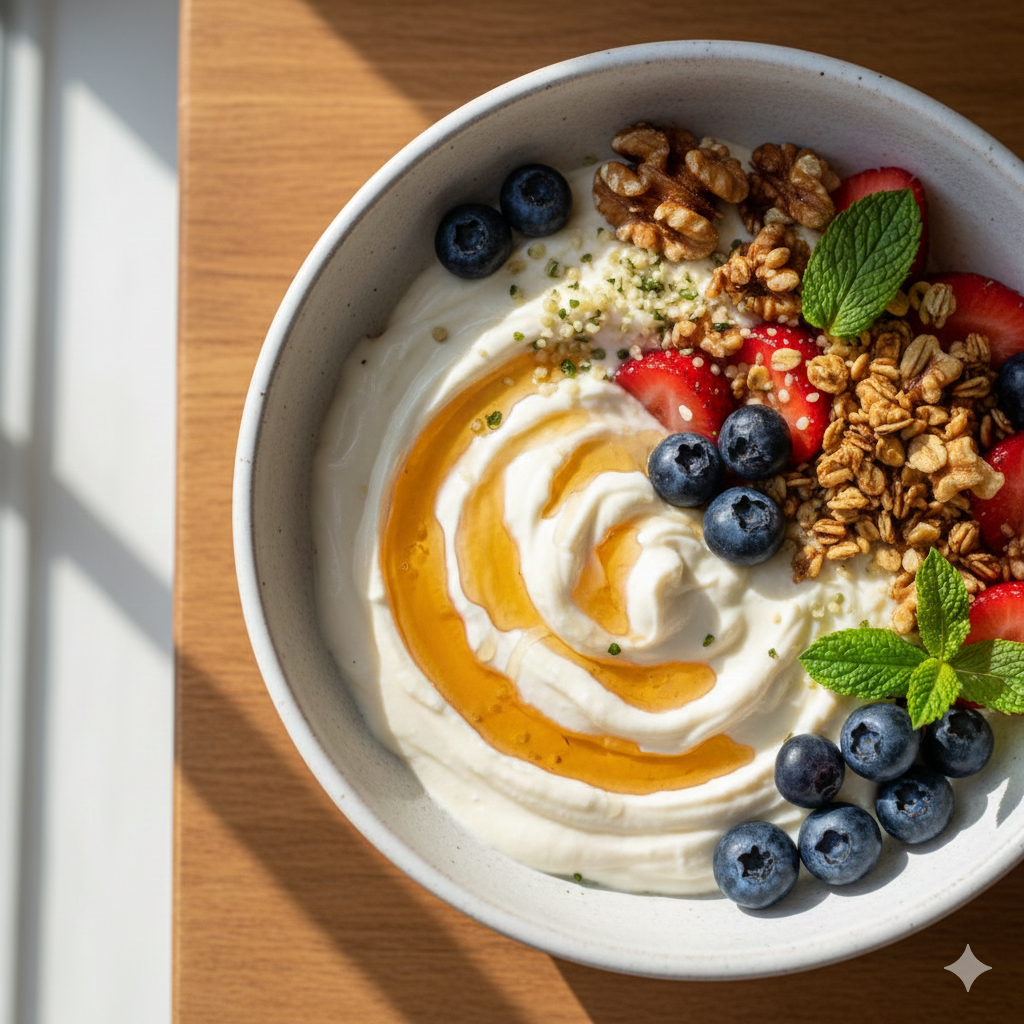
- The Base: Scoop the yogurt into your chilled bowl. Use the spatula to create a small “swoosh” or valley in the center.
- Infusion: Carefully fold in the vanilla bean paste using gentle, circular motions. Do not over-mix.
- Topping: Arrange your berries in the “well” you created.
- Crunch: Distribute the walnuts and hemp seeds around the perimeter.
- Drizzle: Drizzle the maple syrup in a thin, steady stream across the entire bowl, finishing with a final dusting of zest.
10. Frequently Asked Questions (FAQ)
- Q: Can I use flavored yogurt?
- A: Yes, but watch for added sugars. Using plain, unsweetened yogurt gives you complete control over the sweetness.
- Q: How do I stop the fruit from sinking?
- A: Always ensure your yogurt base is chilled and thick; the density will keep your toppings suspended on the surface.


