1. Introduction: The Soul of the Bakery
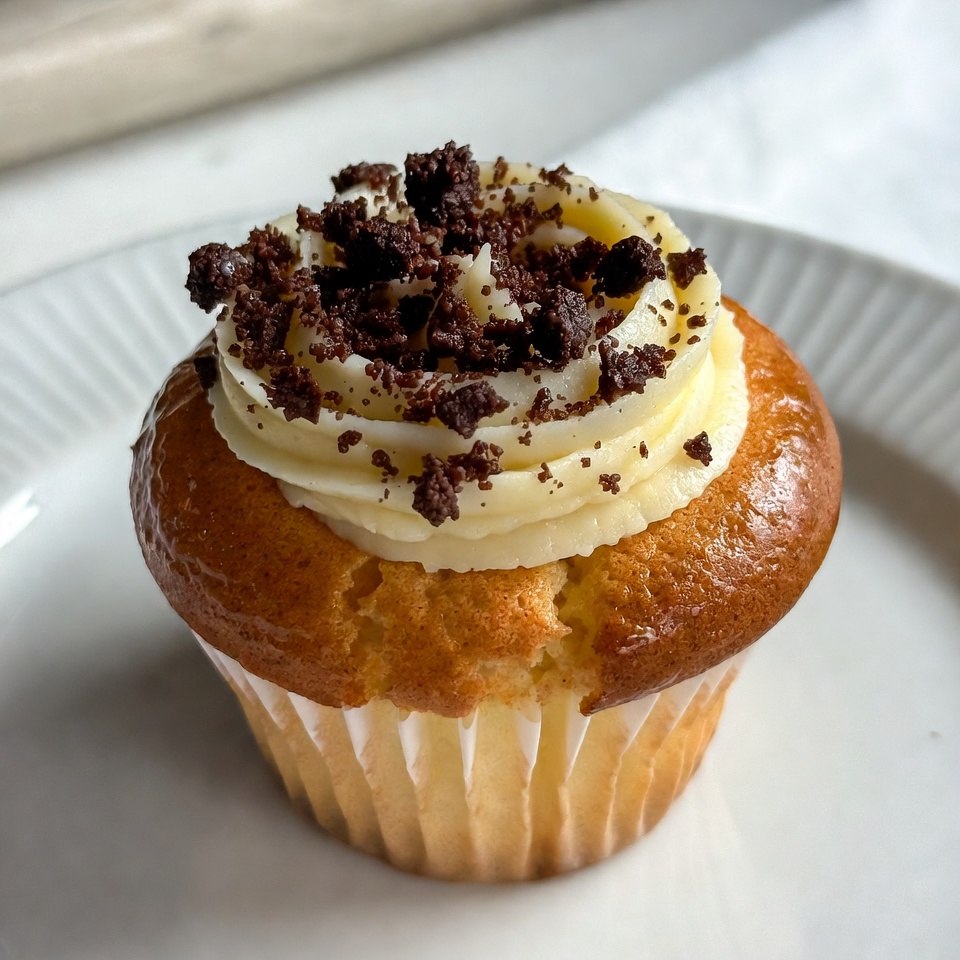
There is a profound, almost poetic simplicity in a perfect vanilla cupcake. While decadent chocolate tortes and intricate macarons often steal the spotlight in modern pastry cases, the vanilla cupcake remains the undisputed cornerstone of the baking world. It is the “little black dress” of desserts—elegant, timeless, and appropriate for every conceivable occasion, from a toddler’s first birthday to a high-end wedding gala.
The journey to the “perfect” cupcake is often a quest for the holy grail of textures: a crumb that is light enough to feel airy, yet sturdy enough to hold a generous swirl of frosting, all while maintaining a moisture level that lasts for days. This recipe is the culmination of years of culinary refinement, moving away from the dry, muffin-like textures of the past toward a velvety, cake-like consistency that melts on the tongue.
What sets this version apart is the use of real vanilla bean and the “reverse creaming” method. Historically, vanilla was so rare that it was reserved for royalty; today, while accessible, it remains a luxury of flavor. By using the seeds of a Madagascar Bourbon vanilla pod, we elevate a simple snack into a gourmet experience. This article is designed for the home baker who wants to bridge the gap between “good enough” and “patisserie quality.”
2. Recipe Overview
Before we preheat the oven, let’s look at the blueprint for our baking session.
- Cuisine Type: American Bakery Classic
- Difficulty Level: Intermediate (Requires precision in temperature and mixing)
- Prep Time: 25 minutes
- Cook Time: 18–22 minutes
- Total Time: Approximately 45 minutes (plus cooling)
- Dietary Classifications: Vegetarian, Nut-Free (Can be adapted for Gluten-Free)
3. Equipment and Tools
Success in baking is as much about the tools as it is about the ingredients. For this recipe, ensure you have the following high-quality gear:
- Standard 12-cup Muffin Tin: Preferred heavy-gauge aluminized steel for even heat distribution. Avoid dark, non-stick pans if possible, as they can over-brown the edges.
- Digital Kitchen Scale: Essential for accuracy. Baking is a science; measuring by weight (grams) ensures consistency that volume (cups) cannot match.
- Stand Mixer or Electric Hand Mixer: Equipped with a paddle attachment for the batter and a whisk attachment for the frosting.
- Sifter or Fine-Mesh Strainer: To aerate the dry ingredients and remove lumps from the powdered sugar.
- Silicone Spatula: For folding and scraping the bottom of the bowl to ensure no pockets of flour remain.
- Wire Cooling Rack: Crucial for airflow to prevent the bottoms from becoming soggy via condensation.
- Large Piping Bag and Tips: Recommended: Wilton 1M or 2D for that classic bakery swirl.
- Specifications:
- Volume: Each cupcake cavity should hold approx. 100ml.
- Liner Size: Standard 2-inch base diameter.
4. Serving Suggestions
A cupcake is a canvas. While beautiful on its own, the presentation can transform the dining experience.
Plating Recommendations
For a formal event, serve the cupcakes on a marble slab or a tiered porcelain stand. This heightens the visual appeal and suggests a curated experience. For a rustic look, use a wooden board paired with linen napkins.
Garnish Ideas
- Fresh Fruit: A single raspberry or a thin slice of strawberry adds acidity to balance the sugar.
- Edible Gold Leaf: For weddings or New Year’s Eve, a tiny speck of gold leaf on the frosting peak adds instant luxury.
- Vanilla Bean Specks: Don’t throw away the spent vanilla pod! Dry it out, grind it with sugar, and sprinkle the “vanilla sugar” over the top.
Beverage Pairings
- Coffee: A light roast pour-over or a creamy latte complements the buttery notes.
- Tea: Earl Grey (the bergamot provides a lovely citrus contrast) or a delicate white tea.
- Sparkling: A chilled Demi-Sec Champagne or a sweet Moscato d’Asti.
5. Nutritional Information
(Estimated per single cupcake with frosting)
| Component | Value |
| Calories | 340 kcal |
| Total Fat | 18g |
| Saturated Fat | 11g |
| Carbohydrates | 42g |
| Sugars | 31g |
| Protein | 3g |
| Sodium | 150mg |
Dietary Information: This recipe contains gluten, dairy, and eggs. It is a high-energy treat intended for occasional indulgence.
6. Storage and Reheating
Cupcakes are best enjoyed the day they are baked, but proper storage can extend their life.
- Room Temperature: Store in an airtight container for up to 2 days. Keep them in a cool, dry place away from direct sunlight.
- Refrigeration: Not recommended for the cake itself, as the cold air can crystallize the starch and make it taste stale. However, if your frosting contains cream cheese or heavy cream and the weather is hot, refrigerate but allow 30 minutes to reach room temperature before eating.
- Freezing: Unfrosted cupcakes can be wrapped tightly in plastic wrap and frozen for up to 3 months. Thaw at room temperature for 1 hour.
- Reheating: If eating a day-old unfrosted cupcake, 5-8 seconds in the microwave can restore the “just-baked” softness by slightly melting the fats.
7. Expert Tips and Variations
Professional Chef Tips
- The Temperature Rule: Ensure your butter, eggs, and sour cream are at room temperature (approx. 20°C/68°F). This creates an emulsion that traps air, leading to a better rise.
- Reverse Creaming: Most recipes cream butter and sugar first. We will mix butter into the dry ingredients. This coats the flour in fat, preventing excess gluten formation and resulting in a “melt-in-your-mouth” crumb.
- Don’t Overmix: Once the liquid hits the flour, the clock starts. Mix only until combined to avoid a tough, rubbery texture.
Creative Variations
- Lemon-Vanilla: Add the zest of two lemons to the sugar before mixing.
- Vanilla Bean Latte: Add 1 tablespoon of instant espresso powder to the dry ingredients.
- The “Surprise” Center: Use a small paring knife to remove the center of the cooled cupcake and fill with lemon curd, salted caramel, or raspberry jam before frosting.

8. Ingredients Section
For the Cupcakes
- Cake Flour: 200g (approx. 1 2/3 cups). Note: Use cake flour, not all-purpose, for the softest texture.
- Granulated Sugar: 200g (1 cup).
- Baking Powder: 6g (1 1/2 tsp).
- Salt: 2g (1/4 tsp) fine sea salt.
- Unsalted Butter: 115g (1/2 cup/1 stick), room temperature and cubed.
- Egg Whites: 90g (from about 3 large eggs), room temperature.
- Sour Cream: 60g (1/4 cup) full-fat.
- Whole Milk: 120ml (1/2 cup), room temperature.
- Vanilla Bean: 1 whole pod, sliced and seeds scraped (or 1 tbsp vanilla bean paste).
For the Vanilla Bean Buttercream
- Unsalted Butter: 230g (1 cup/2 sticks), softened but still cool to the touch.
- Powdered Sugar: 480g (4 cups), sifted.
- Heavy Cream: 30–45ml (2–3 tbsp).
- Vanilla Bean Paste: 1 tsp.
- Pinch of Salt: To balance the sweetness.
9. Step-by-Step Instructions
Step 1: Mise en Place
Preheat your oven to 175°C (350°F). Line your muffin tin with paper liners. Gather all ingredients and ensure they are at room temperature.
Step 2: Sift and Mix Dry Ingredients
In the bowl of a stand mixer, sift together the cake flour, sugar, baking powder, and salt. Turn the mixer on the lowest speed for 30 seconds to aerate and combine.
Step 3: The Butter Incorporation
Add the cubed, softened butter to the dry ingredients. Mix on low speed for 1-2 minutes until the mixture looks like fine, damp sand. There should be no large chunks of butter visible.
Step 4: Prepare the Liquid Base
In a separate glass measuring jug, whisk together the egg whites, sour cream, milk, and the scraped vanilla bean seeds until well combined.
Step 5: Create the Emulsion
With the mixer on low, slowly pour about half of the liquid mixture into the flour/butter mix. Increase the speed to medium and beat for 60 seconds. This develops the structure of the cake. Scrape down the sides and bottom of the bowl.
Step 6: Final Incorporation
Add the remaining liquid and mix on medium-low for another 30 seconds until the batter is smooth and silky. Do not overbeat.
Step 7: Filling the Liners
Use an ice cream scoop to fill the liners exactly 2/3 full. Overfilling will cause the cupcakes to spill over and create “muffin tops” that stick to the pan.
Step 8: The Bake
Place the tin in the center of the oven. Bake for 18–22 minutes.
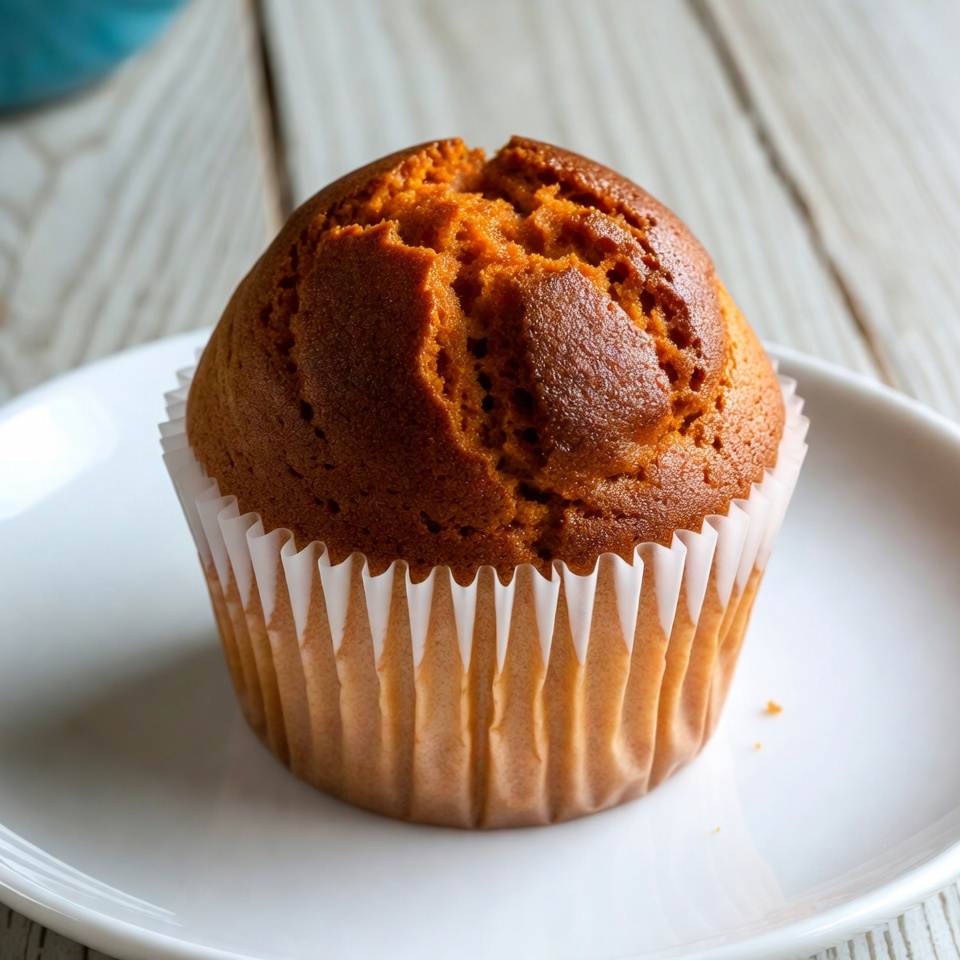
- Visual Cue: The tops should be pale golden and spring back when lightly touched.
- Test: A toothpick inserted into the center should come out clean or with a few dry crumbs.
Step 9: Cooling
Allow the cupcakes to rest in the tin for 5 minutes. Then, carefully remove them and place them on a wire rack. Crucial: They must be 100% cool to the touch before frosting, or the buttercream will melt and slide off.
Step 10: The Buttercream
Beat the softened butter for 5 minutes until it turns almost white and very fluffy. Add the sifted powdered sugar one cup at a time on low speed. Once incorporated, add the cream, vanilla paste, and salt. Increase speed to high and whip for 2 more minutes until it reaches a “cloud-like” consistency. Pipe onto cooled cupcakes.
10. Frequently Asked Questions (FAQ)
Q: Why did my cupcakes sink in the middle?
A: This is usually caused by either underbaking or opening the oven door too early, which causes a sudden temperature drop before the structure has set. It can also happen if your baking powder is expired.
Q: Can I use All-Purpose (AP) flour instead?
A: AP flour has more protein, which creates more gluten. Your cupcakes will be tougher and bread-like. If you must use AP flour, replace 2 tablespoons of it with 2 tablespoons of cornstarch (cornflour) and sift them together three times.
Q: My frosting is too soft. How do I fix it?
A: If the environment is warm, your butter might be too soft. Add another 1/4 cup of sifted powdered sugar, or place the entire bowl in the fridge for 15 minutes and then re-whip.
Q: Why do you use only egg whites?
A: Egg whites provide structure without the yellow tint or the “eggy” flavor of yolks. This keeps the cupcake crumb snowy white and lets the vanilla flavor shine through purely.
Q: How do I get that perfect bakery swirl?
A: Use a large piping tip (like the 1M). Start in the center, move to the outer edge, and spiral inward and upward in one fluid motion. Pressure consistency is key!


