1. Introduction
There is bread, and then there is Japanese Milk Bread, known domestically as Shokupan. If you have ever stepped into a boutique bakery in Tokyo or Osaka, the first thing that hits you isn’t just the scent of yeast—it’s the sweet, hypnotic aroma of butter and toasted cream.
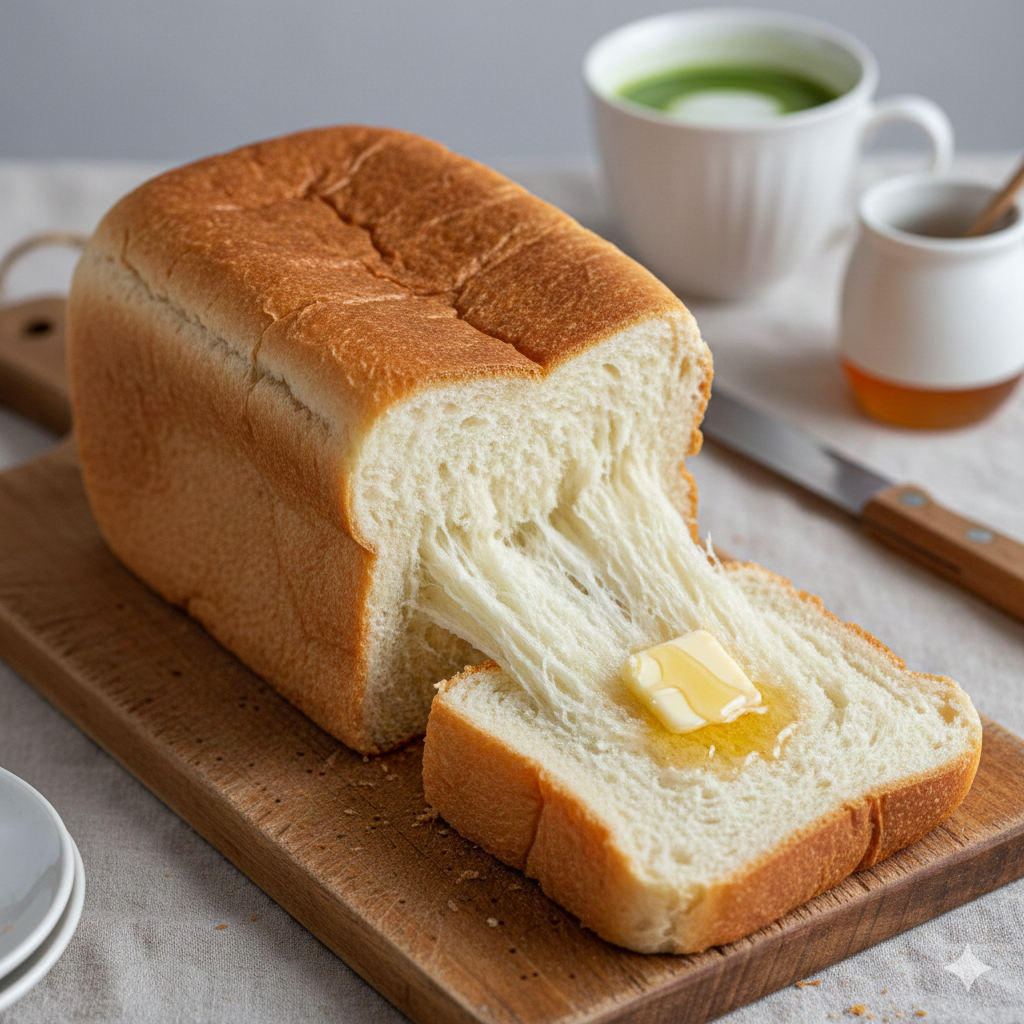
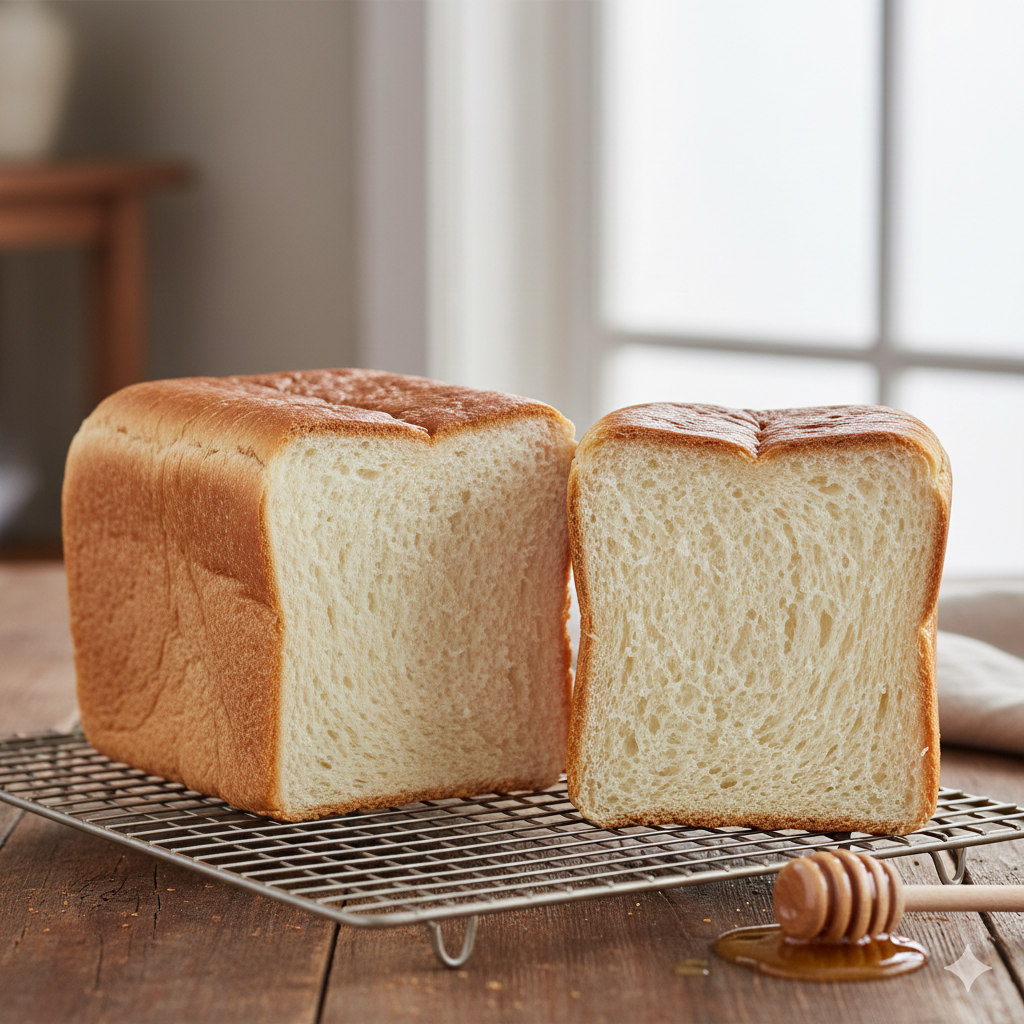
Shokupan is the crown jewel of Japanese baking. Unlike the crusty, rustic sourdoughs of Europe, this bread focuses entirely on the “crumb.” It is impossibly white, remarkably soft, and possesses a unique “shreddable” quality—you can literally peel it away in feathery layers.
The secret to this magical texture lies in a traditional Chinese technique adopted by Japanese bakers called Tangzhong. By pre-cooking a small portion of flour and liquid into a roux, you pre-gelatinize the starches. This allows the dough to hold more moisture without becoming sticky, resulting in a loaf that rises higher and stays fresh and springy for days longer than standard white bread.
Whether you’re making the ultimate honey toast or a simple egg salad sandwich (Tamago Sando), this bread transforms the mundane into something extraordinary.
2. Recipe Overview
- Cuisine Type: Japanese / Asian Fusion
- Difficulty Level: Intermediate (Requires patience and dough handling)
- Total Time: 3 hours 45 minutes
- Prep time: 30 mins
- Resting/Proofing: 2 hours 45 mins
- Baking: 30 mins
- Dietary Classifications: Vegetarian, Contains Dairy, Contains Gluten.
3. Equipment and Tools
To achieve that iconic flat-topped, square “Pullman” shape, specific tools are highly recommended:
- Pullman Loaf Pan: Ideally $9 \times 4 \times 4$ inches (approx. 23x10x10 cm). A lid is required if you want a perfect square cross-section.
- Stand Mixer: While you can knead by hand, this high-hydration dough is much easier to manage with a dough hook.
- Digital Kitchen Scale: Baking is a science. Measuring in grams is essential for the Tangzhong ratio.
- Small Saucepan: For the roux.
- Instant-Read Thermometer: To check internal doneness ($190^{\circ}\text{F}$ or $88^{\circ}\text{C}$).
- Silicone Pastry Brush: For the final milk/egg wash.
4. Serving Suggestions
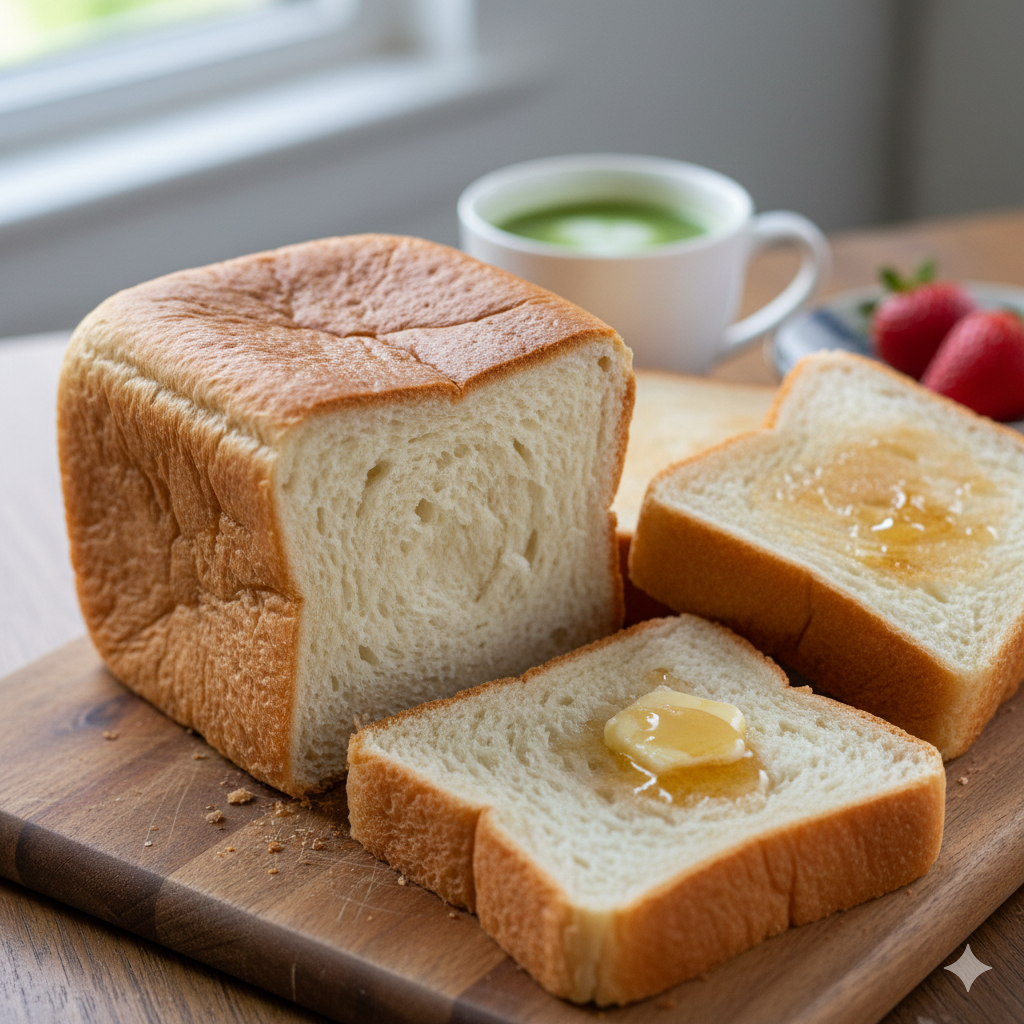
- The Classic Toast: Sliced thick (1-inch), toasted until golden, and topped with a slab of salted cultured butter and a drizzle of Hokkaido honey.
- Fruit Sando: Encased with whipped cream and fresh strawberries or kiwi for a stunning dessert sandwich.
- French Toast: Because of its density and structure, it soaks up custard beautifully without falling apart.
- Beverage Pairing: Pairs perfectly with a hot Matcha Latte, a pour-over light roast coffee, or a cold glass of sweetened soy milk.
5. Nutritional Information
(Per serving, based on 10 slices per loaf)
| Nutrient | Amount |
| Calories | 245 kcal |
| Total Fat | 7g |
| Saturated Fat | 4g |
| Cholesterol | 25mg |
| Sodium | 310mg |
| Total Carbohydrates | 38g |
| Dietary Fiber | 1.5g |
| Sugars | 6g |
| Protein | 7g |
Health Benefit Note: While a treat, homemade Shokupan avoids the high-fructose corn syrup and chemical softeners found in commercial “sandwich” breads.
6. Storage and Reheating
- Room Temperature: Store in an airtight plastic bag for up to 4 days. The Tangzhong keeps it moist!
- Freezing: Slice the bread before freezing. Wrap individual slices in plastic wrap and place in a freezer bag. It lasts up to 3 months.
- Reheating: * From Fresh: Lightly toast to maintain the soft interior.
- From Frozen: Place directly in the toaster or oven at $350^{\circ}\text{F}$ ($175^{\circ}\text{C}$) for 5 minutes. Do not microwave, as it will become chewy/tough.
7. Expert Tips and Variations
Professional Tips
- The Windowpane Test: You must knead until the dough is translucent when stretched. If it tears immediately, keep kneading.
- Temperature Matters: Ensure your milk and egg are at room temperature so they don’t “shock” the yeast and slow the rise.
Creative Variations
- Matcha Swirl: Add 1 tbsp of high-quality matcha powder to half the dough during the final stages of kneading.
- Chocolate Chip: Fold in dark chocolate chips after the first proof.
- Savory Scallion: Brush the interior with garlic butter and chopped scallions before rolling into the loaf shape.
8. Ingredients Section
The Tangzhong (Starter)
- 20g Bread Flour (High Protein)
- 100ml Whole Milk (or Water)
The Main Dough
- 350g Bread Flour (Protein content $>12\%$)
- 50g Granulated Sugar
- 7g Instant Yeast (1 packet)
- 1 tsp (5g) Fine Sea Salt
- 1 Large Egg (Room temperature)
- 120ml Whole Milk (Lukewarm, approx. $100^{\circ}\text{F}$)
- 50g Unsalted Butter (Softened to room temperature)
9. Step-by-Step Instructions
Step 1: Prepare the Tangzhong
In a small saucepan, whisk 20g flour and 100ml milk until no lumps remain. Place over medium-low heat. Stir constantly with a spatula. Once it thickens into a paste (resembling mashed potatoes), remove from heat. Transfer to a small bowl, cover with plastic wrap (touching the surface), and let cool to room temperature.
Step 2: Mix the Dry Ingredients
In the bowl of your stand mixer, whisk together the bread flour, sugar, salt, and instant yeast.
Step 3: Combine Wet Ingredients
Add the lukewarm milk, the egg, and your cooled Tangzhong to the dry ingredients.
Step 4: Initial Kneading
Using the dough hook, mix on low speed for 2-3 minutes until a shaggy ball forms. Increase to medium speed and knead for another 5 minutes. The dough will be quite sticky; avoid the temptation to add more flour!
Step 5: Incorporate Butter
Add the softened butter one tablespoon at a time while the mixer is running. Continue kneading for 10–15 minutes.
Visual Cue: The dough should eventually pull away from the sides of the bowl and look smooth and elastic. Perform the Windowpane Test.
Step 6: First Proof
Shape the dough into a smooth ball. Place in a lightly greased bowl, cover with a damp cloth, and let rise in a warm, draft-free spot for 1 to 1.5 hours, or until doubled in size.
Step 7: Shaping
Deflate the dough gently. Weigh the dough and divide into 3 equal portions. Roll each into a ball and let rest for 15 minutes.
Roll each ball into a long oval. Fold the sides toward the center like a letter. Roll it up tightly from the bottom like a sleeping bag.
Step 8: Second Proof
Place the three rolls side-by-side into your greased Pullman pan. Cover and let rise for another 45-60 minutes. If using a lid, the dough should be about 1 inch below the rim before you slide the lid shut.
Step 9: Baking
Preheat your oven to $350^{\circ}\text{F}$ ($175^{\circ}\text{C}$). Bake for 25–30 minutes. If baking without a lid, brush the top with milk or egg wash for a golden finish.
Step 10: Cooling
Immediately remove the bread from the pan and place on a wire rack. Brushing the top with a little melted butter while hot creates a soft, shiny crust. Wait at least 1 hour before slicing.
10. Frequently Asked Questions (FAQ)
Q: Can I use All-Purpose flour instead of Bread Flour?
A: You can, but the bread won’t be as tall or “shreddable.” Bread flour has more gluten, which provides the necessary structure for that massive rise.
Q: Why didn’t my bread rise?
A: Your yeast might be expired, or your milk was too hot (killing the yeast). Always check that your liquid is lukewarm, not scalding.
Q: My dough is too sticky to handle! What do I do?
A: Wet your hands slightly or use a bench scraper. Resist adding flour, as it will make the bread dense. The stickiness is what makes it fluffy!
Q: Can I make this without a stand mixer?
A: Yes, but prepare for a workout! It takes about 20-25 minutes of vigorous hand kneading to reach the windowpane stage with this high-fat dough.
Q: Why do I need to cool it before slicing?
A: The internal structure is still “setting” even after it leaves the oven. Slicing too early compresses the air pockets and makes the bread gummy.


