1. Introduction: The Alchemy of Chocolate and Sugar
There is a specific, universal magic that happens when butter, sugar, and cacao meet the heat of an oven. The brownie is not merely a dessert; it is an American cultural icon that has traversed the globe, evolving from a happy accident into a precise culinary science. Legend has it that the brownie was born in the late 19th century at Chicago’s Palmer House Hotel, created for socialites who wanted a “cake-like” dessert that could fit into a boxed lunch.
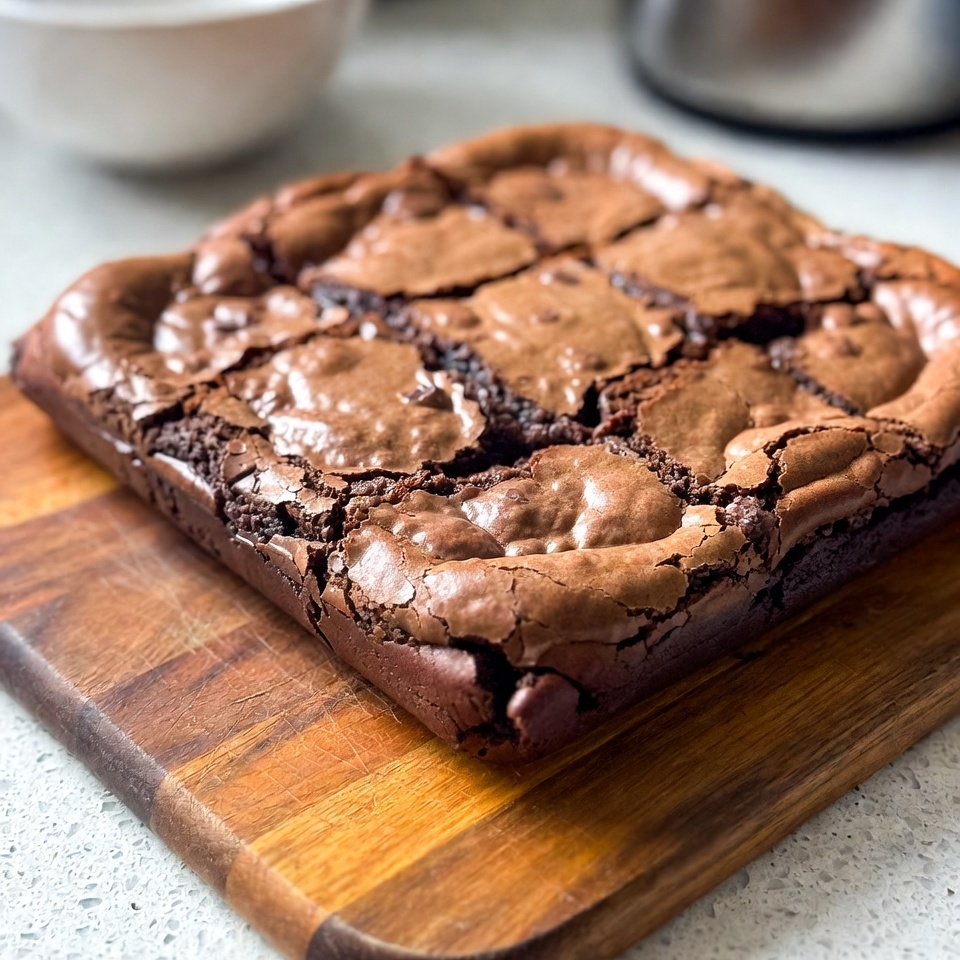
Since then, the brownie has fractured into a beautiful spectrum of textures. For some, a brownie isn’t authentic unless it’s fudgy—dense, moist, and almost truffle-like. For others, the cakey brownie, with its light crumb and airy lift, is the gold standard. Then there is the chewy crowd, who live for the pull of the edge piece and the structural integrity of a perfect “boxed-mix” style square made from scratch.
Regardless of your preference, the brownie represents the ultimate comfort. It is the smell of a childhood kitchen on a rainy Tuesday and the sophisticated finale to a five-course dinner. In this guide, we break down the chemistry of the crumb to help you achieve your personal chocolate heaven.
2. Recipe Overview
- Cuisine Type: American / Contemporary Bakery
- Difficulty Level: Intermediate (Focusing on texture control)
- Total Preparation Time: 20 minutes
- Total Cooking Time: 25–40 minutes (variable by style)
- Dietary Classifications: Vegetarian. (Options for Gluten-Free and Dairy-Free provided in variations).
3. Equipment and Tools
The vessel is as important as the batter. Heat distribution determines whether your edges burn before the center sets.
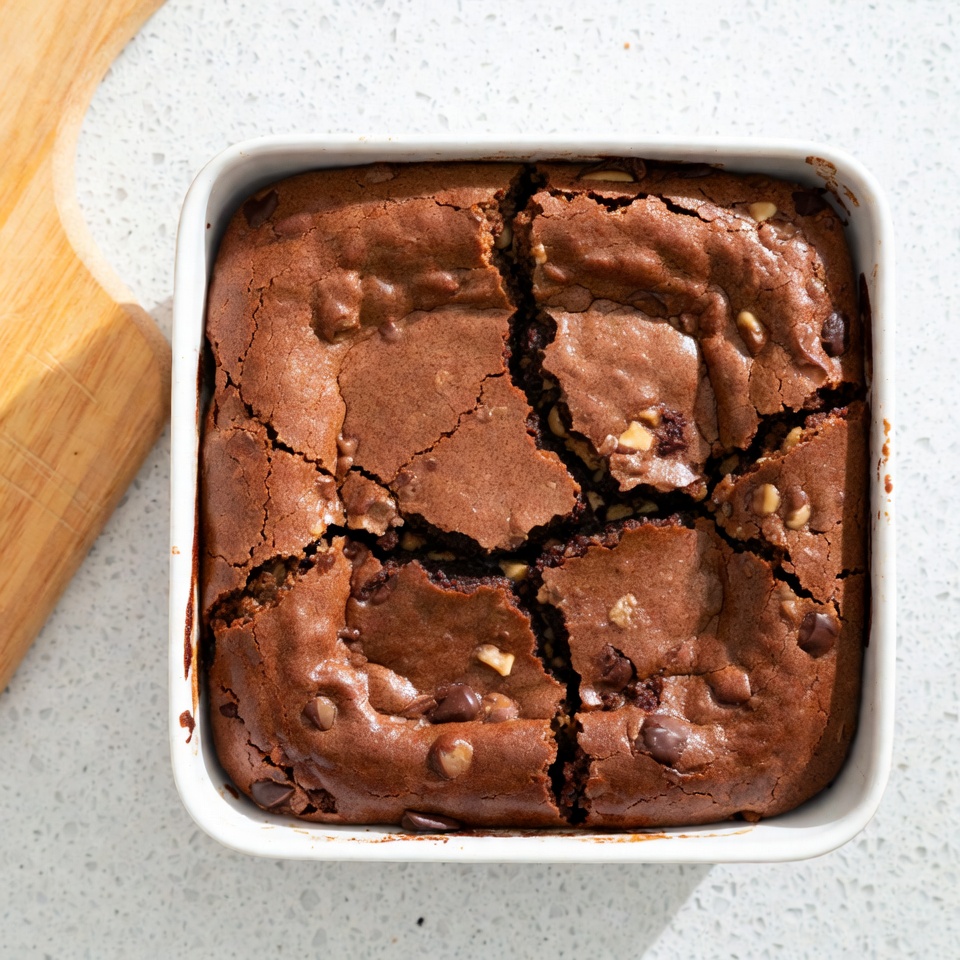
- Baking Pan: 8×8 inch (20×20 cm) square metal pan.
- Pro Tip: Use light-colored aluminum. Dark pans absorb too much heat, leading to overbaked bottoms.
- Mixing Bowls: One large heat-proof glass bowl for the “bain-marie” method; one medium bowl for dry sifting.
- Fine-Mesh Sieve: Essential for aerating cocoa powder and flour.
- Digital Kitchen Scale: To ensure professional-grade accuracy in grams.
- Silicone Spatula: For gentle folding to avoid over-developing gluten.
- Parchment Paper: Cut to create a “sling” for easy removal.
4. Serving Suggestions
A brownie is a star on its own, but the right pairing elevates it to a gourmet experience.
- Plating: Serve slightly warm (not hot) to maintain structural integrity.
- Garnish: A light dusting of Dutch-processed cocoa or a sprinkle of Maldon sea salt to contrast the sweetness.
- Side Dishes: Fresh tart berries (raspberries or blackberries) or a dollop of unsweetened crème fraîche.
- Beverage Pairings:
- Coffee: A dark roast espresso or a nutty pour-over.
- Wine: A fortified wine like a 10-Year-Old Tawny Port or a sweet Recioto della Valpolicella.
5. Nutritional Information (Per Serving)
Based on 1/16th of a standard batch.
| Nutrient | Amount |
| Calories | 245 kcal |
| Total Fat | 14g |
| Saturated Fat | 9g |
| Cholesterol | 45mg |
| Total Carbohydrates | 31g |
| Dietary Fiber | 2g |
| Protein | 3g |
Note: High-quality dark chocolate contains flavonoids which offer antioxidant benefits, though this remains a decadent treat meant for moderation.
6. Storage and Reheating
- Room Temperature: Store in an airtight container for up to 3 days. Use parchment between layers.
- Refrigeration: Brownies actually become denser and “fudgier” in the fridge. They stay fresh for 7 days.
- Freezing: Wrap individual squares in plastic wrap, then foil. They freeze beautifully for up to 3 months.
- Reheating: To regain the “molten” feel, microwave for 15 seconds or place in a 300°F (150°C) oven for 5 minutes.
7. Expert Tips and Variations
Professional Chef Secrets
- The Bloom: Mix your cocoa powder with the hot melted butter. This “blooms” the chocolate, releasing deep aromatic oils.
- The Paper-Thin Crust: That crackly, shiny top is caused by dissolving the sugar completely into the eggs. Whisk them until they reach the “ribbon stage.”
- Room Temperature Eggs: Cold eggs will seize your melted chocolate. Always use room temperature ingredients.
Creative Variations
- The “Salted Caramel” Swirl: Drop dollops of high-quality caramel onto the batter and swirl with a knife before baking.
- The “Espresso” Kick: Add 1 tablespoon of instant espresso powder to the dry ingredients to intensify the chocolate notes.
- Gluten-Free: Replace all-purpose flour with a 1:1 ratio of super-fine almond flour for an ultra-fudgy result.
8. Ingredients Section
| Ingredient | Metric (Grams) | Imperial | Notes |
| Unsalted Butter | 225g | 2 Sticks | High-fat European style preferred |
| Dark Chocolate (70%) | 180g | 6.3 oz | Chopped from a bar, not chips |
| Granulated Sugar | 200g | 1 cup | For the crust |
| Light Brown Sugar | 100g | 1/2 cup | For the moisture |
| Large Eggs | 150g | 3 units | Room temperature |
| Vanilla Extract | 15ml | 1 tbsp | Pure Madagascar Bourbon |
| All-Purpose Flour | 120g | 1 cup | Sifted |
| Cocoa Powder | 40g | 1/2 cup | Dutch-processed |
| Fine Sea Salt | 3g | 1/2 tsp | Enhances flavor |
9. Step-by-Step Instructions
- Preparation: Preheat your oven to 350°F (175°C). Grease your 8×8 pan and line it with parchment paper, leaving a 2-inch overhang on the sides.
- Melt the Base: Place the butter and 100g of the chopped chocolate in a heat-proof bowl. Set over a pot of simmering water (Bain-Marie). Stir until smooth and silky. Remove from heat.
- Whisk the Eggs: In a large bowl, combine granulated sugar, brown sugar, and eggs. Whisk vigorously for 3–5 minutes. You are looking for a pale, thick consistency that falls in ribbons.
- Emulsify: Slowly stream the warm chocolate-butter mixture into the eggs while whisking constantly. Add the vanilla.
- The Dry Fold: Sift the flour, cocoa powder, and salt directly into the wet ingredients. Using a silicone spatula, fold gently using a “cut and turn” motion. Stop the moment you see no more white streaks.
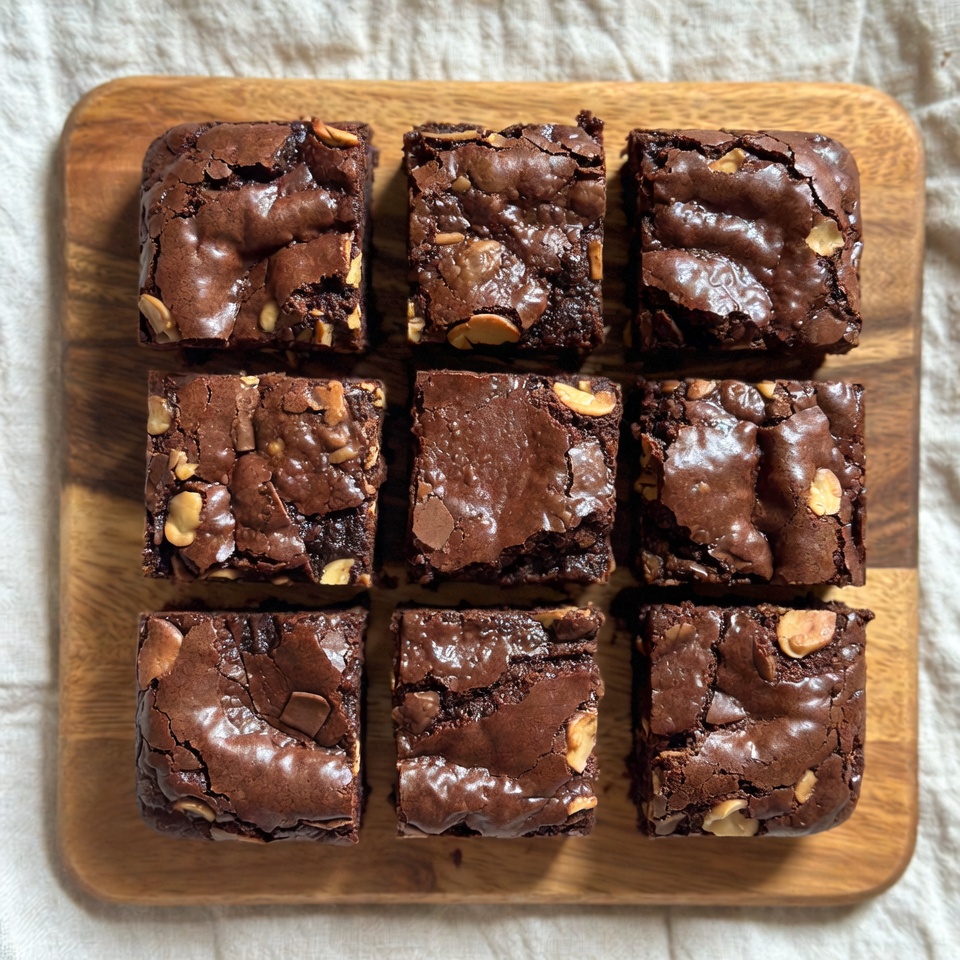
- Add Texture: Fold in the remaining 80g of chopped chocolate chunks.
- The Bake: Pour the batter into the pan. Smooth the top. Bake for 22–27 minutes.
- Visual Cue: The edges should be set and slightly puffed, but the center should still have a very slight “jiggle.”
- The “Hard” Part: Let the brownies cool completely in the pan for at least 1 hour. This allows the internal fats to set, creating that perfect bite.
10. Frequently Asked Questions (FAQ)
Q: Why are my brownies dry and crumbly?
A: This usually results from over-measuring flour or overbaking. Always use a scale for flour and remember that brownies continue to cook in the pan after leaving the oven.
Q: Can I use oil instead of butter?
A: You can, but butter provides a superior flavor and a “fudgier” set. Oil creates a more open, “boxed-mix” crumb.
Q: How do I get those perfectly clean squares?
A: Chill the brownies in the refrigerator for 2 hours before cutting. Use a large chef’s knife dipped in hot water and wiped dry between every cut.
Q: Why didn’t I get the shiny crackle top?
A: You likely didn’t whisk the eggs and sugar long enough. The sugar must be fully dissolved and the eggs aerated to form that meringue-like crust.
Q: My brownies are greasy on top. What happened?
A: The fat separated from the batter. This happens if the chocolate/butter mixture was too hot when added to the eggs, or if the batter was over-mixed.


