1. Introduction
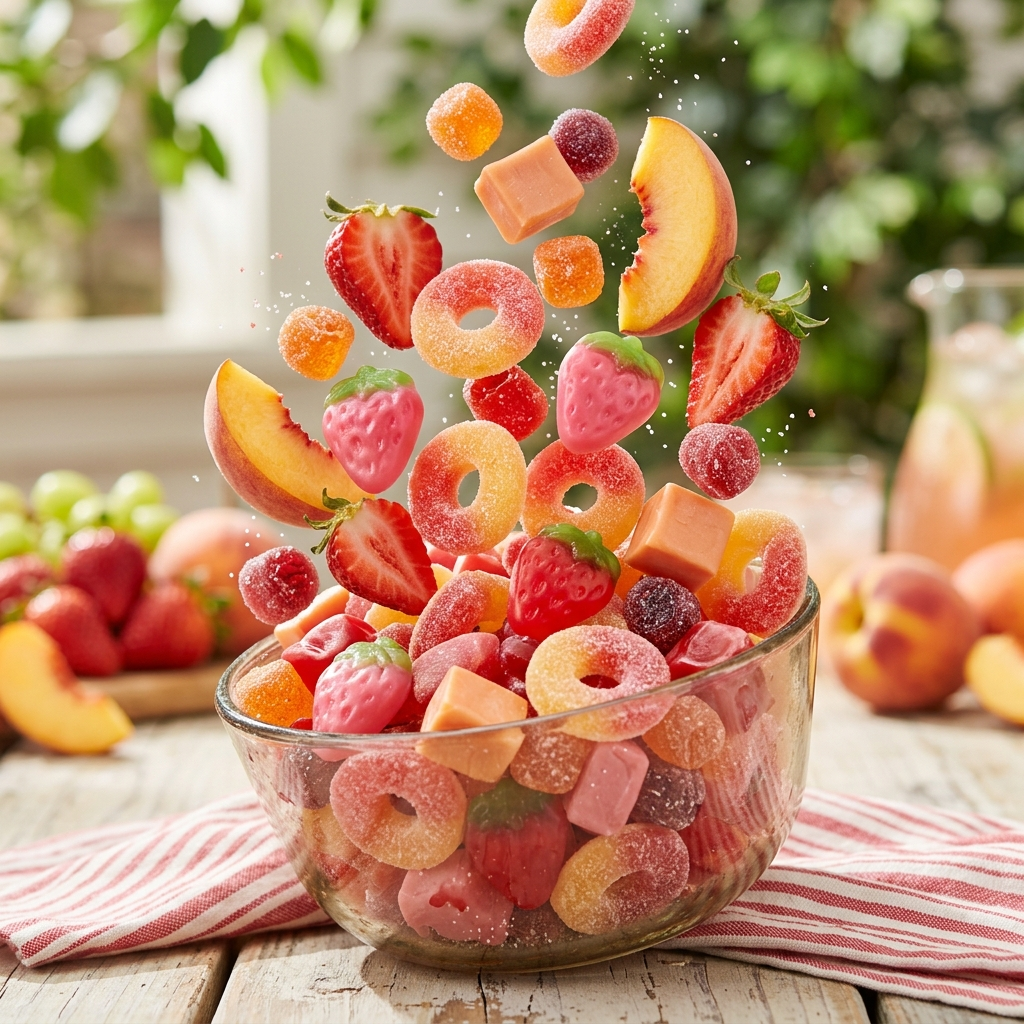
There is something inherently nostalgic about the snap and chew of a fruit gummy. For many of us, childhood summers were defined by the neon glow of candy store aisles. However, as our palates mature, we often find ourselves craving those same bright flavors without the waxy textures and artificial aftertastes of mass-produced sweets. Enter the Strawberry Peach Candy Blast.
This recipe isn’t just about making candy; it’s about capturing the fleeting essence of peak-season produce. By marrying the tart, floral brightness of sun-ripened strawberries with the mellow, honeyed depth of a juicy peach, we create a flavor profile that is both explosive and sophisticated.
The “Blast” in the name refers to the dual-layered technique we use, ensuring every bite begins with a zing of berry and finishes with a smooth stone-fruit exhale. Whether you are a parent looking for a cleaner snack alternative or a confectionery enthusiast aiming to master the art of pectin and gelatin, this recipe serves as your definitive roadmap to candy perfection.
2. Recipe Overview
- Cuisine Type: American Confectionery
- Difficulty Level: Intermediate (Requires precision temperature control)
- Prep Time: 30 minutes
- Setting Time: 4 hours (minimum)
- Total Time: 4 hours 30 minutes
- Dietary Classifications: Gluten-Free, Dairy-Free, Low-Fat (Vegetarian options available with agar-agar substitutions).
3. Equipment and Tools
To achieve the “Candy Blast” texture—which sits right between a soft jelly and a firm gummy—you need the right kit. Accuracy is the difference between a delicious treat and a sticky puddle.
- Heavy-Bottomed Saucepan: A 2-quart stainless steel pan is ideal. Thin pans cause “hot spots” that can scorch the sugar.
- Digital Candy Thermometer: Precision is non-negotiable. Look for one that clips to the side of the pan.
- Silicone Gummy Molds: 5ml to 10ml cavities. Small bears, fruits, or cubes work best for this texture.
- Fine-Mesh Sieve: To ensure a crystal-clear candy by removing fruit pulp/seeds.
- High-Speed Blender: For emulsifying the fruit purees.
- Precision Droppers/Pipettes: For clean, mess-free filling of the molds.
- Kitchen Scale: Measuring by weight (grams) is highly recommended over cups for confectionery.
4. Serving Suggestions
Plating Recommendations
For a casual snack, toss these in a glass mason jar. For a party, arrange them on a white ceramic platter to let the vibrant ombre colors pop.
Garnish Ideas
- Sour Blast Coating: Toss finished gummies in a mixture of granulated sugar and a pinch of citric acid.
- Mint Garnish: If serving as part of a dessert board, fresh mint leaves complement the strawberry notes beautifully.
Beverage Pairings
- Non-Alcoholic: Sparkling white grape juice or a cold-brewed hibiscus tea.
- Alcoholic: A crisp Prosecco or a light Rosé enhances the floral notes of the peach.
5. Nutritional Information
(Per 30g serving – approx. 5-6 standard gummies)
| Nutrient | Amount |
| Calories | 85 kcal |
| Total Fat | 0g |
| Sodium | 5mg |
| Total Carbohydrates | 21g |
| Sugars | 18g |
| Protein | 2g |
Health Notes: Using real fruit purees provides a small boost of Vitamin C and antioxidants compared to corn-syrup-based candies.
6. Storage and Reheating
Proper Storage
Store gummies in an airtight container. Place a small piece of parchment paper between layers to prevent sticking.
- Room Temperature: 3-5 days (keep in a cool, dark place).
- Refrigeration: Up to 3 weeks. This is the preferred method for maintaining the “snap.”
- Freezing: Not recommended, as the gelatin structure can break down upon thawing, resulting in a grainy texture.
7. Expert Tips and Variations
Professional Chef Tips
- Bloom your gelatin: Never dump gelatin directly into hot liquid. Always sprinkle it over cold liquid and let it “bloom” for 5-10 minutes to ensure a smooth melt.
- The Skimming Secret: As the mixture simmers, a white foam will rise to the top. Skim this off with a spoon for professional, translucent gummies.
Common Mistakes
- Overheating: Boiling the gelatin too vigorously can weaken its setting power.
- Ignoring the Sieve: Skipping the straining process results in “cloudy” gummies with strawberry seeds.
Creative Variations
- The “Spicy Blast”: Add a tiny pinch of Tajín or cayenne pepper to the strawberry layer.
- Creamy Delight: Substitute half the water in the peach layer with coconut milk for a “Peaches and Cream” vibe.
8. Ingredients Section
The Strawberry Layer
- Fresh Strawberries: 250g (hulled and sliced)
- Unflavored Gelatin: 30g (approx. 4 envelopes)
- Granulated Sugar: 100g
- Lemon Juice: 1 tbsp (acts as a flavor brightener and preservative)
The Peach Layer
- Ripe Peaches: 250g (peeled and pitted)
- Unflavored Gelatin: 30g
- Honey or Agave: 2 tbsp (for a deeper sweetness profile)
- Water: 1/2 cup (cold)
9. Step-by-Step Instructions
Phase 1: Preparing the Purees
- Strawberry: Blend the strawberries until completely smooth. Pass through a fine-mesh sieve into a measuring cup. You need exactly 1 cup of liquid.
- Peach: Repeat the process with the peaches. If the peaches are firm, simmer them in a tablespoon of water for 2 minutes before blending to soften the fibers.
Phase 2: Blooming the Gelatin
- In two separate small bowls, pour 1/2 cup of the strawberry juice and 1/2 cup of the water.
- Sprinkle the gelatin evenly over the surface of each bowl. Do not stir. Let it sit for 10 minutes until it looks like a thick sponge.
Phase 3: The Strawberry Melt
- Place a saucepan over medium-low heat. Add the remaining strawberry juice, sugar, and lemon juice.
- Heat until the sugar is dissolved (do not boil).
- Add the strawberry gelatin “bloom.” Whisk gently but constantly until the gelatin is completely melted and no grains remain.
- The Drop: Use your dropper to fill the molds exactly halfway. Place in the refrigerator for 15 minutes to “flash-set.”
Phase 4: The Peach Blast
- Rinse the saucepan. Add the peach puree and honey.
- Repeat the melting process with the peach gelatin bloom.
- The Layer: Remove the molds from the fridge. Carefully drop the peach mixture on top of the semi-set strawberry layer.
- Final Set: Refrigerate for at least 4 hours, preferably overnight.
10. Frequently Asked Questions (FAQ)
Q: Can I use frozen fruit?
A: Absolutely! Thaw the fruit completely and ensure you include any juices that escaped during thawing to maintain the flavor concentration.
Q: Why are my gummies “sweating”?
A: This usually happens if they are removed from the mold too early or if the humidity is very high. Let them air-dry on a wire rack for 24 hours after unmolding to develop a “skin.”
Q: How do I make these vegan?
A: Replace the gelatin with Agar-Agar powder. Note that Agar-Agar sets much firmer and faster, and requires boiling to activate (unlike gelatin). Use $1 \text{ tsp}$ of Agar-Agar powder for every $1 \text{ cup}$ of liquid.
Q: Can I use canned peaches?
A: Yes, but reduce the added sugar in the recipe, as canned peaches are typically packed in heavy or light syrup.
Q: My gummies are stuck in the mold. Help!
A: Dip the bottom of the silicone mold into warm water for 5 seconds (don’t let water touch the candy). This will loosen the seal.


