1. Introduction
There is a specific kind of magic that happens when high-quality cocoa, heavy cream, and butter meet in a chilled pie tin. The Silky Chocolate Cream Pie is not just a dessert; it is a sensory experience. Often referred to as “French Silk,” this dish occupies the hallowed ground between a dense chocolate truffle and a light, airy mousse.
Historically, the “Silk” moniker gained fame in the mid-20th century, specifically during the 1951 Pillsbury Bake-Off, where it captivated the hearts of home bakers across America. Unlike its cousin, the chocolate pudding pie—which often relies on cornstarch for stability—the authentic Silky Chocolate Cream Pie achieves its signature texture through the meticulous aeration of eggs and sugar. It represents a transition in culinary history from the heavy, flour-thickened custards of the Victorian era to the sophisticated, whipped textures of modern patisserie.
Whether you are celebrating a milestone or simply seeking solace in a slice of chocolate heaven, this recipe offers a masterclass in balance: the crunch of a buttery crust, the velvet of the filling, and the ethereal lightness of fresh whipped cream.
2. Recipe Overview
- Cuisine Type: American / French-inspired Patisserie
- Difficulty Level: Intermediate (Requires patience and temperature control)
- Prep Time: 45 minutes
- Cook Time: 15 minutes (for the crust)
- Chilling Time: 6 hours (minimum) to Overnight
- Total Time: Approx. 7 hours
- Dietary Classifications: Vegetarian. (Can be modified for Gluten-Free diets using a nut-based or GF cookie crust).
3. Equipment and Tools
To achieve professional-grade results, the right tools are non-negotiable.
- 9-inch Pie Plate: Preferably glass or ceramic for even heat distribution. A depth of at least 1.5 to 2 inches is recommended.
- Stand Mixer: Equipped with a paddle attachment and a whisk attachment. A hand mixer can work, but the long whipping times (up to 15-20 minutes) make a stand mixer much more efficient.
- Fine-Mesh Sieve: For sifting cocoa and ensuring the smoothest possible texture.
- Rubber Spatulas: High-heat resistant for folding.
- Double Boiler or Heat-Proof Bowl: To safely melt chocolate without scorching.
- Digital Scale: Essential for the precision required in pastry work.
4. Serving Suggestions
Plating Recommendations
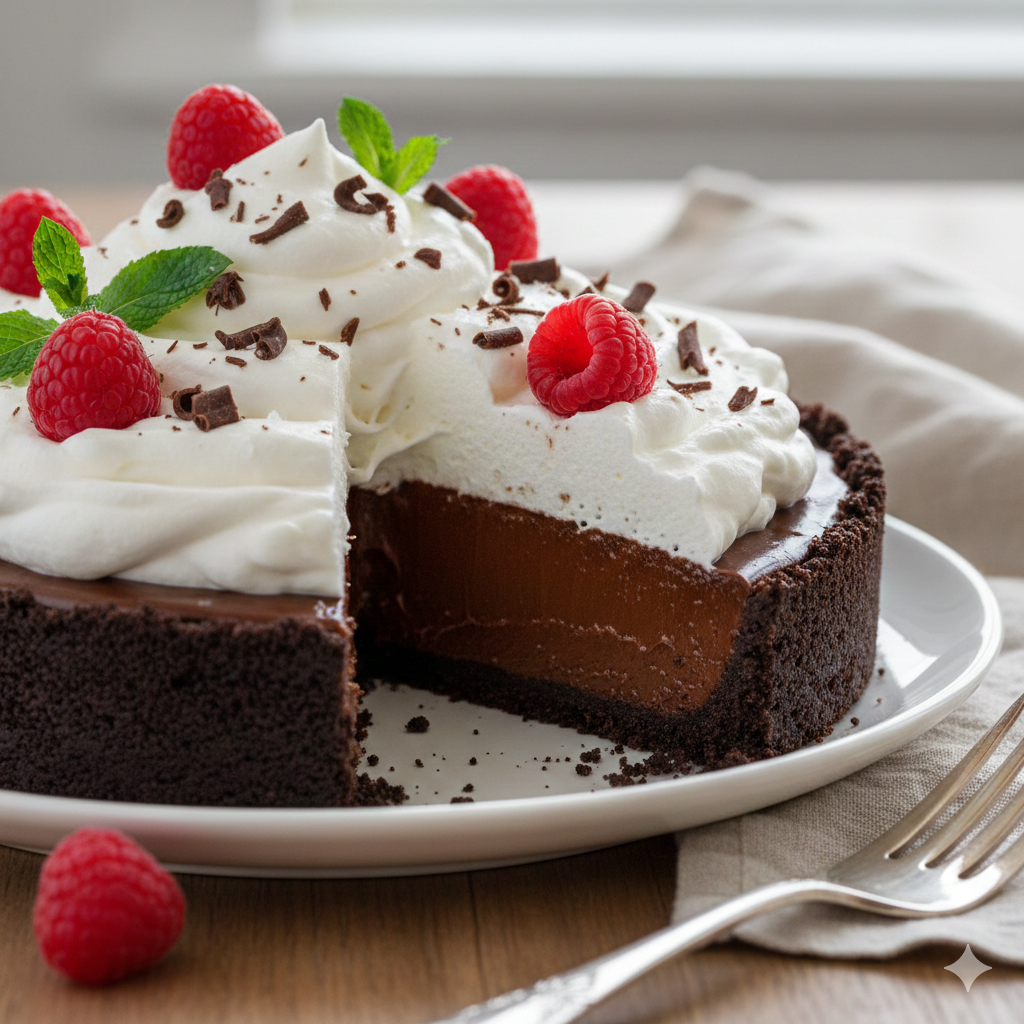
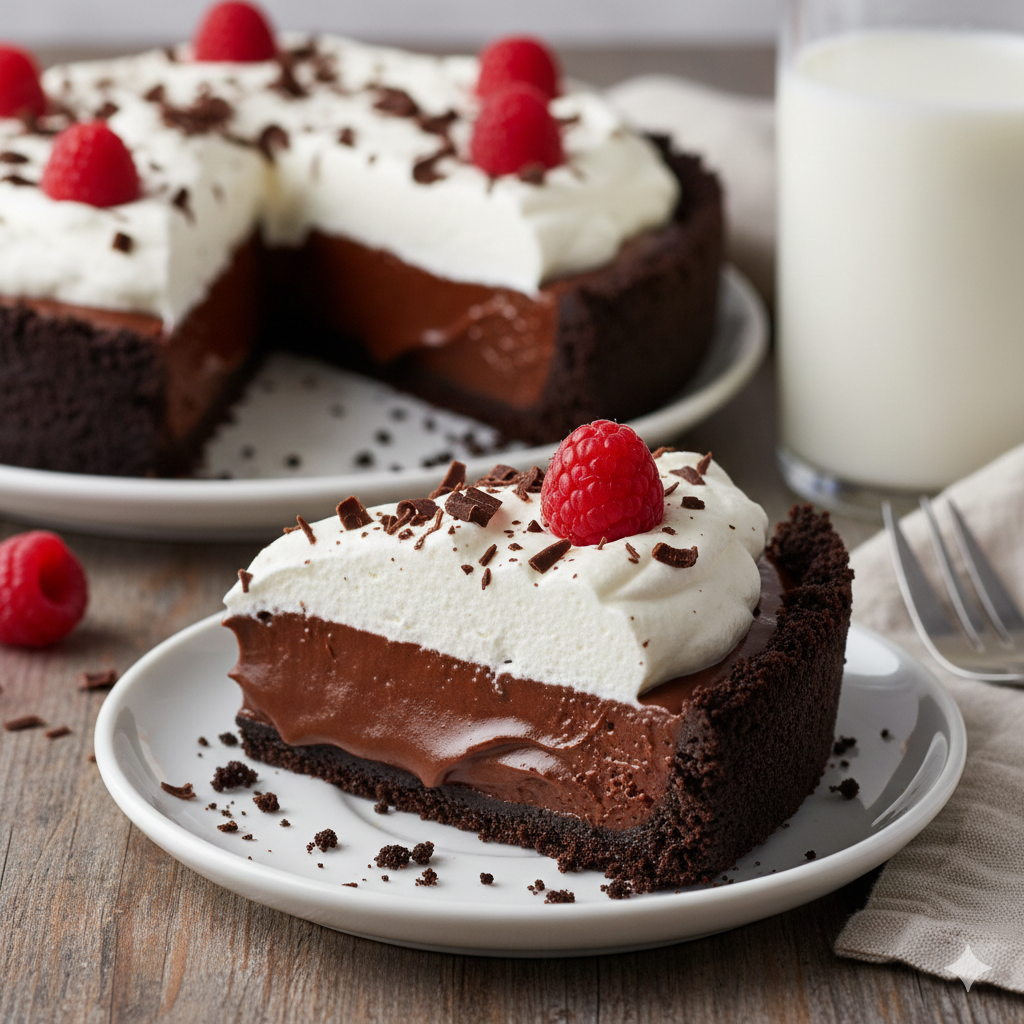
For a clean, restaurant-style slice, use a thin knife dipped in hot water and wiped dry between every single cut. Serve on a chilled white plate to highlight the deep mahogany color of the chocolate.
Garnish Ideas
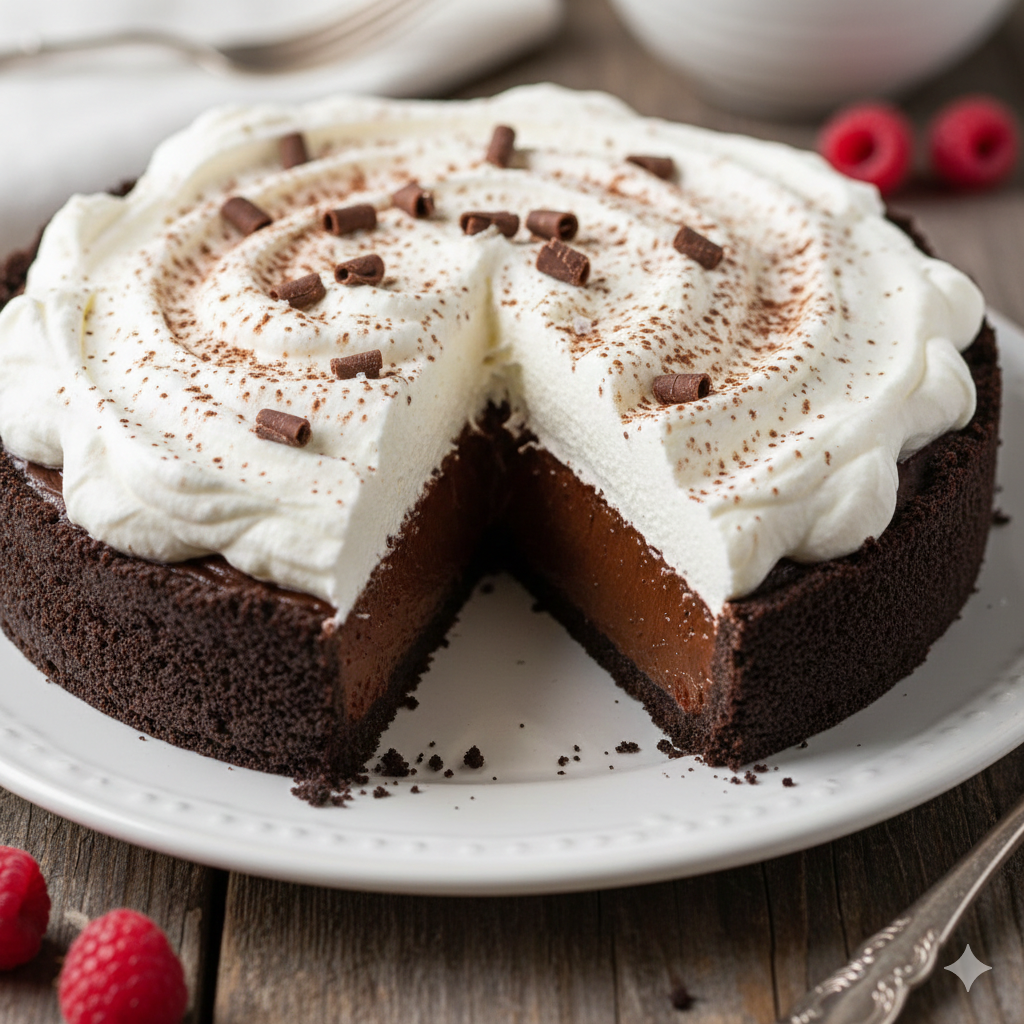
- Chocolate Curls: Use a vegetable peeler on a room-temperature bar of dark chocolate.
- Sea Salt: A tiny pinch of Maldon sea salt cuts through the richness beautifully.
- Fresh Berries: Raspberries or sliced strawberries provide a necessary acidic contrast.
Beverage Pairings
- Coffee: A dark roast espresso or a nutty pour-over.
- Wine: A late-harvest Syrah or a classic Ruby Port.
- Non-Alcoholic: A cold glass of whole milk or a sparkling hibiscus tea.
5. Nutritional Information
(Estimates based on 1/10th of a pie)
| Nutrient | Amount per Serving |
| Calories | 480 kcal |
| Total Fat | 32g |
| Saturated Fat | 19g |
| Cholesterol | 110mg |
| Sodium | 210mg |
| Total Carbohydrates | 44g |
| Dietary Fiber | 3g |
| Sugars | 28g |
| Protein | 5g |
6. Storage and Reheating
Refrigeration
This pie contains raw (though cooked via heat-treatment) eggs and high dairy content. It must be stored in the refrigerator. Cover loosely with plastic wrap or a pie dome. It will stay fresh for up to 4 days.
Freezing
The Silky Chocolate Cream Pie freezes exceptionally well.
- Freeze the pie (without whipped cream topping) for 2 hours until firm.
- Wrap tightly in plastic wrap, then aluminum foil.
- Store for up to 2 months. Thaw in the refrigerator for 24 hours before serving.
Reheating
Do not reheat. This is a cold-set dessert. Heat will cause the emulsion to break, resulting in a greasy, liquid mess.
7. Expert Tips and Variations
Professional Tips
- The Sugar Grain Test: When beating the eggs and sugar, rub a small amount of the mixture between your fingers. If it feels gritty, keep beating. It must be perfectly smooth.
- Temperature Control: Ensure your melted chocolate has cooled to room temperature before adding it to the butter mixture. If it’s too hot, it will melt the butter; if too cold, it will create chocolate chunks.
Variations
- The Mocha Silk: Add 2 teaspoons of espresso powder to the chocolate melting stage.
- Salted Caramel Layer: Drizzle a layer of thick sea salt caramel over the crust before adding the filling.
- Peanut Butter Swirl: Fold in 1/4 cup of softened, creamy peanut butter during the final whipping stage.
8. Ingredients Section
The Crust
- Chocolate Sandwich Cookies: 24 cookies (approx. 280g), finely crushed.
- Unsalted Butter: 5 tbsp (70g), melted.
- Fine Sea Salt: A pinch.
The Filling
- Granulated Sugar: 1 cup (200g).
- Large Eggs: 4 (Room temperature).
- Unsweetened Baking Chocolate: 4 oz (113g), high quality (60-70% cacao).
- Unsalted Butter: 1 cup (226g / 2 sticks), softened to cool room temperature.
- Vanilla Bean Paste: 1 tsp (or pure vanilla extract).
The Topping
- Heavy Whipping Cream: 1.5 cups (350ml), chilled.
- Powdered Sugar: 3 tbsp (25g).
- Vanilla Extract: 1/2 tsp.
9. Step-by-Step Instructions
Step 1: Prepare the Crust
- Preheat your oven to 350°F (175°C).
- In a food processor, pulse the chocolate cookies until they reach the consistency of fine sand.
- Stir in the melted butter and salt until the mixture resembles wet sand.
- Press firmly into the bottom and up the sides of your 9-inch pie plate.
- Bake for 10 minutes to set. Let cool completely before filling.
Step 2: Heat-Treat the Eggs (The Safety Step)
Note: Traditional French Silk uses raw eggs, but we recommend this “Cooked” method for safety.
- Whisk the eggs and granulated sugar together in a heat-proof bowl.
- Place the bowl over a saucepan of simmering water (Double Boiler).
- Whisk constantly until the mixture reaches 160°F (71°C).
- Remove from heat and beat with a mixer at high speed for about 5-8 minutes until the mixture is thick, pale, and cool.
Step 3: Cream the Butter and Chocolate
- Melt the unsweetened chocolate in a double boiler. Set aside to cool to room temperature.
- In a separate bowl, cream the softened butter until light and fluffy (about 3 minutes).
- Slowly pour the cooled chocolate into the butter, mixing until fully incorporated.
Step 4: The Great Emulsion
- Add the cooled egg/sugar mixture to the chocolate/butter mixture.
- Add the vanilla bean paste.
- The Secret: Beat the mixture on medium-high speed for a full 10 minutes. This aeration is what creates the “silk” texture. The color will lighten significantly.
Step 5: The Set
- Pour the filling into the cooled crust.
- Smooth the top with an offset spatula.
- Refrigerate for a minimum of 6 hours, though overnight is superior for the flavors to meld.
Step 6: The Topping
- Beat the cold heavy cream, powdered sugar, and vanilla until stiff peaks form.
- Spread or pipe onto the chilled pie.
- Garnish with chocolate shavings.
10. Frequently Asked Questions (FAQ)
Q: Can I use milk chocolate instead of unsweetened baking chocolate?
A: It is not recommended. The unsweetened chocolate provides the structure and deep flavor necessary to balance the sugar and butter. Using milk chocolate will result in a pie that is too soft and cloyingly sweet.
Q: Why is my filling grainy?
A: This usually happens because the sugar didn’t dissolve in the eggs or the butter was too cold. Ensure you hit the 160°F mark with your eggs and beat until the “grittiness” is gone.
Q: Does the pie really need to beat for 10 minutes?
A: Yes. This isn’t just mixing; it’s building a stable emulsion. The mechanical action breaks down the fat and sugar into microscopic particles, creating that world-class mouthfeel.
Q: Can I make this crust-less?
A: Absolutely. You can pipe the filling into individual ramekins for a “Chocolate Silk Mousse” experience.
Q: Is it safe for pregnant women?
A: Because this recipe includes a heat-treatment step for the eggs (reaching 160°F), it is generally considered safe. However, always consult with a healthcare professional regarding dietary restrictions.


