1. Introduction: A Vibrant Twist on a Classic Comfort
There is a specific kind of magic that happens in a kitchen when yeast, flour, and butter begin to transform. Most of us grew up with the heady, spicy scent of cinnamon rolls wafting through the house on holiday mornings. But while the cinnamon roll is a steadfast king of the breakfast table, its vibrant, sophisticated cousin—the Raspberry Sweet Roll—offers a refreshing change of pace that is equal parts nostalgic and gourmet.
The story of the sweet roll is deeply rooted in Northern European “fika” culture and the enriched dough traditions of France. While the Swedish kanelbulle focuses on cardamom and spice, the fruit-filled sweet roll is a testament to the abundance of summer harvests. These rolls take that classic, pillowy brioche-style base and swap the heavy spice for the bright, tart punch of sun-ripened raspberries.
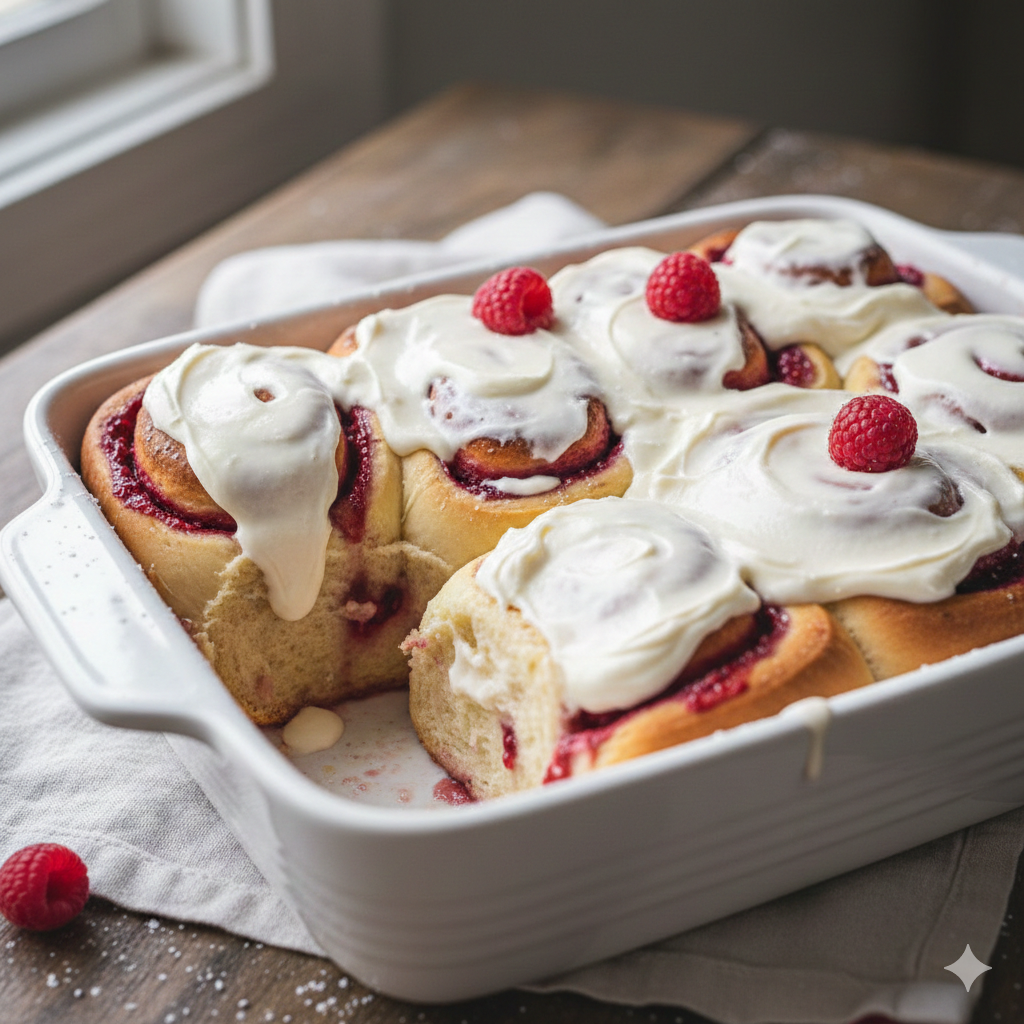
What makes this recipe a standout is the contrast. You have the shred-able, buttery crumb of the bread, the jammy, slightly acidic pop of the raspberry filling, and the silky, decadent finish of a vanilla-flecked cream cheese icing. It’s a dish that feels celebratory, whether you are hosting a spring brunch, celebrating a birthday, or simply reclaiming a slow Sunday morning.
2. Recipe Overview
- Cuisine Type: American / European Fusion
- Difficulty Level: Intermediate (requires yeast handling and dough shaping)
- Prep Time: 45 minutes
- Rise Time: 2 hours (total)
- Cook Time: 25–30 minutes
- Total Time: Approx. 3 hours 15 minutes
- Dietary Classifications: Vegetarian, Nut-Free
3. Equipment and Tools
To achieve the perfect rise and a soft, even bake, having the right tools is essential.
- Stand Mixer: Fitted with a dough hook (optional, but highly recommended for enriched dough).
- Digital Kitchen Scale: For precise flour and liquid measurements.
- Large Mixing Bowl: For the bulk fermentation (first rise).
- 9×13 inch (23×33 cm) Baking Pan: Ceramic or metal. Metal provides a crisper edge; ceramic offers more even heat distribution.
- Rolling Pin: To achieve a consistent $12 \times 18$ inch rectangle.
- Unflavored Dental Floss or Sharp Serrated Knife: For clean cuts without squishing the dough.
- Small Saucepan: For melting butter and warming milk.
- Offset Spatula: For spreading the raspberry filling and icing smoothly.
4. Serving Suggestions
These rolls are a showstopper on their own, but the right pairings can elevate the experience.
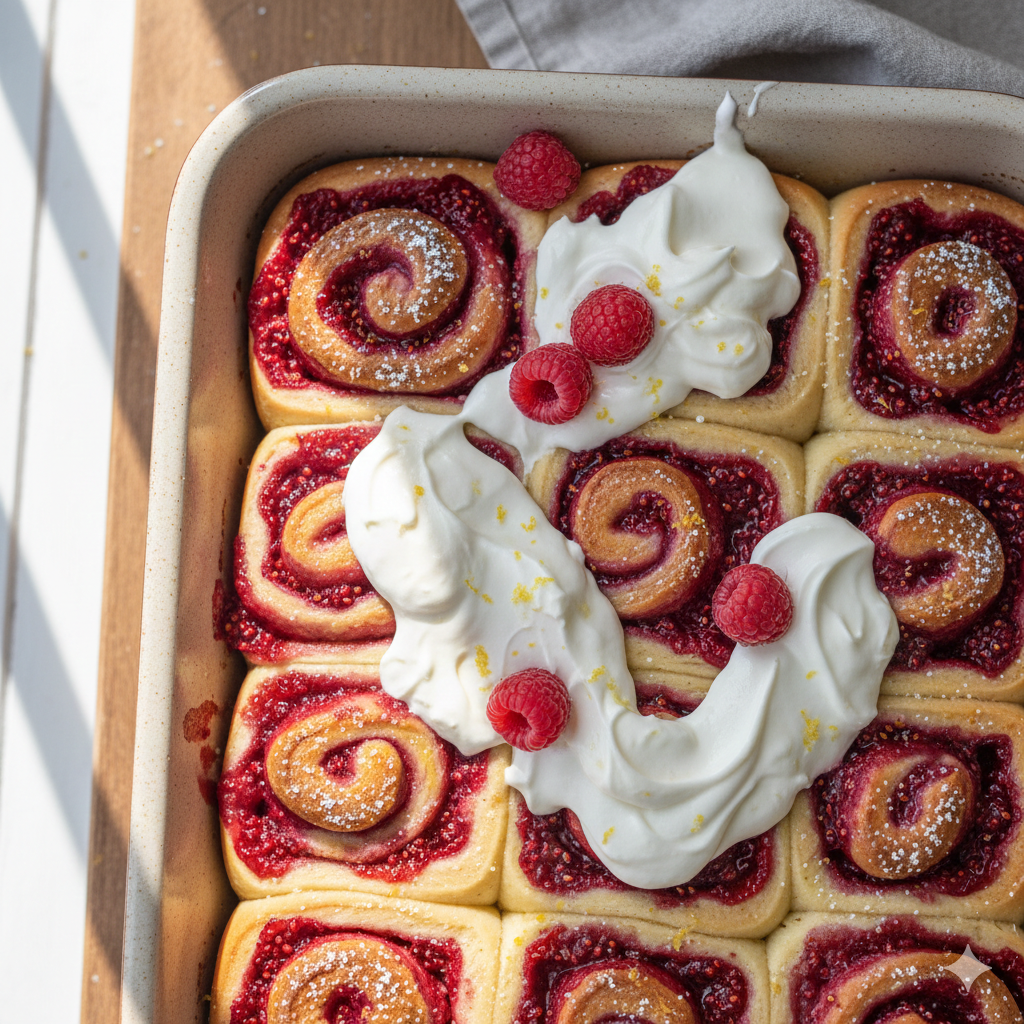
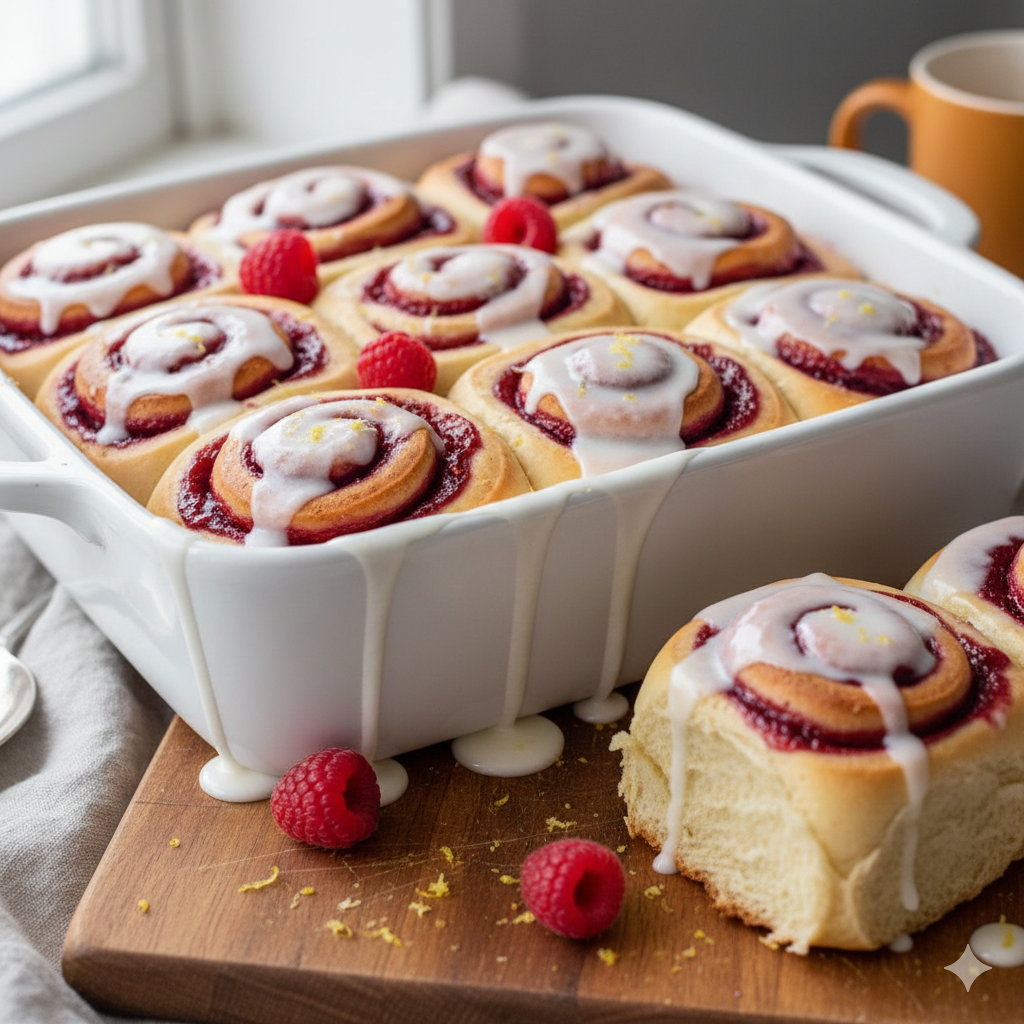
- Plating: Serve warm on a white ceramic plate to let the pink raspberry swirls pop.
- Garnish: A sprinkle of fresh lemon zest over the icing adds a citrusy aroma, or a few fresh raspberries nestled next to the roll.
- Beverage Pairings: * Coffee: A light-roast Ethiopian coffee with berry notes.
- Tea: Earl Grey (the bergamot complements the raspberry perfectly).
- Brunch: A crisp, cold Mimosa or a sparkling Rosé.
5. Nutritional Information (Per Serving)
Note: Based on a yield of 12 rolls.
| Nutrient | Amount per Serving |
| Calories | 385 kcal |
| Total Fat | 16g |
| Saturated Fat | 10g |
| Cholesterol | 65mg |
| Sodium | 210mg |
| Total Carbohydrates | 54g |
| Dietary Fiber | 2g |
| Sugars | 28g |
| Protein | 6g |
Health Insight: Raspberries are high in antioxidants and Vitamin C. While this is a decadent treat, using real fruit provides a boost of polyphenols compared to traditional sugar-and-cinnamon fillings.
6. Storage and Reheating
To keep your rolls tasting bakery-fresh, follow these guidelines:
- Room Temperature: Store in an airtight container for up to 2 days. Because of the cream cheese icing, if your kitchen is very warm, move them to the fridge.
- Refrigeration: Will last up to 5 days. Note that refrigeration can dry out bread; always reheat before eating.
- Freezing: You can freeze un-iced rolls for up to 3 months. Wrap tightly in plastic wrap and foil. Thaw overnight in the fridge.
- Reheating: * Microwave: 15–20 seconds for a single roll to restore the “pillowy” texture.
- Oven: Cover with foil and bake at $300^\circ\text{F}$ ($150^\circ\text{C}$) for 10 minutes.
7. Expert Tips and Variations
Professional Tips
- Temperature Matters: Ensure your milk is between $100^\circ\text{F}$ and $110^\circ\text{F}$ ($38^\circ\text{C}–43^\circ\text{C}$). Too hot and you’ll kill the yeast; too cold and it won’t wake up.
- Don’t Over-Flour: The dough should be slightly tacky. Adding too much flour results in a dense, dry roll.
- The Windowpane Test: To check if gluten is developed, stretch a small piece of dough. It should become translucent without tearing.
Variations
- Lemon-Raspberry: Add 2 tablespoons of lemon zest to the dough and use lemon juice instead of milk in the icing.
- White Chocolate: Sprinkle 1/2 cup of white chocolate chips over the raspberry filling before rolling.
- Gluten-Free: Use a high-quality 1-to-1 gluten-free flour blend with xanthan gum (note: texture will be denser).
8. Ingredients Section
The Dough
- Whole Milk: 1 cup (240ml) – warmed.
- Active Dry Yeast: 2 ¼ tsp (1 standard packet).
- Granulated Sugar: ½ cup (100g).
- Unsalted Butter: ½ cup (115g) – melted and cooled.
- Egg: 1 large – room temperature.
- Salt: 1 tsp.
- All-Purpose Flour: 4 to 4 ½ cups (500g–560g).
The Filling
- Fresh or Frozen Raspberries: 2 cups (if using frozen, do not thaw).
- Granulated Sugar: ¼ cup (50g).
- Cornstarch: 1 tbsp (helps thicken the juices).
- Lemon Juice: 1 tsp.
Cream Cheese Icing
- Cream Cheese: 4 oz (115g) – softened.
- Unsalted Butter: ¼ cup (57g) – softened.
- Powdered Sugar: 1 ½ cups (180g).
- Vanilla Extract: 1 tsp.
- Milk/Heavy Cream: 1-2 tbsp (for consistency).
9. Step-by-Step Instructions
Step 1: Activate the Yeast
In the bowl of your stand mixer, combine the warm milk and 1 tablespoon of the sugar. Sprinkle the yeast on top and let it sit for 5–10 minutes until it becomes foamy.
Step 2: Mix the Dough
Add the remaining sugar, melted butter, egg, and salt. Use the paddle attachment to mix until combined. Gradually add 4 cups of flour. Switch to the dough hook and knead on low speed for 5–7 minutes. If the dough is sticking excessively to the sides, add the remaining ½ cup of flour one tablespoon at a time.
Step 3: First Rise
Place the dough in a lightly greased bowl. Cover with a damp cloth or plastic wrap. Let it rise in a warm, draft-free spot until doubled in size (usually 60–90 minutes).
Step 4: Prepare the Raspberry Filling
While the dough rises, toss the raspberries with sugar, cornstarch, and lemon juice in a small bowl. If using fresh berries, slightly mash a few to create a “binder.”
Step 5: Shape the Rolls
Punch the risen dough down to release air. On a floured surface, roll the dough into a $12 \times 18$ inch rectangle. Spread the raspberry mixture evenly over the dough, leaving a 1-inch border at the top.
Step 6: Roll and Cut
Starting from the long edge closest to you, roll the dough into a tight log. Use unflavored dental floss to cut the log into 12 even rolls. (Slide the floss under the log, cross it over the top, and pull quickly for a clean cut).
Step 7: Second Rise
Place rolls in a greased 9×13 baking pan. Cover and let rise for another 30–45 minutes. They should look puffy and be touching each other.
Step 8: Bake
Preheat oven to $350^\circ\text{F}$ ($175^\circ\text{C}$). Bake for 25–30 minutes until the tops are lightly golden brown.
Step 9: Frosting
While the rolls bake, beat the cream cheese and butter until smooth. Add powdered sugar, vanilla, and milk. Beat until fluffy. Spread over the rolls while they are warm (but not hot) so the icing seeps slightly into the spirals.
10. Frequently Asked Questions (FAQ)
Q: Can I use raspberry jam instead of fresh berries?
A: Yes! Use about ¾ cup of high-quality raspberry preserves. Reduce the sugar in the filling section to zero, as the jam is already sweetened.
Q: Why didn’t my dough rise?
A: The most common reasons are expired yeast or milk that was too hot ($>120^\circ\text{F}$), which kills the organism. Ensure your environment is warm enough (around $75^\circ\text{F}$).
Q: Can I make these overnight?
A: Absolutely. After shaping the rolls and placing them in the pan (Step 6), cover them tightly and put them in the fridge. In the morning, let them sit at room temperature for 1 hour before baking.
Q: How do I prevent the filling from leaking out?
A: The cornstarch in the recipe is key. It thickens the raspberry juices as they heat up, keeping the filling inside the roll rather than at the bottom of the pan.
Q: Can I use Bread Flour instead of All-Purpose?
A: Yes. Bread flour will give you a slightly chewier, more “bread-like” texture due to the higher protein content. All-purpose provides a softer, more cake-like crumb.


