1. Introduction: The Emerald of the Dessert World
There is something inherently sophisticated about the pistachio. Unlike the humble peanut or the everyday almond, the pistachio carries an air of Mediterranean elegance and a vibrant, jewel-toned hue that transforms any pastry into a visual masterpiece. This Pistachio Loaf Cake is not just a dessert; it is a celebration of texture and botanical flavor.
The history of the pistachio dates back thousands of years to the Middle East, often associated with royalty and luxury. In this recipe, we pay homage to those roots while embracing the classic European “travel cake” (gâteau de voyage) tradition—cakes designed to stay moist and flavorful for days.
What makes this particular loaf unique is the dual-process infusion of nuttiness. We don’t just toss in chopped nuts; we utilize a fine pistachio flour for the crumb and a toasted garnish for the crunch. The result is a cake that is incredibly tender, subtly floral, and deeply satisfying. Whether you’re serving this at a high-tea gathering or enjoying a thick slice with your morning coffee, this loaf stands as a testament to the beauty of simple, high-quality ingredients.
2. Recipe Overview
- Cuisine Type: Modern European / Fusion
- Difficulty Level: Intermediate (Requires precision in aeration and folding)
- Prep Time: 25 minutes
- Cook Time: 50–60 minutes
- Total Time: Approx. 1 hour 25 minutes (plus cooling)
- Dietary Classifications: Vegetarian, Soy-Free (Can be modified for Gluten-Free)
3. Equipment and Tools
To achieve the perfect rise and a uniform crumb, the right tools are non-negotiable.
- Loaf Pan: Standard 9×5 inch (23×13 cm) metal pan. Professional-grade light-colored aluminum is recommended to prevent over-browning of the edges.
- Digital Kitchen Scale: Essential for accuracy. Volume measurements can vary by up to 20% with flour and nuts.
- Stand Mixer or Hand Mixer: Fitted with a paddle attachment for the creaming process.
- Fine-Mesh Sieve: For aerating the dry ingredients.
- Silicone Spatula: For gentle folding to maintain aeration.
- Parchment Paper: To create a “sling” for easy cake removal.
- Wire Cooling Rack: To ensure air circulates around the cake as it cools, preventing a soggy bottom.
4. Serving Suggestions
A cake this refined deserves an equally thoughtful presentation.
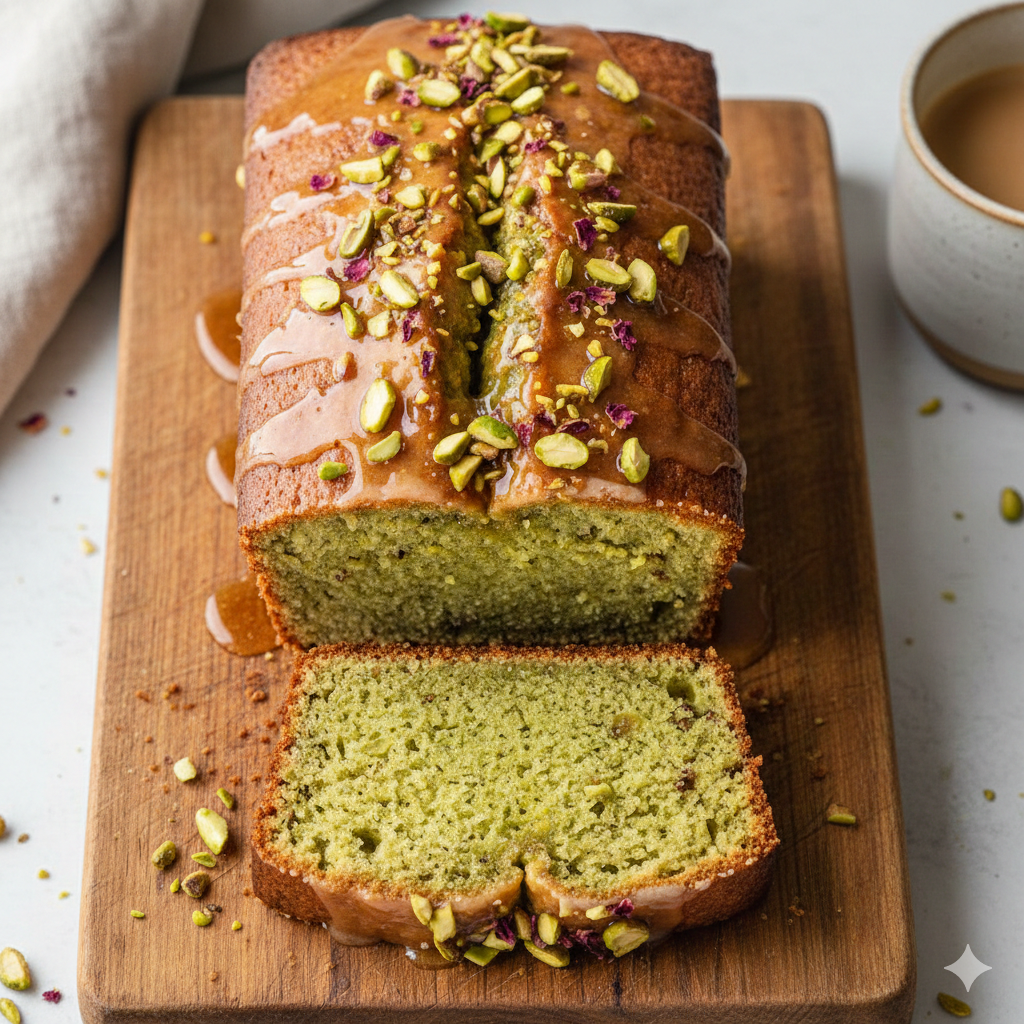
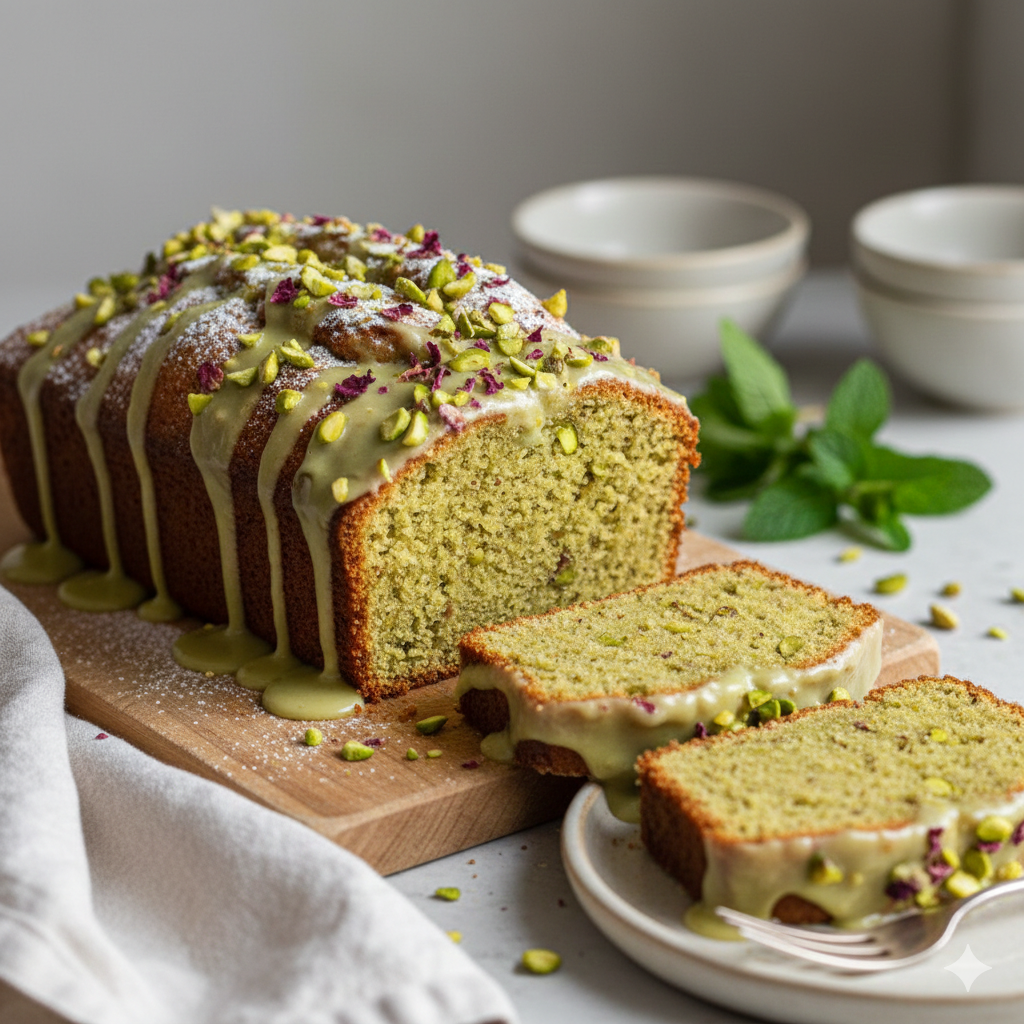
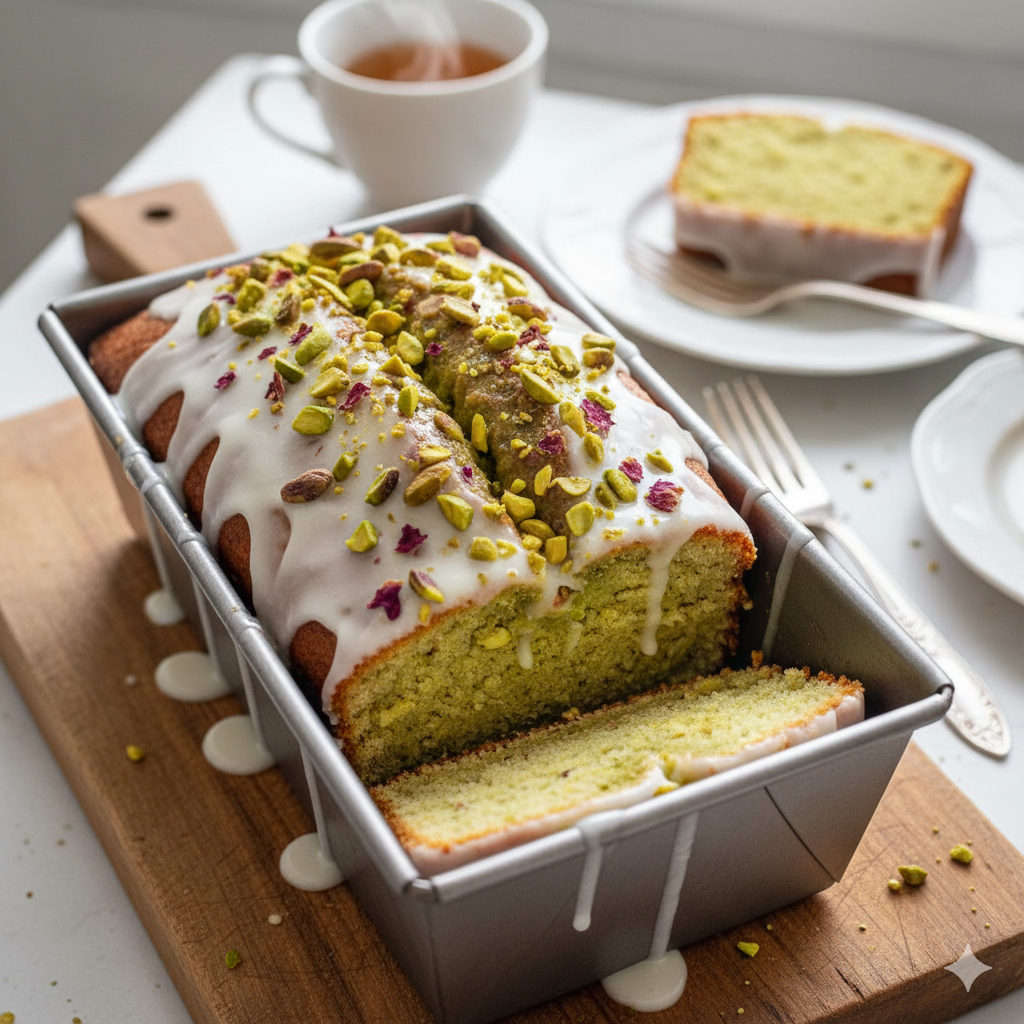
- Plating: Serve on a marble or wooden board. Slice into generous 1-inch thick pieces to showcase the pale green interior.
- Garnish: A drizzle of honey-lemon glaze or a dollop of lightly sweetened mascarpone cream works wonders. Sprinkle extra crushed raw pistachios on top for a pop of color.
- Beverage Pairings: * Tea: Earl Grey or a delicate Jasmine green tea.
- Coffee: A flat white or a pour-over with citrusy notes.
- Wine: A chilled glass of Moscato d’Asti or a light Vin Santo.
5. Nutritional Information (Per Serving)
Serving size: 1 slice (based on 10 slices per loaf)
| Nutrient | Amount |
| Calories | 345 kcal |
| Total Fat | 19g |
| Saturated Fat | 9g |
| Cholesterol | 65mg |
| Sodium | 180mg |
| Total Carbohydrates | 38g |
| Dietary Fiber | 2g |
| Sugars | 22g |
| Protein | 6g |
Health Insight: Pistachios are a source of healthy monounsaturated fats and antioxidants like lutein and zeaxanthin, which support eye health. While this is a decadent treat, the inclusion of whole nuts provides more fiber than a standard vanilla sponge.
6. Storage and Reheating
- Room Temperature: Store in an airtight container for up to 3 days. The flavor actually deepens on day two.
- Refrigeration: Not recommended unless your kitchen is very hot, as the fridge can dry out the crumb. If refrigerated, wrap tightly in plastic wrap (up to 5 days).
- Freezing: This cake freezes beautifully. Wrap individual slices in plastic wrap, then foil. Store in a freezer bag for up to 3 months.
- Reheating: To revive a slice, microwave for 10–15 seconds or toast lightly in a toaster oven for a “crispy edge” effect.
7. Expert Tips and Variations
Professional Tips
- The Temperature Rule: Ensure your butter and eggs are at room temperature (approx. 20°C/68°F). Cold eggs will curdle the creamed butter, ruining the emulsion.
- Don’t Overmix: Once the flour is added, mix only until just combined. Overworking the gluten results in a tough, bread-like texture rather than a tender cake.
- The “Split” Trick: For that classic bakery-style crack down the center, dip a knife in melted butter and draw a line down the middle of the batter before baking.
Creative Variations
- Citrus Twist: Add the zest of two limes to the sugar before creaming for a “Pistachio-Lime” profile.
- Chocolate Chip: Fold in 100g of dark chocolate chunks (70% cocoa) for a decadent contrast.
- Gluten-Free: Substitute the all-purpose flour with a high-quality 1:1 gluten-free baking blend. The pistachio flour already provides significant structure.
8. Ingredients Section
The Dry Mix
- All-Purpose Flour: 200g (1 ½ cups) – Preferably unbleached.
- Pistachio Flour/Finely Ground Pistachios: 100g (1 cup) – See notes below.
- Baking Powder: 1 ½ tsp
- Fine Sea Salt: ½ tsp
The Wet Mix
- Unsalted Butter: 175g (¾ cup) – Softened.
- Granulated Sugar: 200g (1 cup)
- Large Eggs: 3 – Room temperature.
- Greek Yogurt (Full Fat): 60g (¼ cup) – Adds moisture and acidity.
- Vanilla Extract: 1 tsp
- Almond Extract: ¼ tsp – This enhances the “nutty” aroma significantly.
Sourcing & Prep
Note on Pistachio Flour: You can buy this or make it by pulsing raw, unsalted shelled pistachios in a food processor with a tablespoon of the recipe’s sugar (to prevent turning it into butter) until it reaches a fine, sand-like consistency.
9. Step-by-Step Instructions
- Preparation: Preheat your oven to 170°C (340°F). Grease your loaf pan and line it with parchment paper, leaving an overhang on the sides.
- Creaming the Base: In a stand mixer, beat the softened butter and sugar on medium-high for 5 minutes until the mixture is pale and fluffy.
- Emulsifying Eggs: Add the eggs one at a time, beating well after each addition. If the mixture looks split, add a tablespoon of your flour mix to bring it back together.
- Flavor Infusion: Stir in the yogurt, vanilla extract, and almond extract until smooth.
- Dry Ingredient Integration: In a separate bowl, whisk together the flour, pistachio flour, baking powder, and salt.
- Combining: Turn the mixer to low. Gradually add the dry ingredients to the wet. Mix until just combined—stop while you still see a few streaks of flour and finish the mixing by hand with a spatula.
- Baking: Pour the batter into the prepared pan and smooth the top. Bake for 50–60 minutes.
- The Doneness Test: Insert a wooden skewer into the center. It should come out clean or with a few moist crumbs (no wet batter).
- Cooling: Allow the cake to rest in the pan for 15 minutes before using the parchment sling to lift it onto a wire rack. Cool completely before slicing.
10. Frequently Asked Questions (FAQ)
Q: Why is my cake not green?
A: Natural pistachios vary in color. For a vibrant green, use “Slivered Pistachios” or “Bronte Pistachios.” Many commercial cakes use food coloring; you can add a drop of green gel color if you prefer a more “neon” look.
Q: Can I use salted pistachios?
A: It is better to use unsalted. If you only have salted, omit the sea salt from the recipe entirely.
Q: Why did my loaf sink in the middle?
A: This usually happens if the oven door is opened too early or if the leavening agents (baking powder) are expired. Ensure your oven is fully preheated.
Q: Can I use pistachio butter instead of flour?
A: Pistachio butter changes the fat-to-liquid ratio. It is possible, but it requires reducing the butter in the recipe. For this specific texture, stick to ground nuts.
Q: How do I get a more intense pistachio flavor?
A: Toasting your whole pistachios lightly before grinding them into flour will release the oils and intensify the aroma significantly.


