1. Introduction
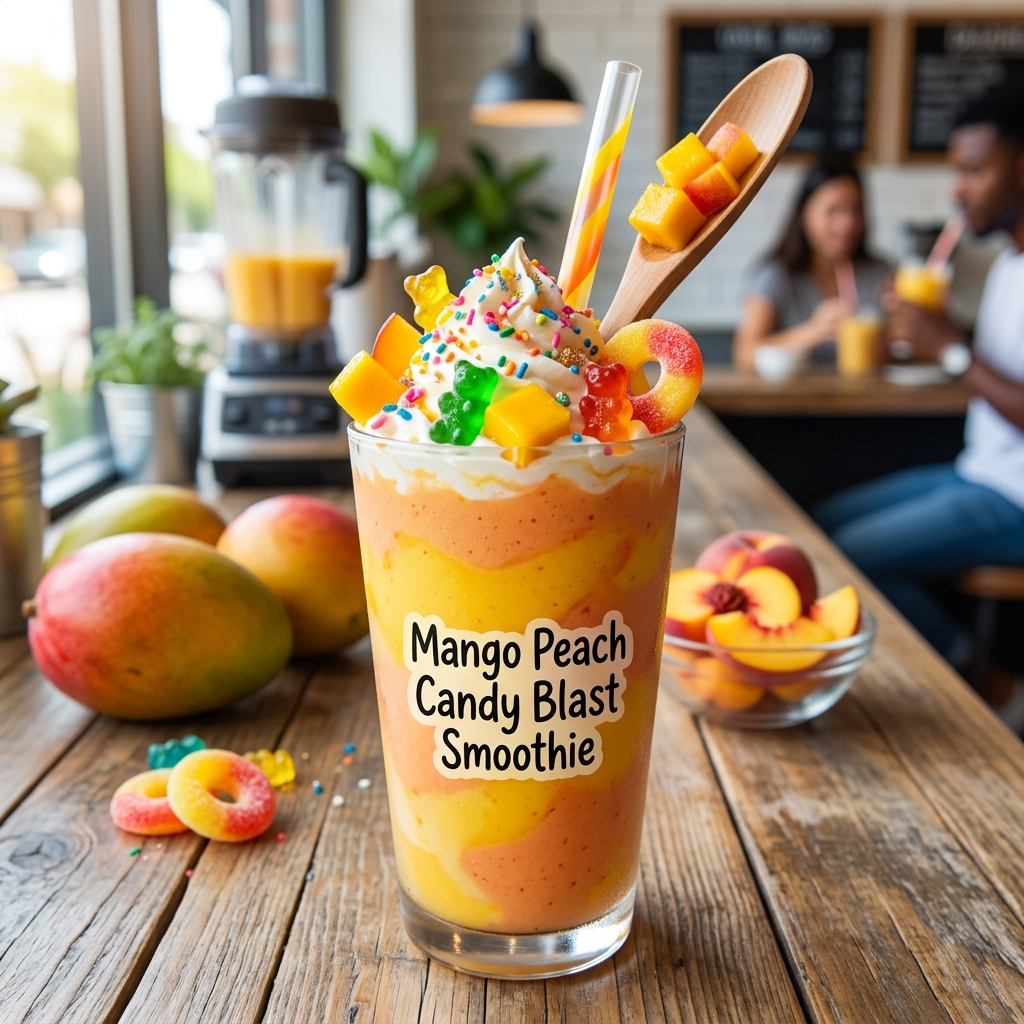
Imagine the peak of summer captured in a single, chewy bite. The Mango Peach Candy Blast isn’t just a sweet treat; it’s a sensory explosion that bridges the gap between nostalgic childhood gummies and sophisticated artisanal confectionery. This recipe was born from a desire to strip away the artificial dyes and high-fructose corn syrups found in store-bought “fruit” snacks, replacing them with the raw, unadulterated power of sun-ripened stone fruits and tropical staples.
The story behind this dish is rooted in the “Candy-Making Revival”—a movement where home cooks reclaim the art of the confectioner. Historically, fruit pastes like pâte de fruit were the height of luxury in French courts. We’ve modernized that tradition, intensifying the flavors with a “blast” of citric acid and a smooth, honey-like finish. Whether you are relishing a quiet afternoon or looking for the perfect vibrant addition to a party platter, these candies offer a burst of sunshine regardless of the weather outside.
2. Recipe Overview
- Cuisine Type: Modern American Confectionery
- Difficulty Level: Intermediate (requires precision with temperatures)
- Total Preparation Time: 45 minutes
- Total Setting Time: 4 to 6 hours (plus optional drying time)
- Dietary Classifications: Gluten-Free, Dairy-Free, Nut-Free (Vegetarian options available)
3. Equipment and Tools
To achieve the professional “blast” texture, you will need the following tools:
- Heavy-Bottomed Saucepan: 3-quart capacity to prevent sugar scorching.
- Digital Candy Thermometer: Essential for reaching the precise “Firm Ball” stage.
- High-Speed Blender: For creating a silk-smooth fruit puree.
- Silicone Candy Molds: 1-inch squares or fruit shapes (approx. 50–60 cavities).
- Fine-Mesh Sieve: To remove any fibrous pulp from the peaches.
- Offset Spatula: For leveling the candy mixture in the molds.
- Sheet Pan: 13×18 inches (Half-sheet) to hold the molds.
4. Serving Suggestions
The Mango Peach Candy Blast is versatile. While they are perfect straight from the jar, consider these elevated presentations:
- The Charcuterie Companion: Pair these gummies with sharp cheddar or creamy brie. The acidity of the peach cuts through the fat of the cheese beautifully.
- Garnish: Drop a single candy into a glass of chilled Prosecco or a Mango Bellini for a dissolving flavor boost.
- The Sparkle Finish: Toss the finished candies in a mixture of granulated sugar and a pinch of citric acid just before serving for a “sour patch” effect.
5. Nutritional Information
(Per serving: 2 candies)
| Nutrient | Amount |
| Calories | 45 kcal |
| Total Fat | 0g |
| Sodium | 5mg |
| Total Carbohydrates | 11g |
| Sugars | 9g |
| Vitamin C | 15% DV |
Health Note: These candies are rich in Vitamin A and C due to the high concentration of real fruit puree. While they contain sugar, they provide a cleaner energy boost than synthetic alternatives.
6. Storage and Reheating
- Room Temperature: Store in an airtight container with parchment paper between layers for up to 7 days.
- Refrigeration: To maintain the firm “snap” of the candy, keep refrigerated for up to 3 weeks.
- Freezing: Not recommended, as the gelatin/pectin structure may weep (syneresis) upon thawing.
- Pro Tip: If the candies become sticky, toss them in a light coating of cornstarch or extra-fine sugar.
7. Expert Tips and Variations
- The “Cold Plate” Test: If you don’t have a thermometer, drop a small bit of the hot syrup into ice water. If it forms a ball that holds its shape but is still pliable, it’s ready.
- The Vegan Switch: Replace the gelatin with Agar-Agar. Note that the texture will be more “gel-like” and less “chewy.”
- Spicy Blast: Add 1/4 teaspoon of Tajín or chili powder to the puree for a Mexican-inspired “Mango-Chamoy” twist.
- Avoid Over-Stirring: Once the mixture begins to boil, stir gently. Excessive agitation can cause the sugar to crystallize, resulting in a grainy candy.
8. Ingredients Section
The Fruit Base
- Fresh Mango: 2 cups (approx. 300g) of diced Ataulfo or Kent mango (sieved).
- Fresh Peaches: 1 cup (approx. 150g) of peeled, pitted, and pureed yellow peaches.
- Lemon Juice: 2 tablespoons (30ml) to brighten the flavors and activate pectin.
The Setting Agents
- Unflavored Gelatin: 4 envelopes (approx. 28g) or 3 tablespoons of high-quality gelatin powder.
- Cold Water: 1/2 cup (120ml) for blooming the gelatin.
The Sweeteners & Acids
- Granulated Sugar: 1.5 cups (300g) of organic cane sugar.
- Light Corn Syrup: 1/4 cup (60ml) to prevent crystallization and add shine.
- Citric Acid: 1/2 teaspoon (for the “Blast” acidity).
9. Step-by-Step Instructions
Step 1: Bloom the Foundation
In a small bowl, sprinkle the gelatin evenly over 1/2 cup of cold water. Let it sit for 5–10 minutes until it becomes a thick, translucent sponge. This “blooming” process ensures a smooth melt later.
Step 2: Create the Puree
Place the mango and peach chunks into a high-speed blender. Process until completely smooth. Pass the mixture through a fine-mesh sieve into a bowl to ensure there are no fibers or lumps. You should have exactly 1.5 cups of refined puree.
Step 3: The Slow Simmer
In your heavy-bottomed saucepan, combine the fruit puree, granulated sugar, and light corn syrup. Stir over medium heat until the sugar dissolves.
Step 4: Reaching the Blast Point
Attach your candy thermometer. Bring the mixture to a boil, stirring occasionally. You are aiming for a temperature of 225°F (107°C). This is slightly below the “Soft Ball” stage, allowing the fruit to remain vibrant while ensuring the candy sets firmly.
Step 5: Incorporate the Bloom
Remove the pan from the heat. Whisk in the bloomed gelatin and lemon juice. The heat of the syrup will melt the gelatin instantly. Whisk gently to avoid creating too many air bubbles.
Step 6: The “Blast” Factor
Stir in the citric acid. You will notice the color brighten instantly as the pH drops.
Step 7: Molding
Carefully pour the mixture into a glass measuring cup with a spout. Pour the liquid into your silicone molds. Use your offset spatula to scrape away excess liquid, ensuring the backs of the candies are flat.
Step 8: The Set
Let the molds sit at room temperature for 1 hour, then transfer to the refrigerator for at least 4 hours. For the best texture, leave them overnight.
Step 9: Unmolding and Curing
Pop the candies out of the molds. For a more “commercial” chewy texture, let the candies sit on a wire rack at room temperature for 24 hours. This “curing” process allows excess moisture to evaporate.
10. Frequently Asked Questions (FAQ)
Q: Can I use frozen fruit?
A: Absolutely! Thaw the fruit completely and drain any excess water before pureeing. Frozen mango is often picked at peak ripeness, making it a great choice.
Q: Why are my candies sweating?
A: This usually happens due to high humidity or if the candies weren’t cured long enough. Toss them in a mixture of 1 part cornstarch to 3 parts sugar to absorb the moisture.
Q: Can I make this without corn syrup?
A: You can substitute honey or agave, though the texture will be slightly softer and the “shine” will be less pronounced.
Q: My candy is too soft. What happened?
A: It likely didn’t reach the required temperature of $225^{\circ}F$. Precision is key in confectionery!
Q: Is there a way to make these “Sour Blast” candies?
A: Yes! After the candies have cured, roll them in a mixture of 1/2 cup sugar and 1 teaspoon of citric acid.


