1. Introduction
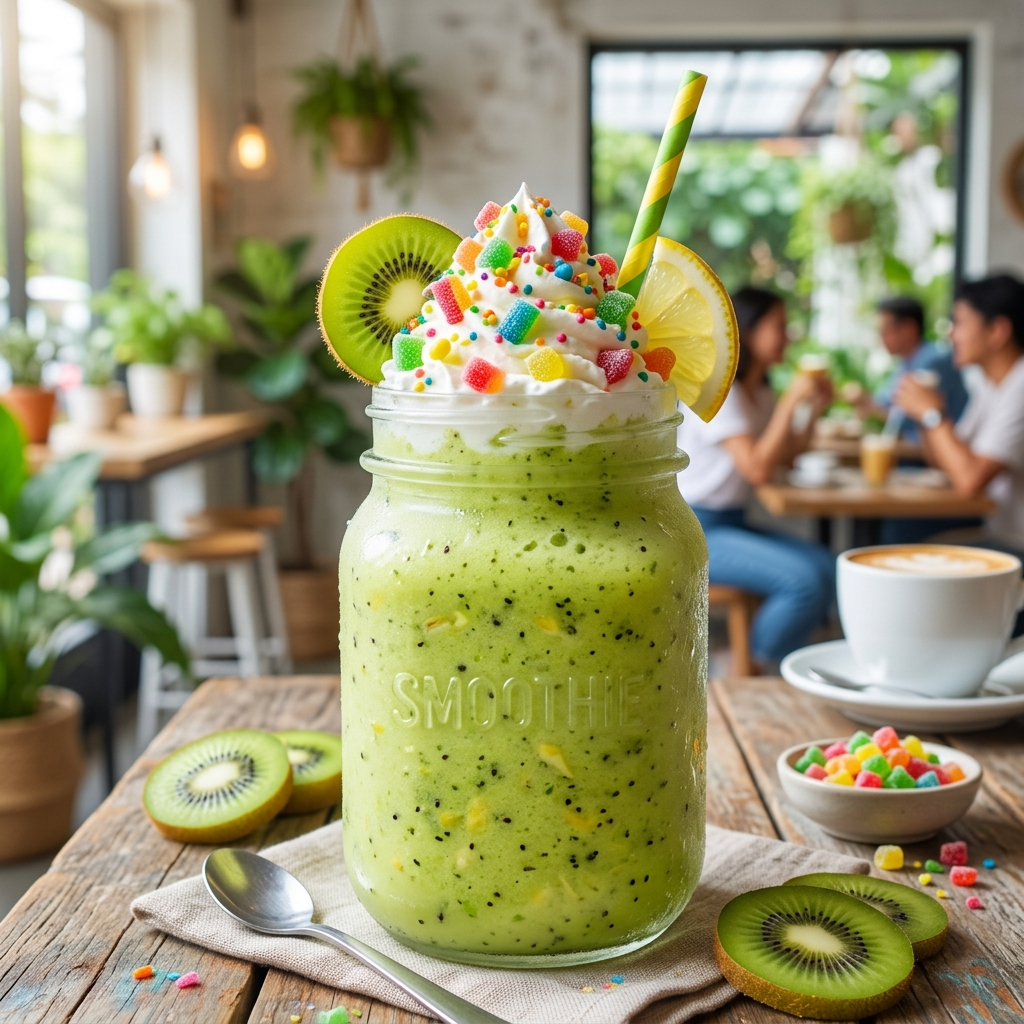
There is a specific kind of magic that happens when the tropical, speckled sweetness of a ripe kiwi meets the sharp, electric zing of a sun-ripened lemon. Most commercial candies rely on synthetic esters to mimic these flavors, resulting in a one-dimensional “green” or “yellow” taste. The Kiwi Lemon Candy Blast is our rebellion against the artificial.
This recipe was born in a small boutique confectionery kitchen where the goal was to capture the essence of high-summer fruit in a shelf-stable, crystalline form. The “Blast” isn’t just a marketing term; it refers to the sensory explosion that occurs when the citric acid crystals on the coating hit your tongue, followed by the deep, mellow fruit nectar locked within the hard candy shell. Whether you are a seasoned sugar-worker or a curious beginner, this recipe offers a masterclass in flavor balancing and temperature control.
2. Recipe Overview
- Cuisine Type: Modern Confectionery / American Sweets
- Difficulty Level: Intermediate (Requires precision temperature monitoring)
- Total Preparation Time: 20 minutes
- Total Cooking Time: 30 minutes
- Setting Time: 1–2 hours
- Dietary Classifications: Vegan, Gluten-Free, Dairy-Free, Fat-Free.
3. Equipment and Tools
To achieve the “shatter” texture characteristic of high-quality hard candy, you need tools that can handle high heat (150∘C) safely.
- Heavy-Bottomed Stainless Steel Saucepan: 2-quart or 3-quart capacity. A heavy base prevents hot spots and sugar scorching.
- Digital Candy Thermometer: Essential for accuracy. Look for one that clips to the side of the pot.
- Silicone Candy Molds: Small squares or spheres. Ensure they are food-grade and heat-resistant up to 200∘C.
- Silicone Spatula: High-heat resistant for stirring the initial slurry.
- Digital Kitchen Scale: For precise metric measurements.
- Kitchen Shears: If opting for the “hand-cut” rustic method instead of molds.
- Silicone Mat (Silpat): To provide a non-stick surface for cooling.
4. Serving Suggestions
These candies are visual gems and deserve a presentation that highlights their vibrant translucency.
- Plating: Serve in a shallow crystal bowl or a minimalist ceramic dish to let the colors pop.
- Garnish: Dust the serving plate with a fine mist of dehydrated lemon zest powder.
- Beverage Pairings: * Iced Green Tea: The tannins in the tea provide a sophisticated contrast to the sugar.
- Sparkling Water with Mint: Cleanses the palate between pieces.
- Gift Idea: Place in small glass apothecary jars tied with a sage-green velvet ribbon.
5. Nutritional Information
Per serving (approx. 3 candies/15g):
| Nutrient | Amount |
|---|---|
| Calories | 60 kcal |
| Total Fat | 0g |
| Sodium | 2mg |
| Total Carbohydrates | 15g |
| Sugars | 11g |
| Vitamin C | 8% DV |
Note: While primarily a sugar-based treat, the use of real kiwi puree and lemon juice provides a minor boost of Vitamin C and antioxidants compared to corn-syrup-only candies.
6. Storage and Reheating
Hard candy is highly hygroscopic, meaning it absorbs moisture from the air. Proper storage is the difference between a crisp “snap” and a sticky mess.
- Room Temperature: Store in an airtight glass jar in a cool, dark pantry.
- Anti-Stick Tip: Toss the candies in a mixture of powdered sugar and a pinch of cornstarch before storing.
- Refrigeration: Avoid. The humidity in a refrigerator will cause the sugar to crystallize and become cloudy.
- Shelf Life: Properly stored, these will remain fresh for 4–6 weeks.
7. Expert Tips and Variations
Professional Chef Tips
- The “Cold Water” Backup: Even with a thermometer, test your syrup by dropping a small amount into ice water. It should form brittle threads that snap when bent (Hard Crack Stage).
- Don’t Stir Late: Once the mixture begins to boil, stop stirring. Stirring can introduce air or cause sugar crystals on the side of the pot to fall back in, triggering a chain reaction of crystallization.
Creative Variations
- The “Arctic” Blast: Add 2 drops of food-grade peppermint oil for a cooling sensation.
- Spicy Kiwi: Add a microscopic pinch of habanero powder to the lemon zest coating for a sweet-heat finish.
- Effervescent Version: Replace the citric acid coating with a mix of baking soda and citric acid for a “fizzy” mouthfeel.
8. Ingredients Section
The Candy Base
- Granulated White Sugar: 400g (approx. 2 cups) – High purity is best.
- Light Corn Syrup: 160ml (2/3 cup) – Prevents crystallization.
- Filtered Water: 120ml (1/2 cup).
- Fresh Kiwi Puree: 60ml (1/4 cup) – Strained to remove large seeds.
- Fresh Lemon Juice: 30ml (2 tbsp) – High acidity for flavor balance.
The “Blast” Coating
- Citric Acid: 1 tsp (for the tart punch).
- Powdered Sugar: 50g (for coating).
- Lemon Zest: 1 tbsp (dehydrated and finely ground).
Substitutions
- Corn Syrup: Can be replaced with brown rice syrup, though the color will be more amber.
- Kiwi: If fresh is unavailable, use a high-quality fruit concentrate (reduce sugar accordingly).
9. Step-by-Step Instructions
Step 1: Prepare the Fruit Base
Peel three ripe kiwis. Blend the flesh until smooth and pass through a fine-mesh sieve to remove most seeds. Measure out 60ml. Combine with the fresh lemon juice and set aside.
Step 2: The Sugar Slurry
In your heavy-bottomed saucepan, combine the sugar, corn syrup, and water. Stir over medium heat until the sugar is completely dissolved.
Step 3: Reaching the Hard Crack Stage
Increase heat to medium-high. Clip the candy thermometer to the pot. Stop stirring. Allow the mixture to boil until it reaches exactly 150∘C (300∘F). This is the “Hard Crack” stage.
Step 4: Incorporating Flavor
Remove the pot from the heat immediately. Once the bubbles subside, carefully whisk in the kiwi-lemon mixture. Warning: The mixture will steam vigorously; keep your face away from the pot.
Step 5: Molding
Carefully pour the molten syrup into your silicone molds. If you don’t have molds, pour the syrup onto a Silpat mat and let it spread into a sheet.
Step 6: The “Blast” Coating
While the candy cools, mix your citric acid, powdered sugar, and dried lemon zest in a small bowl.
Step 7: Finishing
Once the candy is firm but still slightly warm to the touch (approx. 15–20 minutes), pop them out of the molds (or shatter the sheet into shards). Toss immediately in the citric acid mixture to coat thoroughly.
10. Frequently Asked Questions (FAQ)
Q: Why did my candy turn out sticky? A: This usually happens if the mixture didn’t reach the full 150∘C or if the humidity in your kitchen is too high. Always cook candy on a dry day if possible.
Q: Can I use lime instead of lemon? A: Absolutely! Lime provides a more floral acidity that pairs beautifully with kiwi.
Q: My sugar turned brown; what happened? A: The heat was likely too high, or you have a “hot spot” in your pan. This is caramelization. While it tastes good, it will mask the delicate fruit flavors.
Q: Are the kiwi seeds safe to leave in? A: Yes, they are edible. However, for a professional “glassy” look, straining them out is recommended.
Q: Can I use honey instead of corn syrup? A: Honey can be used, but it burns at a lower temperature. You would need to adjust your target temperature to about 145∘C and expect a much darker flavor profile.


