1. Introduction: A Spoonful of New York City Magic
If you have ever walked down Bleecker Street in Manhattan, the sweet, buttery scent of vanilla and ripening bananas likely led you straight to a charming storefront with a line snaking around the corner. That destination is Magnolia Bakery. While they gained global fame for sparking the cupcake craze of the early 2000s, locals and dessert aficionados know that the real star of the show isn’t a cupcake at all—it’s the Banana Pudding.
This isn’t your grandmother’s stovetop custard. Magnolia’s version is a revolutionary take on a Southern classic. It is lighter than air, cloud-like in texture, and possesses a perfect balance of sweetness that makes it impossible to stop at just one bite. The “secret” that surprised many when the bakery finally shared the recipe is its refreshing simplicity. It relies on a specific combination of sweetened condensed milk, instant pudding mix, and a long chill time that allows the Nilla Wafers to soften into a cake-like consistency.
Whether you’re recreating a memory of a New York vacation or trying it for the first time, this copycat recipe delivers the exact flavor profile and velvety mouthfeel that made this dish a global icon.
2. Recipe Overview
- Cuisine Type: American (Southern-inspired)
- Difficulty Level: Easy (No-bake)
- Prep Time: 20 minutes
- Inactive Time (Chilling): 8–12 hours (Essential for texture)
- Total Time: ~12 hours
- Dietary Classifications: Vegetarian. (Note: Contains dairy, gluten, and eggs).
3. Equipment and Tools
To achieve the signature “fluff” of Magnolia Bakery, you need the right tools to incorporate air into the mixture.
- Stand Mixer or Electric Hand Mixer: A balloon whisk attachment is highly recommended for whipping the heavy cream to stiff peaks.
- Large Mixing Bowl (Glass or Stainless Steel): For the pudding base. Capacity: 4–6 quarts.
- Medium Mixing Bowl: For whipping the cream.
- Silicone Spatula: For “folding” the ingredients. This is the most critical tool for maintaining volume.
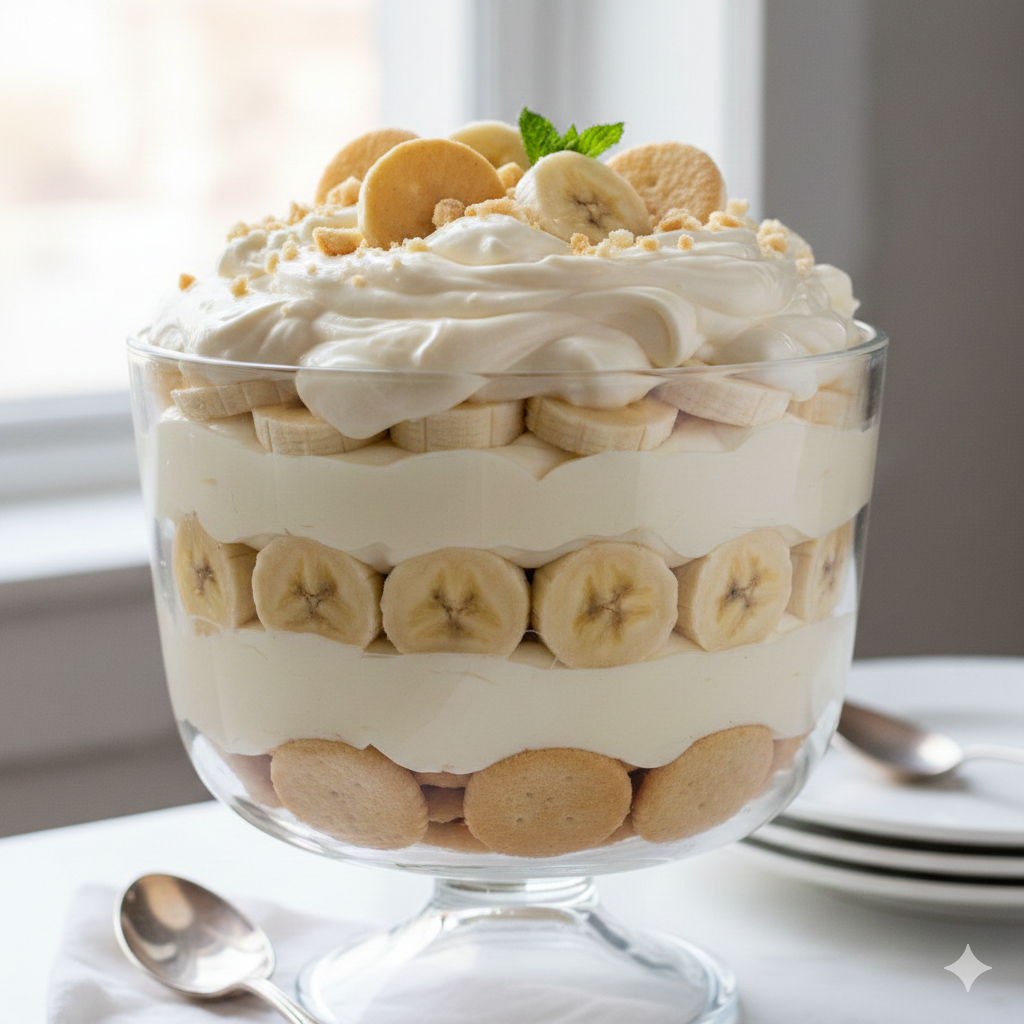
- Trifle Bowl or Large Glass Bowl: 3–4 quart capacity. The clear glass allows the beautiful layers of wafers and bananas to show.
- Offset Spatula: To smooth the top layer for a professional finish.
- Plastic Wrap: To create a tight seal during the chilling process.
4. Serving Suggestions
The presentation of Banana Pudding can range from rustic family-style to elegant individual portions.
- The Classic Trifle: Layer the pudding in a tall glass trifle dish. This is the traditional way to serve it at parties.
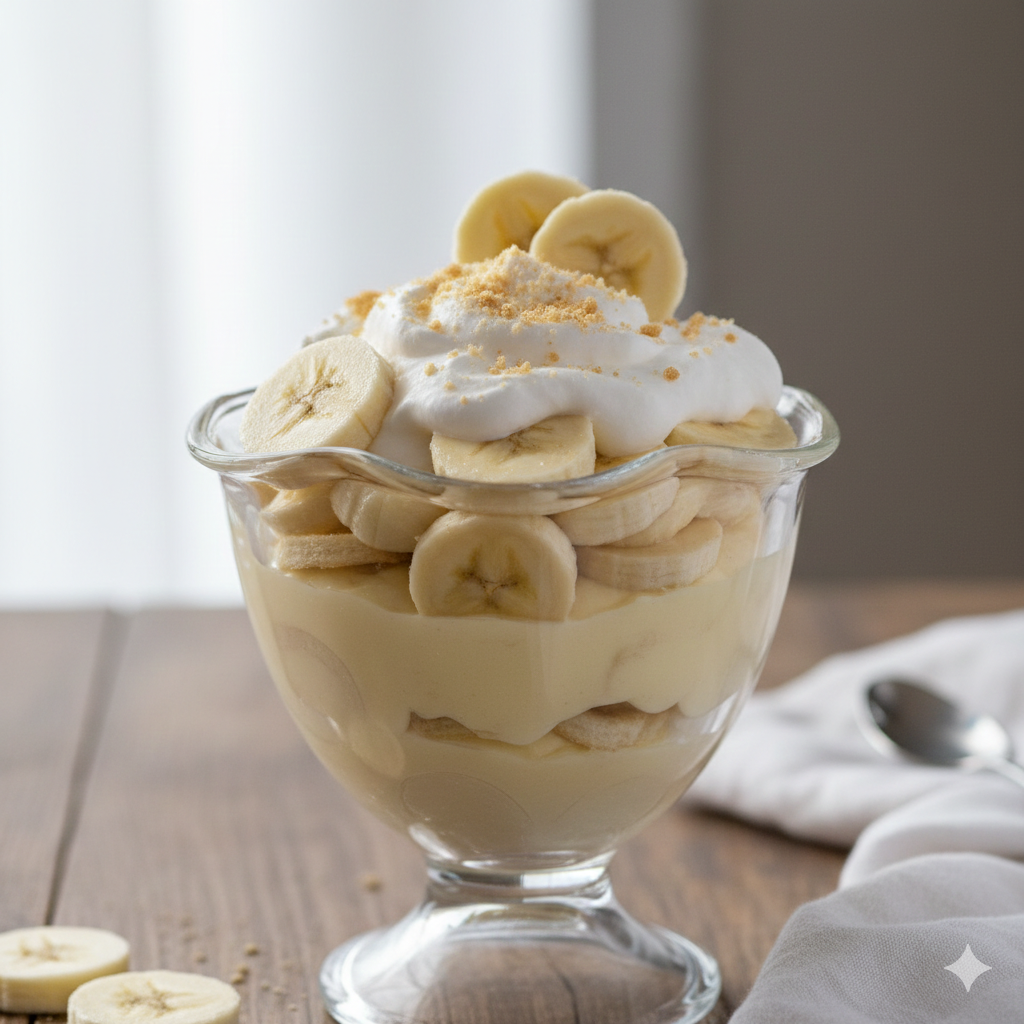
- Individual Mason Jars: For a portable or “Instagram-worthy” look, layer the pudding into small 8oz mason jars.
- Garnish Ideas: Save a few Nilla Wafers and crush them into “sand” to sprinkle over the top just before serving. A dollop of extra whipped cream and a single mint leaf adds a touch of class.
- Beverage Pairings: Serve with a cold glass of whole milk, a robust espresso to cut through the sweetness, or a late-harvest Riesling if serving as a formal dessert.

5. Nutritional Information (Per Serving)
Serving Size: Approx. 1 cup
| Nutrient | Amount per Serving |
| Calories | 480 kcal |
| Total Fat | 26g |
| Saturated Fat | 15g |
| Cholesterol | 65mg |
| Sodium | 310mg |
| Total Carbohydrates | 58g |
| Dietary Fiber | 2g |
| Sugars | 42g |
| Protein | 5g |
Note: This is an indulgent dessert. For a lighter version, you can substitute 2% milk, though the texture will be less creamy.
6. Storage and Reheating
Refrigeration: This dessert must be kept refrigerated. It is at its peak between 4 and 24 hours after assembly. Beyond 24 hours, the bananas will begin to oxidize (turn brown) and the wafers may become overly mushy.
Freezing:
We do not recommend freezing this recipe. The bananas change texture significantly upon thawing, and the whipped cream base may “weep” or separate.
7. Expert Tips and Variations
Professional Tips
- The “Stiff Peak” Rule: When whipping your heavy cream, ensure it reaches stiff peaks. If the cream is too soft, the pudding will be runny. If it’s over-whipped, it will turn to butter.
- Cold Tools: Chill your mixing bowl and whisk attachment in the freezer for 10 minutes before whipping the cream. This ensures maximum volume.
- Banana Ripeness: Use bananas that are yellow with just a few brown spots. Overly ripe (black) bananas are too soft and will make the pudding watery.
Creative Variations
- Chocolate Twist: Use chocolate instant pudding mix and layer with Oreo cookies instead of Nilla Wafers.
- Salted Caramel: Drizzle salted caramel sauce between each layer for a gourmet upgrade.
- Gluten-Free: Substitute Nilla Wafers with gluten-free vanilla wafers (such as Kinnikinnick brand).
8. Ingredients Section
The Component List
- 1 can (14 oz / 396g) Sweetened Condensed Milk (e.g., Eagle Brand)
- 1 ½ cups (355ml) Ice-Cold Water
- 1 box (3.4 oz / 96g) Instant Vanilla Pudding Mix (Must be Instant, not “Cook & Serve”)
- 3 cups (710ml) Heavy Whipping Cream, chilled
- 1 box (11 oz / 312g) Nilla Wafers (Nabisco is the gold standard here)
- 4–5 Large Bananas, sliced into 1/4-inch rounds
Substitutions
- Water: Some prefer using whole milk for the pudding base for an even richer flavor, though water is the authentic Magnolia method to keep it from being too heavy.
- Pudding Flavor: While vanilla is traditional, French Vanilla or Banana Cream pudding mix can be used for a deeper flavor profile.
9. Step-by-Step Instructions
Step 1: The Pudding Base
In a large mixing bowl, whisk together the sweetened condensed milk and the ice-cold water until fully combined. Add the instant vanilla pudding mix and whisk vigorously for about 2 minutes until no lumps remain.
Crucial: Cover the bowl and refrigerate for at least 4 hours, or ideally overnight. The mixture must be completely set and firm.
Step 2: The Whipped Cream
In a chilled bowl, pour in the heavy whipping cream. Using an electric mixer on medium-high speed, beat the cream until stiff peaks form. Stiff peaks mean that when you lift the whisk, the cream stands straight up without drooping.
Step 3: The Marriage (Folding)
Remove the set pudding mixture from the fridge. Give it a quick stir to loosen it up. Gently fold the whipped cream into the pudding mixture using a silicone spatula.
Technique: Cut through the center, scrape the bottom, and lift over the top. Do not stir rapidly; you want to keep the air in the cream. Continue until no streaks of yellow pudding remain.
Step 4: The Assembly
In your serving dish, create the layers:
- Bottom: A layer of Nilla Wafers (overlap them slightly).
- Middle: A layer of sliced bananas.
- Top: One-third of the pudding mixture, smoothed to the edges.Repeat these layers two more times, ending with a smooth layer of pudding on top.
Step 5: The Final Chill
Cover the dish tightly with plastic wrap. Press the wrap gently against the surface of the pudding to prevent a skin from forming. Refrigerate for at least 4 hours (up to 8 is better). This “set time” is when the wafers absorb moisture and become cake-like.
10. Frequently Asked Questions (FAQ)
Q: Can I use “Cook & Serve” pudding mix?
A: No. The chemistry is different. Cook & Serve pudding will not set correctly when folded into whipped cream and will result in a soupy mess.
Q: Why is my pudding watery?
A: This usually happens if the bananas were overripe or if the pudding base wasn’t chilled long enough before adding the whipped cream. Ensure the water used is ice-cold.
Q: How do I keep the bananas from turning brown?
A: The pudding mixture acts as a seal that prevents oxygen from reaching the bananas. As long as the bananas are fully submerged/covered by the pudding, they will stay fresh for about 24–36 hours.
Q: Can I make this a day in advance?
A: Yes! In fact, it’s better the next day. However, don’t make it more than 24 hours in advance, as the wafers will eventually lose all structure.
Q: Is there a way to make this lower in sugar?
A: You can use sugar-free instant pudding and “Lite” sweetened condensed milk, but the iconic “Magnolia” flavor comes specifically from the full-fat, full-sugar ingredients.


