1. Introduction
There is a specific kind of culinary magic found in the balance of a perfect Teriyaki Chicken Bowl. It is the ultimate “comfort in a bowl”—a harmonious marriage of salty, sweet, umami, and crunch. While many of us first encountered this dish in neon-lit mall food courts or at local Japanese-American diners, its roots trace back to the traditional Japanese technique of teriyaki (from teri, meaning luster, and yaki, meaning grilled or broiled).
In the bustling streets of Seattle in the 1970s and 80s, the “Teriyaki Bowl” evolved into a cultural staple, merging traditional Japanese flavors with the generous portions and fast-paced lifestyle of the West. Today, it stands as the gold standard for meal prepping and weeknight dinners.
What makes this specific recipe a standout is the refusal to use bottled, preservative-heavy sauces. We are going back to basics with a homemade glaze that coats the chicken in a shimmering, mahogany silk. This isn’t just a meal; it’s a versatile canvas that respects the integrity of fresh ingredients while delivering that nostalgic, savory punch we all crave.
2. Recipe Overview
- Cuisine Type: Japanese-American Fusion
- Difficulty Level: Easy/Beginner
- Total Time: 30 minutes (Prep: 15 mins | Cook: 15 mins)
- Dietary Classifications: High-protein, Dairy-free, Nut-free (Can be made Gluten-free with Tamari)
3. Equipment and Tools
To achieve the perfect sear on the chicken and a syrupy reduction for the sauce, having the right tools is essential.
- Large Skillet or Wok: A 12-inch heavy-bottomed stainless steel or cast-iron skillet is recommended for even heat distribution.
- Medium Saucepan: For cooking the rice (approx. 2-quart capacity).
- Whisk: Small balloon whisk for emulsifying the sauce ingredients.
- Chef’s Knife: A sharp 8-inch blade for precise dicing of the chicken and vegetables.
- Cutting Board: Preferably wood or high-density plastic to protect your knife edge.
- Measuring Tools: Full set of dry and liquid measuring cups and spoons.
- Meat Thermometer: To ensure the chicken reaches an internal temperature of 165°F (74°C).
4. Serving Suggestions
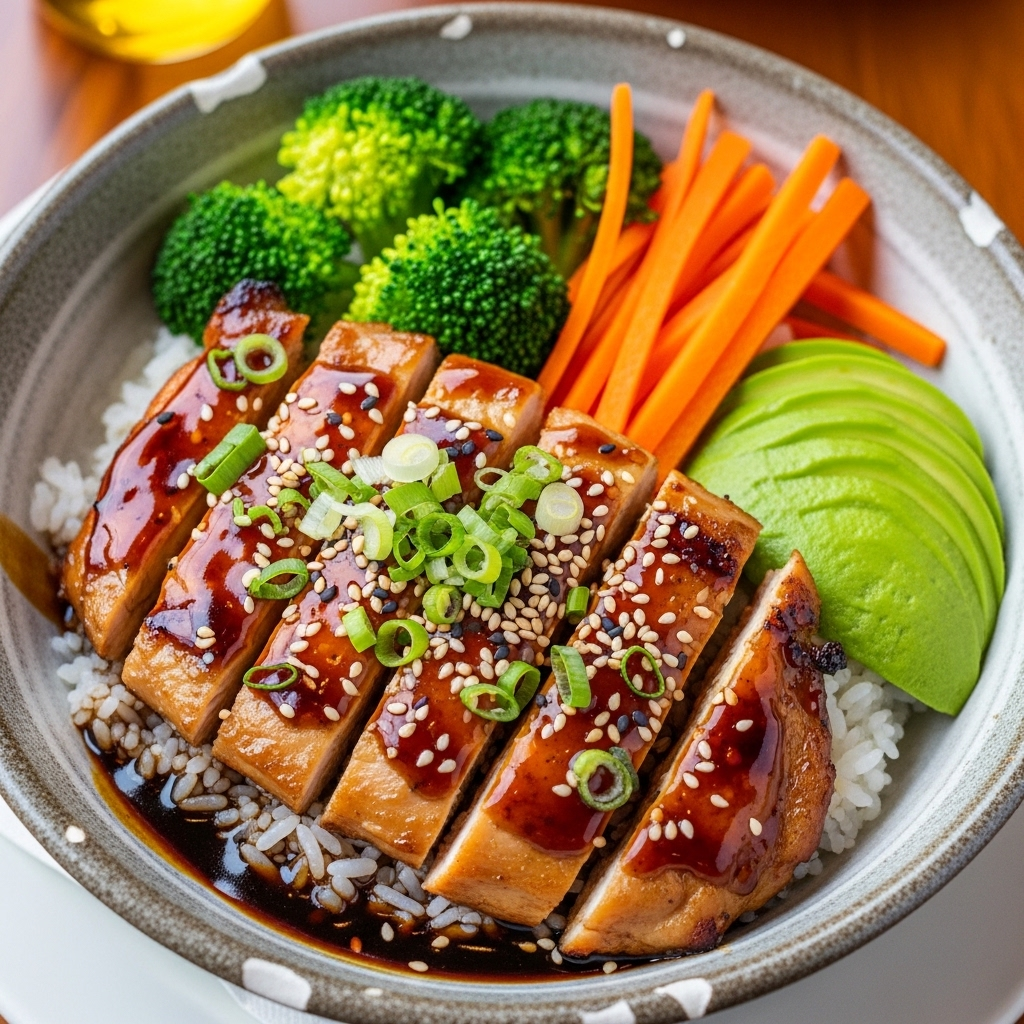
The beauty of a bowl is in the presentation. To elevate this from a simple stir-fry to a gourmet experience, consider these pairings:
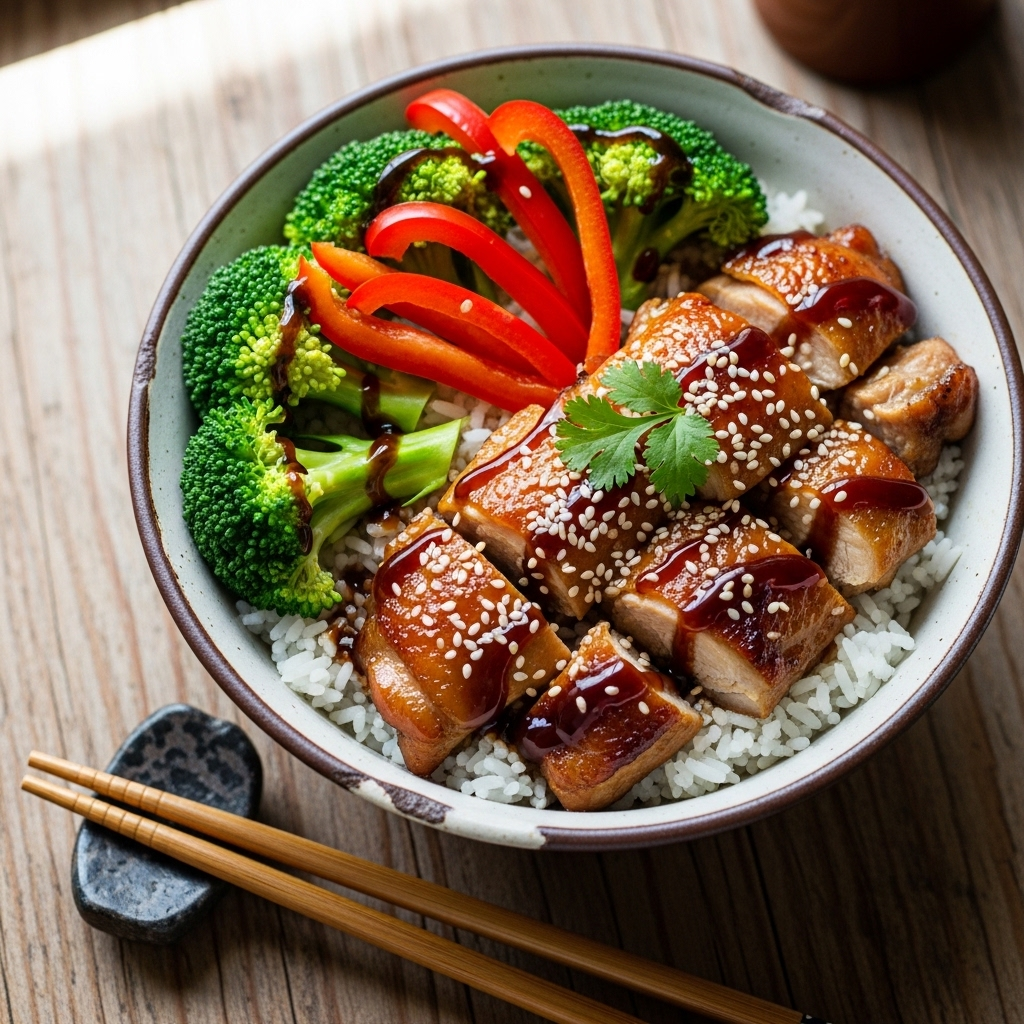
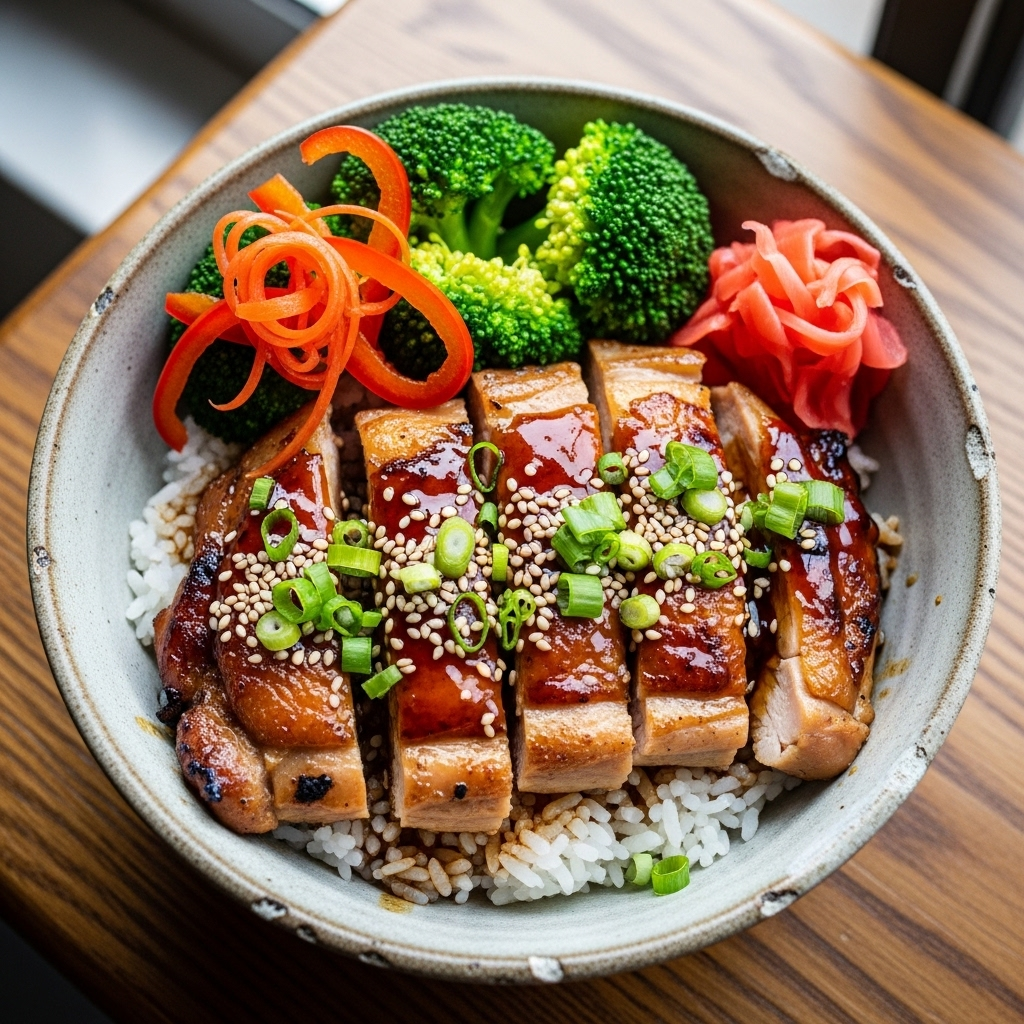
- Plating: Start with a generous base of steaming rice. Arrange the chicken on one side and the vegetables on the other to create a “rainbow” effect.
- Garnish: A heavy sprinkle of toasted white and black sesame seeds adds texture. Finely sliced scallions (on the bias) provide a fresh, sharp bite.
- Side Dishes: Serve with a side of Miso Soup or a crisp Smashed Cucumber Salad with rice vinegar and chili oil.
- Beverage Pairing: * Non-Alcoholic: Iced Green Tea or sparkling water with a squeeze of lime.
- Alcoholic: A dry Riesling or a Japanese Lager (like Sapporo or Asahi) cuts through the sweetness of the glaze beautifully.
5. Nutritional Information
(Estimated per serving based on 4 servings)
| Nutrient | Amount |
|---|---|
| Calories | 520 kcal |
| Total Fat | 12g |
| Saturated Fat | 3g |
| Protein | 38g |
| Total Carbohydrates | 65g |
| Fiber | 4g |
| Sugars | 14g |
Health Benefits: This dish provides high-quality lean protein for muscle recovery and complex carbohydrates from rice for sustained energy. The addition of ginger and garlic offers anti-inflammatory properties and immune support.
6. Storage and Reheating
This recipe is a favorite for “Meal Prep Sunday” because it holds up exceptionally well.
- Refrigeration: Store in airtight containers for up to 4 days. Keep the sauce-coated chicken and rice together so the rice absorbs the extra flavor.
- Freezing: You can freeze the cooked chicken and rice for up to 2 months. For best results, freeze the vegetables separately or add fresh ones when reheating to avoid mushiness.
- Reheating: * Microwave: Splash a teaspoon of water over the rice to prevent drying out. Heat for 2 minutes, stirring halfway through.
- Stovetop: Reheat in a skillet over medium heat with a touch of sesame oil to revive the crispness of the chicken.
7. Expert Tips and Variations
Professional Chef Tips
- The Sear is Secret: Do not overcrowd the pan. If you put too much chicken in at once, the temperature drops and the meat boils in its own juices instead of browning. Cook in batches if necessary.
- Cornstarch Slurry: Always mix your cornstarch with a cold liquid before adding it to the hot pan to avoid lumps.
Creative Variations
- Low-Carb Option: Swap the white rice for Cauliflower Rice or a bed of sautéed zoodles.
- Tropical Twist: Add grilled pineapple chunks to the bowl for a sweet, acidic pop.
- Spicy Teriyaki: Whisk in a tablespoon of Sriracha or Sambal Oelek into the sauce.
8. Ingredients Section
The Sauce (The Soul)
- Soy Sauce: 1/2 cup (120ml) — Use low-sodium to control saltiness.
- Water: 1/4 cup (60ml).
- Brown Sugar: 1/4 cup (packed) — Honey or maple syrup can be substituted.
- Fresh Ginger: 1 tablespoon (grated).
- Garlic: 3 cloves (minced).
- Sesame Oil: 1 teaspoon.
- Rice Vinegar: 1 tablespoon — Adds a necessary acidic brightness.
- Cornstarch: 1 tablespoon (mixed with 1 tablespoon water).
The Main Components
- Chicken Thighs: 1.5 lbs (700g) — Boneless, skinless, cut into 1-inch bite-sized pieces. Thighs are preferred over breasts for their moisture and flavor.
- Cooking Oil: 2 tablespoons (Canola, Grapeseed, or Avocado oil).
- Broccoli Florets: 2 cups.
- Red Bell Pepper: 1 large, sliced into strips.
- Carrots: 1 large, julienned.
- White Rice: 1.5 cups dry (Jasmine or short-grain Calrose).
9. Step-by-Step Instructions
Step 1: Prepare the Rice
Rinse the rice under cold water until the water runs clear. This removes excess starch and ensures fluffy, non-sticky grains. Combine rice with 3 cups of water in a saucepan. Bring to a boil, then reduce to a low simmer, cover, and cook for 15–18 minutes.
Step 2: Whisk the Teriyaki Sauce
In a small bowl, combine the soy sauce, water, brown sugar, ginger, garlic, sesame oil, and rice vinegar. Whisk until the sugar is largely dissolved. Set aside.
Step 3: Sear the Chicken
Heat 1 tablespoon of oil in your large skillet over medium-high heat. Add the chicken pieces in a single layer. Let them cook undisturbed for 3–4 minutes to develop a golden-brown crust. Flip and cook for another 3 minutes until cooked through. Remove chicken from the pan and set aside.
Step 4: Stir-Fry the Vegetables
In the same pan, add the remaining tablespoon of oil. Toss in the broccoli, peppers, and carrots. Add a splash of water (about 2 tablespoons) and cover with a lid for 2 minutes to steam the broccoli slightly. Remove the lid and stir-fry for 1 more minute until the vegetables are tender-crisp.
Step 5: Thicken the Glaze
Pour the prepared sauce into the skillet with the vegetables. Bring to a gentle simmer. Quickly whisk your cornstarch and water (the “slurry”) and pour it into the bubbling sauce. Stir constantly for 1 minute as the sauce transforms into a thick, glossy glaze.
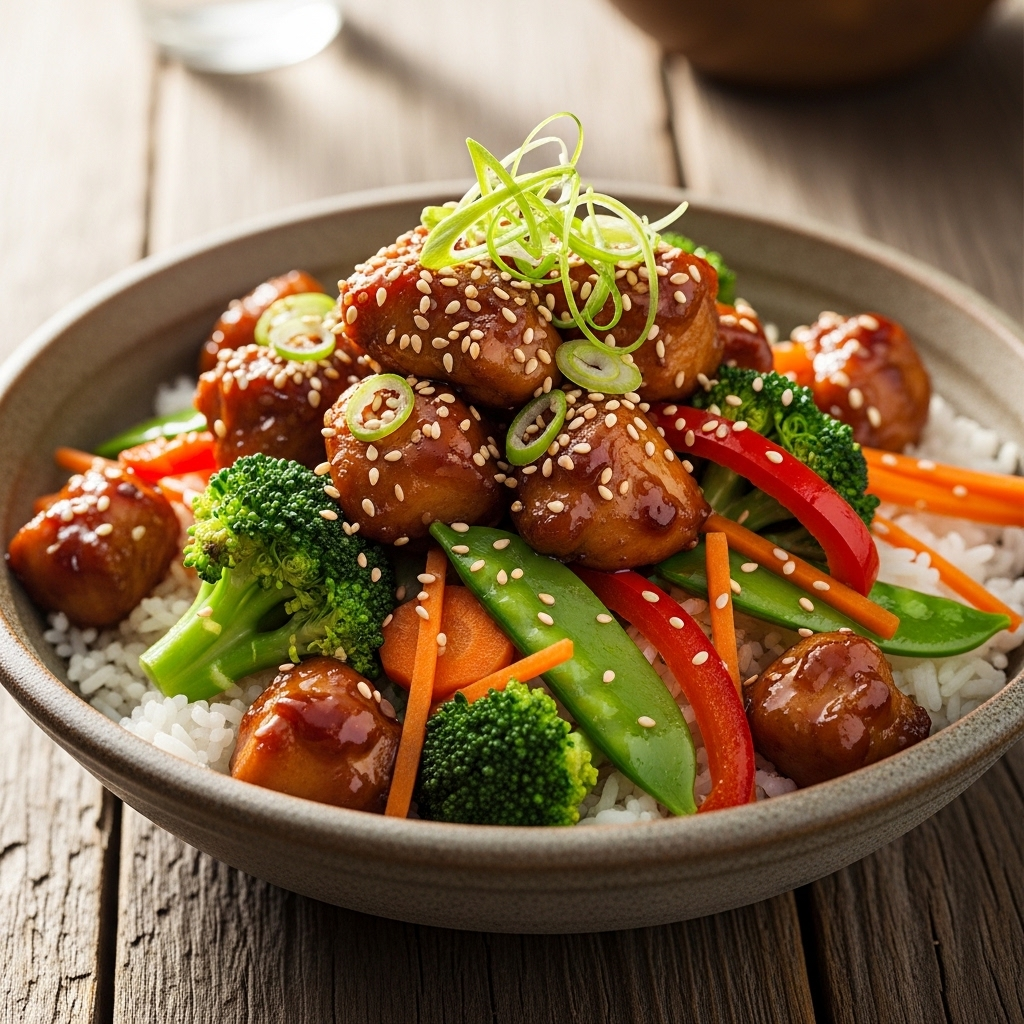
Step 6: The Final Toss
Add the cooked chicken back into the skillet. Toss everything together so every crevice of the chicken and vegetables is coated in the teriyaki sauce. Heat for 1 minute until everything is piping hot.
10. Frequently Asked Questions (FAQ)
Q: Can I use chicken breast instead of thighs? A: Yes, but be careful not to overcook them, as breasts dry out much faster than thighs.
Q: How do I make this gluten-free? A: Simply replace the soy sauce with Tamari or Coconut Aminos. Both provide excellent umami flavor without the gluten.
Q: My sauce is too thick. How can I fix it? A: Whisk in a tablespoon of water or low-sodium chicken broth at a time until you reach your desired consistency.
Q: Can I make the sauce ahead of time? A: Absolutely! The sauce can be made and stored in the fridge for up to a week. Just give it a good shake or stir before using.
Q: Is there a substitute for rice vinegar? A: Apple cider vinegar or white wine vinegar will work in a pinch, though they are slightly more acidic. Use slightly less to start.


