1. Introduction: A Symphony of Berries and Cream
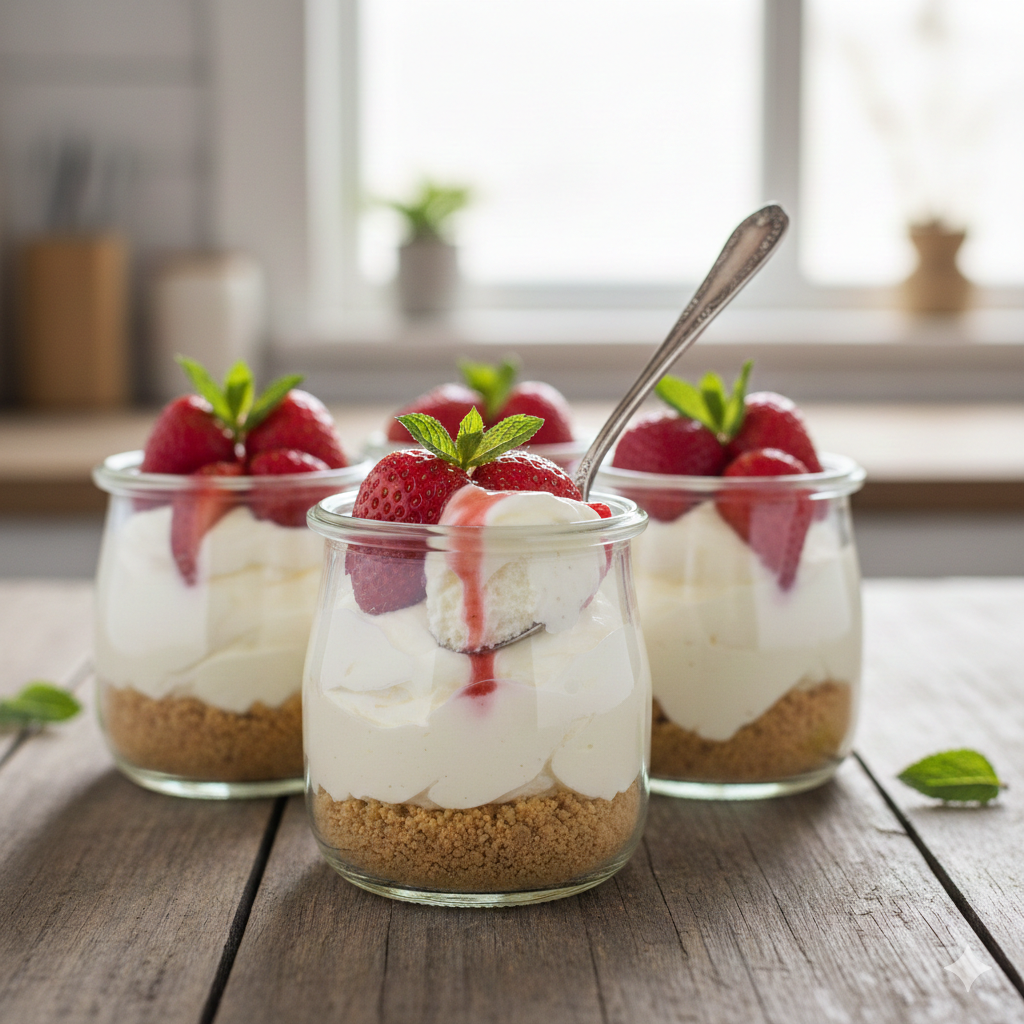
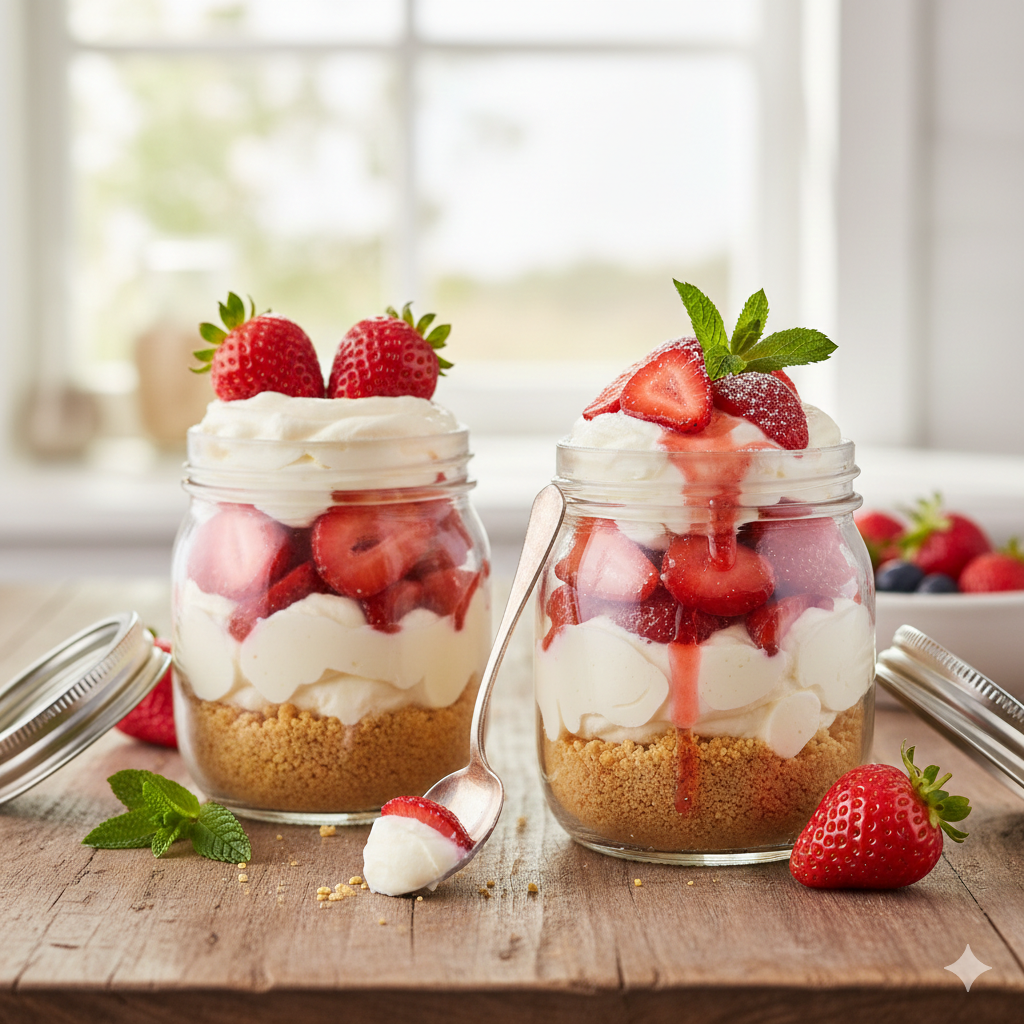
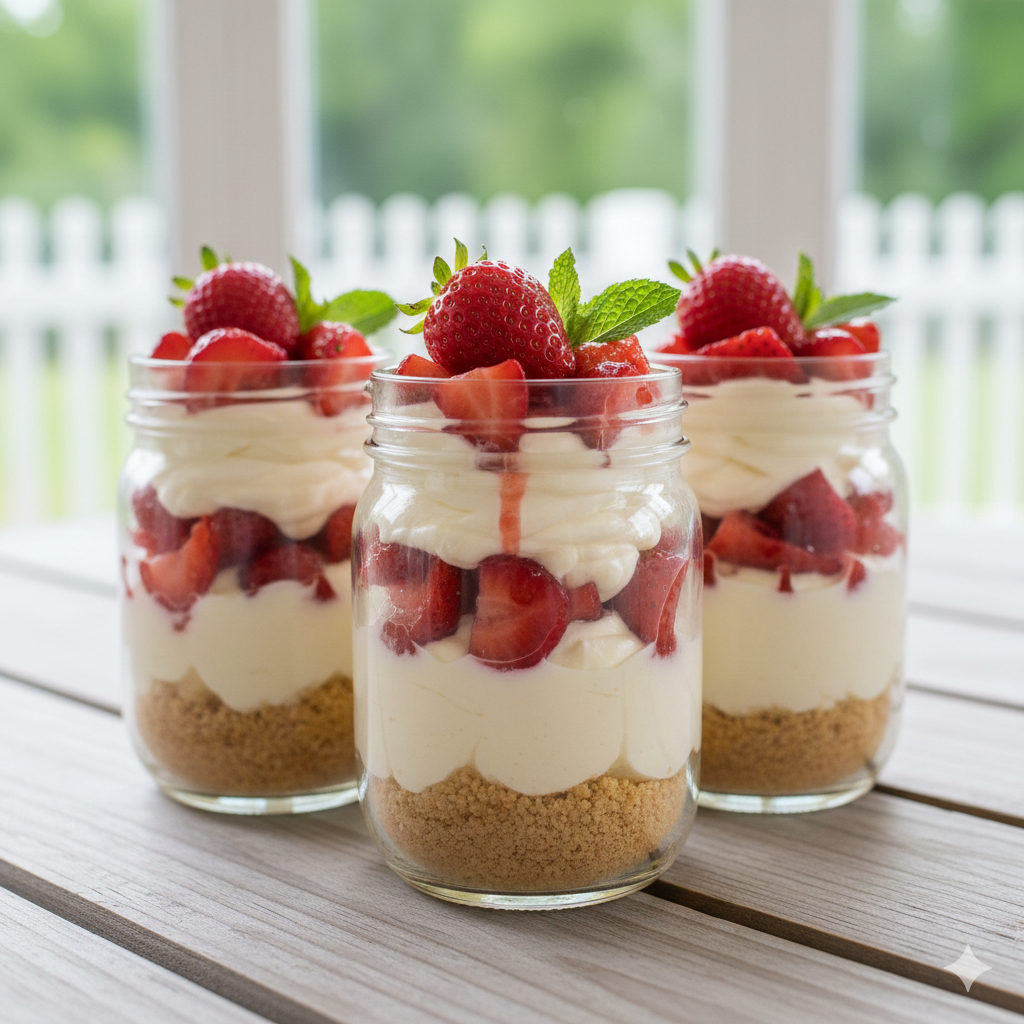
There is something inherently whimsical about food served in glass jars. Perhaps it’s the nostalgic nod to canning seasons of the past, or simply the visual delight of seeing every distinct layer of a dessert before the first spoonful. The No-Bake Strawberry Cheesecake Jar is the crown jewel of this “mason jar” movement—a sophisticated, portable, and utterly delicious treat that bridges the gap between casual comfort and gourmet elegance.
The history of cheesecake itself dates back to ancient Greece, but the “no-bake” evolution is a purely modern triumph. It represents our collective desire for high-reward culinary experiences without the stress of water baths, cracked tops, or the sweltering heat of an oven.
This specific recipe was born from a mid-summer garden harvest. When strawberries are at their peak—vibrant red, heavy with juice, and smelling of pure sunshine—they deserve a stage that doesn’t involve long cooking times that dull their brightness. By layering a zesty graham cracker crust with a velvety, whipped cream cheese filling and topping it with a fresh balsamic-kissed strawberry compote, you aren’t just making a dessert; you’re capturing summer in a jar.
2. Recipe Overview
This recipe is designed for maximum flavor with minimal technical friction.
- Cuisine Type: American Fusion / Contemporary Dessert
- Difficulty Level: Easy (Beginner-friendly)
- Prep Time: 30 minutes
- Chilling Time: 2–4 hours (essential for setting)
- Total Time: 4 hours 30 minutes
- Dietary Classifications: Vegetarian. (Can be easily adapted for Gluten-Free by using GF graham crackers).
3. Equipment and Tools
To achieve the professional layered look, having the right tools is just as important as the ingredients.
- Glass Jars: 6 to 8 Mason jars or glass ramekins (8 oz / 250ml capacity). Clear glass is preferred for visual layering.
- Electric Hand Mixer or Stand Mixer: Essential for aerating the cream cheese and whipping the heavy cream to stiff peaks.
- Food Processor: For pulsing graham crackers into a fine, uniform sand.
- Mixing Bowls: One large bowl for the cheesecake base and one medium bowl for the fruit.
- Silicone Spatulas: For folding the whipped cream into the cheese base without deflating the air.
- Piping Bag (Optional): Using a large round tip allows you to fill the jars cleanly without smudging the sides.
- Small Saucepan: For macerating and slightly thickening the strawberry topping.
4. Serving Suggestions
Presentation is everything with a jarred dessert.
- The “Perfect Pour”: Wipe the inner rim of the jar after adding each layer to ensure the lines remain crisp.
- Garnish: Top with a sprig of fresh mint for color contrast and a single whole strawberry with the green top still attached.
- Pairings: This dessert pairs beautifully with a chilled Late Harvest Riesling or a Moscato d’Asti. For non-alcoholic options, a sparkling hibiscus tea or a cold brew coffee provides a sharp bitterness that cuts through the creamy fat of the cheese.
5. Nutritional Information
Per 8oz Serving (Approximate)
| Nutrient | Amount |
| Calories | 420 kcal |
| Total Fat | 28g |
| Saturated Fat | 16g |
| Cholesterol | 85mg |
| Sodium | 310mg |
| Total Carbohydrates | 38g |
| Dietary Fiber | 2g |
| Sugars | 24g |
| Protein | 5g |
Health Note: While this is an indulgent dessert, strawberries provide a significant boost of Vitamin C and antioxidants. To reduce calories, Greek yogurt can be substituted for a portion of the cream cheese.
6. Storage and Reheating
- Refrigeration: These jars must stay refrigerated. They will keep beautifully for up to 3 days. In fact, the flavor often improves after 24 hours as the crust softens slightly into the filling.
- Freezing: You can freeze the cheesecake base, but do not freeze the fresh strawberry topping, as it will become mushy upon thawing. If freezing, leave 1 inch of headspace in the jar.
- Note: Never microwave these jars. This is a cold-set dessert; heat will cause the emulsion to break and turn the cheesecake into a liquid.
7. Expert Tips and Variations
Professional Tips
- Room Temperature is Key: Your cream cheese must be completely softened. If it’s even slightly cold, you will end up with tiny lumps that no amount of whisking can remove.
- Bloom Your Berries: Mix your sliced strawberries with sugar and a teaspoon of lemon juice 20 minutes before serving. This creates a natural syrup (maceration) that looks stunning when it drips down the sides of the cheesecake.
Creative Variations
- Chocolate Strawberry: Add 2 tablespoons of cocoa powder to the graham cracker crust and drizzle melted dark chocolate between the layers.
- Lemon-Thyme: Add lemon zest and a pinch of fresh minced thyme to the strawberry topping for a sophisticated, herbal twist.
- Low Carb: Replace graham crackers with crushed pecans and butter, and use a powdered erythritol sweetener.
8. Ingredients Section
The Crust
- Graham Crackers: 1.5 cups (approx. 10–12 full sheets), finely crushed.
- Unsalted Butter: 6 tbsp (85g), melted.
- Granulated Sugar: 2 tbsp.
- Salt: A pinch of sea salt to balance the sweetness.
The Cheesecake Filling
- Cream Cheese: 16 oz (450g) – 2 full blocks, full-fat, softened to room temperature.
- Powdered Sugar: 1 cup (120g), sifted to avoid lumps.
- Greek Yogurt or Sour Cream: 1/4 cup (60g) for a subtle tang.
- Heavy Whipping Cream: 1 cup (240ml), chilled.
- Vanilla Bean Paste: 1 tsp (or pure vanilla extract).
- Lemon Juice: 1 tbsp fresh.
The Strawberry Topping
- Fresh Strawberries: 1 lb (450g), hulled and sliced.
- Granulated Sugar: 3 tbsp.
- Lemon Zest: 1 tsp.
9. Step-by-Step Instructions
Step 1: Prepare the “Sand” Base
In a food processor, pulse the graham crackers until they reach a fine crumb consistency. In a medium bowl, combine the crumbs, sugar, and melted butter. Mix until the texture resembles wet sand.
Technique Tip: Press a small amount between your fingers; if it holds its shape, it’s perfect. Divide the mixture evenly among the 8 jars, pressing down gently with the back of a spoon or a small spice jar to create a firm base.
Step 2: Aerate the Cream Cheese
In a large mixing bowl, beat the softened cream cheese and powdered sugar together until smooth and fluffy (about 3 minutes). Scrape down the sides of the bowl frequently. Add the Greek yogurt, vanilla, and lemon juice, beating for another minute until fully incorporated.
Step 3: The Secret to Fluffiness
In a separate chilled bowl, whip the heavy cream until stiff peaks form.
The Folding Method: Gently fold one-third of the whipped cream into the cream cheese mixture to lighten it. Then, fold in the remaining whipped cream using a slow “under-and-over” motion with a spatula. This ensures the filling stays airy and mousse-like rather than dense.
Step 4: Layering
Transfer the cheesecake mixture into a piping bag. Pipe the filling into the jars, leaving about an inch of space at the top for the fruit. Tap the jars gently on the counter to settle the filling.
Step 5: The Strawberry Maceration
In a small bowl, toss the sliced strawberries with sugar and lemon zest. Let them sit for at least 15 minutes at room temperature until they become glossy and syrupy.
Step 6: The Set
Spoon the strawberry mixture over the cheesecake layer. Seal the jars and refrigerate for at least 4 hours. This allows the gelatinous properties in the cheese and the fats in the cream to stabilize, creating a clean “spoonable” texture.
10. Frequently Asked Questions (FAQ)
Q: Can I use frozen strawberries?
A: You can, but you will need to cook them down on the stove with a little cornstarch to create a thickened sauce. Frozen berries release too much water for a raw topping, which might make the cheesecake layer soggy.
Q: My cheesecake filling is too runny. What happened?
A: This usually happens if the heavy cream wasn’t whipped to stiff peaks or if the cream cheese was too warm/liquid when mixed. Ensure your cream is ice-cold before whipping.
Q: How do I make this vegan?
A: Use a vegan “cream cheese” alternative (almond or coconut-based) and replace the heavy cream with the chilled solid fat from a can of full-fat coconut milk. Use vegan graham crackers and coconut oil instead of butter for the crust.
Q: Do I have to use mason jars?
A: Not at all! Wine glasses, martini glasses, or even small bowls work perfectly. The “jar” aspect simply makes them portable and easy to store.
Q: Can I add a middle layer?
A: Absolutely. A layer of lemon curd or a thin layer of melted chocolate between the crust and the cheese adds a wonderful surprise.


