1. Introduction
Imagine standing on a sun-drenched pier in Key West, the salt air whipping through your hair and a chilled forkful of neon-bright citrus heaven waiting for you. The Key Lime Pie is more than just a dessert; it is a cultural icon of the Florida Keys, born out of necessity and perfected by time.
Legend has it that “Aunt Sally,” a cook for ship salvager William Curry in the late 1800s, created the first version using canned sweetened condensed milk because fresh dairy was a rare luxury in the remote islands. While the original version was often “cooked” via the chemical reaction between lime acid and egg yolks (a process called denaturation), the modern No-Bake Key Lime Pie has evolved into a lighter, silkier masterpiece.
This specific recipe leans into that evolution. By removing the heat, we preserve the bright, volatile aromatic oils of the lime zest that baking often dulls. It’s a dish that tells a story of maritime history, tropical ingenuity, and the simple joy of a dessert that feels like a vacation in every bite.
2. Recipe Overview
- Cuisine Type: American (Floridian/Coastal)
- Difficulty Level: Easy
- Prep Time: 25 minutes
- Chilling Time: 6 hours (minimum)
- Total Time: 6 hours 25 minutes
- Dietary Classifications: Vegetarian. (Can be made Gluten-Free with crust substitutions).
3. Equipment and Tools
To achieve professional results, ensure you have the following tools prepared:
- 9-inch Pie Plate: Preferably glass or ceramic. Standard depth (1.5 to 2 inches) is ideal.
- Mixing Bowls: One large glass bowl for the filling and one medium bowl for the crust.
- Electric Hand Mixer or Stand Mixer: Essential for achieving the necessary aeration in the heavy cream.
- Microplane Zester: To get fine zest without the bitter white pith.
- Citrus Juicer: To extract the maximum yield from the small Key limes.
- Rubber Spatula: For folding ingredients gently to maintain volume.
- Food Processor: Optional, for pulsing graham crackers into fine crumbs.
4. Serving Suggestions
Plating Recommendations
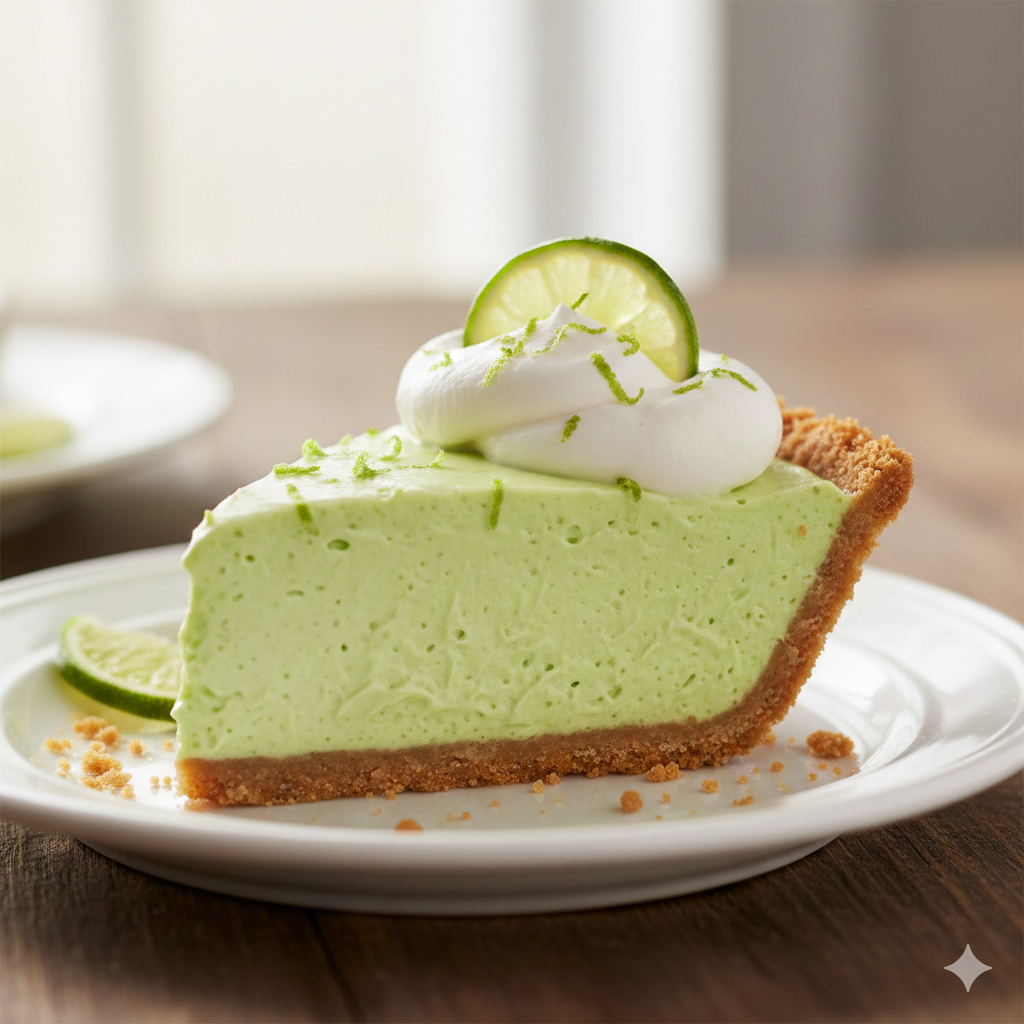
Serve each slice well-chilled. Use a knife dipped in hot water (and wiped dry) to get clean, sharp edges through the creamy filling.
Garnish Ideas
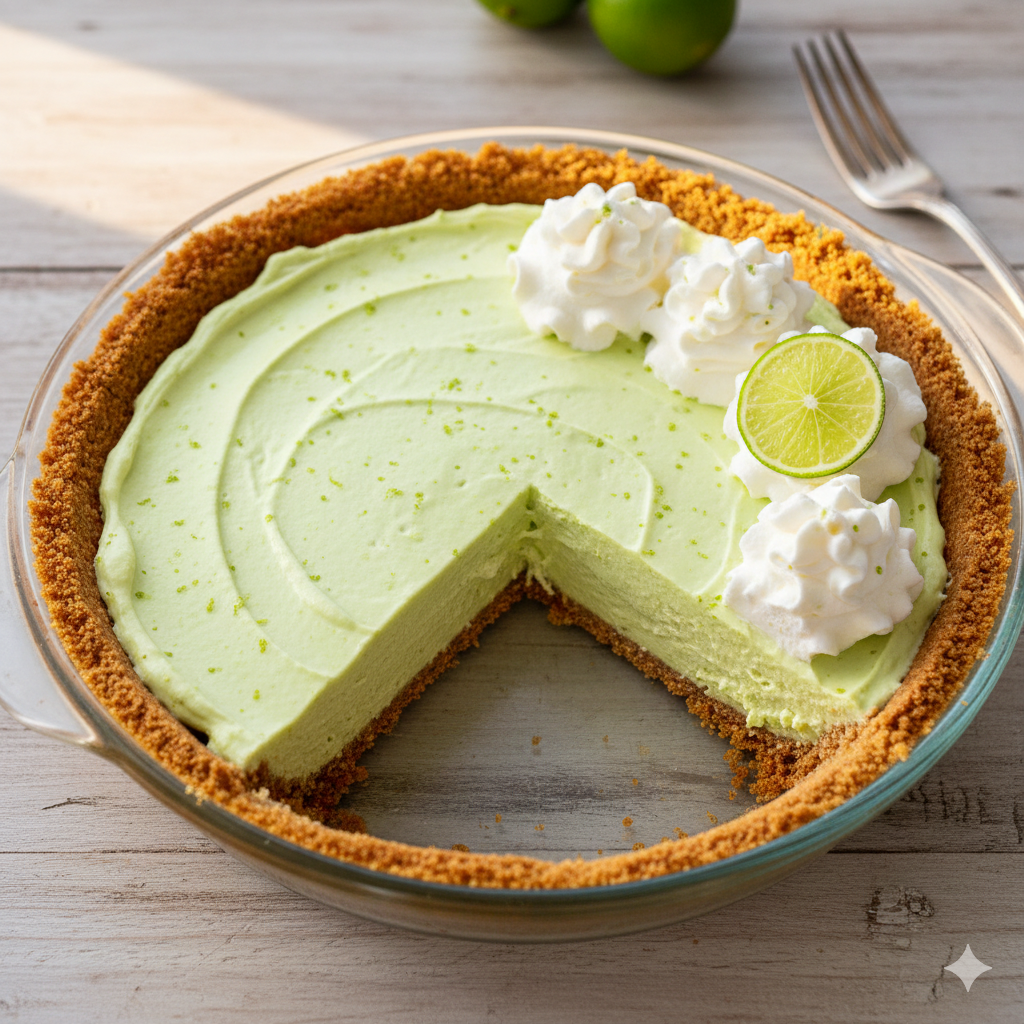
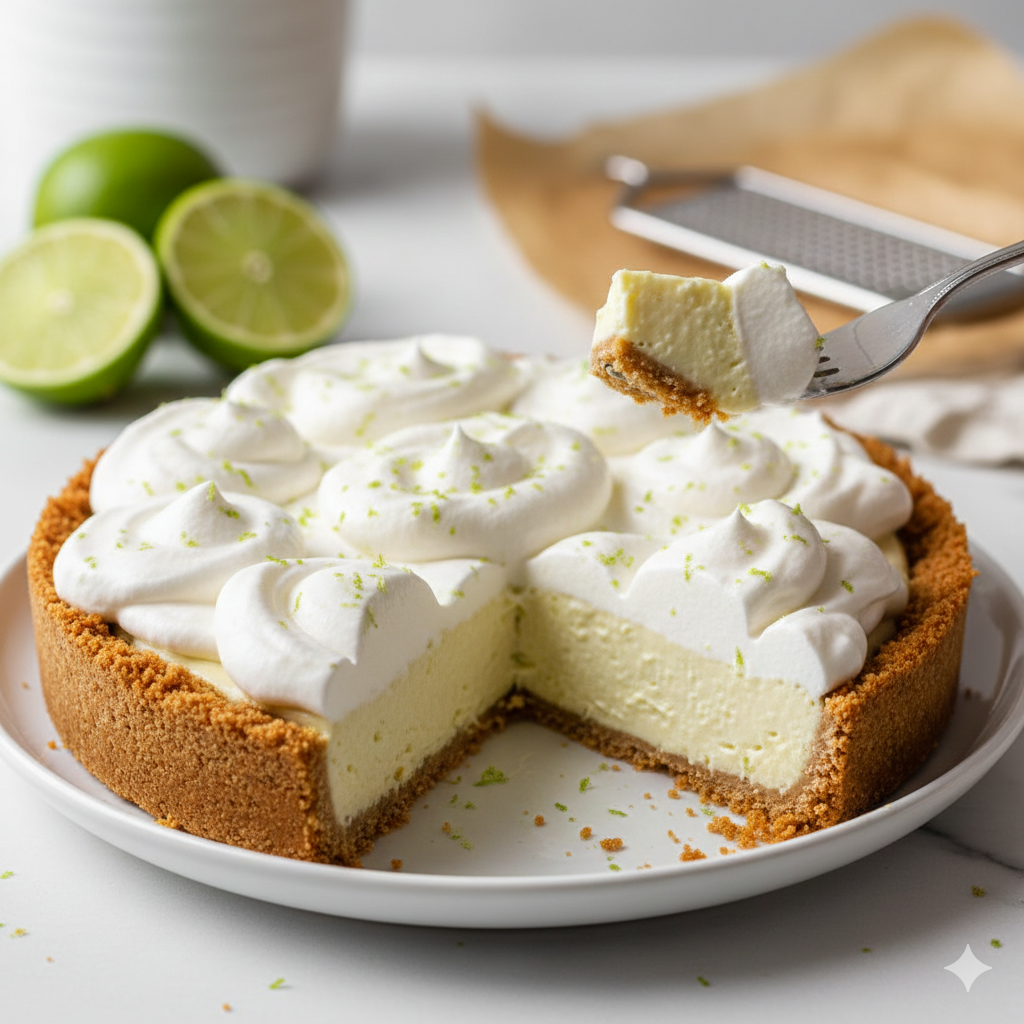
- Whipped Cream Rosettes: Pipe fresh whipped cream around the border.
- Lime Wheels: Thinly sliced translucent Key lime rounds.
- Zest Dusting: A final sprinkle of fresh zest for aroma.
- Toasted Coconut: For an extra tropical “island” flair.
Beverage Pairings
- Wine: A late-harvest Riesling or a sparkling Moscato d’Asti.
- Non-Alcoholic: Sparkling water with a splash of cranberry or a light iced green tea.
5. Nutritional Information
(Estimated per serving based on 8 slices)
| Nutrient | Amount per Serving |
| Calories | 410 kcal |
| Total Fat | 22g |
| Saturated Fat | 13g |
| Cholesterol | 65mg |
| Sodium | 240mg |
| Total Carbohydrates | 48g |
| Sugars | 36g |
| Protein | 6g |
Health Note: Key limes are an excellent source of Vitamin C and antioxidants, though this remains a decadent treat meant for moderate enjoyment.
6. Storage and Reheating
- Refrigeration: Store in the refrigerator, loosely covered with plastic wrap or a pie dome, for up to 5 days.
- Freezing: This pie freezes beautifully. Wrap tightly in plastic wrap and then foil. It will keep for 1 month. Serve slightly thawed for a “frozen custard” texture.
- Reheating: Do not reheat. This is a cold-set dessert; heat will cause the structure to collapse.
7. Expert Tips and Variations
Professional Chef Tips
- The “Zest First” Rule: Always zest your limes before juicing them. It is nearly impossible to zest a squeezed, hollow lime half.
- Temperature Matters: Ensure your heavy cream is ice-cold before whipping. Conversely, have your cream cheese at true room temperature to avoid lumps in the base.
Common Mistakes to Avoid
- Using Bottled Juice: Bottled juice often has a metallic aftertaste. If you can’t find fresh Key limes, use fresh Persian (standard) limes rather than bottled juice.
- Rushing the Chill: If you cut the pie before 6 hours, the center may be “slumped.” Patience is the key ingredient.
Variations
- Gluten-Free: Swap graham crackers for gluten-free digestive biscuits or a crushed almond-and-sugar base.
- Extra Tart: Increase the lime juice by 2 tablespoons and add an extra teaspoon of zest.
8. Ingredients Section
The Crust
- 1 ½ cups (180g) Graham cracker crumbs (approx. 10-12 full sheets)
- 1/3 cup (65g) Granulated sugar
- 6 tbsp (85g) Unsalted butter, melted
- 1 pinch Sea salt
The Filling
- 16 oz (450g) Cream cheese, softened to room temperature
- 1 can (14 oz/397g) Sweetened condensed milk
- ½ cup (120ml) Key lime juice (approx. 15-20 Key limes)
- 1 tbsp Key lime zest
- 1 cup (240ml) Heavy whipping cream, chilled
9. Step-by-Step Instructions
Step 1: Prepare the Crust
In a medium bowl, combine the graham cracker crumbs, sugar, and sea salt. Pour the melted butter over the mixture and stir with a fork until it resembles wet sand. Press the mixture firmly into the bottom and up the sides of your 9-inch pie plate.
- Pro Tip: Use the bottom of a flat measuring cup to press the crumbs firmly; this prevents the crust from crumbling when sliced. Chill in the freezer for 10 minutes to set.
Step 2: Beat the Cream Cheese
In a large mixing bowl, beat the softened cream cheese on medium-high speed until completely smooth and aerated (about 3 minutes). Scrape down the sides of the bowl to ensure no lumps remain.
Step 3: Incorporate the Sweetener and Citrus
Gradually pour in the sweetened condensed milk while continuing to beat at low speed. Once combined, add the Key lime juice and zest. The acid in the lime juice will begin to react with the proteins in the milk and cheese, naturally thickening the mixture.
Step 4: Whip the Cream
In a separate chilled bowl, whip the heavy cream until stiff peaks form. Be careful not to over-beat into butter.
Step 5: The Fold
Gently fold the whipped cream into the lime mixture using a rubber spatula. Use a “figure-eight” motion. This incorporates air, giving the pie its signature mousse-like lightness.
Step 6: The Set
Pour the filling into the prepared crust. Smooth the top with an offset spatula. Cover and refrigerate for at least 6 hours, though overnight is preferred for the cleanest slices.
10. Frequently Asked Questions (FAQ)
Q: What is the difference between Key limes and regular limes?
A: Key limes (Mexican or West Indian limes) are smaller, seedier, and have a higher acidity and stronger aroma than the common Persian lime. Their skin is thinner and turns slightly yellow when ripe.
Q: Can I use a store-bought crust?
A: Yes, a pre-made graham cracker crust works perfectly for a “zero-effort” version.
Q: Why is my filling runny?
A: This usually happens if the cream cheese wasn’t beaten enough or if the whipped cream was folded in too aggressively, deflating the air. Ensure you chill it for the full 6 hours.
Q: Is there a substitute for sweetened condensed milk?
A: In this specific no-bake version, sweetened condensed milk is vital for the texture and “set.” Evaporated milk will not work as a 1:1 substitute.
Q: Can I make this vegan?
A: Yes, use vegan cream cheese, a coconut-based condensed milk, and a whipped coconut cream sub for the heavy cream.


