1. Introduction
There is a universal nostalgia attached to the scent of cocoa and peanut butter melting together on a stovetop. For many, No-Bake Chocolate Oat Cookies—often affectionately called “Preacher Cookies,” “Cow Patties,” or “Boiled Cookies”—are the first foray into the world of “cooking.”
The beauty of this recipe lies in its defiance of the traditional baking rules. There is no hovering by the oven door, no worrying about leavening agents, and no waiting for a preheat signal. Born out of the necessity for quick, pantry-staple treats, these cookies have a storied history in American “Depression-era” kitchens, where eggs and flour were sometimes scarce but oats and sugar were reliable friends.
What makes this particular version stand out is the balance of textures. By utilizing a specific boiling technique, we transform simple granulated sugar into a fudgy binder that coats every individual oat flake. It’s a recipe that bridges the gap between a decadent truffle and a hearty granola bar. Whether you’re a busy parent needing a lunchbox addition or a late-night snacker looking for instant gratification, these cookies are a timeless culinary hug.
2. Recipe Overview
- Cuisine Type: American / Dessert
- Difficulty Level: Easy (Beginner-friendly)
- Prep Time: 5 minutes
- Cooking Time: 5 minutes
- Setting Time: 30–60 minutes
- Total Time: 40–70 minutes
- Dietary Classifications: Vegetarian, Soy-Free (Can be made Gluten-Free and Vegan with substitutions).
3. Equipment and Tools
To ensure your cookies set perfectly every time, precision in your equipment is just as important as your ingredients.
- Heavy-Bottomed Saucepan: A 3-quart (approx. 2.8 liters) capacity is ideal. The heavy bottom prevents the chocolate from scorching during the boiling phase.
- Wooden Spoon or Heat-Resistant Silicone Spatula: Essential for constant stirring to ensure a smooth emulsion.
- Large Baking Sheets (2): Standard 13×18 inch (half-sheet) pans.
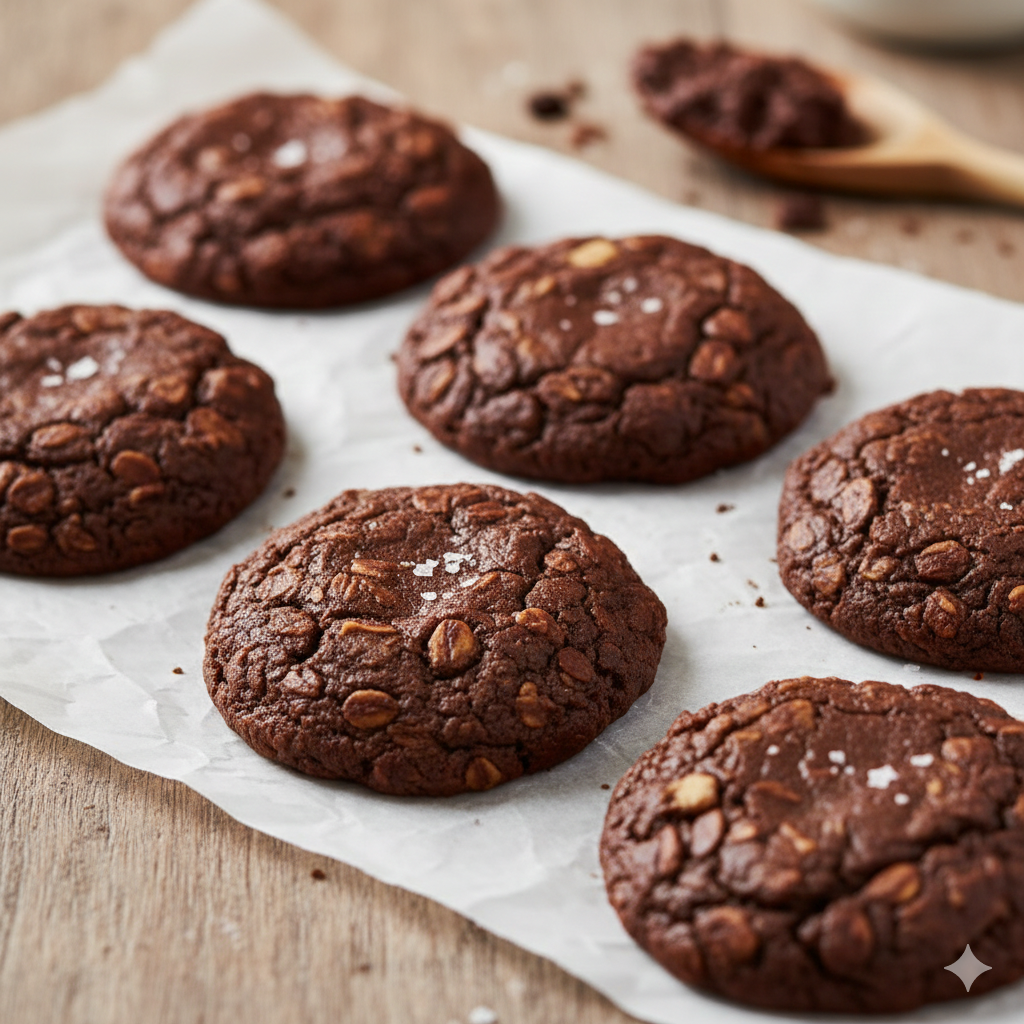
- Parchment Paper or Silicone Baking Mats: These are non-negotiable for easy removal once the cookies are set.
- Cookie Scoop: A medium-sized scoop (approx. 2 tablespoons or 30ml volume) ensures uniform size and even setting.
- Measuring Cups and Spoons: For both dry and liquid measurements.
- Kitchen Timer: Essential for the critical 60-second boiling window.
4. Serving Suggestions
While these cookies are a powerhouse on their own, you can elevate the experience with these pairings:
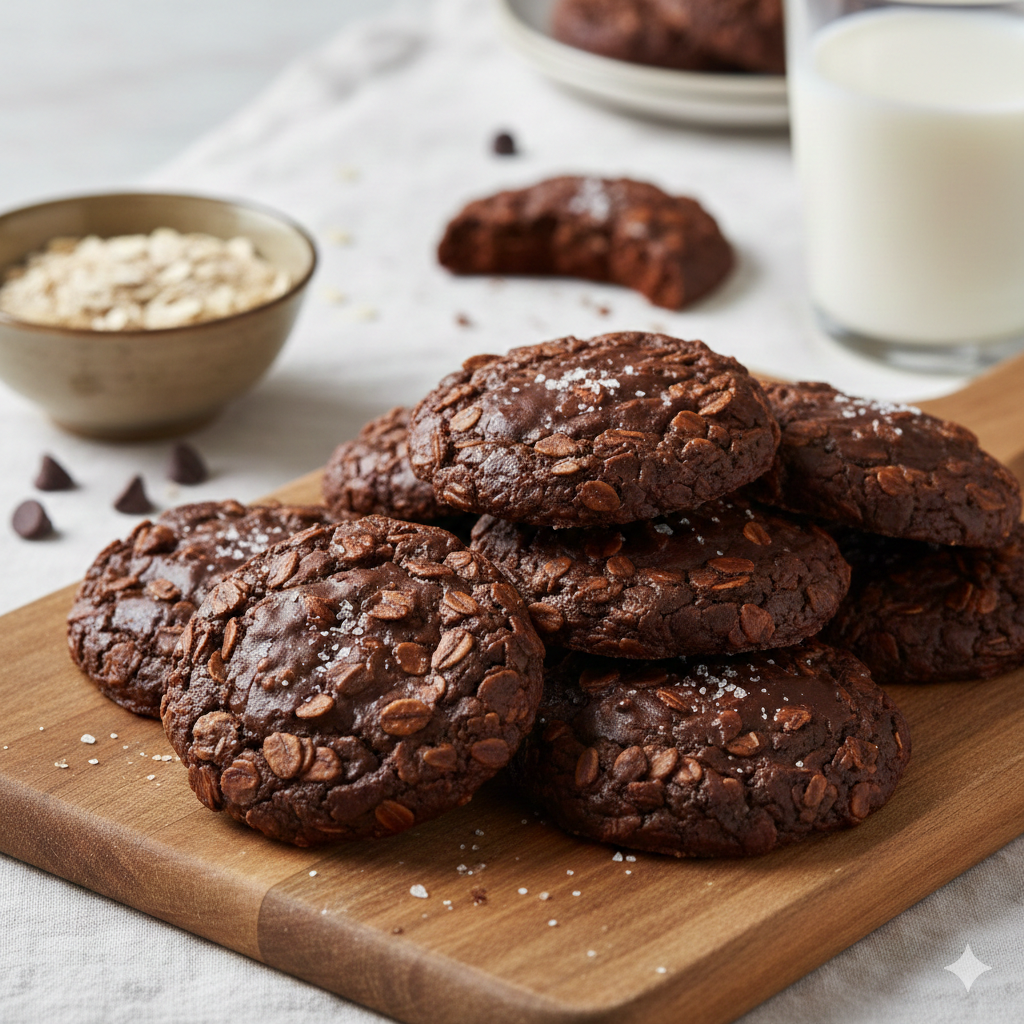
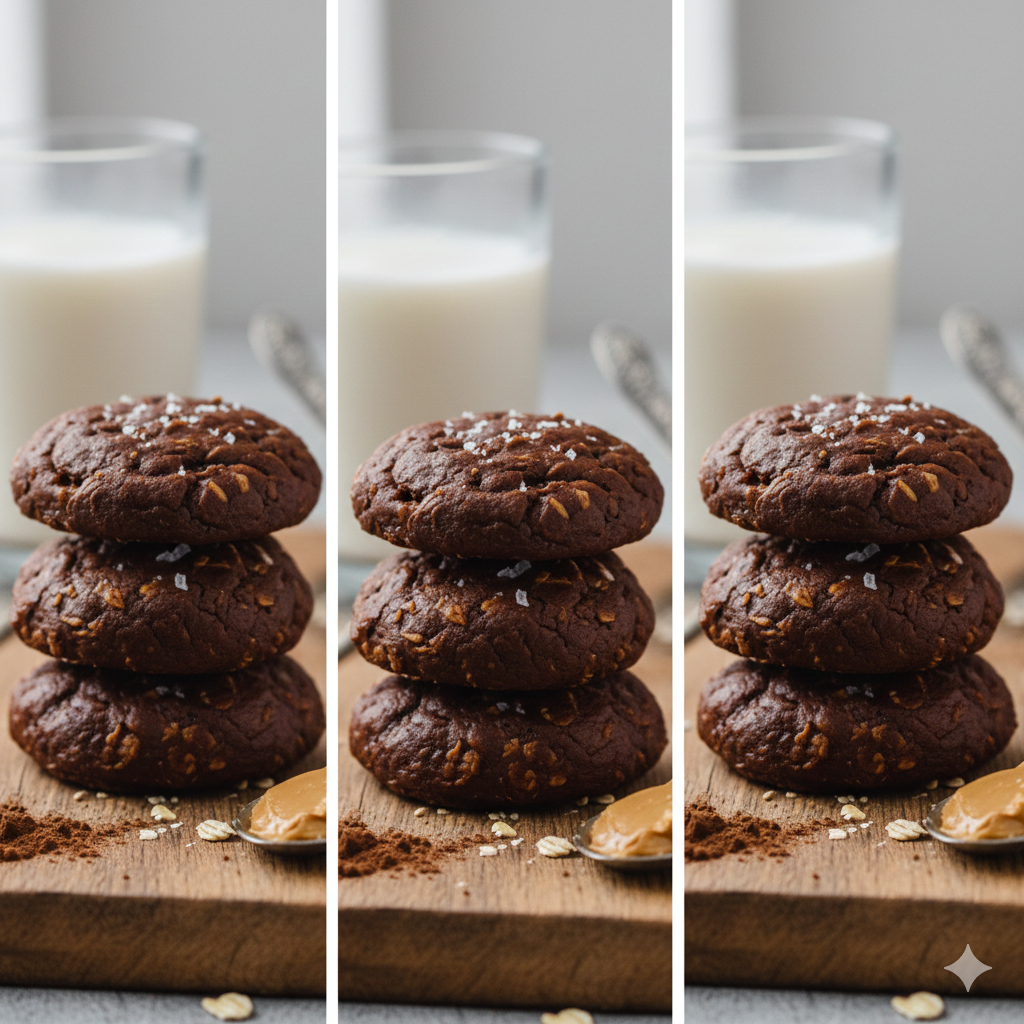
- Plating: Arrange them on a wooden board interspersed with fresh raspberries or sliced strawberries to cut through the richness of the cocoa.
- Beverage Pairings: * Classic: A cold glass of whole milk or oat milk.
- Sophisticated: A nutty Espresso or a dark roast coffee.
- Evening: A glass of Stout beer or a Ruby Port.
- Garnish: A light dusting of Maldon sea salt flakes immediately after scooping enhances the chocolate profile significantly.
5. Nutritional Information
(Estimated per serving: 1 cookie based on 24 servings)
| Nutrient | Amount per Serving |
| Calories | 165 kcal |
| Total Fat | 8g |
| Saturated Fat | 3.5g |
| Carbohydrates | 22g |
| Fiber | 2g |
| Protein | 3g |
| Sugar | 14g |
Health Benefits: Oats provide significant beta-glucan (soluble fiber) which aids heart health, while natural peanut butter contributes healthy monounsaturated fats.
6. Storage and Reheating
- Room Temperature: Store in an airtight container for up to 3 days. Keep in a cool, dry place.
- Refrigeration: These cookies actually taste incredible chilled. They will last up to 2 weeks in the fridge.
- Freezing: Flash-freeze in a single layer for 1 hour, then transfer to a freezer bag. They keep for 3 months.
- Reheating: No-bake cookies are intended to be eaten cool or at room temperature. Microwaving them will cause them to melt and lose their structural integrity.
7. Expert Tips and Variations
The “Rolling Boil” Secret
The most common failure in this recipe is a cookie that won’t set. This usually happens because the sugar mixture didn’t reach the correct temperature. You must achieve a full rolling boil (where bubbles cannot be stirred down) and then boil for exactly 60 seconds.
Variations
- The “Crunchy” Twist: Use extra-crunchy peanut butter for added texture.
- Coconut Infusion: Replace 1/2 cup of oats with 1/2 cup of shredded unsweetened coconut.
- White Chocolate Version: Use white chocolate chips (though you will need to reduce the added sugar).
- Vegan Adaptation: Substitute butter with coconut oil (solid state) and use almond or soy milk.
8. Ingredients Section
| Ingredient | Metric | Imperial | Note |
| Granulated Sugar | 400g | 2 cups | Use cane sugar for best results. |
| Unsalted Butter | 115g | 1/2 cup (1 stick) | Sliced into tablespoons. |
| Milk (Whole or 2%) | 120ml | 1/2 cup | Provides the liquid base. |
| Unsweetened Cocoa Powder | 30g | 1/4 cup | Use Dutch-processed for darker color. |
| Creamy Peanut Butter | 125g | 1/2 cup | Avoid “oil-separation” natural styles if possible. |
| Vanilla Extract | 5ml | 1 tsp | Pure extract is superior to imitation. |
| Salt | 1.5g | 1/4 tsp | Enhances the chocolate. |
| Quick Oats | 240g | 3 cups | Do not use Steel Cut oats. |
9. Step-by-Step Instructions
Step 1: Preparation
Line two large baking sheets with parchment paper. Clear a space on your counter, as the “scooping” phase happens quickly once the mixture is ready.
Step 2: Combine the Base
In your 3-quart saucepan, combine the sugar, butter, milk, and cocoa powder. Turn the heat to medium-high.
Step 3: The Boiling Phase
Stir the mixture constantly as the butter melts. Once it reaches a boil that continues even while you are stirring (a “rolling boil”), set your timer for exactly 60 seconds.
Step 4: Incorporate Flavor
Remove the pan from the heat immediately after 60 seconds. Stir in the peanut butter, vanilla extract, and salt. Stir until the peanut butter is completely melted and the mixture is glossy.
Step 5: Add the Texture
Fold in the quick oats. Ensure every oat flake is thoroughly coated in the chocolate-peanut butter mixture.
Step 6: Scooping
Using a cookie scoop or two large spoons, drop mounds of the mixture onto the prepared baking sheets. Work quickly, as the mixture will begin to firm up in the pot.
Step 7: The Setting Period
Allow the cookies to sit at room temperature for at least 30 minutes. If your kitchen is warm, move them to the refrigerator to firm up. They are ready when they can be lifted off the paper without sticking.
10. Frequently Asked Questions (FAQ)
Q: Why are my cookies dry and crumbly?
A: You likely boiled the mixture for longer than 60 seconds. This evaporates too much moisture, causing the sugar to reach the “hard ball” stage.
Q: Can I use Rolled Oats (Old Fashioned) instead of Quick Oats?
A: Yes, but the texture will be much “chewier” and the cookies may not hold together as tightly. For the classic melt-in-your-mouth texture, Quick Oats are preferred.
Q: Are these gluten-free?
A: Oats are naturally gluten-free, but they are often processed in facilities that handle wheat. To ensure they are GF, look for “Certified Gluten-Free” oats.
Q: My cookies are gooey and won’t harden. What happened?
A: The mixture didn’t get hot enough. It needs a full minute of vigorous boiling to ensure the sugar creates the proper bond.
Q: Can I use almond butter?
A: Absolutely! Any nut or seed butter (like sunflower butter) works as a 1:1 replacement.


