1. Introduction: The Art of the Glaze
There is a specific kind of magic that happens when soy sauce, ginger, and sugar meet a hot pan. In the world of Japanese-inspired comfort food, few dishes hold as much universal appeal as the Teriyaki Chicken Bowl. It is the quintessential “complete meal”—a harmonious architecture of protein, grain, and fiber, all tied together by a sauce that manages to be simultaneously salty, sweet, and deeply umami.
The word teriyaki itself is a combination of two Japanese concepts: teri, referring to the “shine” or luster given by the sugar content in the glaze, and yaki, which means “grilling” or “broiling.” While many of us grew up eating the bottled, cornstarch-heavy versions found in food courts, the true soul of this dish lies in a homemade sauce that caramelizes directly onto the chicken, creating a sticky, lacquered finish that no store-bought version can replicate.
Historically, teriyaki methods date back to the 17th century in Japan, though the specific “Teriyaki Bowl” (or Donburi style) we love today gained massive popularity in the 1960s and 70s in cities like Seattle and Honolulu. It represents a beautiful bridge between traditional Japanese techniques and the modern need for a fast, nutritious, and soul-satisfying weeknight dinner.
2. Recipe Overview
- Cuisine Type: Japanese-Fusion
- Difficulty Level: Easy to Intermediate
- Prep Time: 15 minutes
- Cook Time: 15 minutes
- Total Time: 30 minutes
- Dietary Classifications: High-protein, Nut-free (Can be made Gluten-Free with Tamari)
3. Equipment and Tools
To achieve the perfect sear and a glossy reduction, the right tools are essential.
- Large Non-Stick Skillet or Carbon Steel Wok: A 12-inch (30cm) diameter is preferred to avoid overcrowding the chicken, which leads to steaming rather than searing.
- Rice Cooker or Heavy-Bottomed Saucepan: For the base. If using a saucepan, ensure it has a tight-fitting lid to trap steam.
- Whisk and Small Mixing Bowl: For emulsifying the sauce ingredients.
- Chef’s Knife: A sharp 8-inch blade for precise dicing of the chicken and julienning vegetables.
- Digital Instant-Read Thermometer: To ensure chicken reaches an internal temperature of 165°F (74°C).
- Measuring Tools: Standard Metric and Imperial sets for liquid and dry ingredients.
4. Serving Suggestions
Presentation is half the meal. A Teriyaki Bowl should look as vibrant as it tastes.
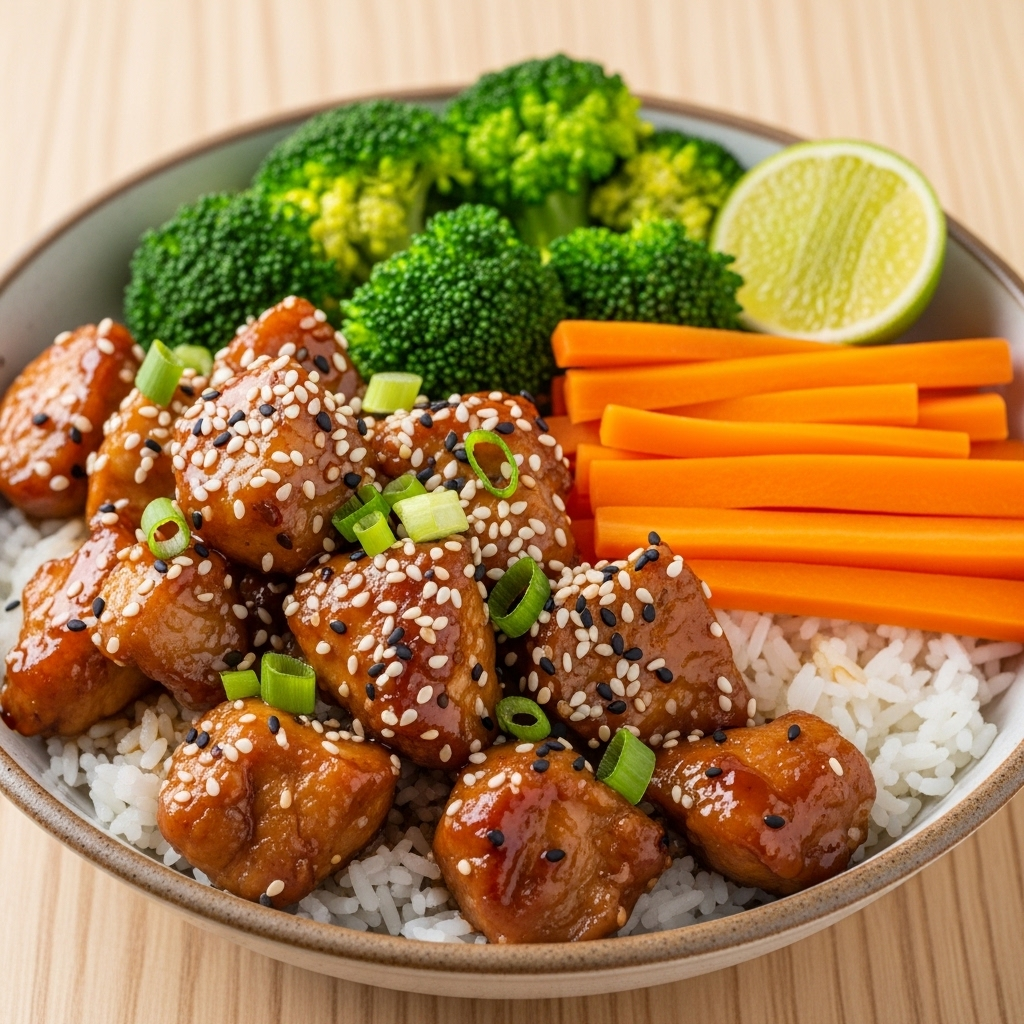
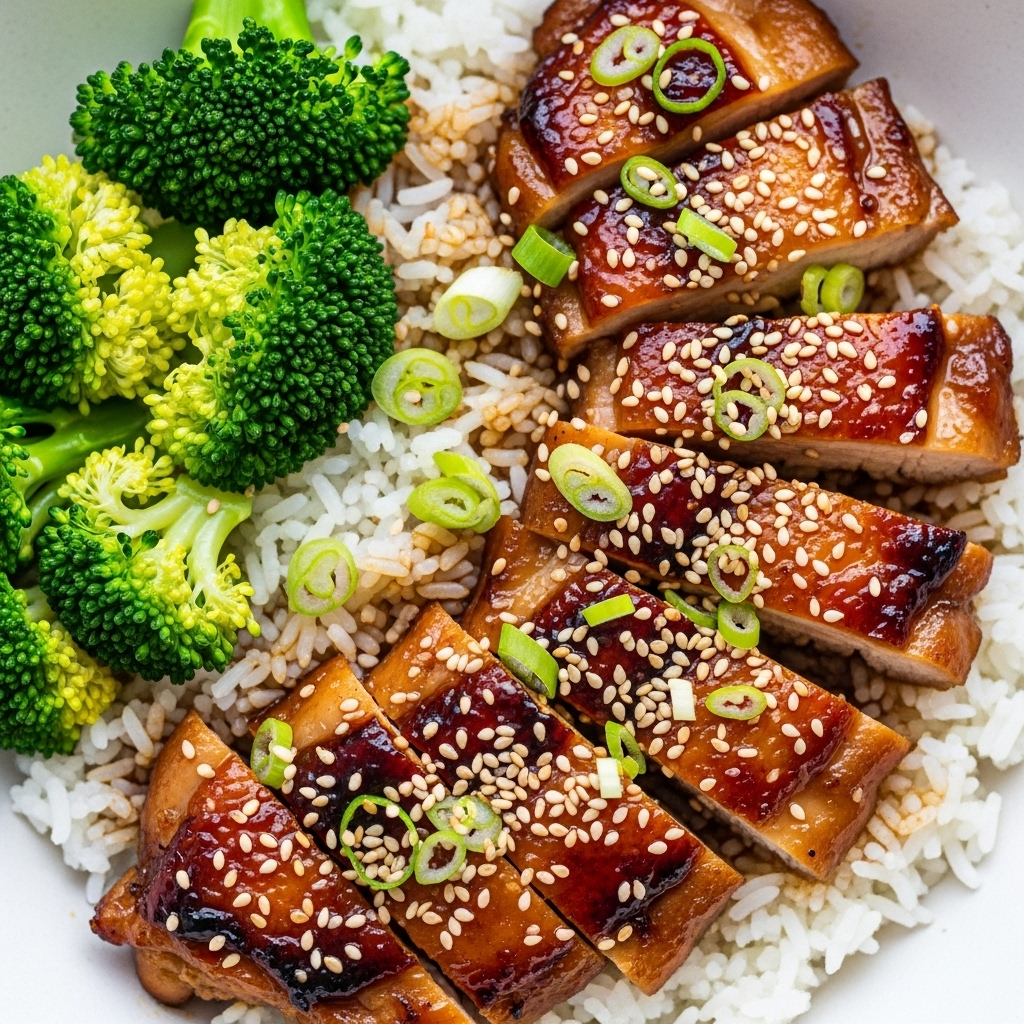
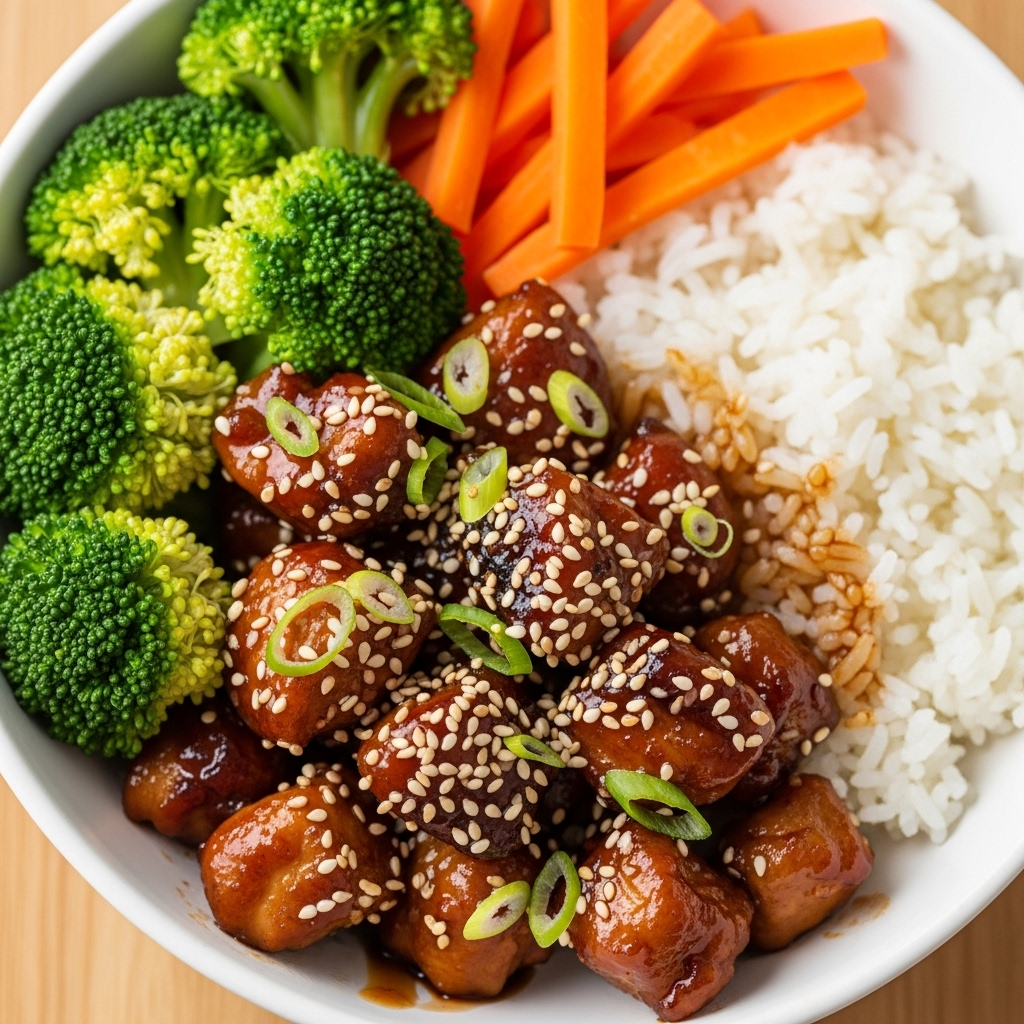
- Plating: Start with a generous base of steamed rice. Arrange the chicken on one side and steamed broccoli or bok choy on the other.
- Garnish: A heavy sprinkle of toasted white sesame seeds and thinly sliced scallions (cut on a bias) provides crunch and freshness.
- Sides: Serve with a side of Tsukemono (Japanese pickles) or a simple miso soup to cleanse the palate.
- Beverage Pairing: * Non-Alcoholic: Iced green tea or a sparkling yuzu lemonade.
- Alcoholic: A crisp, dry Riesling or a Japanese Lager (like Sapporo or Asahi) cuts through the sweetness of the glaze beautifully.
5. Nutritional Information (Per Serving)
- Calories: 540 kcal
- Protein: 38g
- Carbohydrates: 62g
- Fat: 14g (Saturated Fat: 3g)
- Fiber: 4g
- Health Benefits: Chicken thighs provide essential B-vitamins and iron, while the addition of fresh ginger offers anti-inflammatory properties.
6. Storage and Reheating
This recipe is a “meal prep” champion.
- Refrigeration: Store in airtight containers for up to 4 days. Keep the sauce-coated chicken and rice together so the rice absorbs the extra flavor.
- Freezing: You can freeze the cooked chicken and rice for up to 2 months. Thaw overnight in the fridge before reheating.
- Reheating: * Microwave: Sprinkle a teaspoon of water over the rice, cover with a damp paper towel, and heat for 2 minutes. This “steams” the rice back to life.
- Stovetop: Reheat chicken in a pan over medium heat with a splash of water or chicken broth to loosen the sauce.
7. Expert Tips and Variations
Professional Chef Tips
- Pat the Chicken Dry: Use paper towels to remove moisture from the meat before it hits the pan. Moisture is the enemy of a golden-brown sear.
- Don’t Rush the Reduction: The sauce will look thin at first. Be patient. As the sugars heat, they will bubble and thicken into a syrupy consistency that clings to the meat.
Creative Variations
- The Spicy Kick: Add 1 tablespoon of Sriracha or a teaspoon of red chili flakes to the sauce.
- The Tropical Twist: Swap half the water in the rice for coconut milk and add grilled pineapple chunks to the bowl.
- The Low-Carb Option: Replace jasmine rice with cauliflower rice or a bed of shredded cabbage.
8. Ingredients Section
For the Chicken & Marinade
- Chicken: 1.5 lbs (680g) Boneless, skinless chicken thighs (diced into 1-inch pieces). Thighs stay much juicier than breasts.
- Oil: 1 tbsp Neutral oil (Grapeseed, Avocado, or Vegetable oil).
For the Teriyaki Sauce
- Soy Sauce: 1/2 cup (120ml) — Use low-sodium to control saltiness.
- Water: 1/4 cup (60ml).
- Sweetener: 1/4 cup (50g) Brown sugar (packed) or honey.
- Aromatics: 1 tbsp Fresh ginger (grated) and 2 cloves Garlic (minced).
- Acid: 1 tbsp Rice vinegar or Mirin.
- Thickener: 1 tbsp Cornstarch dissolved in 1 tbsp cold water (slurry).
For the Bowl Base
- Rice: 2 cups (400g) Uncooked Jasmine or Short-grain Japanese rice.
- Vegetables: 2 cups Broccoli florets or sliced carrots.
9. Step-by-Step Instructions
Step 1: Prepare the Rice
Rinse the rice under cold water until the water runs clear. Cook according to package instructions or in a rice cooker. Once done, fluff with a fork and keep covered.
Step 2: Whisk the Sauce
In a small bowl, combine soy sauce, water, brown sugar, ginger, garlic, and rice vinegar. Whisk until the sugar is mostly dissolved. Set aside.
Step 3: Sear the Chicken
Heat oil in your skillet over medium-high heat. Once shimmering, add chicken pieces in a single layer. Let them sit undisturbed for 3-4 minutes to develop a deep brown crust. Flip and cook for another 3 minutes.
Step 4: The Glaze Phase
Pour the sauce mixture into the pan with the chicken. Bring to a simmer. Lower heat to medium and let the sauce reduce by about a third (roughly 3-5 minutes).
Step 5: Thicken and Coat
Give your cornstarch slurry a quick stir and pour it into the bubbling sauce. Stir constantly for 1 minute as the sauce transforms into a thick, glossy glaze. Ensure every piece of chicken is thoroughly coated.
Step 6: Steam the Greens
While the sauce thickens, steam your broccoli or vegetables for 3-4 minutes until tender-crisp and bright green.
10. Frequently Asked Questions (FAQ)
Q: Can I use chicken breast instead of thighs? A: Yes, but be careful not to overcook them. Breasts dry out quickly; remove them from the pan the moment they reach 165°F.
Q: Is Mirin necessary? A: Mirin adds a distinct depth and “shine,” but if you don’t have it, a mix of rice vinegar and an extra teaspoon of sugar is a great substitute.
Q: My sauce is too salty. How do I fix it? A: Add a splash of water and a squeeze of lime juice or a little more sugar. The acidity or sweetness will balance the sodium.
Q: How do I get that “charred” restaurant look? A: Use a cast-iron skillet and don’t crowd the pan. Cook the chicken in two batches if necessary.


