1. Introduction: A Celebration in Every Bite
There is something inherently magical about a “Golden Birthday”—that rare, once-in-a-lifetime moment when your age matches the date of your birth. A milestone this special demands a dessert that feels equally prestigious, yet accessible enough to whip up in a busy kitchen. Enter the Golden Oreo “Golden Birthday” Truffle.
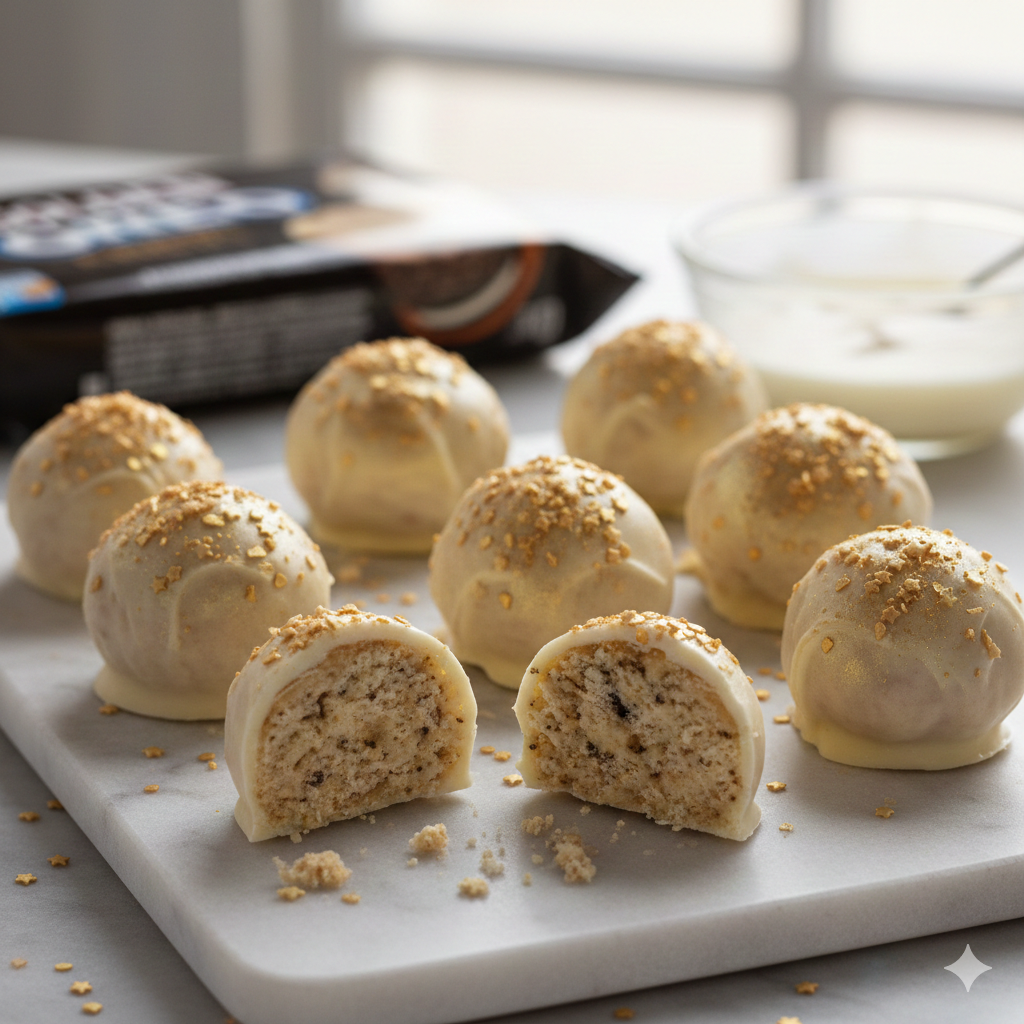
While the classic chocolate Oreo truffle has been a potluck staple for decades, the Golden Oreo variant offers a sophisticated, buttery alternative. These truffles replace the deep cocoa of the original with the toasted vanilla notes of Golden Oreos, blended into a velvety cream cheese center that mimics the texture of high-end cheesecake.
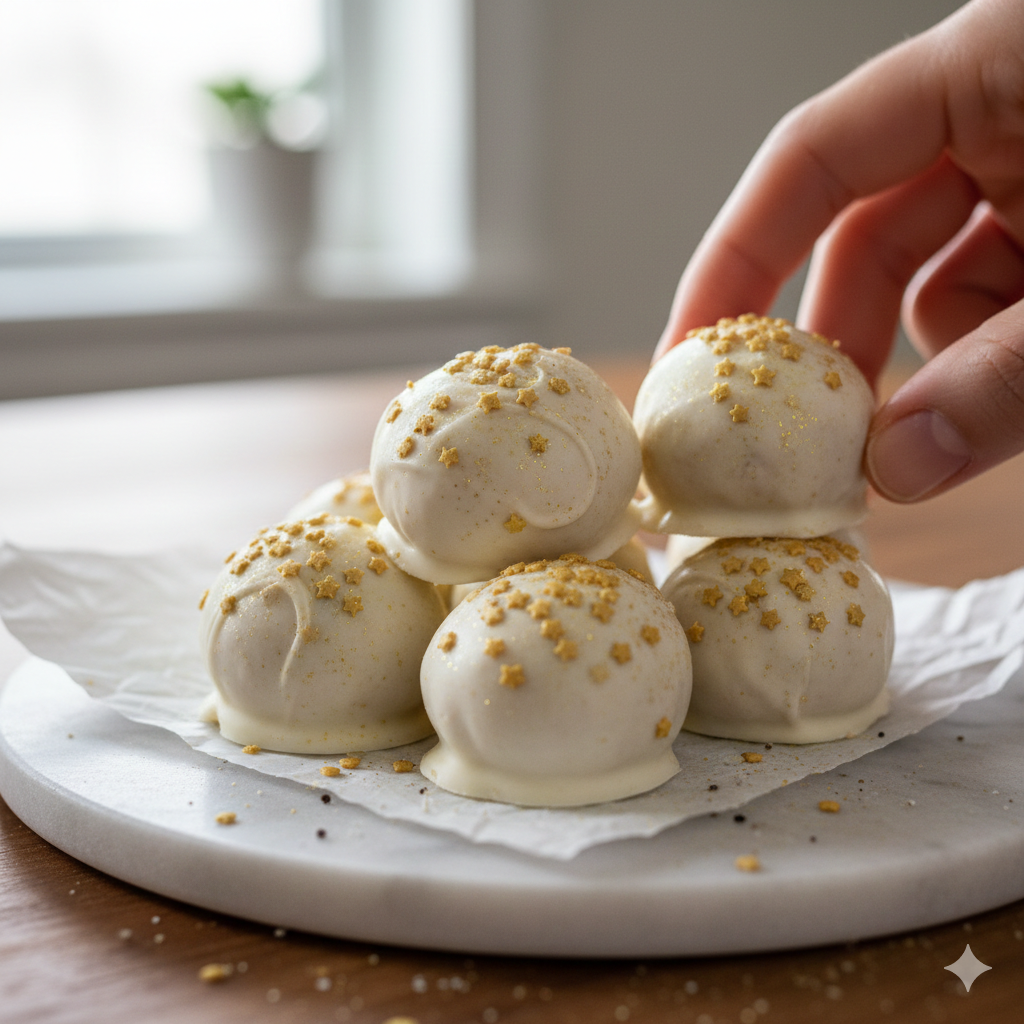
What elevates this specific recipe to “Golden Birthday” status is the finish. Enrobed in white chocolate and dusted with edible gold luster or shimmering sprinkles, these bite-sized gems look like they’ve been plucked from a high-end boutique bakery. Whether you are celebrating a 7th birthday on the 7th or a 31st on the 31st, these truffles serve as a delicious metaphor for a year of prosperity and joy.
2. Recipe Overview
- Cuisine Type: American / Dessert
- Difficulty Level: Easy (No-bake)
- Total Time: 1 hour 45 minutes (Includes 1 hour chilling time)
- Prep Time: 30 minutes
- Cooking Time: 15 minutes (Melting chocolate)
- Dietary Classifications: Vegetarian, Nut-Free
3. Equipment and Tools
To achieve a professional, smooth finish on your truffles, having the right tools is essential.
- Food Processor: A high-powered blender or food processor is required to turn the cookies into a fine, uniform sand.
- Electric Hand Mixer: For thoroughly incorporating the cream cheese.
- Baking Sheets (2): Standard 13×18 inch (Half-sheet) pans.
- Parchment Paper or Silicone Mats: Crucial for preventing the chocolate from sticking.
- Small Cookie Scoop: A 1-tablespoon capacity scoop (approx. 1.5 inches in diameter) ensures all truffles are uniform in size.
- Double Boiler or Microwave-Safe Bowl: For melting the chocolate coating.
- Dipping Tools: A specialized chocolate dipping fork or a standard kitchen fork.
- Measuring Tools: A digital kitchen scale is recommended for the most accurate results.
4. Serving Suggestions
Presentation is everything when it comes to a birthday celebration.
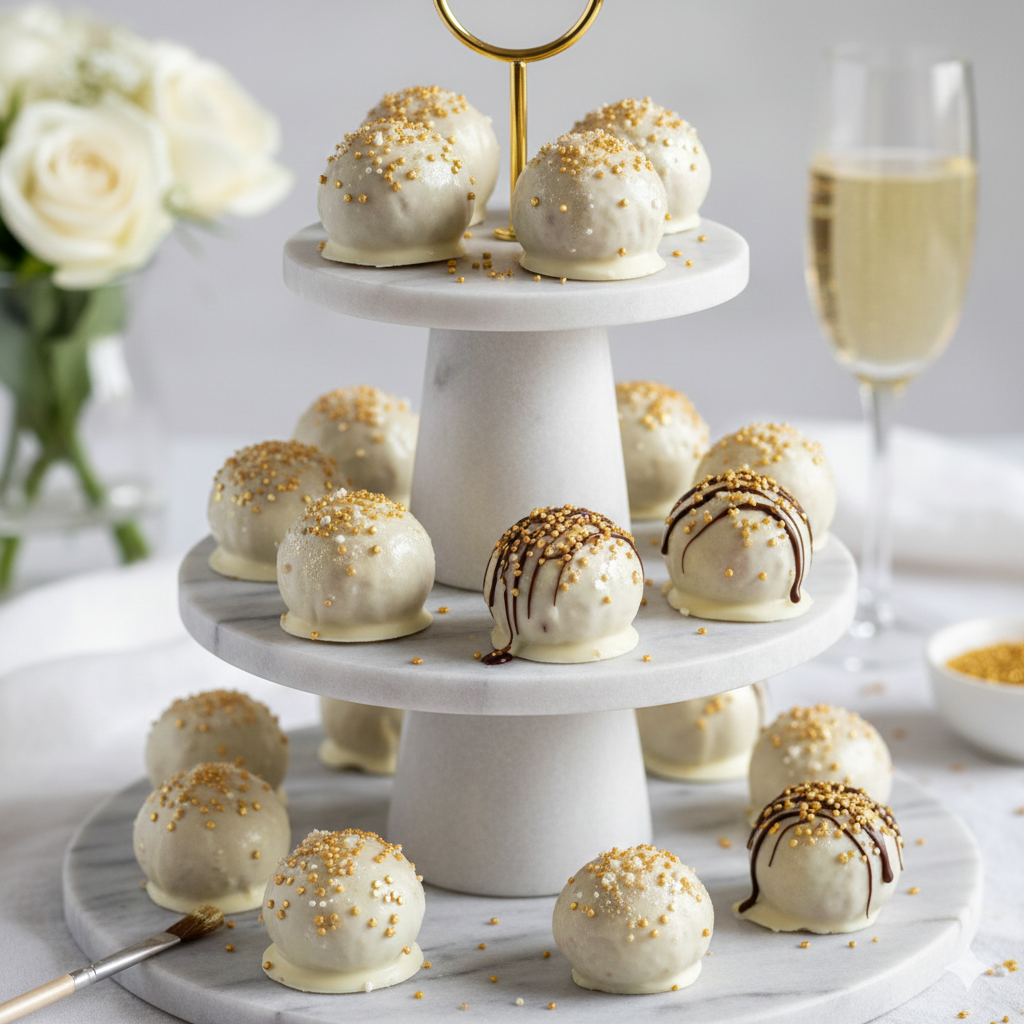
- Plating: Arrange the truffles on a tiered white marble stand to let the gold accents pop.
- Garnishes: Beyond the gold dust, consider a drizzle of contrasting dark chocolate or a single dried edible flower on top of each sphere.
- Beverage Pairings: * Non-Alcoholic: Sparkling apple cider or a cold glass of whole milk.
- Adult Pairing: A crisp, cold Prosecco or a dessert wine like Moscato d’Asti balances the richness of the white chocolate.
- Side Dishes: Serve alongside fresh raspberries or strawberries; the acidity of the fruit cuts through the creamy sweetness of the truffle.
5. Nutritional Information
Per Serving (1 Truffle)
| Nutrient | Amount |
| Calories | 145 kcal |
| Total Fat | 8g |
| Saturated Fat | 4.5g |
| Cholesterol | 12mg |
| Sodium | 95mg |
| Total Carbohydrates | 17g |
| Sugars | 13g |
| Protein | 1.5g |
Note: These values are estimates based on standard ingredient brands. For specific dietary tracking, please calculate based on your chosen products.
6. Storage and Reheating
Because these truffles contain real cream cheese, they must be handled with care.
- Refrigeration: Store in an airtight container for up to 7 days. Place parchment paper between layers to prevent the chocolate from scuffing.
- Freezing: These freeze beautifully. Place them in a freezer-safe bag for up to 2 months. Thaw in the refrigerator overnight before serving.
- Reheating: Do not reheat. These are designed to be served chilled or at a cool room temperature. If they get too warm, the chocolate shell may soften.
7. Expert Tips and Variations
Professional Tips
- Room Temperature Cheese: Always use “brick-style” cream cheese (not the spreadable kind from a tub) and ensure it is fully at room temperature. Cold cream cheese will result in “lumps” in your truffle filling.
- The “Double Dip”: For an extra-crunchy shell, dip the truffles once, let them set in the fridge, and dip them a second time.
Creative Variations
- Lemon Gold: Add 1 tablespoon of fresh lemon zest to the cookie mixture for a “Lemon Cloud” flavor.
- Birthday Cake: Mix 2 tablespoons of rainbow sprinkles into the dough before rolling.
- Salted Caramel: Place a tiny drop of salted caramel in the center of each truffle before sealing.
8. Ingredients Section
The Foundation
- Golden Oreo Cookies: 1 standard package (approx. 14.3 oz / 405g). Do not remove the cream filling.
- Cream Cheese: 8 oz (226g) full-fat brick cream cheese, softened.
The Coating
- White Chocolate Melts: 16 oz (450g) high-quality melting wafers or white chocolate baking bars.
- Coconut Oil (Optional): 1 teaspoon (to help thin the chocolate for a smoother pour).
The “Golden” Decor
- Edible Gold Luster Dust: 1 small jar.
- Gold Sprinkles/Stars: For texture and height.
- Clear Vanilla Extract or Vodka: 1 teaspoon (to mix with luster dust to create “paint”).
9. Step-by-Step Instructions
Step 1: Prepare the Cookie Base
Place the entire package of Golden Oreos into your food processor. Pulse until the cookies are reduced to fine crumbs. There should be no large chunks remaining.
Step 2: Incorporate the Cream Cheese
In a medium mixing bowl, combine the cookie crumbs and the softened cream cheese. Use an electric mixer on medium speed until the mixture forms a consistent, dough-like ball. You should no longer see streaks of white cream cheese.
Step 3: Roll and Chill
Line a baking sheet with parchment paper. Using your cookie scoop, portion out the dough and roll between your palms to create smooth spheres (about 1 inch in diameter). Place the spheres on the tray and chill in the freezer for 30 minutes.
Tip: If the dough is too sticky, wash your hands frequently with cold water.
Step 4: Melt the Coating
Using a double boiler or a microwave (30-second intervals), melt the white chocolate. Stir in the coconut oil if using. The chocolate should be smooth and pourable.
Step 5: The Dipping Process
Remove truffles from the freezer. Using a fork, submerge each ball into the chocolate, lift, and tap the fork against the side of the bowl to remove excess. Slide the truffle back onto the parchment paper.
Step 6: The Golden Touch
While the chocolate is still slightly tacky, add your gold sprinkles. If using gold luster dust, wait until the chocolate is fully hardened. Mix the dust with a drop of vodka/vanilla and use a food-safe brush to splatter or paint the gold onto the truffles.
Step 7: Final Set
Refrigerate for at least 30 more minutes before serving to ensure the center is firm and the shell is crisp.
10. Frequently Asked Questions (FAQ)
Q: Can I use low-fat cream cheese?
A: It is not recommended. Low-fat or “whipped” cream cheese has a higher water content, which can make the truffles mushy and prevent them from holding their shape.
Q: My chocolate is seizing or thick. How do I fix it?
A: Ensure no water touches the chocolate. If it’s just thick, add a teaspoon of vegetable shortening or coconut oil and stir vigorously.
Q: Why is the chocolate cracking on my truffles?
A: This usually happens if the truffle centers were too cold (frozen solid) when dipped into warm chocolate. The rapid temperature change causes expansion/contraction. Let frozen truffles sit at room temp for 5 minutes before dipping.
Q: Do I need to remove the filling from the Oreos?
A: No! The “stuf” inside the Oreo provides the necessary moisture and sweetness to bind the dough.
Q: How do I get the gold luster dust to look shiny?
A: Mixing the dust with a tiny bit of high-proof alcohol (like vodka) or lemon extract creates a “paint.” The liquid evaporates quickly, leaving only the brilliant shine behind.


