1. Introduction: A Love Letter to the Griddle
There is a specific, quiet magic to a Saturday morning defined by the rhythmic clink-clink-clink of a whisk against a ceramic bowl. Long before the era of frozen waffles and protein-packed breakfast bars, there were Old-Fashioned Pancakes. This isn’t just a recipe; it is a culinary heirloom, a staple of the American breakfast table that transcends generations.
The origin of the “pancake” dates back to ancient civilizations—even Ötzi the Iceman had traces of einkorn wheat pancakes in his system—but the specific “Old-Fashioned” style we crave today found its footing in early American hearth cooking. These pancakes represent a time when breakfast was a deliberate act of care, designed to fuel a day of hard work with warmth and comfort.
What sets this particular recipe apart is its commitment to texture. We aren’t looking for paper-thin crêpes or dense, rubbery discs. We are aiming for “cloud-like” architecture—pancakes with a crisp, golden-brown exterior and a soft, airy center that acts as a sponge for pure maple syrup.
2. Recipe Overview
- Cuisine Type: American Breakfast
- Difficulty Level: Easy
- Total Prep & Cook Time: 25 minutes (10 mins prep, 15 mins cook)
- Dietary Classifications: Vegetarian (Can be modified for Gluten-Free or Dairy-Free)
3. Equipment and Tools
To achieve the perfect “flip,” you need the right arsenal. Using high-quality tools ensures even heat distribution, which is the secret to that uniform golden color.
- Mixing Bowls: One large bowl for dry ingredients, one medium bowl for wet.
- Whisk: A balloon whisk is ideal for aerating the batter.
- Sifter/Fine Mesh Strainer: Essential for removing lumps from the flour.
- 12-inch Non-Stick Skillet or Cast Iron Griddle: Provides ample space for 3 pancakes at a time.
- Wide Offset Spatula: A thin silicone or metal turner makes flipping effortless.
- 1/4 Cup Measure: For consistent portioning.
- Wire Cooling Rack: To prevent the bottom of the pancakes from getting soggy while you finish the batch.
4. Serving Suggestions
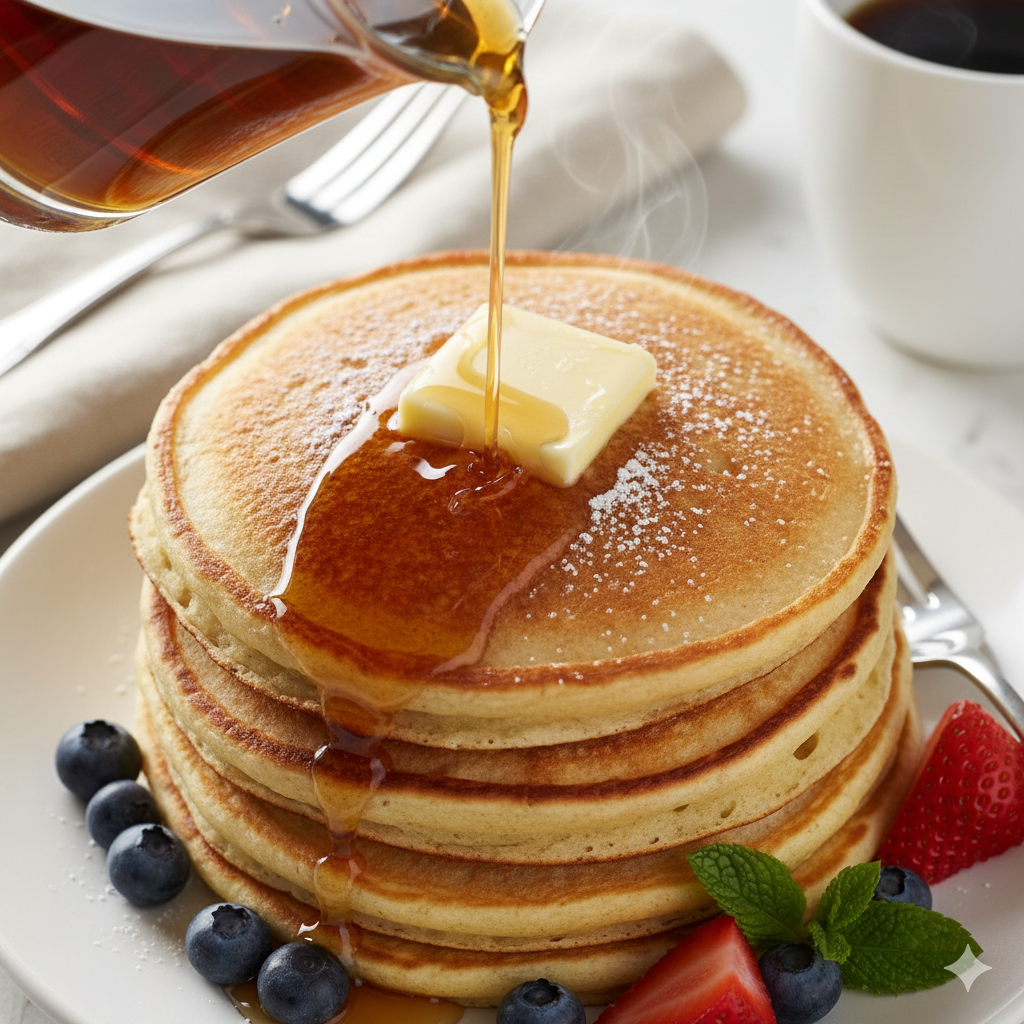
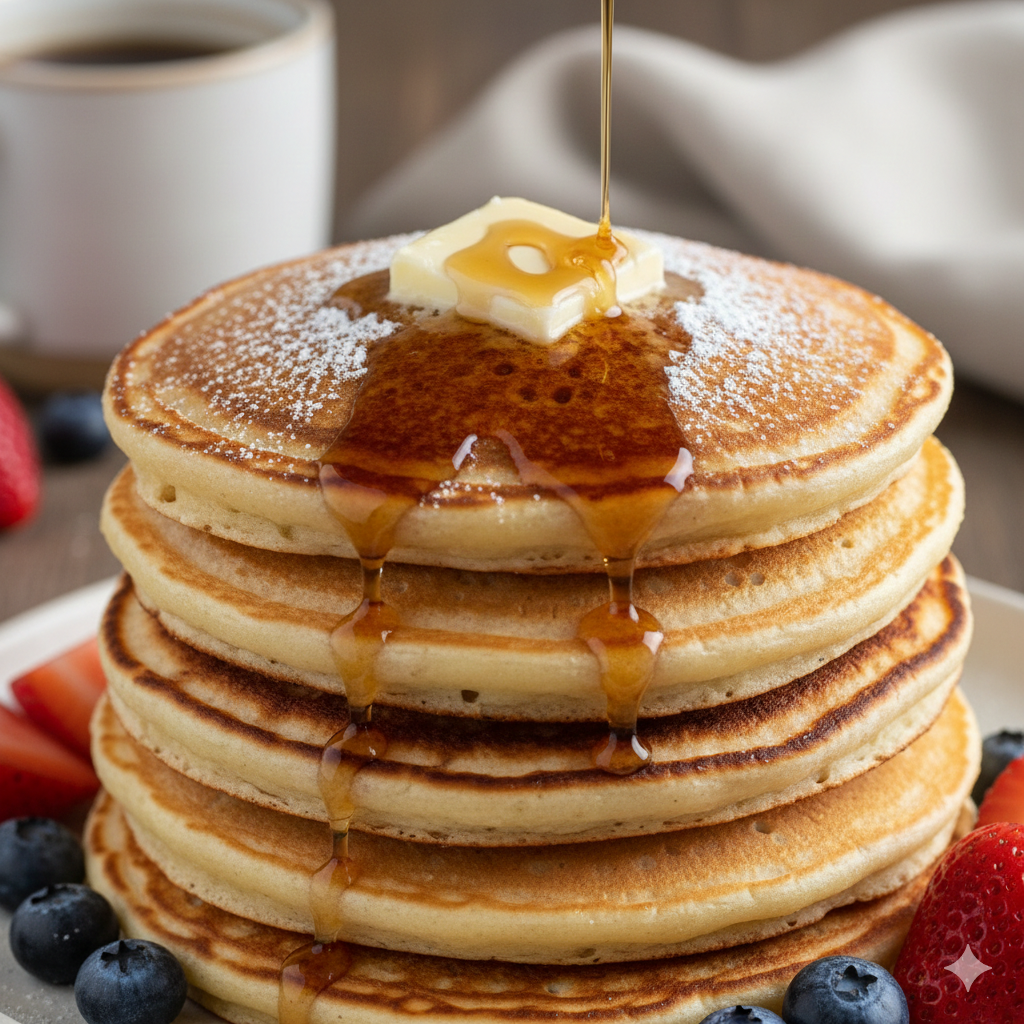
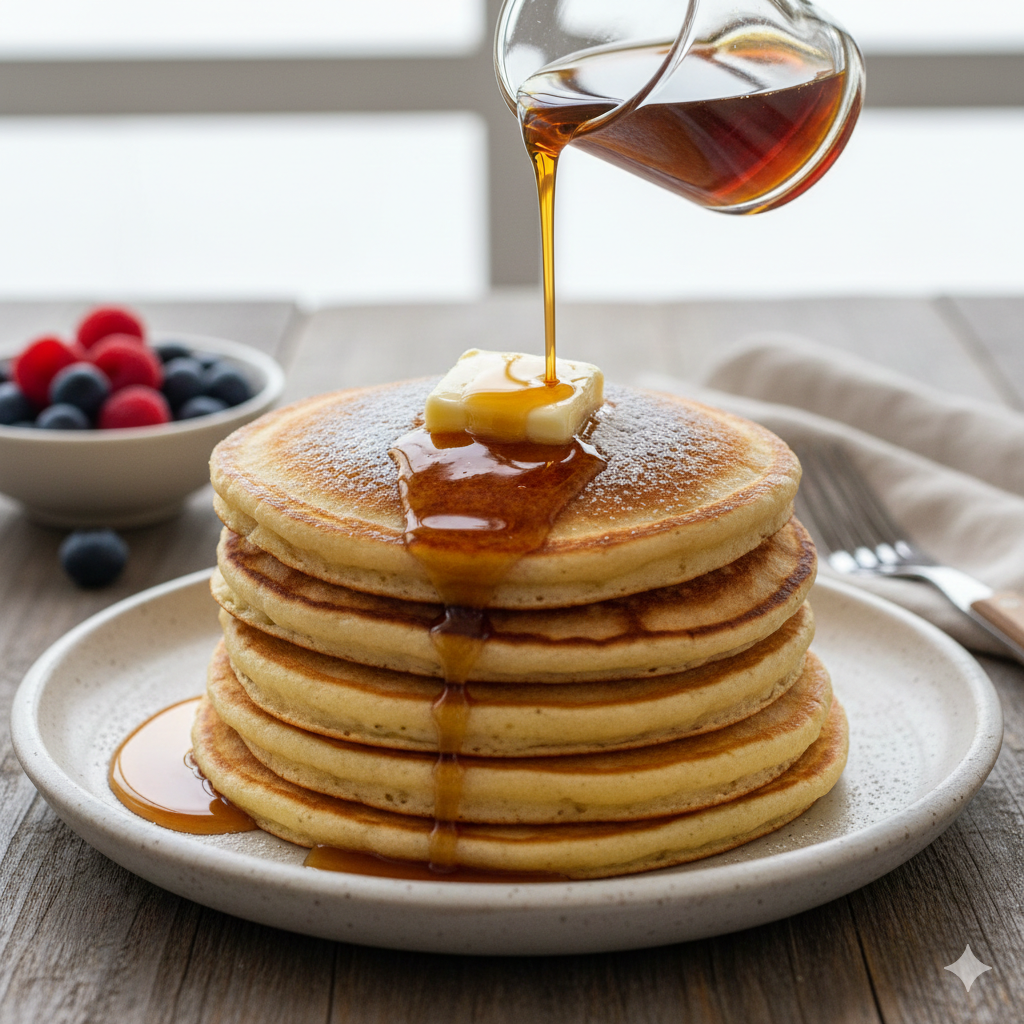
Presentation is half the meal. For a true “diner-style” experience, stack three to four pancakes high.
- Plating: Serve on warmed ceramic plates to prevent the pancakes from cooling too quickly.
- Garnish: A thick pat of salted grass-fed butter, a dusting of powdered sugar, and fresh seasonal berries.
- Sides: Crispy thick-cut bacon, maple sausage links, or a side of Greek yogurt for a protein boost.
- Beverage Pairings: * Coffee: A medium-roast Colombian coffee balances the sweetness.
- Tea: Earl Grey with a splash of milk and honey.
- Juice: Freshly squeezed orange or grapefruit juice for a bright acid hit.
5. Nutritional Information
Per serving (approx. 2 pancakes)
| Nutrient | Amount |
| Calories | 310 kcal |
| Total Fat | 12g |
| Saturated Fat | 7g |
| Cholesterol | 65mg |
| Sodium | 480mg |
| Total Carbohydrates | 42g |
| Protein | 7g |
Health Benefits: This recipe provides a quick source of carbohydrates for morning energy. By using high-quality eggs and milk, you receive essential B vitamins and calcium.
6. Storage and Reheating
Pancakes are surprisingly durable and make for excellent “on-the-go” breakfasts.
- Refrigeration: Store in an airtight container for up to 3 days. Place parchment paper between layers to prevent sticking.
- Freezing: Flash-freeze pancakes in a single layer on a baking sheet for 1 hour, then transfer to a freezer-safe bag. They stay fresh for up to 2 months.
- Reheating: * Toaster: The best way to regain the crisp exterior.
- Oven: 350°F (175°C) for 5-8 minutes, covered in foil.
- Microwave: 20-30 seconds (best for a soft texture).
7. Expert Tips and Variations
Professional Chef Tips
- Don’t Overmix: This is the golden rule. Stir until the flour streaks disappear. A few lumps are your friends; they ensure a tender crumb.
- The “Sizzle” Test: Flick a drop of water onto the pan. If it dances and evaporates instantly, the pan is ready.
- Rest the Batter: Let the batter sit for 5-10 minutes. This allows the gluten to relax and the baking powder to fully activate.
Creative Variations
- Lemon-Ricotta: Fold in 1/2 cup of ricotta and 1 tbsp of lemon zest.
- Chocolate Chip Pecan: Add dark chocolate chips and toasted pecans for texture.
- Blueberry Burst: Always add blueberries after pouring the batter onto the griddle to prevent the whole pancake from turning purple.
8. Ingredients Section
- 1 ½ cups (190g) All-Purpose Flour: Use a high-quality unbleached flour.
- 3 ½ tsp Baking Powder: Ensure it is fresh for maximum lift.
- 1 tsp Fine Sea Salt: To balance the sweetness.
- 1 tbsp White Sugar: For caramelization and browning.
- 1 ¼ cups (300ml) Whole Milk: Provides the richest flavor.
- 1 Large Egg: Room temperature for better emulsification.
- 3 tbsp (45g) Butter, Melted: Plus extra for the pan.
- 1 tsp Pure Vanilla Extract: Adds a subtle aromatic depth.
9. Step-by-Step Instructions
- Sift Dry Ingredients: In a large bowl, sift together the flour, baking powder, salt, and sugar.
- Combine Wet Ingredients: In a separate bowl, whisk the egg, milk, melted butter (slightly cooled), and vanilla.
- The Marriage: Make a well in the dry ingredients and pour in the wet. Gently fold with a spatula until just combined. Do not overmix.
- Heat the Pan: Set your griddle to medium heat. Lightly grease with butter.
- The Pour: Scoop 1/4 cup of batter per pancake onto the hot surface.
- The Bubble Check: Cook for 2-3 minutes. When bubbles form on the surface and the edges look matte, it’s time to flip.
- The Flip: Flip once and cook for an additional 1-2 minutes until golden brown on both sides.
10. Frequently Asked Questions (FAQ)
- Why are my pancakes flat? Your baking powder might be expired, or you may have overmixed the batter, popping the air bubbles.
- Can I use buttermilk? Yes! Just add 1/2 tsp of baking soda to help the reaction with the acidic buttermilk.
- How do I keep them warm for a crowd? Keep them on a wire rack in a 200°F oven.
- Why is my first pancake always bad? Usually, the pan hasn’t reached an even temperature yet. Consider the first one a “test run.”
- Can I make the batter the night before? Not recommended, as the baking powder loses its potency over time.


