1. Introduction: The Elegance of the Unbaked
There is a specific kind of magic found in a dessert that requires no heat but delivers maximum sophistication. The French Silk Pie has long been the crown jewel of American diners and high-end bakeries alike. Despite its name, the “French” part of the title refers more to its texture—reminiscent of fine Parisian mousses—than its geographic origin. Historically, this dessert rose to fame in the 1951 Pillsbury Bake-Off, and it has been a staple of indulgence ever since.
Traditionally, French Silk involves long periods of beating raw eggs into butter and sugar to create that signature “silk” feel. However, modern cravings and food safety preferences have paved the way for the No-Bake French Silk Pie. This version captures that exact cloud-like, velvety chocolate experience without the need for a stove or the concerns of raw eggs. It’s a story of transformation: taking simple pantry staples like cream cheese, heavy cream, and high-quality cocoa, and whipping them into a structural masterpiece that sits proudly on a graham cracker or Oreo base.
Whether you are hosting a summer garden party and want to keep the kitchen cool, or you need a reliable holiday showstopper that doesn’t take up precious oven space, this pie is your secret weapon. It is proof that “no-bake” doesn’t mean “no-effort,” but it certainly means “no-stress.”
2. Recipe Overview
- Cuisine Type: American / Dessert
- Difficulty Level: Intermediate (Requires careful aeration and whipping)
- Total Time: 6 hours, 20 minutes (20 mins prep, 6 hours chilling)
- Dietary Classifications: Vegetarian, Egg-Free. Can be made Gluten-Free with a crust substitution.
3. Equipment and Tools
To achieve the perfect emulsion and aeration, the right tools are non-negotiable.
- Stand Mixer or Electric Hand Mixer: A balloon whisk attachment is essential for achieving the necessary volume in the heavy cream and the smooth aeration of the chocolate base.
- 9-inch Springform Pan or Pie Dish: * Specification: 9 inches (23cm) diameter.
- Depth: Minimum 2 inches (5cm) to accommodate the voluminous filling.
- Large Glass Mixing Bowls: For melting chocolate and whipping cream.
- Rubber Spatula: For gentle folding to ensure the air bubbles don’t deflate.
- Digital Kitchen Scale: For precision in chocolate and butter measurements.
- Offset Spatula: For creating those beautiful, professional-looking swirls on the surface.
4. Serving Suggestions
This pie is rich, so presentation should balance the decadence with lightness.
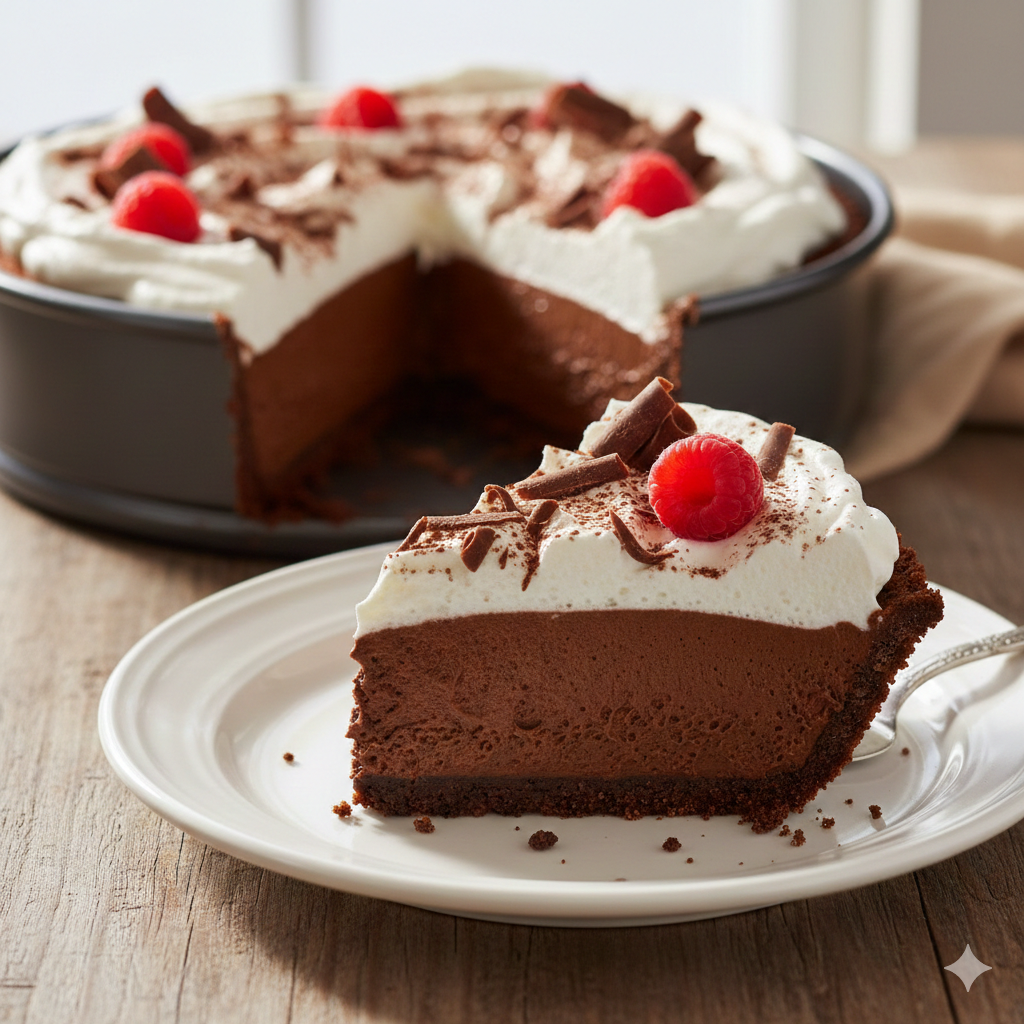
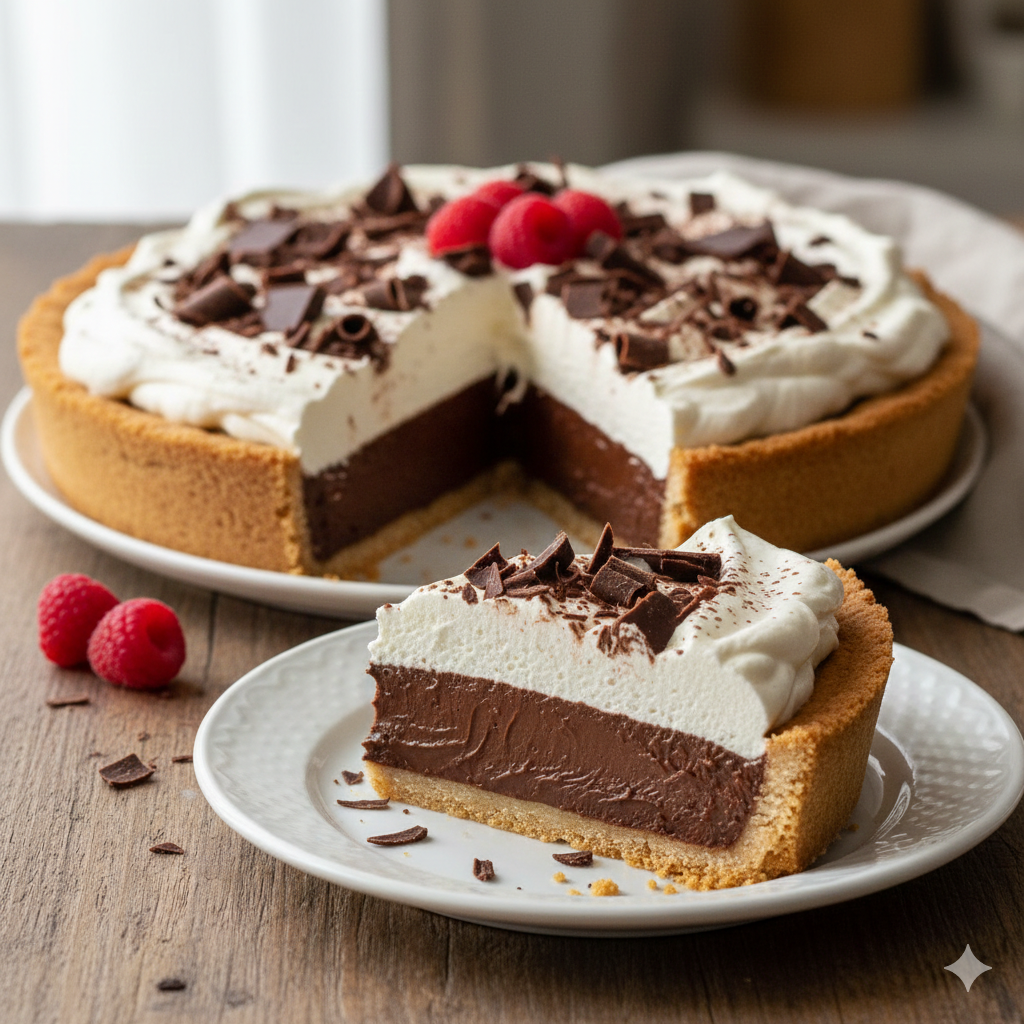
- Plating: Serve on a chilled white ceramic plate to emphasize the deep chocolate contrast.
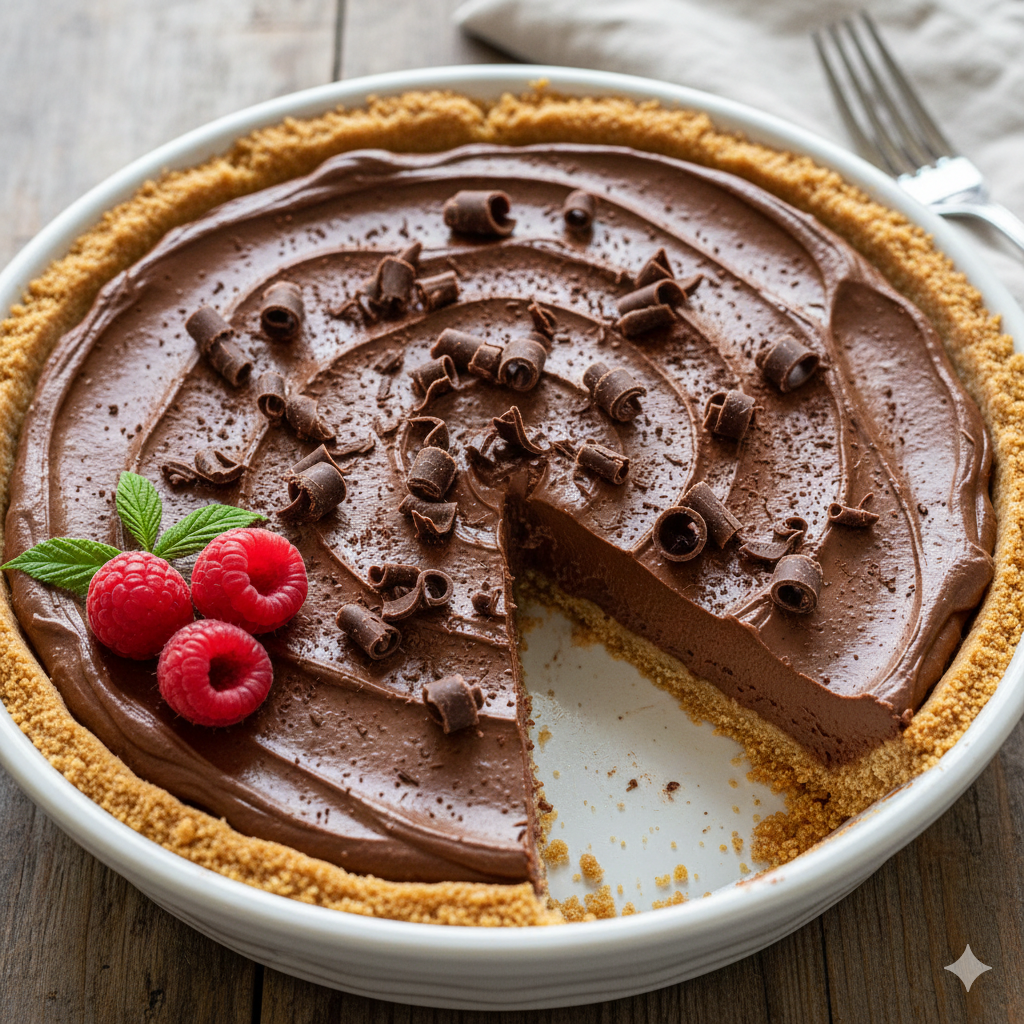
- Garnish: Use a vegetable peeler to create large dark chocolate curls. A light dusting of Dutch-processed cocoa powder or a few fresh raspberries provides a necessary acidic pop.
- Pairings: * Beverage: A bitter, dark-roast espresso or a glass of cold milk.
- Wine: A late-harvest Zinfandel or a slightly chilled Ruby Port complements the high fat and sugar content perfectly.
5. Nutritional Information (Per Serving)
Based on 10 servings per pie.
| Nutrient | Amount |
| Calories | 485 kcal |
| Total Fat | 34g |
| Saturated Fat | 21g |
| Carbohydrates | 42g |
| Fiber | 2g |
| Protein | 5g |
Health Note: This is a high-energy dessert. For a lighter version, consider using a reduced-fat cream cheese, though this may slightly alter the “silk” stability.
6. Storage and Reheating
- Refrigeration: Store in the refrigerator, covered loosely with plastic wrap or a pie dome, for up to 5 days.
- Freezing: This pie freezes exceptionally well. Wrap the entire dish in a double layer of plastic wrap and then foil. It will stay fresh for 2 months. Thaw in the fridge for 4 hours before serving.
- Note: Do not reheat. This is a cold-set emulsion and will melt into a liquid state if exposed to heat.
7. Expert Tips and Variations
- The Temperature Rule: Ensure your cream cheese is truly at room temperature. If it’s cold, you will have tiny white lumps in your dark chocolate silk.
- Quality of Chocolate: Since there is no baking to mellow the flavors, use the best chocolate you can find (at least 60% cocoa solids).
- Variation – Mocha Silk: Add 2 teaspoons of instant espresso powder to the melted chocolate for a sophisticated coffee kick.
- Variation – Peanut Butter Base: Use a peanut butter cookie crust instead of Graham crackers for a “Reese’s style” experience.
8. Ingredients Section
The Crust
- 1 1/2 cups (150g) Graham cracker crumbs (or crushed chocolate sandwich cookies)
- 1/3 cup (65g) Granulated sugar
- 6 tbsp (85g) Unsalted butter, melted
The Silk Filling
- 8 oz (225g) Full-fat cream cheese, softened to room temp
- 1 cup (200g) Granulated sugar
- 1 cup (170g) Semi-sweet chocolate chips or chopped bar, melted and cooled
- 1 tsp Pure vanilla extract
- 1/4 cup Unsweetened cocoa powder (Dutch-processed)
- 1 1/2 cups Heavy whipping cream (cold)
The Topping
- 1 cup Heavy whipping cream
- 2 tbsp Powdered sugar
- Chocolate shavings for garnish
9. Step-by-Step Instructions
Step 1: Prepare the Foundation
Combine the crumbs, sugar, and melted butter in a bowl. Press firmly into the bottom and sides of your 9-inch dish. Use the bottom of a flat measuring cup to ensure the base is compact. Pro Tip: Freeze the crust for 20 minutes while you prepare the filling to prevent it from crumbling when you pour.
Step 2: Melt the Chocolate
Melt your chocolate in a microwave-safe bowl in 30-second increments, stirring in between. Crucial: Let the chocolate cool until it is no longer warm to the touch but still liquid. If it’s too hot, it will melt the cream cheese and ruin the texture.
Step 3: Cream the Base
In your stand mixer, beat the softened cream cheese and sugar on medium-high for about 3 minutes. You are looking for a completely smooth, pale consistency. Scrape down the sides of the bowl frequently.
Step 4: Incorporate the Flavor
Add the cooled melted chocolate, vanilla extract, and cocoa powder to the cream cheese mixture. Beat until fully combined. The mixture should look like a thick, dark frosting.
Step 5: The “Silk” Transformation
In a separate chilled bowl, whip the 1 1/2 cups of heavy cream until stiff peaks form. Gently fold one-third of the whipped cream into the chocolate base to lighten it. Then, fold in the remaining whipped cream with a slow “over and under” motion until no white streaks remain.
Step 6: The Set
Pour the filling into the prepared crust. Smooth the top with an offset spatula. Cover and refrigerate for at least 6 hours (overnight is preferred). This allows the fats to solidify and the flavors to marry.
10. Frequently Asked Questions (FAQ)
Q: Can I use whipped topping (like Cool Whip) instead of heavy cream?
A: Yes, you can substitute the whipped cream for an 8oz tub of whipped topping, but the flavor will be significantly sweeter and the texture less “silk-like.”
Q: My filling is grainy. What happened?
A: This usually happens if the melted chocolate was too cold and started to seize, or if the cream cheese wasn’t beaten smooth before adding the chocolate. Ensure all ingredients are at the specified temperatures.
Q: Is this pie gluten-free?
A: As long as you use gluten-free graham cracker crumbs or a nut-based crust, the filling itself is naturally gluten-free.
Q: Can I make this in a tart pan?
A: Absolutely. A tart pan with a removable bottom makes for a very elegant presentation, though you may have a little leftover filling depending on the depth of the pan.
Q: How do I get clean slices?
A: Run a sharp knife under hot water, wipe it dry, and make a cut. Repeat the hot water rinse between every single slice.


