1. Introduction: The Magic of the “Icebox” Classic
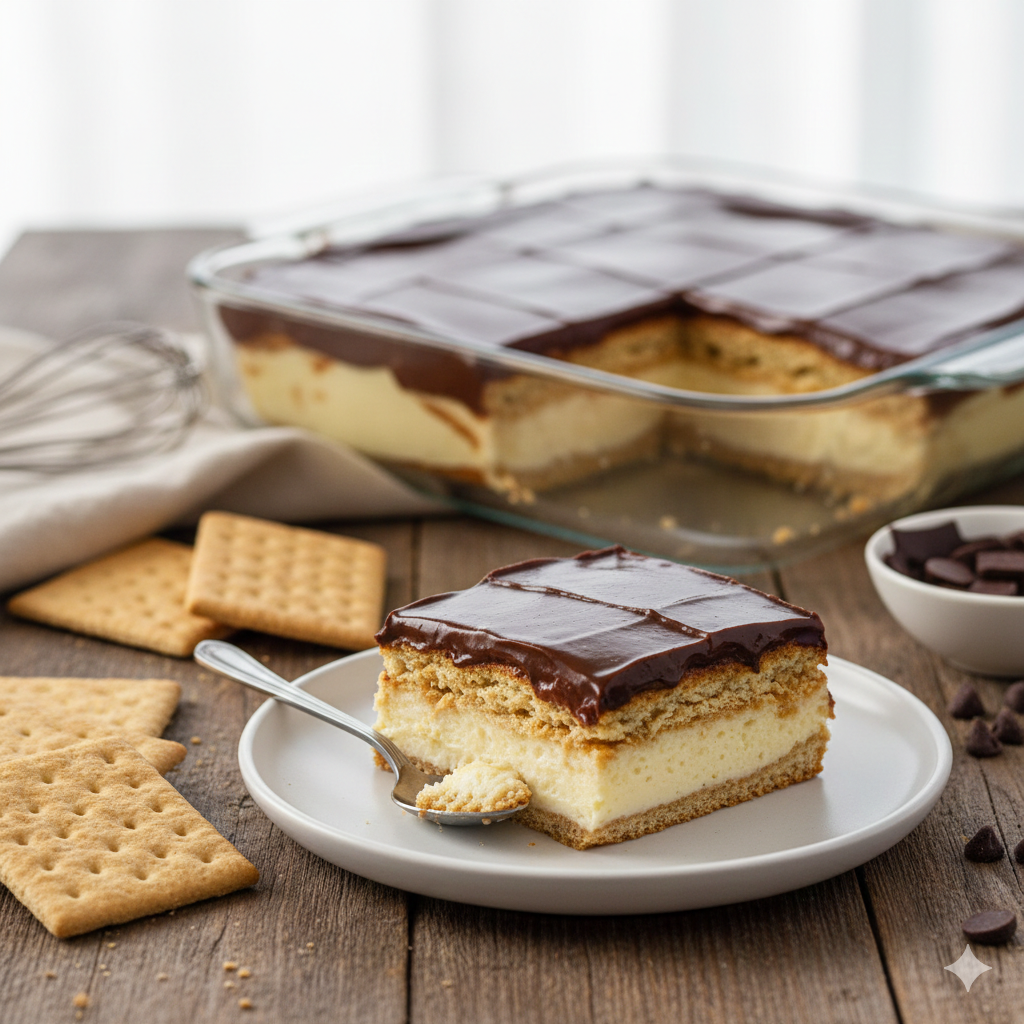
There is a specific kind of culinary alchemy that happens when you combine simple pantry staples, stack them in a dish, and let them sit in the refrigerator overnight. The No-Bake Eclair Cake is the crown jewel of this “icebox cake” tradition. It is a dish that defies its humble ingredients, transforming crisp crackers and instant pudding into a sophisticated, light-as-air dessert that mimics the complex textures of a traditional French pâtisserie.
Historically, icebox cakes gained popularity in the mid-20th century as refrigeration became a household standard. While a traditional Éclair requires the mastery of pâte à choux (cream puff dough) and a delicate pastry cream, this no-bake version offers the same flavor profile—creamy, chocolatey, and buttery—without ever turning on the oven. It is the quintessential “potluck hero,” a dish that looks impressive, feeds a crowd, and actually tastes better the longer it sits.
The story of the Eclair Cake is one of convenience meeting decadence. It’s the cake your grandmother made for summer picnics, and the one you’ll make when you want maximum reward for minimum effort.
2. Recipe Overview
- Cuisine Type: American (Fusion/Dessert)
- Difficulty Level: Beginner
- Prep Time: 20 Minutes
- Chilling Time: 8–24 Hours (Crucial for texture)
- Dietary Classifications: Vegetarian. (Can be modified for Gluten-Free or Dairy-Free diets).
3. Equipment and Tools
To achieve the perfect layering and structural integrity, using the correct tools is paramount.
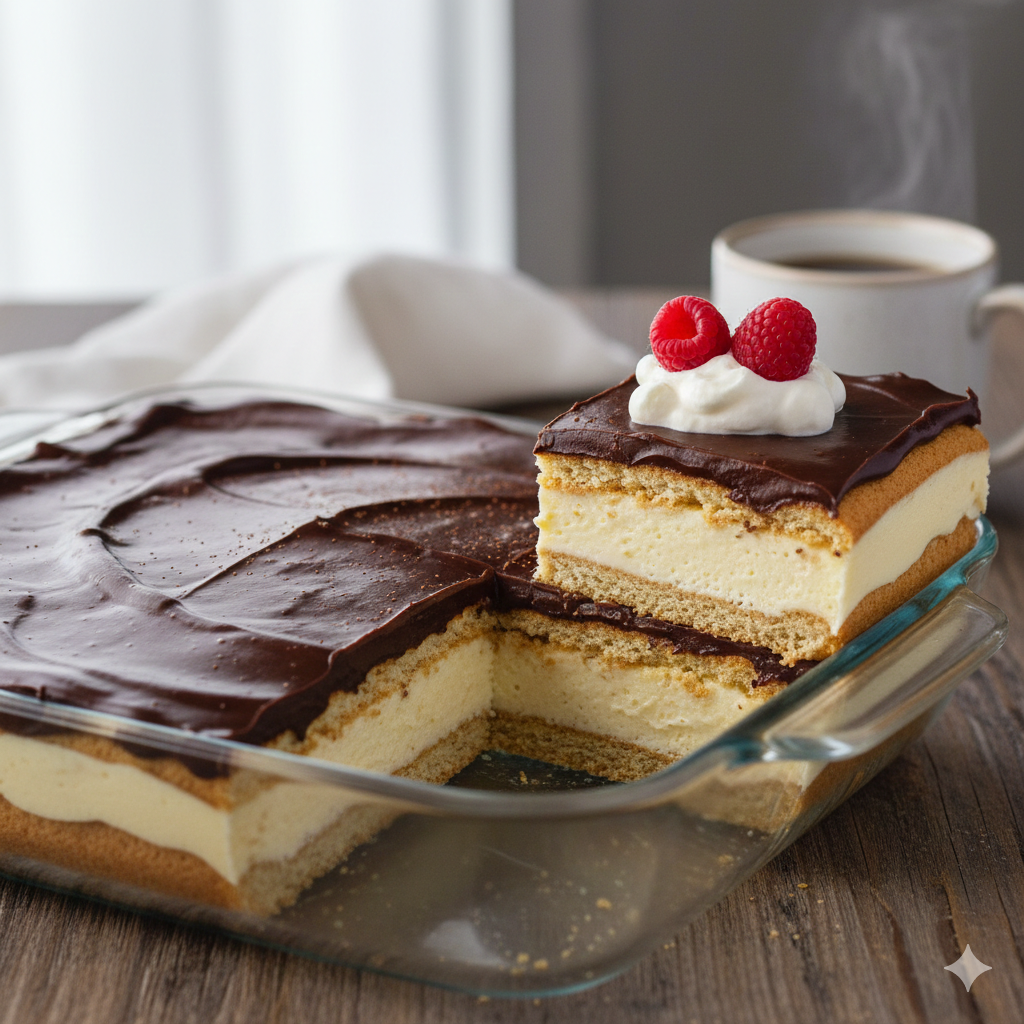
- 9×13 Inch Baking Dish: A glass or ceramic dish is preferred so you can see the beautiful layers from the side. Ensure it is at least 2 inches deep.
- Large Mixing Bowls: You will need two—one for the pudding mixture and one for the chocolate topping (if making from scratch).
- Electric Hand Mixer or Stand Mixer: Essential for aerating the pudding and folding in the whipped topping.
- Rubber Spatula: For gentle folding to keep the mixture fluffy.
- Offset Spatula: The best tool for spreading the layers evenly without disturbing the crackers beneath.
- Whisk: For ensuring the pudding is lump-free.
- Microwave-Safe Bowl: For melting the chocolate frosting or ganache.
4. Serving Suggestions
Presentation is everything when dealing with a “scoopable” cake.
- Plating: Slice the cake while cold to ensure clean edges. Use a sharp knife dipped in warm water between cuts.
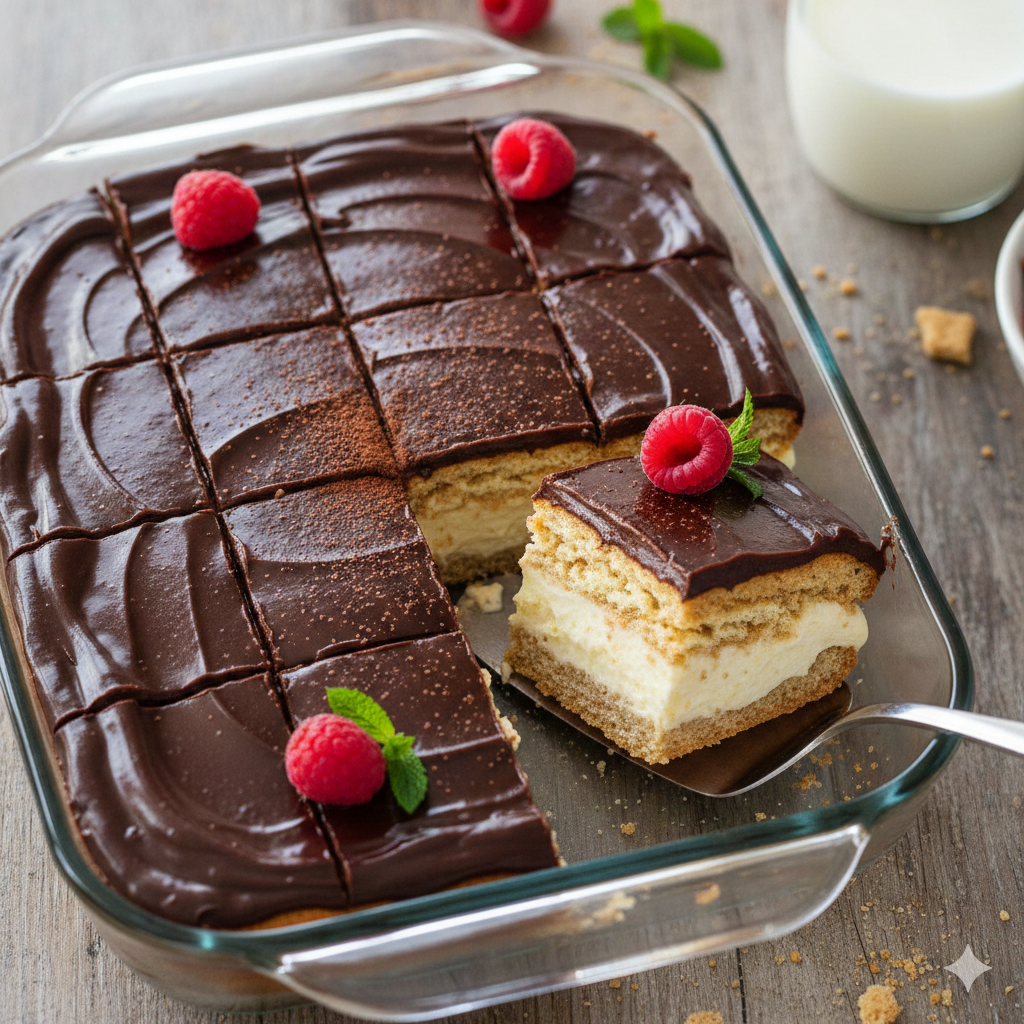
- Garnish: A light dusting of cocoa powder, a drizzle of salted caramel, or fresh raspberries provides a beautiful color contrast.
- Beverage Pairings: * Coffee: A dark roast or a double espresso cuts through the sweetness beautifully.
- Wine: A late-harvest Riesling or a glass of Tawny Port complements the vanilla and chocolate notes.
- Milk: For the kids (and kids at heart), a cold glass of whole milk is the classic choice.
5. Nutritional Information (Per Serving)
Based on 15 servings per cake.
| Nutrient | Amount |
| Calories | 310 kcal |
| Total Fat | 14g |
| Saturated Fat | 9g |
| Carbohydrates | 42g |
| Sugars | 28g |
| Protein | 4g |
Note: This dessert is a celebratory treat. To increase health benefits, consider using sugar-free pudding or Greek yogurt-based whipped topping for a boost in protein and a reduction in refined sugars.
6. Storage and Reheating
- Refrigeration: This cake must stay refrigerated. Cover tightly with plastic wrap or a lid. It will stay fresh for up to 5 days.
- Freezing: You can freeze Eclair Cake! Wrap it in a double layer of foil. Thaw in the fridge for 4 hours before serving. It will have a slightly firmer, “semifreddo” texture.
- Reheating: Do not reheat. This is a cold dessert; heat will cause the pudding layers to liquefy and the crackers to turn into mush.
7. Expert Tips and Variations
Professional Chef Tips
- The “Overnight” Rule: Do not rush this. The graham crackers need at least 8 hours to absorb moisture from the pudding, which gives them that “cake-like” texture.
- Don’t Over-mix: When adding the whipped topping to the pudding, use a “folding” motion. Over-mixing will deflate the air and result in a dense, heavy filling.
Creative Variations
- Strawberry Cheesecake Eclair: Add a layer of sliced strawberries between the pudding layers and use cheesecake-flavored pudding.
- Peanut Butter Dream: Whisk 1/2 cup of creamy peanut butter into the pudding mixture.
- Lemon Icebox: Substitute vanilla pudding with lemon pudding and use vanilla wafers instead of graham crackers.
8. Ingredients Section
The Filling
- 2 packages (3.4 oz each) Instant Vanilla Pudding Mix (Standard)
- 3 cups Cold Whole Milk (Metric: 710ml)
- 1 container (8 oz) Whipped Topping (e.g., Cool Whip), thawed
- 1 box (14.4 oz) Honey Graham Crackers (approximately 3 sleeves)
The Chocolate Topping
- 1 tub (16 oz) Ready-to-spread Chocolate Frosting (The “Easy” Method)
- OR for a rich Ganache: 1 cup Semi-sweet chocolate chips + 1/2 cup Heavy cream.
9. Step-by-Step Instructions
Step 1: Prepare the Creamy Core
In a large mixing bowl, whisk together the two packages of instant vanilla pudding and the cold milk. Whisk vigorously for 2 minutes until the mixture begins to thicken.
Step 2: Incorporate the Fluff
Using a rubber spatula, gently fold the thawed whipped topping into the pudding. Continue folding until no yellow streaks remain and the mixture is a uniform, pale cream color.
Step 3: The First Layer
Line the bottom of your 9×13 dish with a single layer of graham crackers. You may need to break some crackers to fit the edges perfectly.
Step 4: The Pudding Spread
Pour half of the pudding mixture over the crackers. Use your offset spatula to spread it to the very edges.
Step 5: Repeat the Process
Place a second layer of graham crackers over the pudding. Follow this with the remaining half of the pudding mixture. Top with one final layer of graham crackers.
Step 6: The Chocolate Finish
If using store-bought frosting, remove the lid and foil, and microwave for 20-30 seconds until it reaches a pourable consistency. Pour over the top layer of crackers and spread evenly.
Step 7: The Chilling Phase
Cover the dish and place it in the refrigerator. Wait at least 8 hours. This is when the magic happens—the crackers soften and the flavors marry.
10. Frequently Asked Questions (FAQ)
Q: Can I use cooked pudding instead of instant?
A: You can, but it must be completely cooled before folding in the whipped topping. Instant pudding is recommended for stability.
Q: My cake is runny. What happened?
A: This usually happens if the milk wasn’t cold enough or if the cake wasn’t chilled long enough. Also, ensure you used instant pudding, not “cook and serve.”
Q: Can I make this gluten-free?
A: Absolutely! Simply swap the honey graham crackers for your favorite gluten-free graham cracker brand.
Q: How do I get clean slices?
A: Freeze the cake for 30 minutes before slicing. This firms up the chocolate top and the pudding layers just enough for a clean cut.
Q: Can I use homemade whipped cream?
A: Yes, but you must stabilize it (using gelatin or a stabilizer) otherwise the cake may collapse after 24 hours.


