1. Introduction
The humble chicken wrap is far more than just a convenient handheld meal; it is a culinary canvas that marries the charred, smoky notes of the grill with the vibrant, crunching freshness of garden-produced greens. Whether you are navigating a hectic Tuesday lunch or looking for a sophisticated picnic staple, the chicken wrap offers a structural integrity and flavor profile that sandwiches often struggle to match.
Historically, the wrap traces its lineage back to the ancient flatbread traditions of the Middle East and Mediterranean—think of the Lebanese shawarma or the Greek gyro. However, the modern “Chicken Wrap” as we know it gained massive popularity in Western culinary culture during the 1990s as a “lighter” alternative to heavy subs and burgers.
What makes this specific recipe stand out is the triple-threat approach: a citrus-herb marinade that penetrates deep into the muscle fibers, a high-heat searing technique to lock in moisture, and a custom-blended garlic aioli that provides a velvety contrast to the crisp flour tortilla. It’s a dish that respects tradition while embracing modern, bold seasoning.
2. Recipe Overview
- Cuisine Type: Modern American / Fusion
- Difficulty Level: Intermediate (requires precise poultry temperature control)
- Total Preparation Time: 45 minutes (including 20 minutes marinating)
- Total Cooking Time: 12–15 minutes
- Dietary Classifications: High-protein, Nut-free (Can be made Gluten-free with alternative wraps)
3. Equipment and Tools
To achieve professional-grade results, ensure you have the following tools prepared:
- Chef’s Knife: 8-inch stainless steel for precise vegetable julienne and chicken slicing.
- Cast Iron Skillet or Grill Pan: A 12-inch diameter is preferred to allow for high thermal mass and even searing.
- Mixing Bowls: One large glass bowl for marinating and two small bowls for sauce preparation.
- Meat Thermometer: Instant-read digital thermometer to ensure internal safety.
- Tongs: Long-handled silicone or stainless steel tongs for flipping.
- Mandoline Slicer (Optional): For paper-thin red onion and cucumber slices.
- Parchment Paper or Foil: To wrap the final product tightly for that “deli-style” hold.
4. Serving Suggestions
Plating Recommendations
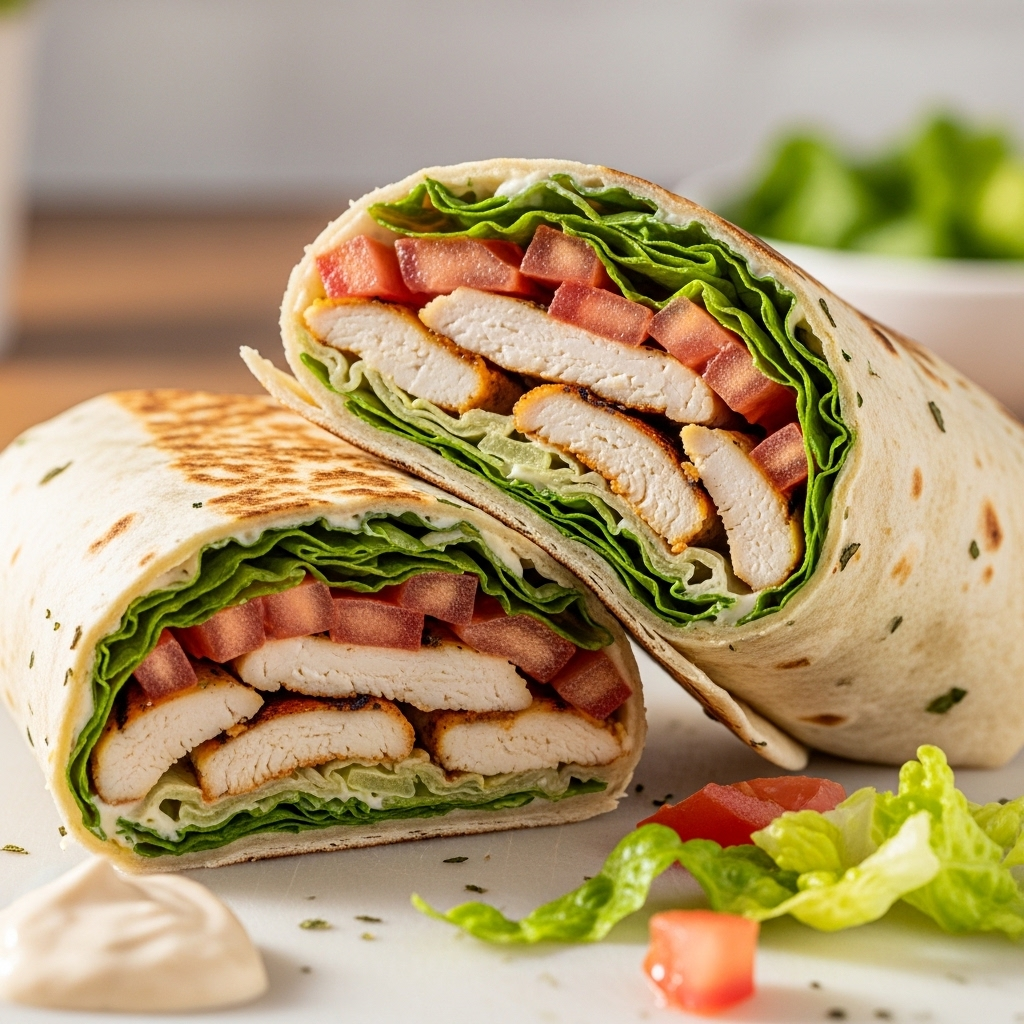
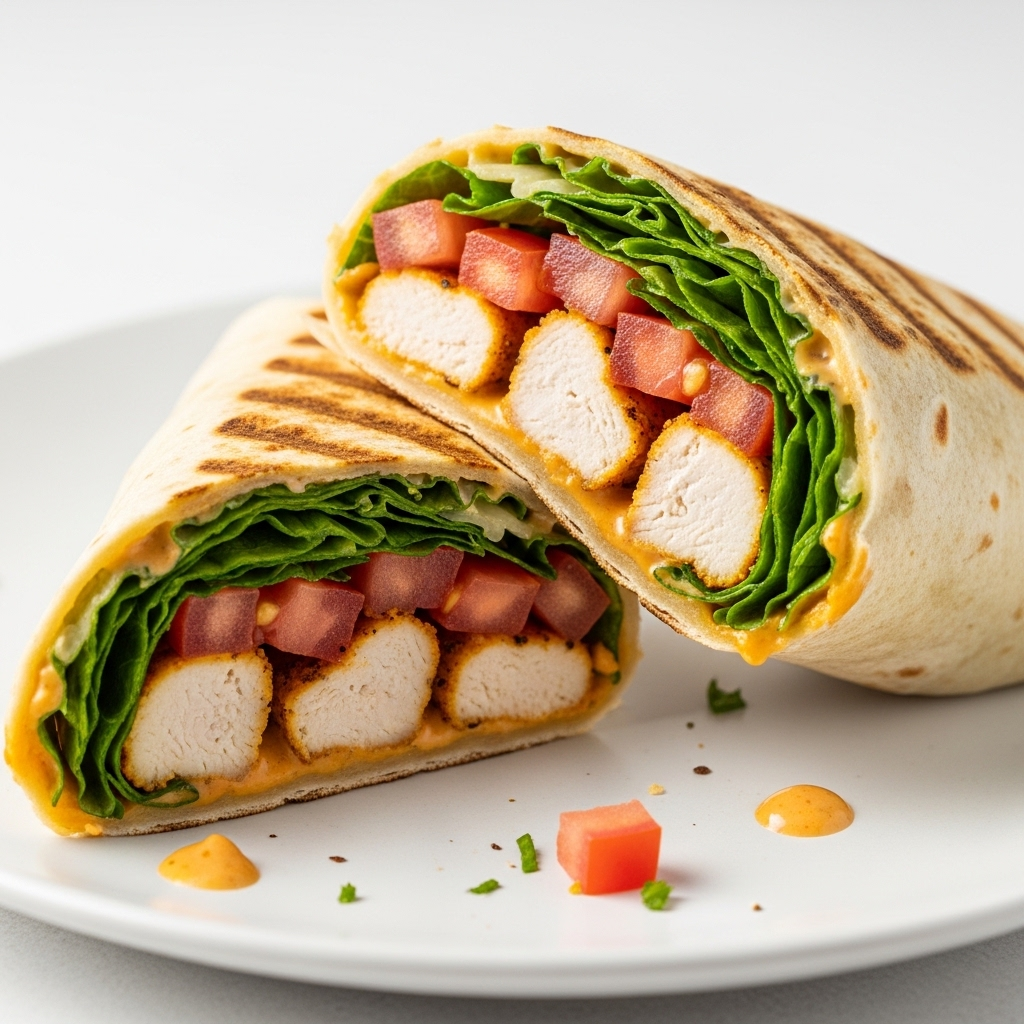
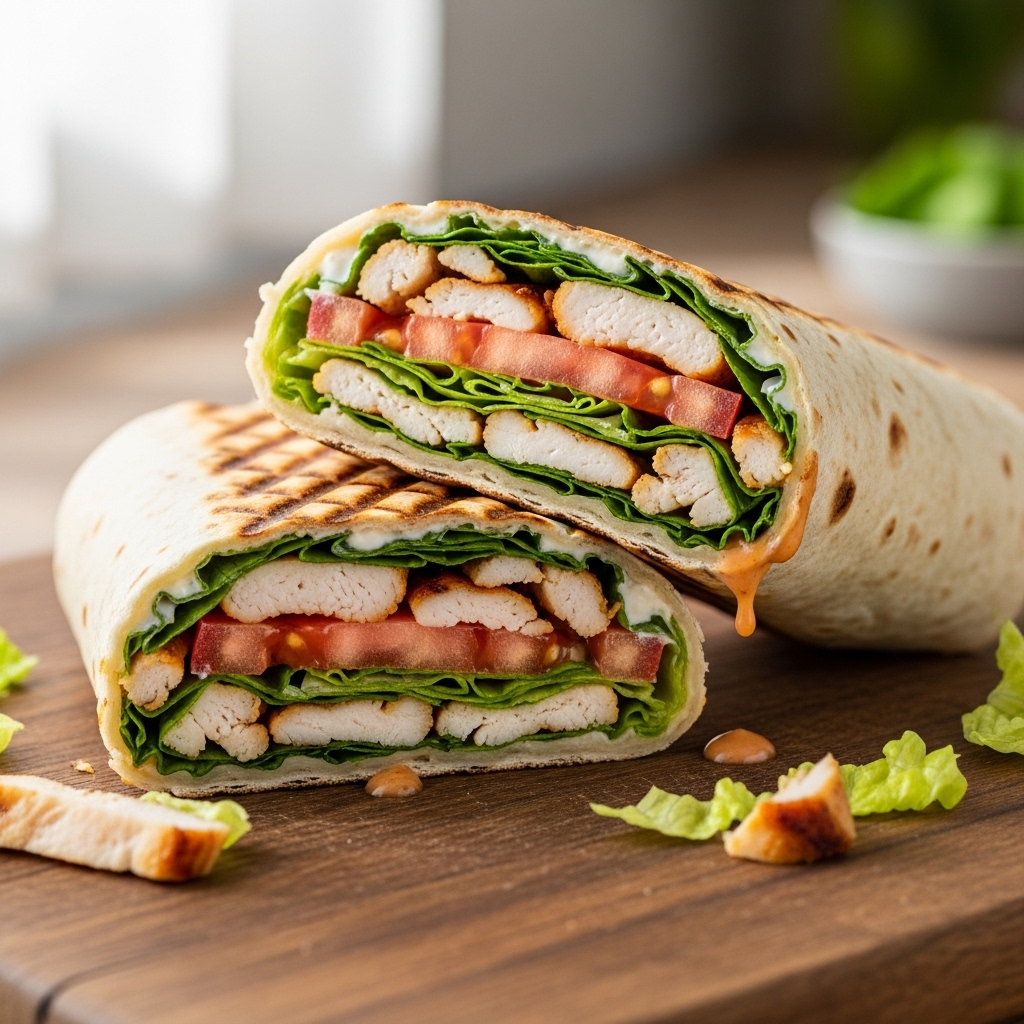
Cut the wrap on a sharp diagonal (bias cut) to showcase the colorful cross-section of ingredients. Secure each half with a bamboo skewer if serving at a party.
Garnish Ideas
- A sprinkle of smoked paprika on the exposed sauce.
- Fresh microgreens or a sprig of cilantro on the side.
- A lemon wedge for a final acidic “pop.”
Complementary Side Dishes
- Sweet Potato Fries: Topped with sea salt and rosemary.
- Quinoa Tabbouleh: For a refreshing, grain-based contrast.
- Creamy Slaw: A vinegar-based apple cider slaw works best to cut through the richness of the chicken.
Beverage Pairings
- Wine: A crisp Sauvignon Blanc or a chilled Dry Rosé.
- Non-Alcoholic: Sparkling water with a muddled cucumber and lime.
5. Nutritional Information (Per Serving)
- Calories: 480 kcal
- Protein: 38g
- Carbohydrates: 42g
- Fats: 18g (Saturated: 4g)
- Fiber: 4g
Health Benefits:
This recipe is a powerhouse of lean protein, which aids in muscle recovery and satiety. The inclusion of raw vegetables like spinach and bell peppers provides a significant dose of Vitamin A, Vitamin C, and iron.
6. Storage and Reheating
Refrigeration: Store the chicken and vegetables separately if possible. If the wrap is already assembled, it will stay fresh for up to 24 hours before the tortilla begins to soften.
Freezing: It is not recommended to freeze the fully assembled wrap due to the water content in the vegetables. However, the marinated, cooked chicken can be frozen for up to 3 months.
Reheating: To maintain a crisp exterior, reheat the chicken in a dry skillet over medium heat. If reheating a whole wrap, use an air fryer at 350°F (175°C) for 3–5 minutes.
7. Expert Tips and Variations
- The “Cold-Wrap” Secret: If you are packing this for lunch, let the chicken cool to room temperature before assembling. This prevents steam from being trapped inside the wrap, which causes sogginess.
- Mistake to Avoid: Overstuffing. Leave at least 2 inches of space around the perimeter of the tortilla to ensure a clean fold.
- The Buffalo Variation: Toss the cooked chicken in Frank’s RedHot sauce and swap the garlic aioli for a blue cheese dressing.
- Seasonal Adaptation: In winter, replace the fresh tomatoes with roasted red peppers and sun-dried tomatoes for a deeper, concentrated flavor.
8. Ingredients Section
The Chicken & Marinade
- 1.5 lbs (680g) Chicken Breast or Thighs, thinly sliced into strips.
- 3 tbsp (45ml) Extra Virgin Olive Oil.
- 1 tbsp (15ml) Fresh Lemon Juice.
- 3 cloves Garlic, minced.
- 1 tsp Dried Oregano.
- 1/2 tsp Smoked Paprika.
- Salt and Black Pepper to taste.
The Wrap Assembly
- 4 Large (10-12 inch) Flour Tortillas (Burrito size).
- 2 cups Baby Spinach or Romaine Lettuce, shredded.
- 1 Large Tomato, de-seeded and diced.
- 1/2 Red Onion, thinly sliced.
- 1 English Cucumber, julienned.
The Signature Garlic Sauce
- 1/2 cup (120g) Greek Yogurt or Mayonnaise.
- 1 tsp Dijon Mustard.
- 1 tsp Honey (optional, for balance).
- 1/2 tsp Lemon Zest.
9. Step-by-Step Instructions
- Marinate the Poultry: In a large bowl, whisk together the olive oil, lemon juice, garlic, oregano, and paprika. Toss the chicken strips until coated. Let sit for at least 20 minutes.
- The Sear: Heat your cast iron skillet over medium-high heat. Once wisps of smoke appear, add the chicken in a single layer. Do not crowd the pan; cook in batches if necessary.
- Monitor Doneness: Sear for 4–6 minutes per side until the internal temperature reaches $165^\circ F$ ($74^\circ C$). The exterior should have a deep golden-brown char.
- Resting: Transfer chicken to a cutting board and let it rest for 5 minutes. This allows the juices to redistribute.
- Prepare the Sauce: Whisk the yogurt, mustard, honey, and zest until smooth.
- Warm the Tortilla: Place each tortilla on the hot skillet for 10 seconds per side. This makes them pliable and prevents tearing.
- Assembly: Spread 1 tablespoon of sauce in the center. Layer the greens, followed by the cucumber, onion, and tomato. Place a generous portion of chicken on top.
- The Fold: Fold the sides inward, then roll from the bottom up, tucking the filling tightly as you go.
10. Frequently Asked Questions (FAQ)
Q: Can I use chicken thighs instead of breasts?
A: Absolutely. Thighs have a higher fat content and are more forgiving if overcooked, resulting in a juicier wrap.
Q: How do I stop my wrap from falling apart?
A: The key is the “sear and steam.” Warming the tortilla makes it stretchy. Also, wrapping the finished product in foil for 2 minutes helps “set” the shape.
Q: Is there a vegan alternative?
A: Yes! Substitute the chicken with grilled Portobello mushrooms or chickpeas, and use a vegan mayo or tahini-based sauce.
Q: Can I make these a day in advance?
A: To prevent sogginess, apply a thin layer of spinach directly against the tortilla to act as a moisture barrier before adding the sauce and chicken.


