1. Introduction: A Slice of Golden Nostalgia
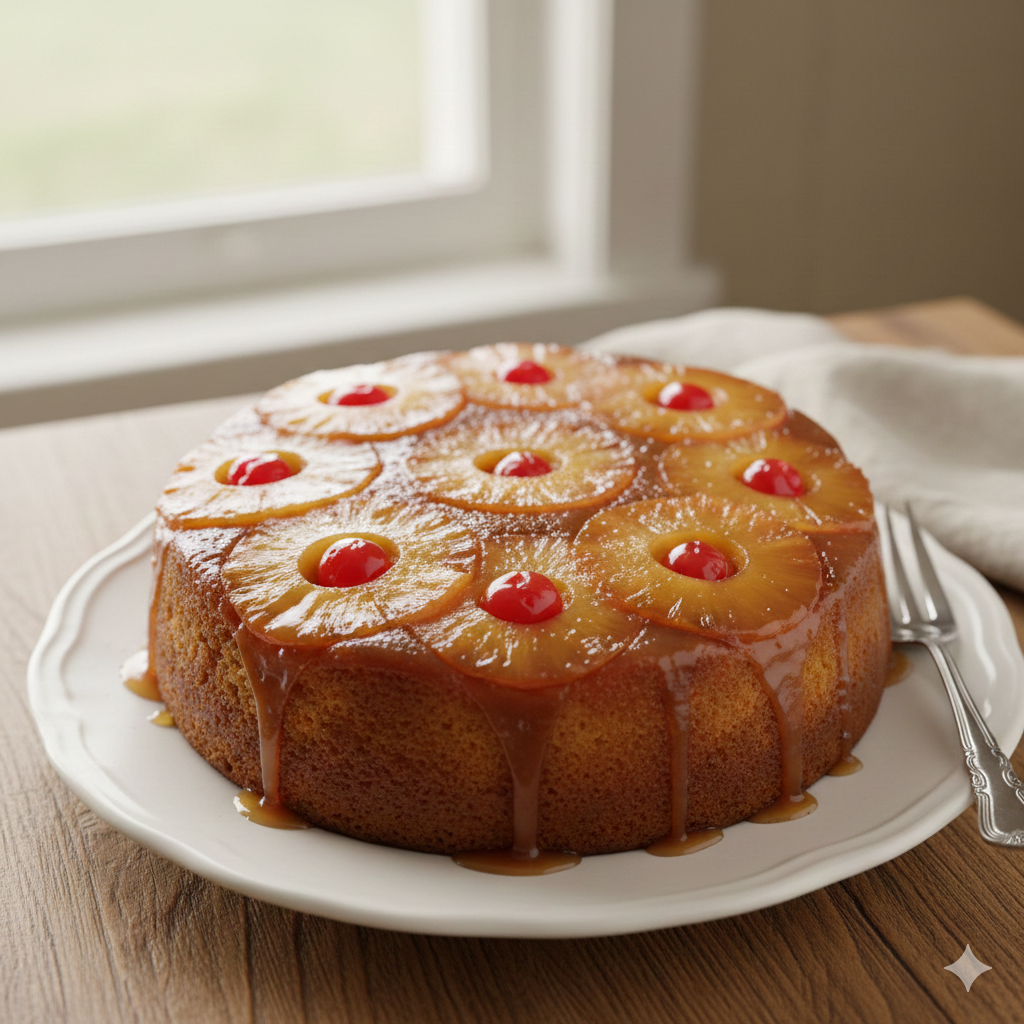
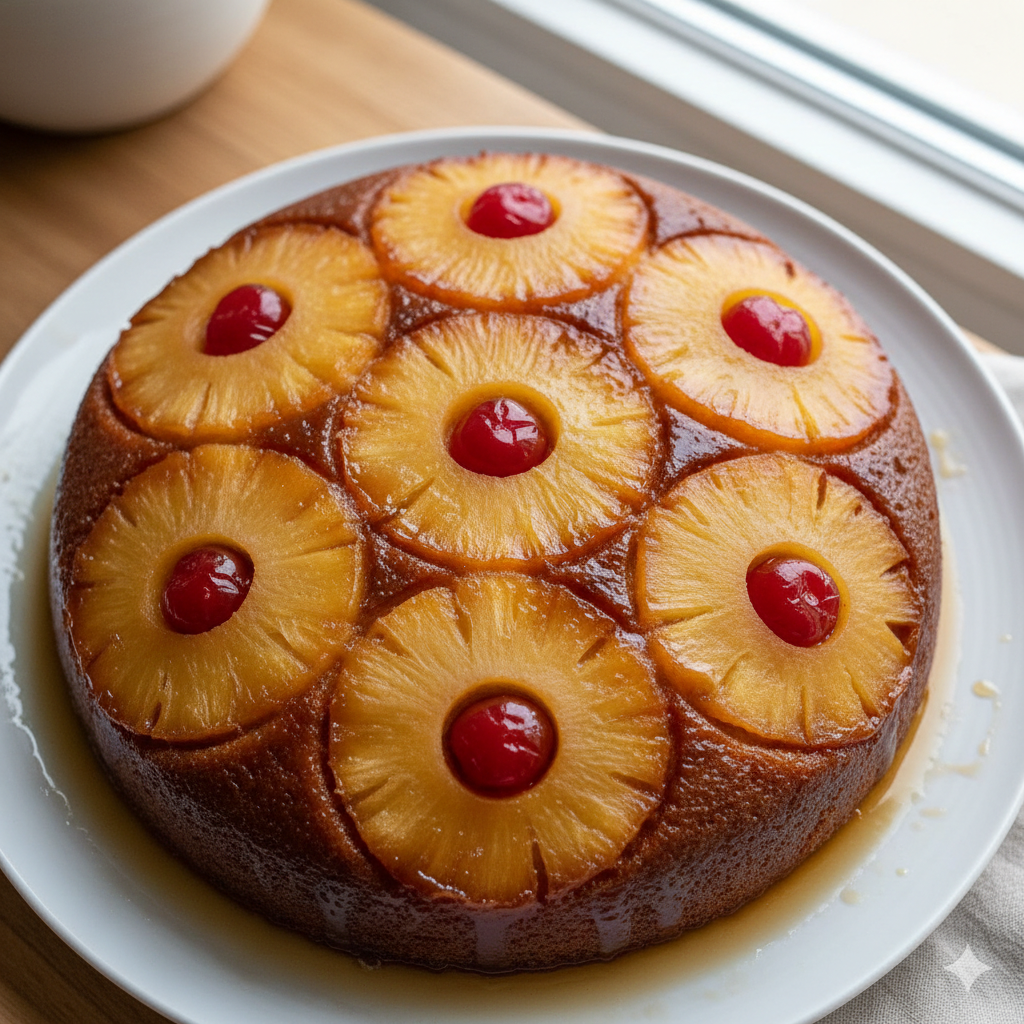
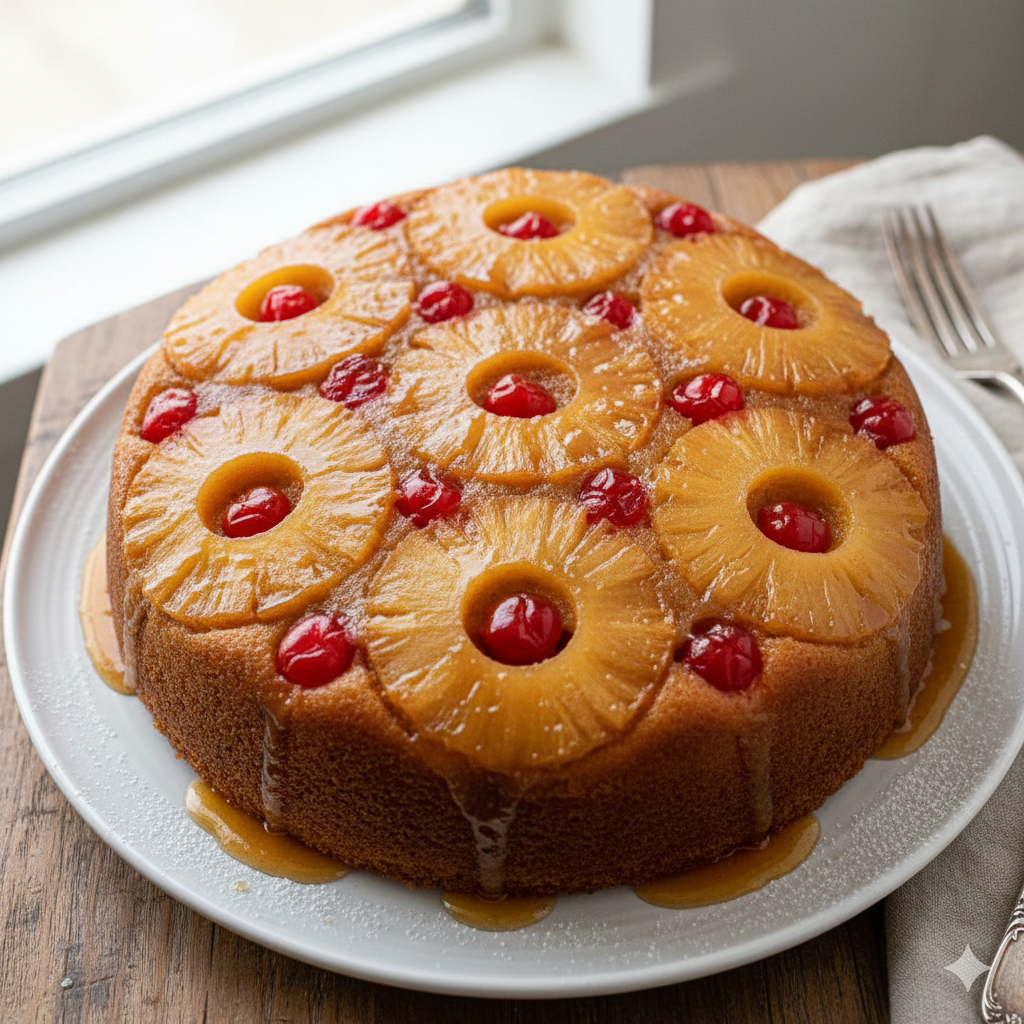
There is something inherently magical about the moment you flip a Pineapple Upside-Down Cake. As the pan is lifted, it reveals a shimmering, stained-glass mosaic of caramelized fruit and vibrant cherries, all nestled into a lake of buttery brown sugar glaze. It is a dessert that defies the laws of “rustic” baking, appearing elegant and complex while remaining one of the most approachable recipes in the baker’s repertoire.
The History of a “Topsy-Turvy” Classic
While the concept of “skillet cakes” or “upside-down cakes” dates back centuries—born out of the necessity of cooking over open fires in cast-iron pans—the Pineapple Upside-Down Cake as we know it is a truly 20th-century icon. Its rise to fame is intrinsically linked to the invention of canned pineapple.
In the early 1900s, Jim Dole’s engineers developed a machine to mass-produce perfectly uniform pineapple rings. By 1925, the Hawaiian Pineapple Company (now Dole) held a recipe contest, receiving over 2,500 submissions for pineapple upside-down cakes. It became an instant sensation, symbolizing exotic luxury that was suddenly accessible to every household.
Why This Recipe Stands Out
Many modern versions of this cake rely on boxed mixes, which can result in a texture that is overly airy and artificial. Our version honors the traditional Victorian Sponge roots but incorporates a specialized “reverse-creaming” or high-fat method to ensure the crumb is sturdy enough to hold the fruit topping without becoming soggy. It is a balance of tropical acidity, deep molasses sweetness, and a velvet-textured cake.
2. Recipe Overview
- Cuisine Type: American / Retro Classic
- Difficulty Level: Intermediate (The “Flip” is the challenge!)
- Prep Time: 25 minutes
- Cook Time: 45–50 minutes
- Total Time: 1 hour 15 minutes
- Dietary Classifications: Vegetarian, Nut-Free
3. Equipment and Tools
To achieve the iconic caramelized crust and even bake, the right tools are essential.
| Tool | Specification | Purpose |
| Baking Pan | 9-inch (23cm) round cake pan OR 10-inch cast-iron skillet | To house the caramel and cake batter |
| Pan Depth | Minimum 2.5 to 3 inches deep | Prevents the caramel from bubbling over |
| Mixing Bowls | One large (dry), one medium (wet) | To organize ingredients |
| Electric Mixer | Stand or Handheld | For proper aeration of the butter |
| Offset Spatula | Small stainless steel | For smoothing the batter over the fruit |
| Cooling Rack | Wire mesh | Essential for the 10-minute “set” period |
| Large Plate | At least 11–12 inches in diameter | For the final inversion/flip |
4. Serving Suggestions
Plating and Presentation
This cake is a showstopper on its own, but a few touches can elevate it:
- Garnish: A light dusting of powdered sugar around the edges or a sprig of fresh mint for color contrast.
- Temperature: Serve slightly warm. The caramel is at its most luscious when it hasn’t fully hardened.
Pairings
- The Cream Element: A dollop of unsweetened whipped cream or a scoop of high-quality vanilla bean ice cream balances the intense sweetness of the topping.
- Beverage (Non-Alcoholic): A strong, dark roast coffee or a spicy Chai tea.
- Wine/ Spirits: A late-harvest Riesling or a glass of aged dark rum on the rocks complements the molasses and tropical notes.
5. Nutritional Information
(Estimated per serving based on 10 slices)
- Calories: 385 kcal
- Total Fat: 18g (Saturated Fat: 11g)
- Cholesterol: 75mg
- Sodium: 210mg
- Total Carbohydrates: 54g
- Fiber: 1g
- Sugars: 38g
- Protein: 4g
Health Note: This is an indulgent dessert. For a lighter version, you can reduce the brown sugar in the topping by 20%, though the caramel layer will be thinner.
6. Storage and Reheating
Storage
- Room Temperature: Cover loosely with foil and store for up to 24 hours.
- Refrigeration: Because of the high fruit and moisture content, this cake should be refrigerated if kept longer than a day. Store in an airtight container for up to 4 days.
Freezing
- While possible, freezing can make the pineapple rings slightly mushy. If you must, wrap individual slices tightly in plastic wrap and foil. Freeze for up to 1 month. Thaw in the refrigerator.
Reheating
- Oven (Best): Place a slice on a baking sheet at 300°F (150°C) for 5–8 minutes to loosen the caramel.
- Microwave: 15–20 seconds just to take the chill off.
7. Expert Tips and Variations
Pro Tips
- Dry the Fruit: Pat your pineapple rings and cherries bone-dry with paper towels. Excess moisture will thin the caramel and make the top of the cake “soupy.”
- The 10-Minute Rule: Do not flip the cake immediately. Let it sit for exactly 10 minutes. This allows the caramel to thicken slightly so it clings to the cake rather than running off.
- Pan Prep: Even if using a non-stick pan, grease the sides of the pan heavily with butter to ensure the cake releases cleanly.
Variations
- The Tropical Twist: Add ½ cup of shredded sweetened coconut to the batter.
- The Spiced Version: Add ½ teaspoon of ground cardamom and a pinch of cloves to the flour for a deeper, wintry flavor profile.
- Fresh vs. Canned: While canned is traditional, you can use fresh pineapple. Sauté the fresh rings in butter and sugar for 2 minutes per side before placing them in the pan to ensure they are tender.
8. Ingredients Section
The Topping (The “Upside”)
- Unsalted Butter: 4 tbsp (57g), melted
- Light Brown Sugar: ½ cup (110g), packed
- Pineapple Rings: 7–20 rings (depending on size), canned in juice (not syrup)
- Maraschino Cherries: 7–10, stems removed and patted dry
The Cake (The “Downside”)
- All-Purpose Flour: 1 ½ cups (190g)
- Baking Powder: 1 ½ tsp
- Salt: ¼ tsp
- Unsalted Butter: ½ cup (113g), softened to room temperature
- Granulated Sugar: 1 cup (200g)
- Large Eggs: 2, room temperature
- Vanilla Extract: 1 tsp
- Pineapple Juice (Reserved from can): 6 tbsp (90ml)
- Sour Cream or Full-Fat Greek Yogurt: 2 tbsp (30g)
9. Step-by-Step Instructions
Step 1: Prepare the Oven and Pan
Preheat your oven to 350°F (175°C). Position your oven rack in the center. Melt the 4 tablespoons of butter and pour it into the bottom of your 9-inch cake pan. Swirl to coat.
Step 2: Create the Caramel Base
Evenly sprinkle the brown sugar over the melted butter. Use a fork to ensure there are no large clumps. This will create the “lava” that glazes the fruit.
Step 3: Arrange the Fruit
Place one pineapple ring in the center of the pan. Arrange the remaining rings around it. If you have gaps, you can cut rings in half to line the sides. Place a maraschino cherry in the center of each ring and in any small decorative gaps. Press firmly into the sugar.
Step 4: Cream the Batter
In a stand mixer fitted with the paddle attachment, cream the softened butter and granulated sugar on medium-high speed until pale and fluffy (about 3–4 minutes). This aeration is crucial for a light crumb.
Step 5: Incorporate Wet Ingredients
Add eggs one at a time, beating well after each addition. Mix in the vanilla extract and the sour cream.
Step 6: Alternating Dry and Liquid
In a separate bowl, whisk the flour, baking powder, and salt. Reduce the mixer to low. Add the flour mixture in three parts, alternating with the pineapple juice. Do not overmix, or the cake will be tough.
Step 7: The Pour
Carefully spoon the batter over the arranged pineapples. Use an offset spatula to spread it gently, being careful not to displace the fruit underneath.
Step 8: The Bake
Bake for 45–50 minutes. The cake is done when a toothpick inserted into the center (not the fruit) comes out clean or with just a few moist crumbs. The top should be a deep golden brown and spring back when touched.
Step 9: The Critical “Flip”
Place the pan on a wire rack for 10 minutes. Run a thin knife around the edge of the cake. Place your serving plate upside down over the pan. Using oven mitts, firmly grasp the pan and plate together and quickly invert. Let it sit inverted for 30 seconds before slowly lifting the pan off.
10. Frequently Asked Questions (FAQ)
Q: Can I use a 9×13 pan instead of a round one?
A: Yes. Double the topping ingredients and increase the batter by 1.5x. Bake time may decrease slightly, so start checking at 35 minutes.
Q: Why did my cake stick to the pan?
A: This usually happens if the cake cooled too long in the pan (the sugar hardened) or if the pan wasn’t greased well on the sides. If it sticks, place the pan over a low stove burner for 30 seconds to re-melt the sugar.
Q: Can I use fresh pineapple instead of canned?
A: Absolutely! Just ensure the slices are of uniform thickness (about ½ inch). You may need to add a tablespoon of water or milk to the batter to replace the reserved pineapple juice.
Q: My caramel is too thin/runny. What happened?
A: This is usually caused by not drying the pineapple rings enough or using pineapple canned in heavy syrup rather than juice.
Q: Can I make this gluten-free?
A: Yes. Use a high-quality 1:1 gluten-free baking flour blend that contains xanthan gum.


