1. Introduction
We have all been there: it’s late at night, the cravings hit, and the thought of preheating an oven, greasing a cake pan, and waiting forty minutes for a sponge to rise feels like an insurmountable task. Enter the 90-Second Chocolate Mug Cake.
While the “mug cake” phenomenon took the internet by storm in the early 2010s, its roots actually trace back to the mid-century advent of the microwave oven. Initially seen as a novelty, it has evolved into a culinary art form for the modern, busy individual. This isn’t just a “sponge in a cup”; it is a calculated balance of chemistry designed to cook rapidly without becoming rubbery.
The significance of this dish lies in its accessibility. It’s the ultimate “self-care” dessert—a single-serving masterpiece that requires zero sharing and minimal cleanup. Whether you’re a college student in a dorm, a busy professional, or a parent seeking a quiet treat after the kids are in bed, this recipe is your secret weapon for instant gratification.
2. Recipe Overview
- Cuisine Type: American / Contemporary Dessert
- Difficulty Level: Beginner
- Total Time: 3 minutes (1.5 mins prep + 1.5 mins cooking)
- Dietary Classifications: Vegetarian (Can be made Vegan/GF with substitutions)
3. Equipment and Tools
To achieve the perfect texture, you need more than just any old cup.
- The Vessel: A standard 12-ounce (350ml) ceramic mug. Avoid shallow tea cups; you need depth to allow the cake to rise without overflowing.
- Measuring Spoons: Standard US Imperial or Metric sets. Accuracy is key in small-batch baking.
- Small Whisk or Fork: A fork works perfectly to break up flour clumps.
- Microwave: Standard 1000W-1200W model recommended.
4. Serving Suggestions
A mug cake is a canvas. While delicious plain, you can elevate it to “bistro-level” with these additions:
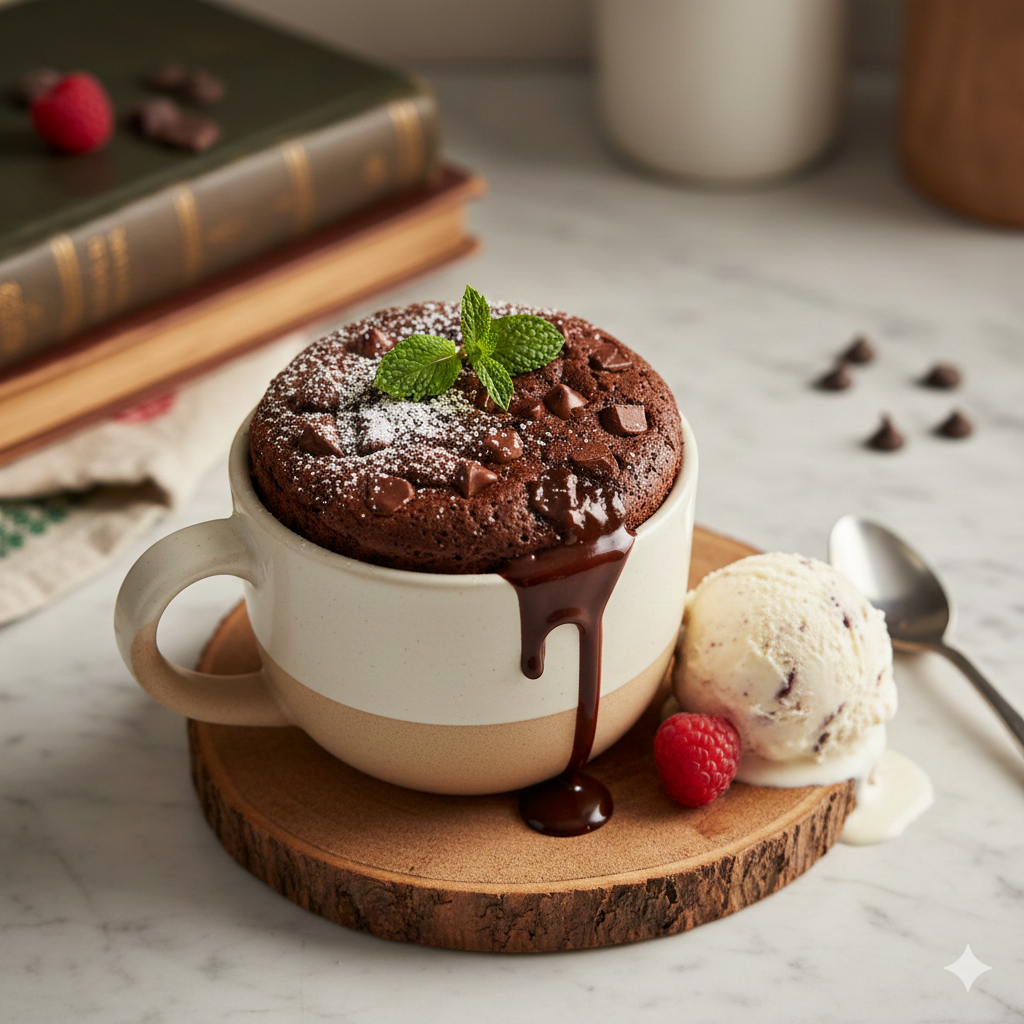
- Plating: Keep it in the mug for coziness, or run a knife around the edge and invert it onto a small saucer for a “molten lava” look.
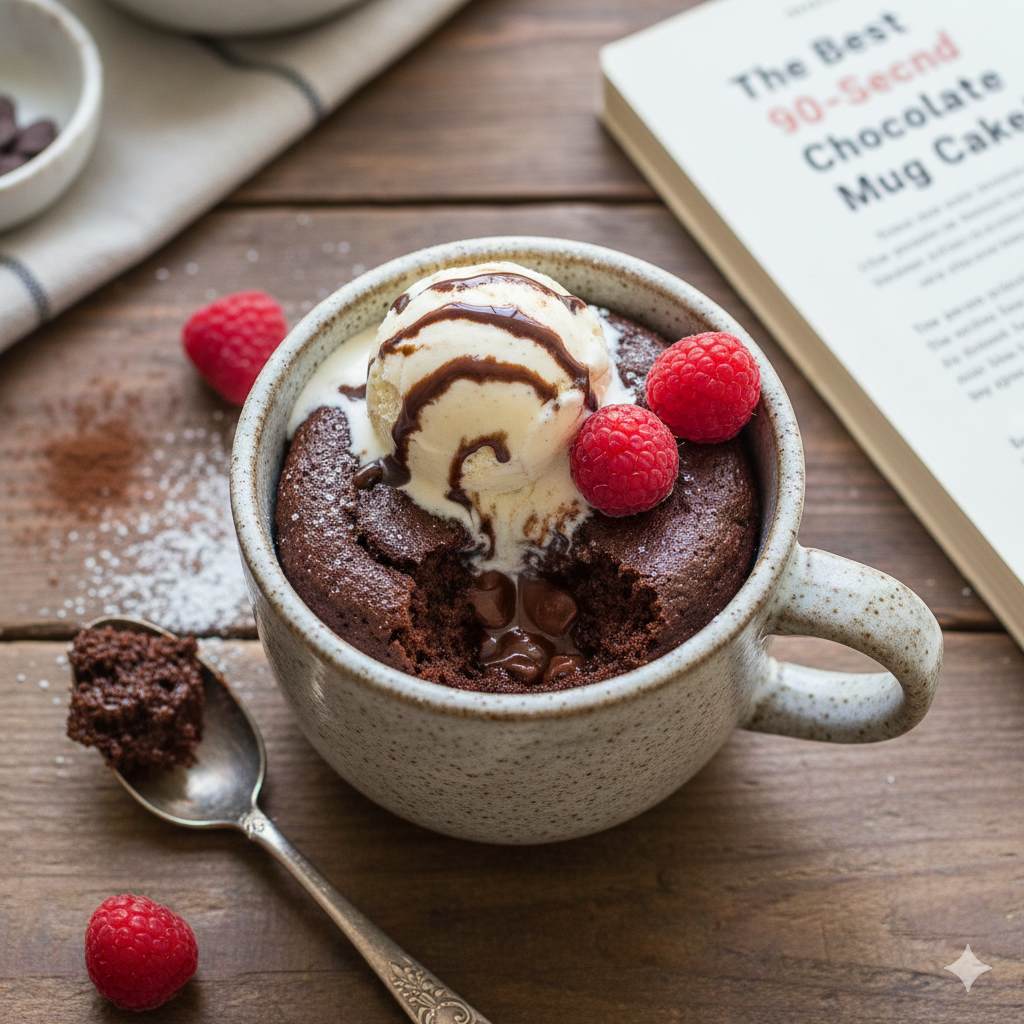
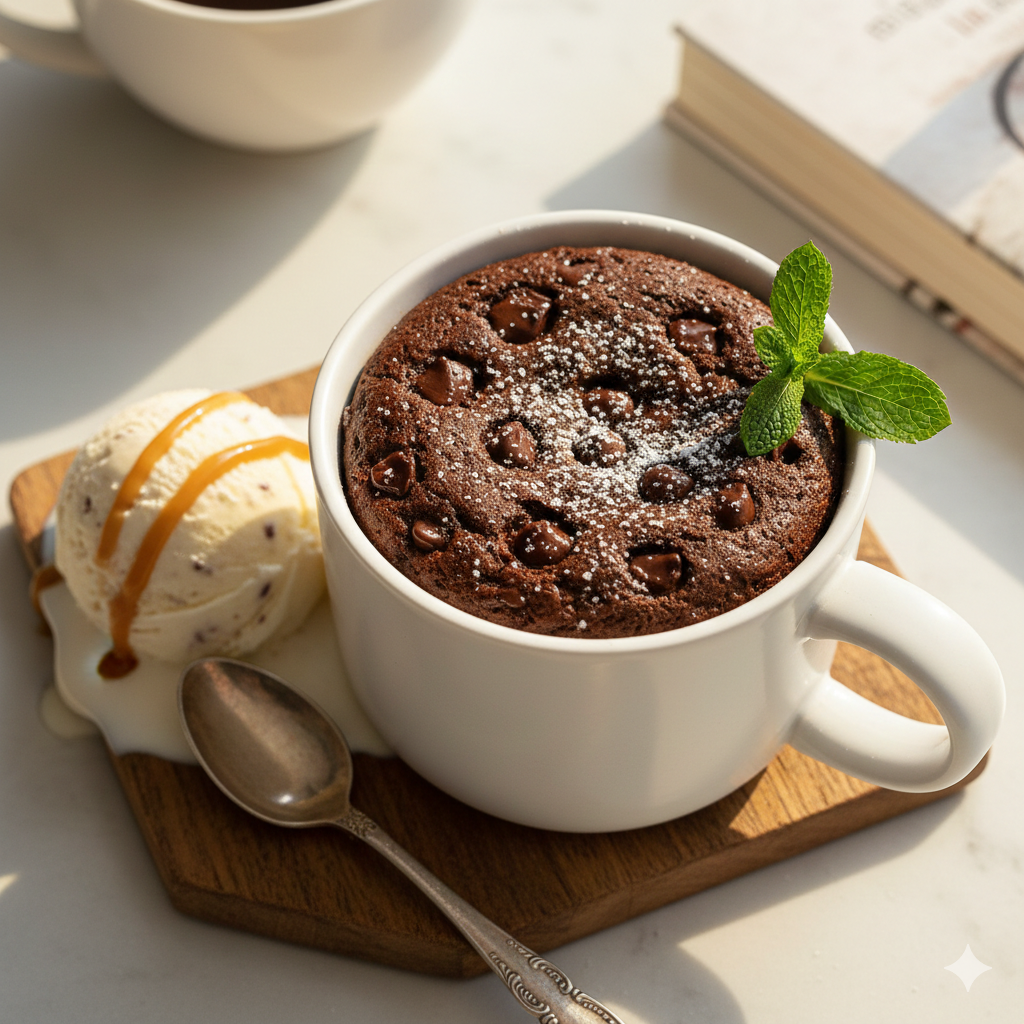
- Garnish: A dusting of powdered sugar, a sprig of fresh mint, or a few raspberries.
- Sides: A scoop of high-quality vanilla bean ice cream or a dollop of cold whipped cream.
- Beverage Pairings: A glass of cold milk, a robust espresso, or for an evening treat, a glass of Ruby Port.
5. Nutritional Information
(Per serving, based on standard ingredients)
| Nutrient | Amount |
| Calories | 320 kcal |
| Total Fat | 14g |
| Carbohydrates | 42g |
| Protein | 5g |
| Fiber | 2g |
Health Note: This is an indulgent treat. To boost the profile, you can swap sugar for stevia or use whole wheat pastry flour for added fiber.
6. Storage and Reheating
- Storage: Mug cakes are best enjoyed immediately. If you must store it, cover the mug with plastic wrap at room temperature for up to 12 hours.
- Freezing: Not recommended. The texture of microwave cakes degrades significantly upon freezing.
- Reheating: If it has cooled, zap it for 10 seconds to restore the melt-in-your-mouth feel.
7. Expert Tips and Variations
Professional Chef Tips
- The “Center Sunk” Secret: Place a single chocolate truffle or a teaspoon of Nutella in the center of the batter before cooking. It creates a molten core.
- Don’t Overmix: Once the flour is incorporated, stop. Overmixing develops gluten, which makes microwave cakes tough.
Creative Variations
- Peanut Butter Swirl: Swirl a tablespoon of peanut butter into the top before microwaving.
- Salted Caramel: Add a pinch of sea salt and a drizzle of caramel sauce.
- Dark & Spicy: Add a pinch of cayenne pepper and cinnamon for a Mexican Chocolate vibe.
8. Ingredients Section
| Ingredient | Metric | Imperial | Quality Note |
| All-Purpose Flour | 30g | 4 tbsp | Sifted for fluffiness |
| Granulated Sugar | 25g | 2-3 tbsp | Adjust for sweetness |
| Unsweetened Cocoa | 10g | 2 tbsp | Use Dutch-processed for richness |
| Baking Powder | 1g | 1/4 tsp | Ensure it’s fresh |
| Salt | Pinch | Pinch | Enhances chocolate flavor |
| Whole Milk | 45ml | 3 tbsp | Can use almond or oat milk |
| Vegetable Oil | 15ml | 1 tbsp | Or melted butter |
| Vanilla Extract | 2ml | 1/2 tsp | Pure extract is best |
| Chocolate Chips | 15g | 1-2 tbsp | Semi-sweet or dark |
9. Step-by-Step Instructions
- Whisk Dry Ingredients: In your 12oz mug, combine the flour, sugar, cocoa powder, baking powder, and salt. Use a fork to ensure no lumps of cocoa remain.
- Incorporate Liquids: Add the milk, vegetable oil, and vanilla extract. Stir until the batter is smooth and no dry pockets remain at the bottom of the mug.
- The “Fold”: Stir in the chocolate chips. These will sink slightly and create pockets of melted joy.
- The Cook: Place the mug in the center of the microwave. Cook on High for 90 seconds.Visual Cue: The cake should rise above the rim and then settle slightly. The top should look set but slightly shiny.
- The Rest: This is the hardest part. Let the cake sit for 2 minutes. This allows the residual heat to finish the “crumb” and prevents you from burning your tongue.
10. Frequently Asked Questions (FAQ)
Q: Why is my mug cake rubbery?
A: This usually happens due to overcooking or using too much oil. Try reducing the time by 10 seconds next time.
Q: Can I make this gluten-free?
A: Yes! Use a 1:1 gluten-free baking flour blend. Avoid using pure coconut or almond flour alone, as the ratios differ.
Q: My cake overflowed! What happened?
A: Your mug was likely too small. Ensure you use a 12oz mug and that the batter fills it no more than halfway.
Q: Can I skip the oil?
A: You can substitute applesauce or mashed banana, but the texture will be more “muffin-like” and less like a decadent cake.


