1. Introduction
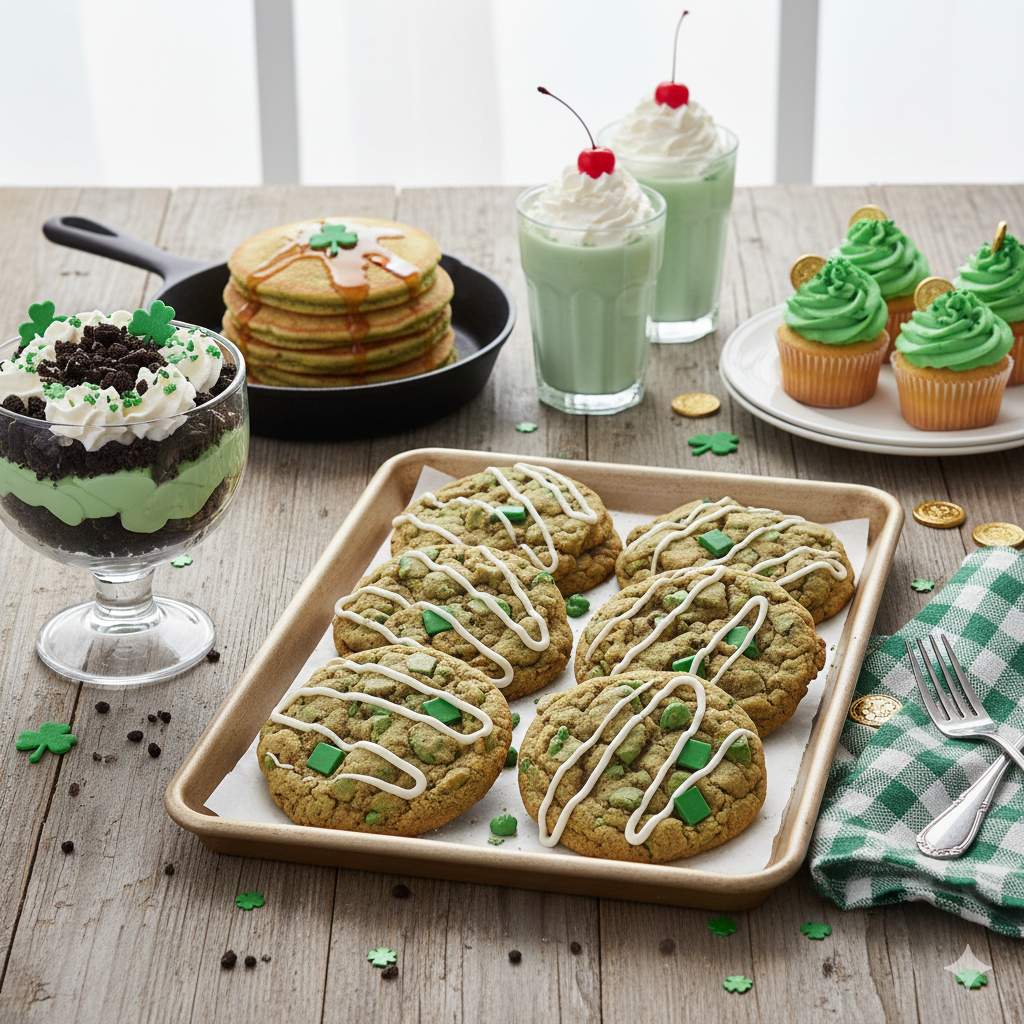
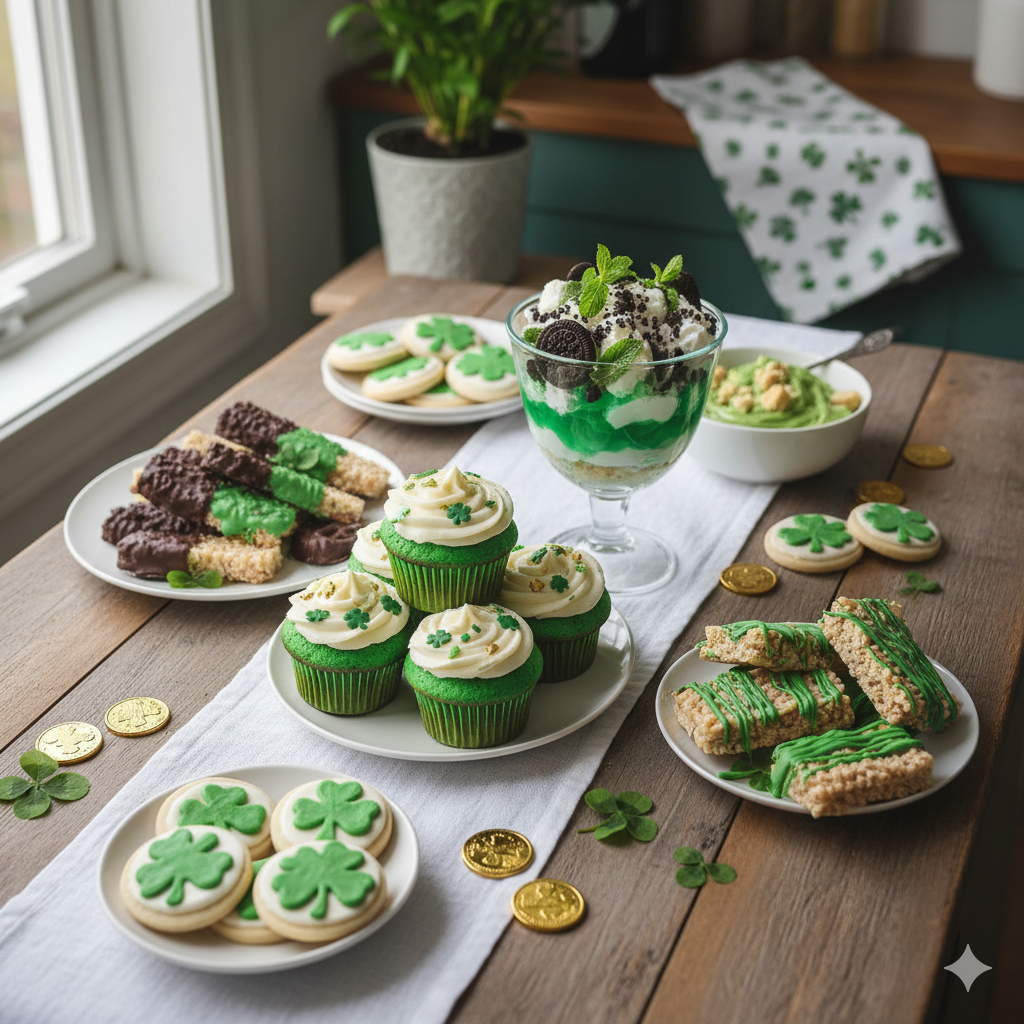
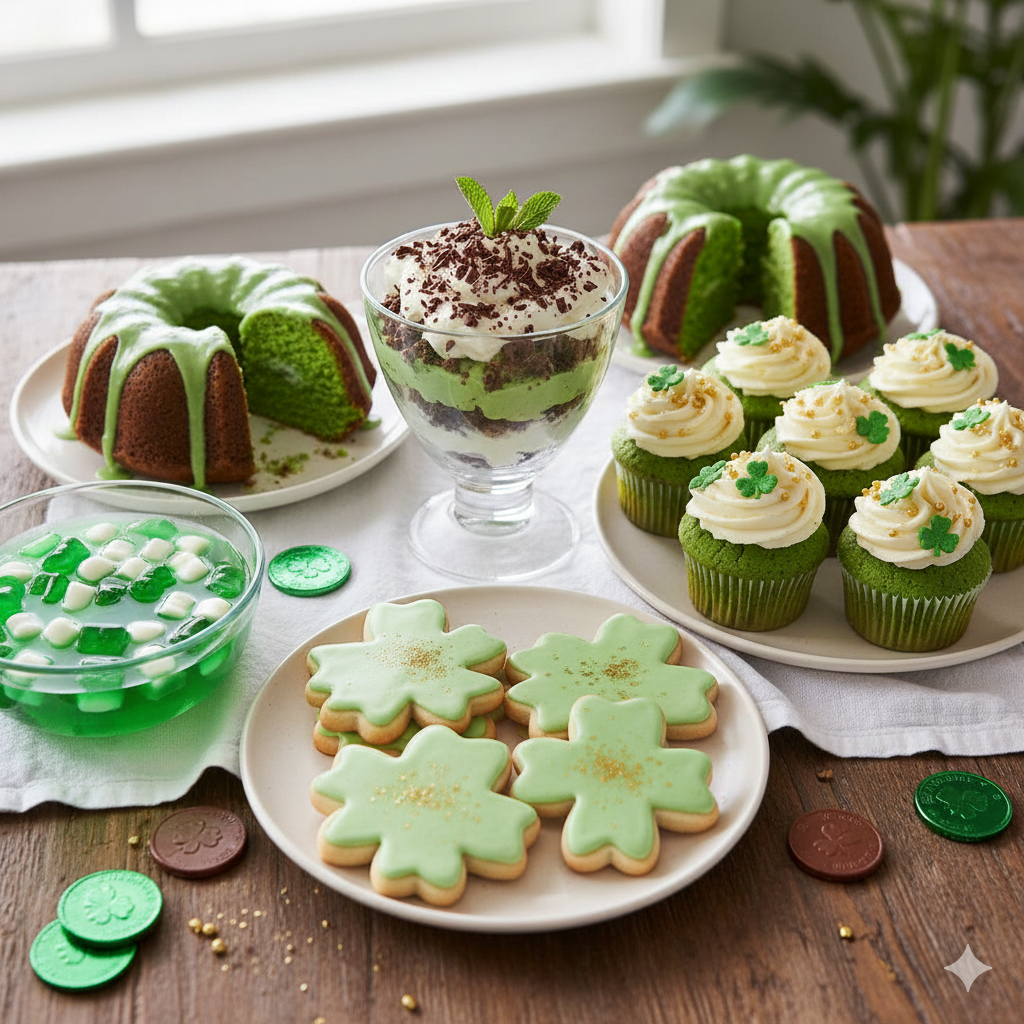
When March 17th rolls around, the world transforms into a vibrant sea of emerald. While the savory aroma of corned beef often fills the air, the true “pot of gold” at any celebration is the dessert table. St. Patrick’s Day sweets are more than just food; they are a whimsical nod to Irish folklore, the lush “Emerald Isle” landscapes, and the joy of community.
The tradition of celebrating St. Patrick’s Day with sweets is a relatively modern evolution, particularly in the Irish-American diaspora. Originally a religious feast day, it became an opportunity to break Lenten restrictions on sugar and dairy. Today, we celebrate with vibrant green hues, rich dark chocolates that mimic the depths of a stout, and playful garnishes like “leprechaun gold.” These recipes are designed for the modern home baker—someone who wants the festive flair without spending twelve hours in the kitchen. Whether you’re a seasoned pro or a holiday hobbyist, these treats bring a bit of Irish magic to your table.
2. Recipe Overview
- Cuisine Type: Irish-American Fusion / Festive Holiday
- Difficulty Level: Easy (Perfect for families and beginners)
- Total Preparation and Cooking Time: 45 minutes to 2.5 hours (including chilling)
- Dietary Classifications: Primarily Vegetarian. Substitutions for Vegan and Gluten-Free diets are highlighted in the variations section.
3. Equipment and Tools
Success in the kitchen starts with the right gear. For these festive desserts, ensure you have the following:
Essential Kitchen Tools
- Electric Hand Mixer or Stand Mixer: Necessary for fluffing butter and aerating frostings.
- Silicone Spatulas: Ideal for folding in green food coloring without deflating your batters.
- Heavy-Bottomed Saucepan: For melting chocolate or making caramel “gold” sauces.
Specific Equipment Specifications
- Standard Baking Sheet: 18×13 inches (Half-sheet) for cookies.
- Square Baking Pan: 8×8 or 9×9 inch for dense brownie-style bars.
- Cooling Rack: Essential for preventing soggy bottoms on your cookies and cakes.
- Fine-Mesh Sieve: For dusting “snow” (powdered sugar) or ensuring your flour is lump-free.
4. Serving Suggestions
How you present your treats can turn a simple cookie into a holiday centerpiece.
- Plating: Use slate boards or dark wood platters to provide a dramatic contrast to bright green desserts.
- Garnish Ideas: Use fresh mint sprigs, edible gold leaf, or crushed pistachio nuts for a sophisticated look. For a playful touch, use rainbow-colored candies to create a “rainbow’s end” effect.
- Beverage Pairings: * Non-Alcoholic: A sparkling mint limeade or a rich, dark cocoa.
- Traditional: A classic Irish tea with a splash of milk and honey.
5. Nutritional Information
(Estimated per serving size of one standard bar or cookie)
| Nutrient | Amount |
| Calories | 220 kcal |
| Total Fat | 10g |
| Saturated Fat | 6g |
| Carbohydrates | 32g |
| Sugars | 22g |
| Fiber | 1g |
| Protein | 2g |
Note: While high in sugar, these treats offer a quick energy boost. To balance the glycemic load, consider serving with a side of protein-rich nuts or Greek yogurt.
6. Storage and Reheating
Keep your luck from running out by storing your treats correctly:
- Room Temperature: Cookies and bars stay fresh in an airtight container for 3-4 days.
- Refrigeration: Anything with a cream cheese or whipped topping must be refrigerated. They will last up to 1 week.
- Freezing: Most baked goods freeze beautifully. Wrap tightly in plastic wrap and a layer of foil for up to 3 months.
- Reheating: To regain that “fresh-from-the-oven” feel, microwave individual bars for 15 seconds or place in a 300°F (150°C) oven for 5 minutes.
7. Expert Tips and Variations
- The “Gel” Advantage: Always use gel-based food coloring. Liquid coloring can change the chemistry of your batter, making it too runny.
- Salt is Key: Even in sweets, a pinch of sea salt enhances the flavor of chocolate and mint.
- The “Shamrock” Shape: If you don’t have a cookie cutter, use three small circles of dough placed together with a tiny “stem” to bake a natural shamrock shape.
- Variations:
- Gluten-Free: Swap all-purpose flour for a 1:1 gluten-free baking blend.
- Natural Green: Use matcha powder or spinach juice (boiled down) for an earthy, chemical-free green tint.
8. Ingredients Section (Featured: Emerald Mint Brownies)
These brownies are a festive showstopper with a rich chocolate base and a vibrant mint cream layer.
Precise Ingredient List
- Unsalted Butter: 1 cup (226g), melted.
- Granulated Sugar: 2 cups (400g).
- Large Eggs: 4, room temperature.
- Pure Vanilla Extract: 1 tbsp.
- Unsweetened Cocoa Powder: ¾ cup (75g), sifted.
- All-Purpose Flour: 1 cup (125g).
- Peppermint Extract: 1 tsp (for the topping).
- Powdered Sugar: 2 cups (240g).
- Green Gel Food Coloring: 2-4 drops.
9. Step-by-Step Instructions
- Prep the Base: Preheat your oven to 350°F (175°C). Line a 9×9 inch pan with parchment paper.
- Mix the Chocolate: Combine melted butter and sugar. Whisk in eggs and vanilla until the mixture is glossy.
- Fold in Dry Ingredients: Gently fold in cocoa powder and flour. Culinary Tip: Do not overmix here, or the brownies will become cake-like instead of fudgy.
- Bake: Spread into the pan and bake for 25-30 minutes. Let them cool completely.
- Create the Mint Layer: Beat together softened butter, powdered sugar, peppermint extract, and green food coloring until light and fluffy.
- Assemble: Spread the green frosting over the cooled brownies.
- Optional Glaze: Melt ½ cup of chocolate chips and pour over the mint layer for a “thin mint” effect.
- Chill and Cut: Refrigerate for 1 hour before slicing into squares.
10. Frequently Asked Questions (FAQ)
Q: Can I use peppermint oil instead of extract?
A: Peppermint oil is much stronger. Use only 1-2 drops for every teaspoon of extract required.
Q: Why did my green color fade after baking?
A: Some dyes are not heat-stable. Gel dyes generally hold up better than liquid ones.
Q: How do I get clean edges when cutting brownies?
A: Wipe your knife with a warm, wet cloth between every single cut.
Q: Can I make these nut-free?
A: All recipes listed here are nut-free by design, but always check your chocolate labels for cross-contamination.
Q: What is a “Shamrock Shake” style dessert?
A: It’s any dessert—like a cupcake or mousse—that uses the flavor profile of vanilla and heavy mint.


