
1. Introduction
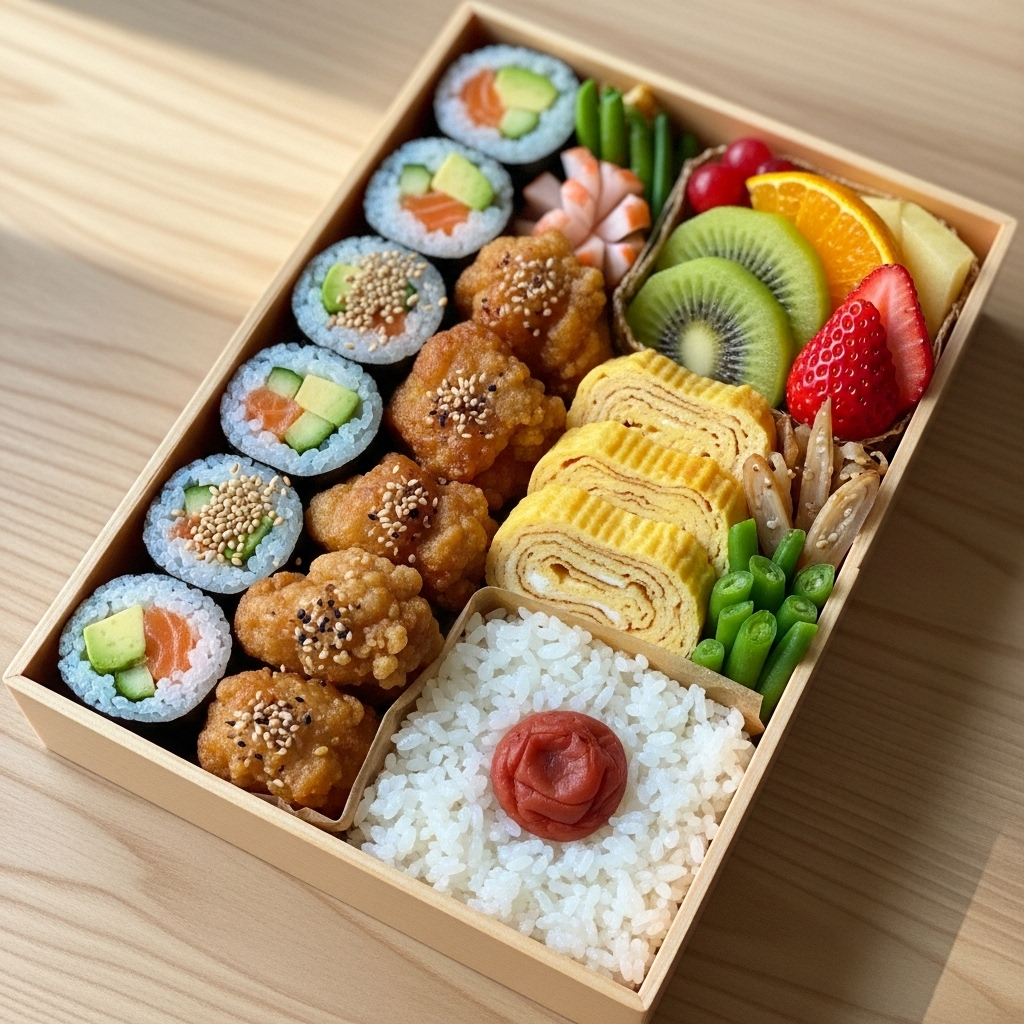
TheBento Boxis more than just a meal in a container; it is a portable masterpiece that embodies the Japanese philosophy ofshun(seasonality), balance, and aesthetic harmony. Originating over a thousand years ago during the Kamakura period, the bento has evolved from simple dried rice carried by travelers into a sophisticated culinary tradition that bridges the gap between art and nutrition.
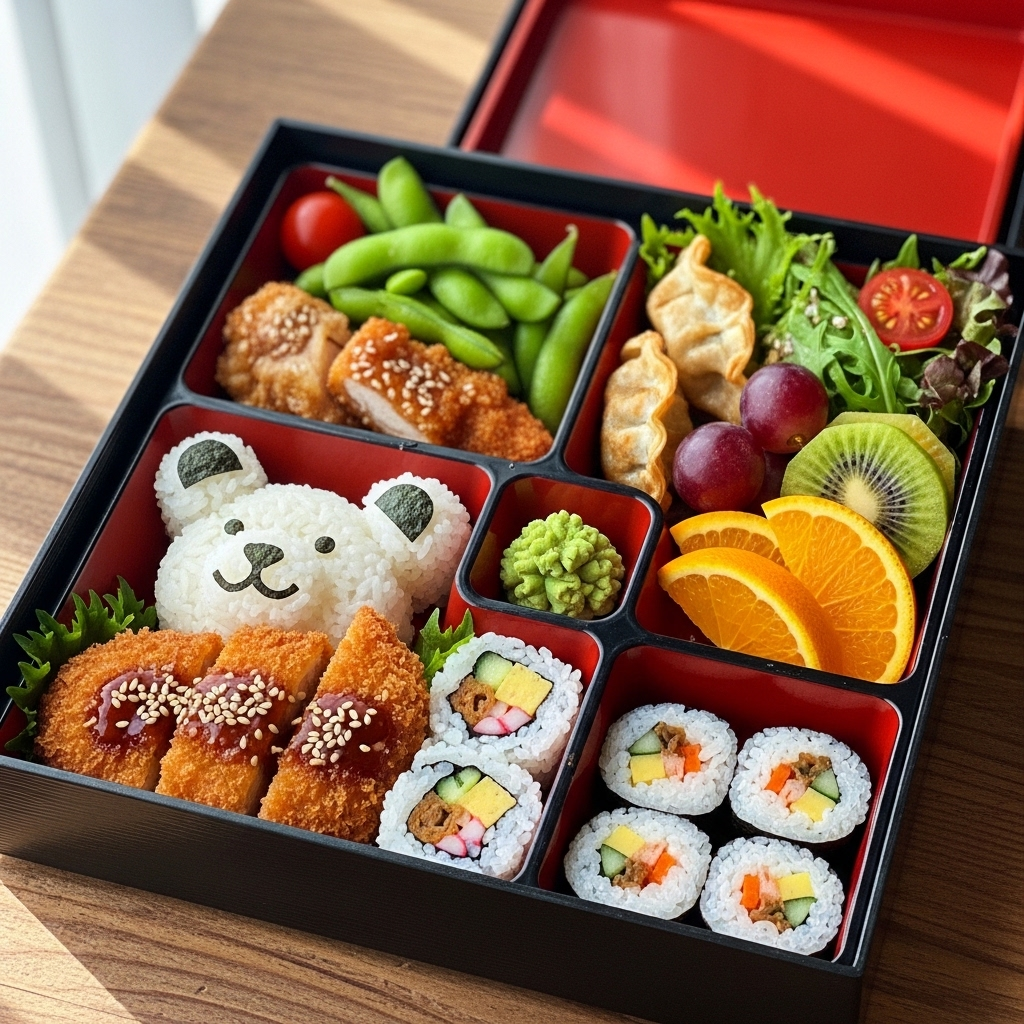
The magic of a bento lies in its intentionality. Every compartment serves a purpose, ensuring that flavors do not bleed into one another and that the meal remains visually enticing even after hours of travel. Whether it’s a mother’s lovingly packedKyaraben(character bento) for her child or a high-endEkiben(station bento) enjoyed on a bullet train, the bento represents a moment of mindfulness in a busy day. It invites the eater to slow down and appreciate the variety of textures, colors, and nutrients packed within its walls.
2. Recipe Overview
- Cuisine Type:Japanese
- Difficulty Level:Intermediate (requires multitasking and prep)
- Total Time:60 minutes (40 mins prep, 20 mins cooking)
- Dietary Classifications:Can be adapted for Gluten-Free, Dairy-Free, or Pescatarian diets.
3. Equipment and Tools
To create a professional-grade bento, you need the right vessels and tools to ensure food safety and structural integrity.
- Bento Box:A two-tier or single-compartment container (600ml to 900ml capacity).
- Rice Cooker:For consistent, fluffy short-grain rice.
- Tamagoyaki Pan:A rectangular non-stick pan (approx. 13cm x 18cm) for rolled omelets.
- Silicone Dividers/Cups:To separate wet foods from dry foods.
- Food Picks and Cutters:For decorative shapes (stars, hearts, or animal faces).
- Small Sauce Containers:To prevent leakages.
- Furoshiki:A traditional Japanese cloth for wrapping and carrying the box.
4. Serving Suggestions
- Plating:Follow the4:3:2:1 ratio(4 parts rice, 3 parts protein, 2 parts vegetables, 1 part treat/pickle). Pack items tightly to prevent shifting.
- Garnish:Use black sesame seeds (kurogoma) on rice or a single pickled plum (umeboshi) in the center for a “Rising Sun” look.
- Pairings:Serve with a warm thermos ofMiso Soupor a coldRoasted Barley Tea (Mugicha).
5. Nutritional Information
Per standard 800ml balanced bento:
- Calories:550–650 kcal
- Protein:25g–30g
- Carbohydrates:70g–80g
- Fats:15g–20g
- Benefits:Highly balanced; provides sustained energy through complex carbs and high fiber from seasonal vegetables.
6. Storage and Reheating
- Refrigeration:Store in an airtight bento for up to 2 days.
- Reheating:Most traditional bentos are designed to be eaten atroom temperature. If reheating, remove raw garnishes and microwave in 30-second bursts.
- Safety Tip:Ensure all cooked food iscompletely cooledbefore closing the lid to prevent condensation and bacterial growth.
7. Expert Tips and Variations
- The “Gap Filler” Rule:Use small broccoli florets or cherry tomatoes to fill any empty spaces. This keeps the food from moving and makes the box look lush.
- Creative Variations:
- Low Carb:Substitute rice with cauliflower rice or extra cabbage salad.
- Vegan:Use pan-fried tofu orInari(sushi rice in tofu skin) as the protein.
- Common Mistake:Packing “wet” items (like dressed salads) directly next to “dry” items (like fried chicken), resulting in sogginess.
8. Ingredients Section
The Base (Carbohydrates)
- 2 cupsJapanese Short-Grain Rice(e.g., Koshihikari)
- 2.5 cups Water
- Optional:1 tbsp Rice vinegar and 1 tsp Sugar for sushi-style rice.
The Protein (Chicken Teriyaki & Tamagoyaki)
- 250g Chicken Thighs (skin-on for flavor)
- 2 tbsp Soy Sauce, 2 tbsp Mirin, 1 tbsp Sake
- 3 Large Eggs
- 1 tsp Dashi stock powder
The Vegetables (Sides)
- 100g Broccoli florets (blanched)
- 1 Large Carrot (sliced into flowers)
- 1 cup Baby Spinach (steamed with sesame oil)
9. Step-by-Step Instructions
- Prepare the Rice:Wash rice until water runs clear. Cook in a rice cooker. Once done, let it fluff and cool to room temperature.
- Cook the Chicken:Sear chicken thighs skin-side down until crispy. Add soy sauce, mirin, and sake. Simmer until the sauce reduces to a thick glaze. Slice into bite-sized strips.
- Make the Tamagoyaki:Whisk eggs with dashi. Pour a thin layer into the rectangular pan. Once set, roll it to one side. Repeat until a thick log is formed. Slice into 1-inch rounds.
- Blanch the Veggies:Boil carrots and broccoli for 2 minutes. Shock in ice water to maintain vibrant color.
- Assembly:* Place a large portion of rice on one side.
- Place the chicken next to the rice, using a lettuce leaf as a natural divider.
- Tuck the Tamagoyaki slices into a corner.
- Fill the remaining gaps with broccoli, carrots, and a cherry tomato.
- Final Touch:Sprinkle sesame seeds over the rice and secure the lid.
10. Frequently Asked Questions (FAQ)
Q: Can I use long-grain rice?A: It is not recommended. Short-grain rice is sticky, making it easier to eat with chopsticks and helping it retain moisture when cold.
Q: Is it safe to eat a bento at room temperature?A: Yes, provided the food was cooked thoroughly and allowed to cool before packing. In summer months, use an insulated bag with an ice pack.
Q: How do I stop my bento from smelling?A: Avoid heavy garlic or raw onions. Traditional bento items like pickled ginger (beni shoga) help cleanse the palate and reduce odors.
Q: What are the best “make-ahead” bento items?A: Pickled vegetables, hard-boiled eggs, and marinated meats hold up best over 24-48 hours.
Q: Do I need a fancy box?A: Not at all! While a traditional woodenMagewappais beautiful, any airtight tupperware with internal dividers works perfectly.