1. Introduction
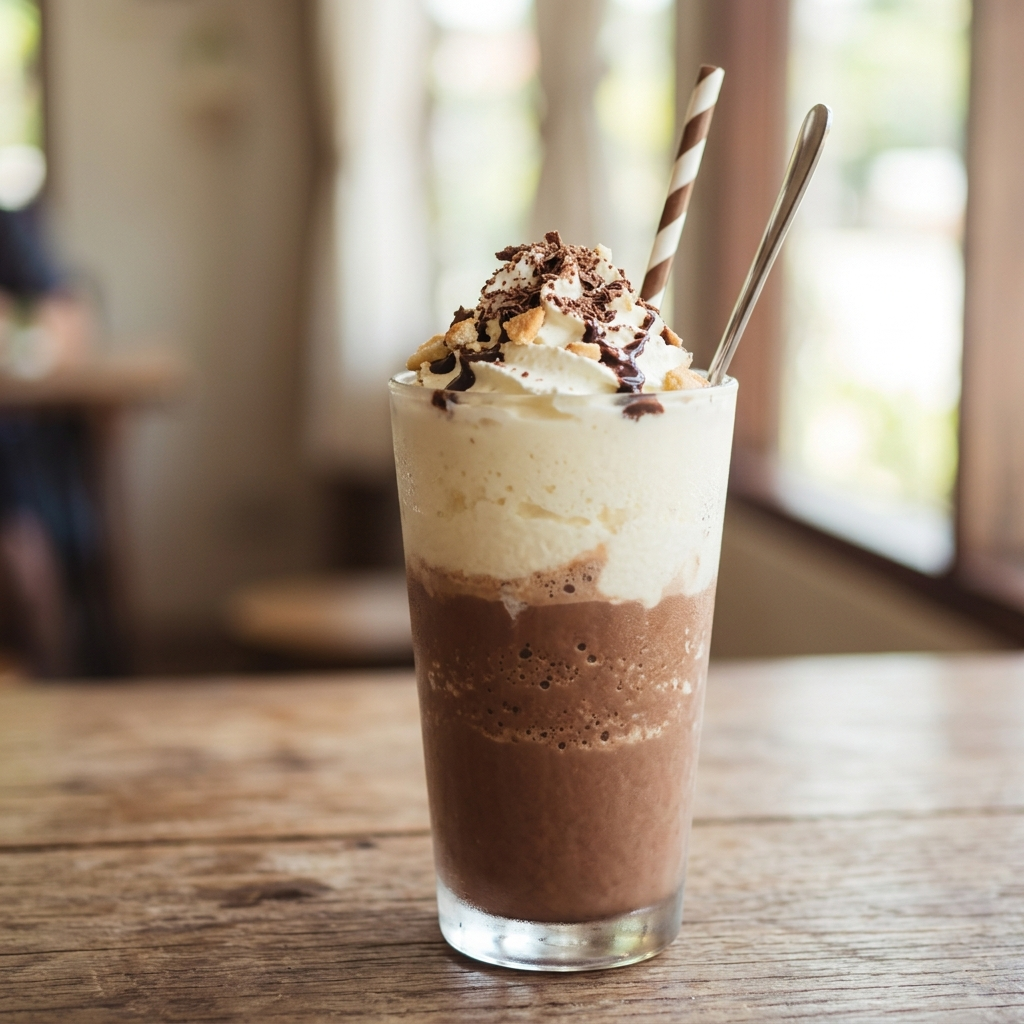
There is a specific kind of magic that happens when the temperature climbs and the air grows heavy: the universal craving for something glacially cold and unapologetically sweet. Enter the Chocolate Vanilla Cream Freeze. This isn’t just a milkshake, nor is it quite a traditional gelato. It is a sophisticated, “spoonable” frozen confection that strikes a perfect balance between the deep, earthy bitterness of dark cocoa and the floral, aromatic lift of pure vanilla bean.
The history of frozen dairy treats dates back to the flavored ices of the Roman Empire, but the “cream freeze” is a modern evolution. It gained popularity in mid-century American soda fountains where texture was king. Unlike standard ice cream, which is hardened in a deep freezer, a “Freeze” is served at a slightly higher temperature, maintaining a soft, velvet-like consistency that coats the palate instantly.
This recipe is designed for the home epicurean who wants a gourmet experience without the industrial stabilizers found in store-bought pints. Whether you’re hosting a summer garden party or seeking a nostalgic midnight snack, this dessert tells a story of contrast—dark and light, simple and complex.
2. Recipe Overview
- Cuisine Type: Modern American / Dessert
- Difficulty Level: Intermediate (requires temperature control)
- Prep Time: 20 minutes
- Chilling/Freezing Time: 6–8 hours
- Dietary Classifications: Vegetarian, Gluten-Free, Egg-Free (depending on mix-ins)
3. Equipment and Tools
To achieve that signature “silk” texture, specific tools are non-negotiable:
- High-Speed Blender or Food Processor: For aerating the base.
- Heavy-Bottomed Saucepan: 2-quart (1.9L) capacity to prevent scorching the cream.
- Digital Instant-Read Thermometer: Essential for reaching the precise $170^\circ F$ ($77^\circ C$) thickening point.
- Fine-Mesh Sieve: To ensure a lump-free custard.
- Insulated Freezer Container: Preferably shallow (approx. 2 inches deep) to facilitate even freezing.
- Silicone Spatula: For folding and scraping.
4. Serving Suggestions
Presentation is the bridge between a simple snack and a culinary event.
- The Vessel: Serve in chilled coupe glasses or classic waffle bowls.
- The Garnish: A dusting of 70% dark chocolate shavings and a single, fresh mint leaf.
- The Pairings: This rich dessert pairs beautifully with salty elements. Try serving alongside warm, sea-salt focaccia or a handful of roasted marcona almonds.
- Beverage Pairings: A double shot of hot espresso (for an “Affogato style” Freeze) or a glass of chilled Tawny Port.
5. Nutritional Information
Per 1-cup serving (Estimated):
| Metric | Amount |
| Calories | 340 kcal |
| Total Fat | 22g |
| Saturated Fat | 14g |
| Carbohydrates | 32g |
| Protein | 5g |
| Sugars | 28g |
Health Note: While indulgent, this recipe uses whole dairy, providing a significant source of Calcium and Vitamin D. Using high-quality dark cocoa also introduces beneficial flavonoids.
6. Storage and Reheating
- Storage: Store in an airtight container with a piece of parchment paper pressed directly onto the surface to prevent ice crystals.
- Shelf Life: Best consumed within 10 days for optimal texture.
- Softening: If the Freeze becomes too hard in the freezer, move it to the refrigerator for 15 minutes before serving. Do not microwave.
7. Expert Tips and Variations
Professional Tips
- The Chill Factor: Ensure your mixing bowl is chilled in the freezer for at least 30 minutes before starting the final whip.
- Vanilla Priority: Use Vanilla Bean Paste rather than extract if possible; the black specks provide a visual hallmark of quality.
Creative Variations
- The “Mocha Freeze”: Add 1 tablespoon of instant espresso powder to the chocolate base.
- Salted Caramel Swirl: Ribbon in 1/4 cup of sea salt caramel just before the final freeze.
- Dairy-Free: Substitute heavy cream with full-fat coconut cream and whole milk with oat milk.
8. Ingredients Section
The Chocolate Base
- Whole Milk: 1.5 cups (350ml)
- Heavy Cream: 1 cup (240ml)
- Dutch-Process Cocoa Powder: 1/2 cup (45g)
- Granulated Sugar: 3/4 cup (150g)
- Fine Sea Salt: 1/4 tsp
The Vanilla Swirl
- Heavy Cream: 1 cup (240ml) – kept ice cold
- Condensed Milk: 1/2 cup (120ml)
- Madagascar Vanilla Bean Paste: 1 tbsp
9. Step-by-Step Instructions
Step 1: The Cocoa Infusion
In your heavy-bottomed saucepan, whisk together the cocoa powder, sugar, and salt. Slowly pour in the whole milk while whisking to avoid clumps. Place over medium heat.
Step 2: Tempered Thickening
Heat the mixture until it reaches exactly $170^\circ F$ ($77^\circ C$). You are looking for a “nappe” consistency—where the liquid coats the back of a spoon. Do not let it boil, as this will grain the cocoa proteins.
Step 3: The Sieve Technique
Pour the hot chocolate base through a fine-mesh sieve into a glass bowl. This removes any undissolved cocoa particles. Stir in 1 cup of heavy cream. Cover and refrigerate until completely cold (at least 4 hours).
Step 4: The Vanilla Aeration
In a separate chilled bowl, whip the remaining 1 cup of heavy cream and vanilla paste until stiff peaks form. Gently fold in the condensed milk. This creates the “Cloud” component of the freeze.
Step 5: The Marble Fold
Once the chocolate base is cold, pour it into your freezer container. Drop large dollops of the vanilla cream onto the chocolate. Use a butter knife to swirl them together—do not over-mix, or you will lose the distinct color contrast.
Step 6: The Setting Phase
Freeze for 6 hours. Every 90 minutes, use a fork to gently “fluff” the edges of the container toward the center. This breaks up large ice crystals, ensuring the “Freeze” texture rather than an “Ice” texture.
10. Frequently Asked Questions (FAQ)
Q: Can I use regular cocoa instead of Dutch-process?
A: You can, but the flavor will be more acidic and the color lighter. Dutch-process provides that deep, “Oreo-like” dark hue and a smoother finish.
Q: Why is my Freeze icy instead of creamy?
A: This usually happens if the base wasn’t chilled long enough before freezing, or if the fat content was lowered (e.g., using 2% milk instead of whole milk).
Q: How do I get those perfect “ripples” of vanilla?
A: Ensure your vanilla cream is whipped to stiff peaks. If it’s too runny, it will simply dissolve into the chocolate base rather than creating a marble effect.
Q: Is there a way to make this without a thermometer?
A: Yes. Watch for small bubbles forming around the edges of the pan (the “shiver” stage). Once you see steam rising steadily and the mixture thickens slightly, remove from heat.
Q: Can I add nuts or chips?
A: Absolutely! Fold in toasted pecans or mini chocolate chips during Step 5 for added texture.
This recipe is designed for home cooks who appreciate the science of sweets. By following the temperature and aeration guidelines, you’ll produce a dessert that rivals any high-end creamery.


