1. Introduction
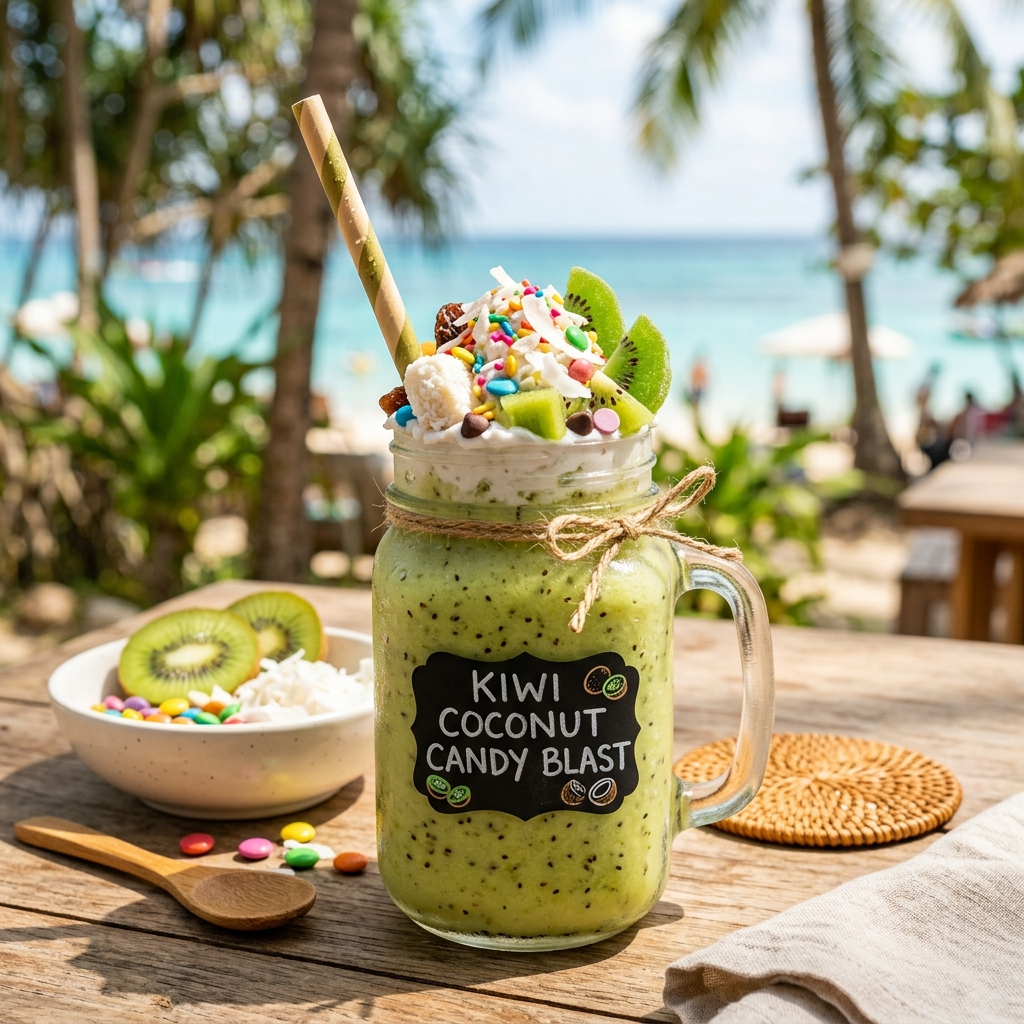
Imagine standing on a sun-drenched beach where the air smells of salt spray and ripening fruit. That essence is captured entirely in the Kiwi Coconut Candy Blast. This isn’t just another sugar-laden sweet; it is a sophisticated fusion of the tart, emerald brilliance of fresh kiwi and the rich, velvet undertones of desiccated coconut.
Historically, fruit-and-nut “blasts” or “bites” find their roots in Middle Eastern and South Asian confectionery traditions, where fruit pulps were reduced with honey or sugar to create shelf-stable treats. We have modernized this concept by leaning into the high-contrast flavors of the Pacific. The “Blast” refers to the explosion of texture—from the chewy, fibrous coconut to the occasional crunch of a kiwi seed.
This recipe was born out of a desire for a “cleaner” candy—one that relies on the natural acidity of fruit to balance sweetness. Whether you’re looking for a vibrant addition to a holiday dessert platter or a refreshing homemade gift, this candy stands out for its neon-green hue and its remarkably refreshing finish.
2. Recipe Overview
- Cuisine Type: Tropical Fusion / Modern Confectionery
- Difficulty Level: Intermediate (requires precision in sugar temperatures)
- Total Preparation Time: 45 Minutes
- Total Setting Time: 4 Hours (or overnight)
- Dietary Classifications: Vegetarian, Gluten-Free, Nut-Free (optional), Egg-Free
3. Equipment and Tools
To achieve the perfect “snap” and texture for your Kiwi Coconut Candy Blast, you will need the following professional-grade tools:
Primary Equipment
- Heavy-Bottomed Saucepan: 3-quart capacity. A thick base prevents the coconut milk and sugar from scorching.
- Digital Candy Thermometer: Essential for reaching the “soft ball” stage ($112-115^\circ\text{C}$).
- High-Speed Blender or Food Processor: For pureeing the fresh kiwi into a smooth coulis.
- Square Baking Pan: $8 \times 8$ inches ($20 \times 20$ cm).
- Parchment Paper: For easy removal and clean slicing.
Specifications
- Pan Depth: Minimum 2 inches (5 cm) to allow for thick, substantial candy squares.
- Spatula: Heat-resistant silicone spatula for constant stirring.
4. Serving Suggestions
Plating Recommendations
For a stunning presentation, arrange the candies in a staggered “checkerboard” pattern on a white marble slab. The contrast between the green candy and the white stone emphasizes the vibrant color.
Garnish Ideas
- Dehydrated Kiwi Slices: A thin, translucent slice on top of each square adds an artisanal touch.
- Toasted Coconut Flakes: Provides a golden hue and a smoky aromatic layer.
- Edible Gold Leaf: For high-end gifting or special events.
Beverage Pairings
- Tea: A light Jasmine or Silver Needle White Tea cuts through the richness of the coconut.
- Cocktails: Pair with a Coconut Mojito or a chilled glass of Prosecco.
5. Nutritional Information
Per Serving (1 square, approx. 30g)
| Nutrient | Amount |
| Calories | 145 kcal |
| Total Fat | 8g |
| Saturated Fat | 7g |
| Cholesterol | 5mg |
| Sodium | 15mg |
| Total Carbohydrates | 18g |
| Dietary Fiber | 2g |
| Sugars | 15g |
| Protein | 1g |
Health Benefits: Kiwi is exceptionally high in Vitamin C and Actinidin, an enzyme that aids digestion. While this is a treat, the use of real fruit provides a boost of antioxidants not found in synthetic candies.
6. Storage and Reheating
Proper Storage
- Room Temperature: Store in an airtight container for up to 3 days in a cool, dry place.
- Refrigeration: This is the preferred method. Keep in an airtight container with parchment paper between layers for up to 2 weeks.
Freezing Recommendations
The Kiwi Coconut Candy Blast freezes beautifully. Wrap individual squares in plastic wrap and store in a freezer bag for up to 3 months. Thaw in the refrigerator for 30 minutes before consuming to maintain the chewy texture.
7. Expert Tips and Variations
Professional Chef Tips
- The “Squeeze” Test: Ensure you squeeze out excess moisture from the kiwi pulp if it seems too watery. Too much liquid will prevent the candy from setting firm.
- Acid Balance: If your kiwis are overly sweet, add a teaspoon of lime juice to brighten the flavor.
Common Mistakes to Avoid
- Under-cooking: If you don’t reach the proper temperature, the candy will remain a “fudge” rather than a firm candy.
- Over-stirring: Once the sugar begins to crystallize at the edges, stir gently to avoid a grainy texture.
Creative Variations
- The “Dark Blast”: Dip half of each candy square into 70% dark chocolate.
- The “Spicy Kiwi”: Add a pinch of Tajín or chili powder into the coconut mix for a sweet-heat kick.
8. Ingredients Section
The Fruit Base
- Fresh Kiwi: 6 large, ripe kiwis (approx. 500g).
- Lime Juice: 1 tbsp (15ml) for acidity.
The Candy Matrix
- Desiccated Coconut (Unsweetened): 3 cups (approx. 250g).
- Granulated White Sugar: 1.5 cups (300g).
- Full-Fat Coconut Milk: 1/2 cup (120ml).
- Unsalted Butter: 2 tbsp (30g) – for a silky mouthfeel.
- Vanilla Extract: 1 tsp (5ml).
Optional Sourcing
- Kiwi Selection: Look for kiwis that yield slightly to pressure. Avoid rock-hard fruit as they lack the necessary natural sugars and aroma.
9. Step-by-Step Instructions
Step 1: Prepare the Kiwi Essence
Peel the kiwis and place them in a blender. Pulse until smooth. Pour the puree into a small saucepan over medium heat and reduce by half. This concentrates the flavor and removes excess water. Set aside to cool.
Step 2: Lining the Pan
Line your $8 \times 8$ pan with parchment paper, leaving an overhang on two sides to act as “handles” for later removal. Lightly grease the paper with a flavorless oil (like grapeseed).
Step 3: The Sugar Base
In your heavy-bottomed saucepan, combine the sugar, coconut milk, and butter. Heat over medium-low, stirring constantly until the sugar dissolves.
Step 4: Reaching the Stage
Attach your candy thermometer. Bring the mixture to a boil. Continue to cook, stirring occasionally, until the mixture reaches $112^\circ\text{C}$ (The Soft Ball Stage).
Step 5: Incorporating the “Blast”
Remove from heat. Immediately fold in the reduced kiwi puree, the desiccated coconut, and vanilla extract. Work quickly, as the mixture will begin to thicken as the temperature drops.
Step 6: Setting
Pour the mixture into the prepared pan. Use an offset spatula to smooth the top. Press down firmly to ensure there are no air pockets.
Step 7: Cooling and Slicing
Allow the candy to cool at room temperature for 1 hour, then transfer to the refrigerator for at least 3 hours. Once firm, lift the parchment handles, place on a cutting board, and slice into 1-inch squares using a sharp, warmed knife.
10. Frequently Asked Questions (FAQ)
Q: Can I use frozen kiwi?
A: Yes, but ensure you thaw it completely and drain all excess water before pureeing and reducing, or the candy will be too soft.
Q: My candy is too sticky to cut. What happened?
A: It likely didn’t reach the required temperature on the thermometer. You can “save” it by putting it back in the pan with 2 tablespoons more coconut and cooking it for 5 more minutes.
Q: Can I make this vegan?
A: Absolutely. Replace the butter with an equal amount of coconut oil or a vegan butter substitute.
Q: Why is my candy brown instead of green?
A: This happens if the sugar is caramelized too long or if the kiwi reduction was burnt. Keep the heat at medium and watch your thermometer closely!
Q: How do I get a brighter green color?
A: Natural kiwi color dulls slightly when heated. For a “Candy Blast” look, a single drop of natural green food coloring can be added during Step 5.


