1. Introduction
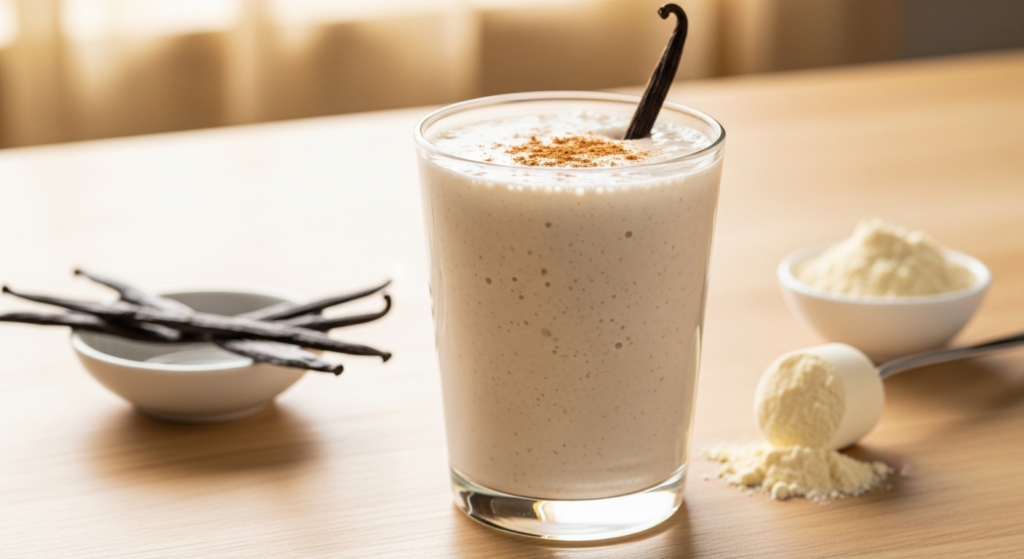
There is a certain understated elegance in a classic vanilla bean profile. While chocolate often takes the spotlight in the world of fitness supplements, a Vanilla Protein Smoothie is the versatile “little black dress” of the culinary wellness world. It is timeless, sophisticated, and serves as the perfect canvas for a myriad of flavors.
The story of the vanilla smoothie begins not in a gym, but in the lush, tropical climates where Vanilla planifolia orchids bloom. Historically, vanilla was prized by the Aztecs for its aromatic properties, often paired with cacao. Today, we’ve reimagined this ancient flavor to meet the demands of a modern, fast-paced lifestyle. This recipe isn’t just about hitting your macros; it’s about reclaiming the ritual of the morning meal. Whether you are recovering from a high-intensity interval training session or simply seeking a sustained energy boost to navigate a boardroom marathon, this smoothie provides a harmonious balance of luxury and utility.
The significance of this particular blend lies in its texture. We move away from the gritty, watery protein shakes of the past and embrace a velvety, “soft-serve” consistency that feels like an indulgence while functioning as fuel.
2. Recipe Overview
- Cuisine Type: Modern American / Health & Wellness
- Difficulty Level: Beginner
- Total Time: 5 minutes (Prep: 4 mins | Blend: 1 min)
- Dietary Classifications: Vegetarian, Gluten-Free, Soy-Free, No Added Sugar (depending on protein choice).
3. Equipment and Tools
To achieve the professional-grade aeration required for a smooth mouthfeel, the right tools are essential.
- High-Speed Blender: A motor with at least 1200 watts is recommended to pulverize ice and frozen fruit into a seamless liquid.
- Digital Kitchen Scale: For precision in measuring protein powder and fruit weights.
- Measuring Cups & Spoons: * 1-cup liquid measure for milk.
- Tablespoon and teaspoon sets for extracts and seeds.
- Spec-Grade Specs:
- Blender Jar Volume: Minimum 32 oz (950 ml) capacity to allow for vortex expansion.
- Spatula: A flexible silicone spatula to scrape down the sides of the blender jar.
4. Serving Suggestions
The experience of a smoothie is elevated by its presentation.
Plating Recommendations
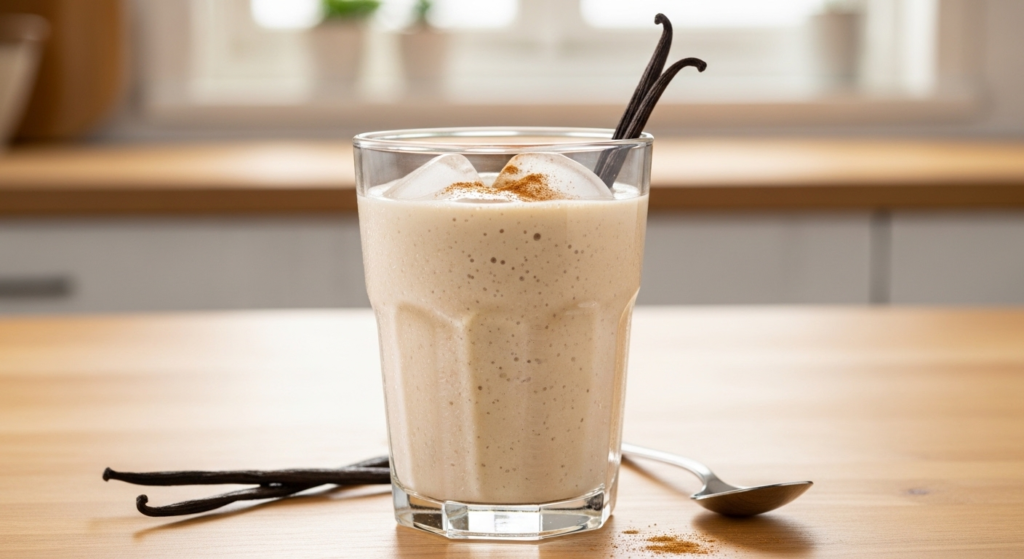
Pour the smoothie into a chilled 16 oz heavy-bottomed glass or a double-walled insulated tumbler to maintain the optimal temperature of $0^{\circ}C$.
Garnish Ideas
- Texture: A sprinkle of hemp hearts or toasted sliced almonds.
- Aroma: A light dusting of Ceylon cinnamon or a split vanilla bean pod resting on the rim.
- Freshness: A single mint leaf or three fresh raspberries for a pop of color.
Pairings
- Food: Pair with two soft-boiled eggs or a slice of sourdough toast with smashed avocado.
- Beverage: Best enjoyed alongside a double shot of espresso or a warm cup of ceremonial grade matcha.
5. Nutritional Information
Per 16 oz serving (standard recipe)
| Nutrient | Amount |
| Calories | 310 kcal |
| Total Fat | 8g |
| Carbohydrates | 24g |
| Fiber | 5g |
| Sugars | 12g (Natural) |
| Protein | 32g |
Health Benefits
This smoothie utilizes a “protein-sparing” approach. The inclusion of healthy fats ensures that the protein is used for muscle synthesis and repair rather than being burned immediately for energy. The potassium from the banana supports electrolyte balance, while the calcium in the almond milk aids bone density.
6. Storage and Reheating
Smoothies are best consumed immediately to take advantage of the emulsified texture.
- Refrigeration: If necessary, store in an airtight Mason jar for up to 12 hours. Shake vigorously before drinking as separation is natural.
- Freezing: Pour leftovers into silicone muffin tins or ice cube trays. These “smoothie cubes” can be tossed back into a blender later for a quick refresh.
- Note: Do not reheat. This is a cold-prep dish; heat will denature the whey protein and cause the texture to become unpalatable.
7. Expert Tips and Variations
Professional Chef Tips
- The Liquid First Rule: Always pour your liquid base into the blender first. This creates a “vortex” that pulls the solid ingredients down toward the blades, preventing “air pockets.”
- The Frozen Factor: Use frozen fruit instead of ice. Ice dilutes the flavor; frozen bananas or cauliflower rice provide creaminess without the watery finish.
Common Mistakes
- Over-blending: Blending for too long can heat the mixture, melting the frozen elements and resulting in a thin, tepid drink.
- Low-Quality Protein: Using a protein powder with artificial fillers can lead to a chalky aftertaste. Opt for “Cold-Processed” isolates.
Creative Variations
- The “Pro-ffee”: Add a shot of chilled espresso for a caffeinated vanilla latte vibe.
- The Green Goddess: Add 1 cup of baby spinach. The vanilla masks the flavor perfectly, keeping the drink sweet.
- Nutty Vanilla: Add 1 tablespoon of cashew butter for a rich, shortbread-like flavor profile.
8. Ingredients Section
The Base
- 1 ½ cups (355ml) Unsweetened Almond Milk (or milk of choice)
- 1 scoop (approx. 30g) High-Quality Vanilla Whey or Vegan Protein Isolate
- 1 medium (120g) Frozen Banana, sliced (for creaminess)
The Flavor Enhancers
- ½ tsp (2.5ml) Pure Vanilla Extract (Alcohol-free preferred)
- 1 tsp (5g) Chia Seeds (for Omega-3s and thickness)
- ¼ tsp Ground Cinnamon
- 1 pinch Sea Salt (to brighten the sweetness)
Substitutions
- Low Carb: Swap the banana for ½ cup of frozen steamed cauliflower rice and 2 drops of liquid stevia.
- Nut-Free: Use oat milk or soy milk instead of almond milk.
9. Step-by-Step Instructions
- Prep the Liquid: Pour the 1 ½ cups of almond milk into the blender base.
- Add Solids: Add the frozen banana slices and chia seeds. Let them sit in the liquid for 30 seconds to slightly soften the seeds.
- Protein and Spices: Add the vanilla protein powder, cinnamon, sea salt, and vanilla extract.
- The Low Start: Secure the lid. Start the blender on its lowest speed setting. This prevents the powder from “poofing” up onto the lid.
- The Ramp Up: Gradually increase the speed to high over the course of 15 seconds.
- Emulsify: Blend on high for a total of 45 to 60 seconds. Watch for the “four-leaf clover” shape to form in the vortex, indicating a perfect emulsion.
- Check Consistency: Stop the blender. Dip a spoon in to check for lumps. If it’s too thick, add a splash more milk; if too thin, add two ice cubes and pulse.
- Final Pour: Pour into your chilled glass and garnish immediately.
10. Frequently Asked Questions (FAQ)
Q: Can I make this smoothie the night before?
A: While possible, the texture will change. The chia seeds will gelatinize, making it more of a “pudding.” If you do this, give it a quick 10-second pulse in the blender the next morning.
Q: Why does my smoothie taste chalky?
A: This is usually due to the protein powder. Whey isolates are generally smoother than plant-based proteins. If using plant-based (pea or rice), ensure you blend for the full 60 seconds.
Q: Is it okay to use fresh bananas instead of frozen?
A: Yes, but you will lose that “milkshake” thickness. If using fresh fruit, you must add 1 cup of ice to achieve the correct temperature and body.
Q: Can I use Greek yogurt in this?
A: Absolutely. Adding ¼ cup of plain Greek yogurt adds a pleasant tang and an extra 5-6g of protein.
Q: How do I make this keto-friendly?
A: Remove the banana. Replace it with ½ an avocado and a few drops of monk fruit sweetener. This provides the creaminess without the glycemic load.
Q: My blender isn’t powerful enough for frozen fruit—what do I do?
A: Thaw your frozen fruit for 5 minutes before blending, or pulse the fruit with the liquid first before adding the protein powder.


