1. Introduction: The Soul of the Burrito Plate
There is something inherently joyful about a meal that lets you see exactly what you’re about to enjoy. While the traditional burrito is a masterpiece of portable engineering, the Chicken Burrito Plate (often called a burrito bowl) is its sophisticated, vibrant cousin. It’s a deconstructed celebration of Mexican-inspired flavors that prioritizes texture, freshness, and the “wow” factor of a colorful presentation.
The origin of the burrito plate lies in the evolution of Tex-Mex cuisine—a fusion that took the soul of Northern Mexican flavors and adapted them to the bustling, health-conscious lifestyle of the modern diner. For many, it’s a childhood memory of backyard barbecues where the grill was always loaded with citrus-marinated meats. For others, it’s the ultimate “clean-out-the-fridge” triumph.
What makes this specific recipe unique is the dual-texture approach. We aren’t just tossing ingredients into a bowl; we are layering flavors. From the charred, smoky exterior of the cumin-rubbed chicken to the bright, acidic pop of a homemade pico de gallo, every forkful is designed to be a balanced ecosystem of taste. It’s more than just dinner; it’s a customizable canvas that caters to the picky eater and the gourmet alike.
2. Recipe Overview
- Cuisine Type: Tex-Mex / Fusion
- Difficulty Level: Easy to Intermediate
- Prep Time: 20 minutes
- Cook Time: 15 minutes
- Total Time: 35 minutes
- Dietary Classifications: High-protein, Gluten-free (if using corn-based additions), Dairy-free optional.
3. Equipment and Tools
To achieve professional results, ensure you have the following tools ready:
- Cast Iron Skillet (12-inch): Essential for getting that perfect “street-taco” sear on the chicken.
- Chef’s Knife: A sharp 8-inch blade for dicing onions and slicing chicken thinly against the grain.
- Large Mixing Bowls: One for marinating the chicken and one for tossing the salad components.
- Fine-Mesh Strainer: For rinsing rice to ensure a fluffy, non-sticky texture.
- Measuring Cups and Spoons: For precise spice blending.
- Citrus Juicer: To extract every drop of lime juice without the seeds.
4. Serving Suggestions
Presentation is half the battle with a burrito plate.
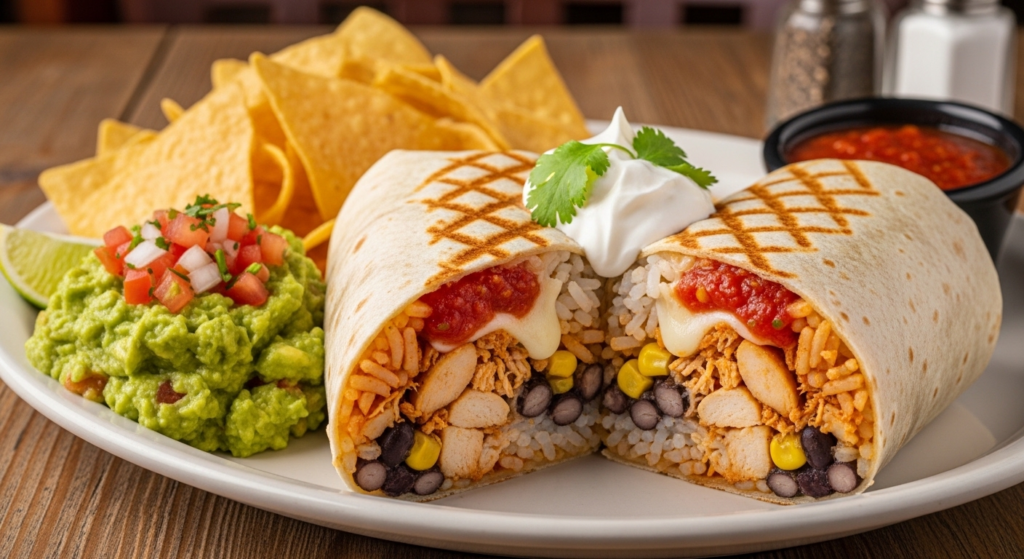
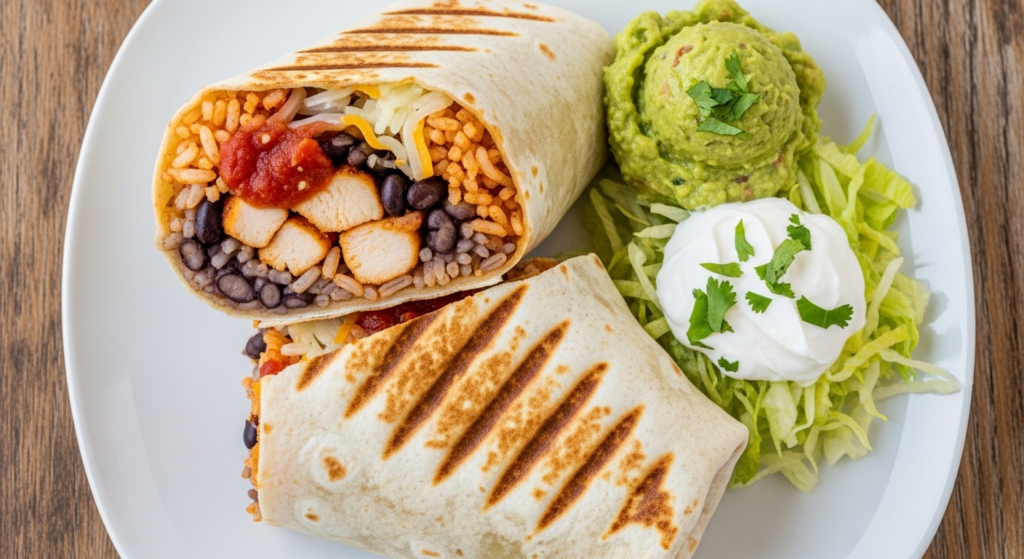
- Plating: Start with a base of cilantro-lime rice on one side and black beans on the other. Place the sliced chicken across the center. Arrange the cold toppings (guacamole, salsa, corn) in distinct wedges around the perimeter.
- Garnish: A generous sprinkle of fresh cilantro, a dollop of Mexican Crema (or Greek yogurt for a healthy twist), and a few pickled red onions for a pink pop of color.
- Side Dishes: Serve with warm corn tortillas on the side or a handful of salty, thick-cut tortilla chips.
- Beverage Pairing: * Non-Alcoholic: An icy Agua de Jamaica (Hibiscus tea) or a sparkling lime water.
- Alcoholic: A crisp Lager with a lime wedge or a smoky Mezcal Margarita.
5. Nutritional Information (Per Serving)
Health Benefits: This plate is a powerhouse of lean protein and fiber. The avocado provides heart-healthy monounsaturated fats, while the fresh peppers and tomatoes offer a significant dose of Vitamin C.
6. Storage and Reheating
- Refrigeration: Store the “hot” components (chicken, rice, beans) together in an airtight container for up to 4 days. Keep “cold” components (guacamole, salsa, sour cream) in separate containers.
- Freezing: The cooked chicken and rice freeze exceptionally well for up to 3 months. Avoid freezing the fresh vegetables or dairy.
- Reheating: For the best texture, reheat the chicken and rice in a skillet with a splash of water or chicken broth to maintain moisture. If using a microwave, cover with a damp paper towel and heat in 30-second intervals.
7. Expert Tips and Variations
Professional Chef Tips
- The Sear: Do not crowd the pan. If the chicken pieces are touching, they will steam instead of sear. Work in batches to get those crispy, charred edges.
- Rice Texture: After cooking your rice, let it sit covered for 10 minutes off the heat. Then, fluff it with a fork—never a spoon—to keep the grains intact.
Creative Variations
- The Low-Carb Version: Swap the white rice for roasted cauliflower rice seasoned with lime and garlic.
- The Mediterranean Twist: Use feta cheese instead of cotija and add a scoop of hummus alongside the beans.
- The “Slow & Low” Option: Use the same spices on chicken thighs and cook them in a slow cooker for 6 hours until they are ready to be shredded.
8. Ingredients Section
The Chicken & Marinade
- Chicken Breast or Thighs: 1.5 lbs (700g), sliced into thin strips.
- Olive Oil: 2 tbsp (30ml).
- Lime Juice: 2 tbsp (freshly squeezed).
- Spices: 1 tbsp Chili Powder, 1 tsp Cumin, 1 tsp Smoked Paprika, 1 tsp Garlic Powder, 1/2 tsp Salt, 1/4 tsp Black Pepper.
The Base (Cilantro-Lime Rice)
- Long-Grain White Rice: 1 cup (200g).
- Chicken Broth: 2 cups (475ml).
- Fresh Cilantro: 1/4 cup, finely chopped.
- Lime Zest: 1 tsp.
The Toppings
- Black Beans: 1 can (15oz), drained and rinsed.
- Corn: 1 cup (frozen, canned, or fresh off the cob).
- Pico de Gallo: 1/2 cup (diced tomatoes, onions, jalapeños).
- Avocado: 1 large, sliced or mashed.
- Cheese: 1/4 cup Cotija or shredded Monterey Jack.
9. Step-by-Step Instructions
Step 1: Marinate the Protein
In a medium bowl, whisk together the olive oil, lime juice, and all the spices. Toss the chicken strips in the mixture until evenly coated. Let sit for at least 15 minutes (or up to 4 hours in the fridge) to allow the acid to tenderize the meat.
Step 2: The Perfect Rice
Rinse your rice under cold water until the water runs clear. In a small pot, bring the chicken broth to a boil. Add the rice, reduce heat to low, cover, and simmer for 15 minutes. Once done, remove from heat, let stand for 10 minutes, then stir in the cilantro and lime zest.
Step 3: Searing the Chicken
Heat your cast-iron skillet over medium-high heat. Add a splash of oil. Once shimmering, add the chicken in a single layer. Let it cook undisturbed for 3-4 minutes to develop a crust. Flip and cook for another 3 minutes or until the internal temperature reaches 165°F (74°C).
Step 4: Warming the Beans and Corn
In the same skillet (don’t wash it—those browned bits are flavor!), toss in the black beans and corn. Cook for 2-3 minutes until heated through, absorbing the leftover spices from the chicken.
Step 5: Assembly
Divide the rice among four plates. Layer the chicken, beans, and corn. Top with fresh avocado, pico de gallo, and cheese. Finish with a final squeeze of lime.
10. Frequently Asked Questions (FAQ)
Q: Can I use brown rice instead of white? A: Absolutely. Just increase the cooking time to 40-45 minutes and add an extra 1/4 cup of broth.
Q: How do I stop my chicken from getting dry? A: Use chicken thighs if you prefer juicier meat. If using breasts, ensure you don’t overcook them; removing them from the heat the moment they hit 165°F is key.
Q: Is this recipe spicy? A: It has a mild kick from the chili powder. To make it truly spicy, add 1/2 tsp of cayenne pepper or extra fresh jalapeños to your toppings.
Q: Can I make this for meal prep? A: This is one of the best meal-prep recipes! The flavors actually deepen after a day in the fridge. Just keep the avocado and lime wedges separate until you’re ready to eat.
Q: What can I substitute for Cotija cheese? A: Feta is the best substitute as it has a similar salty, crumbly texture. Mild white cheddar or Monterey Jack also work well.


