1. Introduction
There is a universal joy found in the “Snack Box.” It is the undisputed king of late-night cravings, game-day gatherings, and those “I deserve a treat” Friday nights. Originating from the bustling takeaway cultures of the UK, Ireland, and Australia, the Chicken Snack Box is more than just a meal; it’s a sensory experience. It represents the perfect marriage of textures—the shattering crunch of golden breading meeting the fluffy, salty interior of a well-cooked chip.
Traditionally, these boxes were the domain of local chippers and fast-food joints, wrapped in greaseproof paper and tucked into cardboard boxes that barely contained the steam. But the homemade version? That is where the real magic happens. By taking control of the ingredients, you can elevate this humble street food into a gourmet feast. We’re talking about chicken marinated in buttermilk for tenderness, double-dredged for a superior crust, and paired with fries that stay crispy until the very last bite.
Whether you’re hosting a Super Bowl party or simply looking to win “Parent of the Year” on a Tuesday night, this Chicken Snack Box recipe provides the blueprint for fried-food perfection.
2. Recipe Overview
- Cuisine Type: Modern Fusion / Comfort Food
- Difficulty Level: Intermediate (Requires basic frying knowledge)
- Prep Time: 30 minutes (plus 2 hours marinating)
- Cook Time: 20 minutes
- Total Time: 2 hours 50 minutes
- Dietary Classifications: High Protein, Nut-Free (Can be made Gluten-Free with substitutions)
3. Equipment and Tools
To achieve professional results, you’ll need a few specific kitchen staples:
- Deep Fryer or Heavy-Bottomed Dutch Oven: A 5-quart capacity is ideal to maintain oil temperature.
- Instant-Read Meat Thermometer: Crucial for ensuring the chicken is juicy and safe ($74^\circ\text{C}$ or $165^\circ\text{F}$).
- Wire Cooling Rack set over a Baking Sheet: This prevents the chicken from getting soggy after frying.
- Stainless Steel Spider Strainer or Slotted Spoon: For safe removal of hot items.
- Large Mixing Bowls: One for the buttermilk brine and one for the flour dredge.
- Whisk and Tongs: For coating and turning.
4. Serving Suggestions
The beauty of a snack box is the presentation.
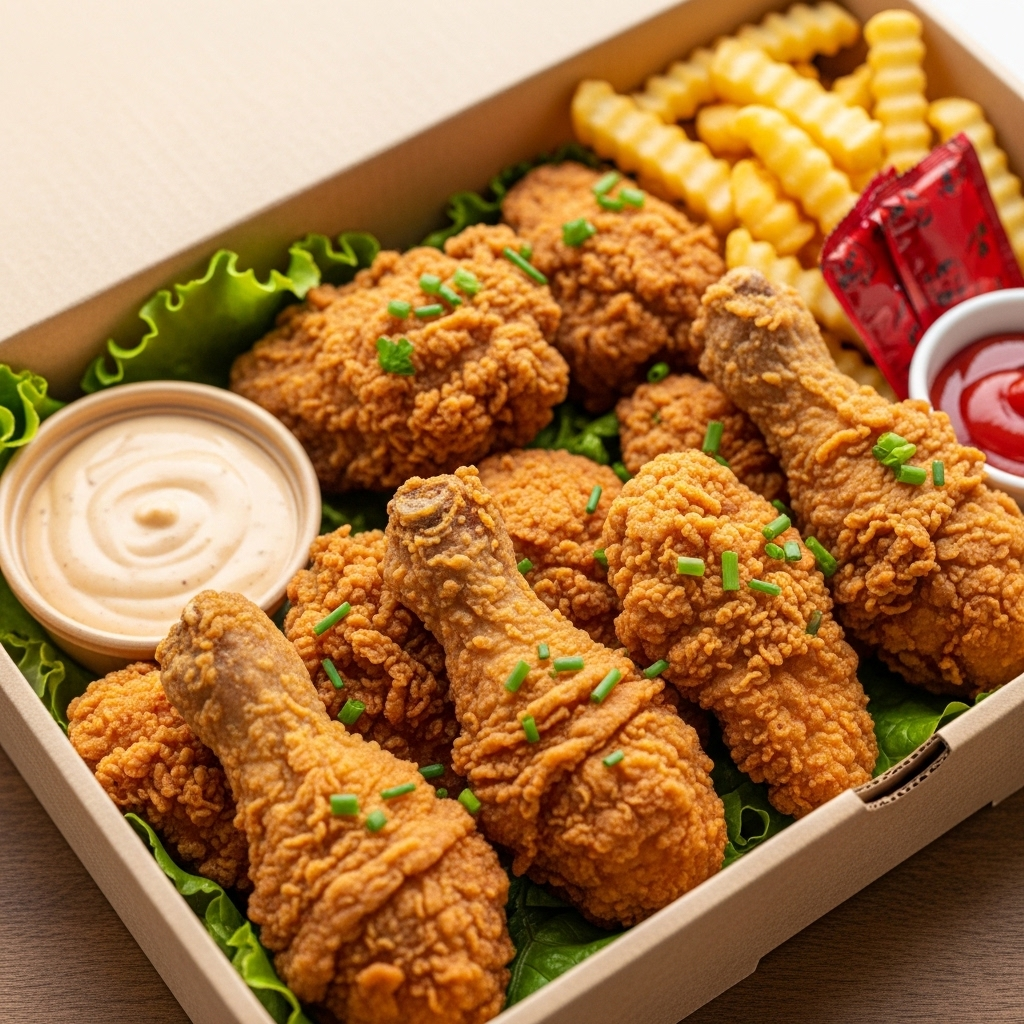
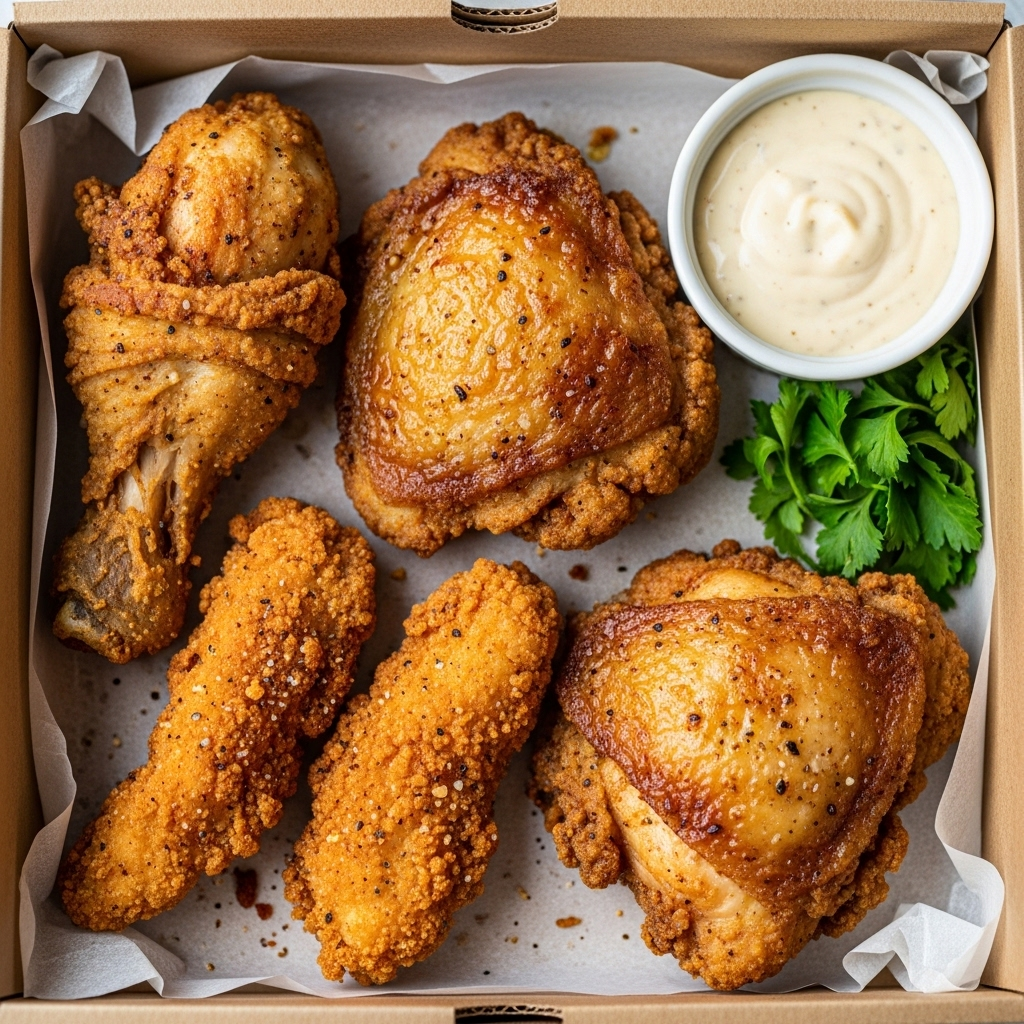
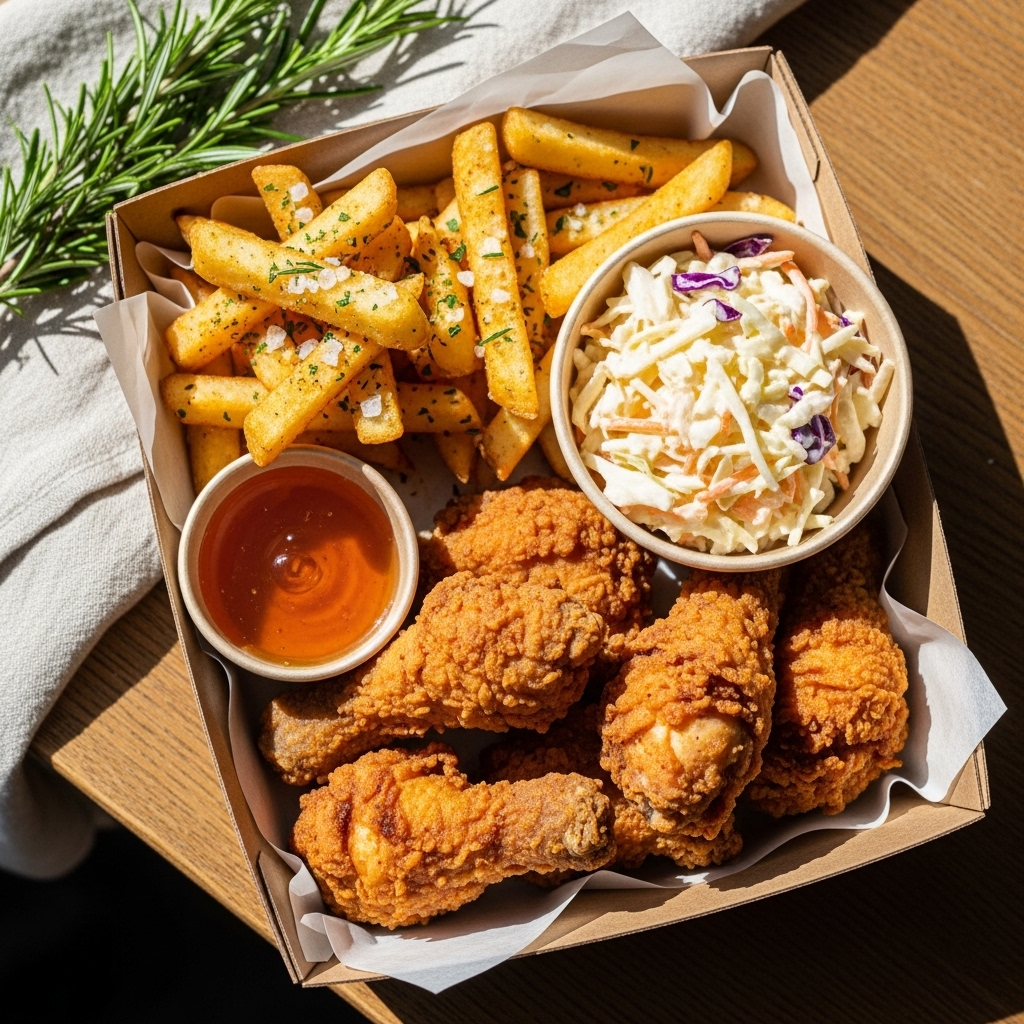
- Plating: Serve in a parchment-lined cardboard box or a rustic wooden board to mimic the “takeaway” vibe.
- Garnish: Freshly chopped parsley and a wedge of lemon to cut through the richness.
- Sides: Creamy coleslaw, corn on the cob, or a spicy pickled jalapeño salad.
- Beverage Pairings: A crisp, cold Lager or an IPA works wonders with the salt. For non-alcoholic options, a sparkling lemonade or a classic ginger beer provides a refreshing zing.
5. Nutritional Information (Per Serving)
Note: Values are estimates based on a standard 4-serving yield.
| Nutrient | Amount per Serving |
| Calories | 780 kcal |
| Total Fat | 38g |
| Saturated Fat | 6g |
| Protein | 45g |
| Carbohydrates | 62g |
| Fiber | 4g |
Health Note: To reduce calories, the chicken and fries can be prepared in an Air Fryer with a light spray of avocado oil.
6. Storage and Reheating
- Refrigeration: Store leftovers in an airtight container for up to 3 days.
- Freezing: You can freeze the fried chicken (after cooling) for up to 1 month.
- Reheating (The Golden Rule): Never use a microwave! It will make the breading rubbery. Reheat in an oven or air fryer at $190^\circ\text{C}$ ($375^\circ\text{F}$) for 5–8 minutes until the exterior sizzles again.
7. Expert Tips and Variations
Professional Tips
- The Buttermilk Soak: Don’t skip this. The lactic acid breaks down the proteins, ensuring the chicken is never dry.
- Temperature Management: Keep your oil at $175^\circ\text{C}$ ($350^\circ\text{F}$). If it drops too low, the food absorbs oil and becomes greasy.
- The “Crumb” Secret: Drizzle a few tablespoons of the buttermilk marinade into your flour dredge and mix with a fork. This creates small clumps that stick to the chicken, resulting in those extra-crunchy “nuggets” on the surface.
Variations
- Spicy Buffalo Box: Toss the finished chicken in a mix of hot sauce and melted butter.
- Korean Style: Use cornstarch instead of flour and glaze with a gochujang honey sauce.
- Gluten-Free: Substitute all-purpose flour with a 1:1 GF baking flour and use crushed GF cornflakes for the crunch.
8. Ingredients Section
For the Chicken
- Chicken Breast or Thighs: 800g (1.7 lbs), cut into bite-sized strips or chunks.
- Buttermilk: 500ml (2 cups).
- Hot Sauce: 1 tbsp (for flavor, not just heat).
- All-Purpose Flour: 250g (2 cups).
- Cornstarch: 60g (1/2 cup) — The secret to crispiness.
- Seasoning Blend: 1 tbsp salt, 1 tbsp black pepper, 1 tbsp garlic powder, 1 tbsp onion powder, 1 tbsp smoked paprika, 1 tsp cayenne pepper.
For the Fries
- Russet Potatoes: 4 large, peeled and cut into 1cm batons.
- Vegetable Oil: 2 liters (for frying).
9. Step-by-Step Instructions
Step 1: The Brine
In a large bowl, whisk the buttermilk, hot sauce, and half of the seasoning blend. Add the chicken pieces, ensuring they are fully submerged. Cover and refrigerate for at least 2 hours (overnight is best).
Step 2: The Fries (Part 1)
Soak cut potatoes in cold water for 30 minutes to remove excess starch. Drain and pat completely dry with paper towels.
Step 3: Par-Frying the Potatoes
Heat oil to $150^\circ\text{C}$ ($300^\circ\text{F}$). Fry the potatoes in batches for about 5 minutes until soft but not browned. Remove and drain on paper towels. Increase oil heat to $175^\circ\text{C}$ ($350^\circ\text{F}$).
Step 4: The Dredge
In a shallow dish, combine flour, cornstarch, and the remaining seasonings. Remove chicken from buttermilk, let the excess drip off, and press firmly into the flour mixture. Shake off the excess and place on a tray.
Step 5: Frying the Chicken
Carefully lower chicken pieces into the $175^\circ\text{C}$ ($350^\circ\text{F}$) oil. Fry for 5–7 minutes, turning once, until golden brown and the internal temperature reaches $74^\circ\text{C}$ ($165^\circ\text{F}$). Transfer to the wire rack.
Step 6: The Final Crunch (Fries Part 2)
Drop the par-fried potatoes back into the hot oil for 2–3 minutes until they turn deep golden and crispy. Toss immediately with salt.
Step 7: Assembly
Layer the fries at the bottom of your box or plate, top with the crispy chicken, and serve with your choice of dips (Garlic Aioli, BBQ, or Curry Sauce).
10. Frequently Asked Questions (FAQ)
Q: Can I use chicken thighs instead of breasts?
A: Absolutely! Thighs are more forgiving and stay juicier due to their higher fat content.
Q: Why is my breading falling off?
A: Usually, this happens because the chicken was too wet or the oil wasn’t hot enough. Make sure to press the flour into the chicken firmly and let the coated chicken rest for 5 minutes before frying to let the “glue” set.
Q: What is the best oil for frying?
A: Use oils with a high smoke point, such as vegetable, canola, peanut, or sunflower oil.
Q: How do I make the fries extra crispy without double-frying?
A: Double-frying is truly the best method, but an air fryer at $200^\circ\text{C}$ ($400^\circ\text{F}$) for 15-20 minutes is a solid, healthier alternative.
Q: Can I prep this in advance?
A: You can marinate the chicken and par-fry the chips a day ahead. The final fry should happen right before serving.


