1. Introduction
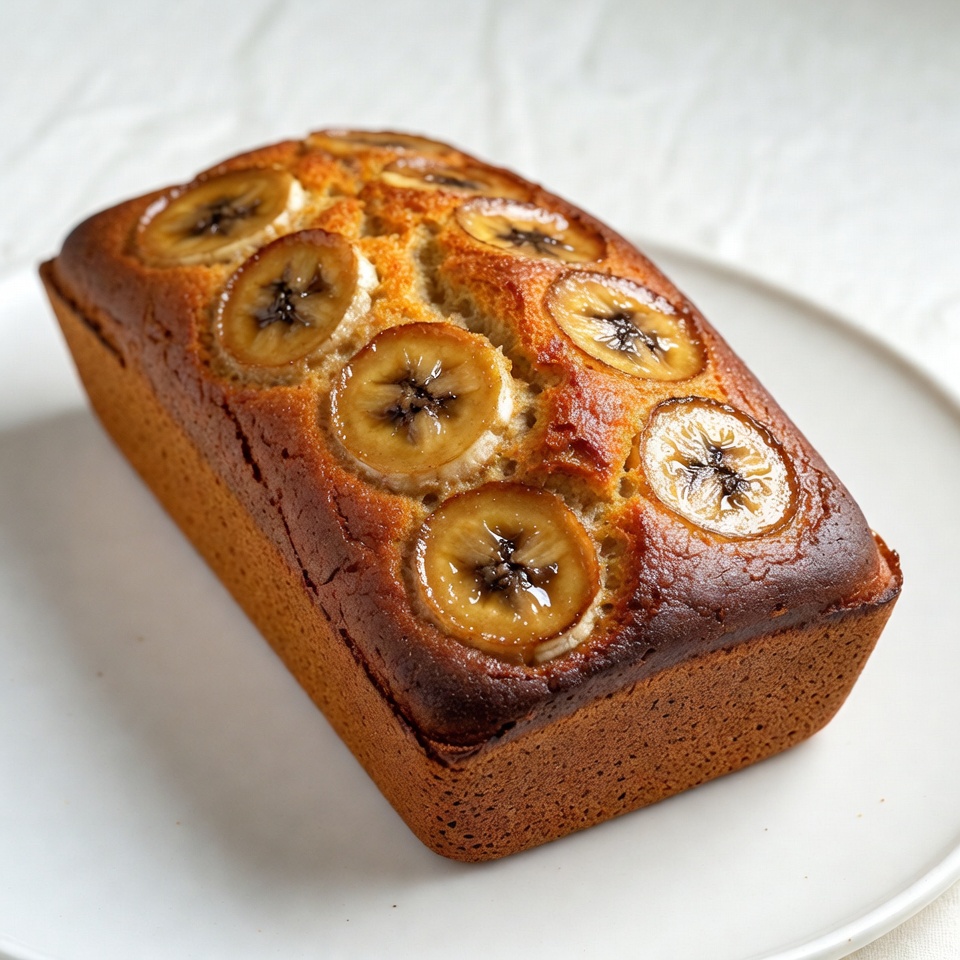
There is a specific, comforting alchemy that happens in a kitchen when the sugar begins to caramelize against the scent of overripe bananas. For many of us, banana bread isn’t just a recipe; it’s a nostalgic bridge to childhood afternoons. Whether it was your grandmother’s secret recipe or the loaf you learned to bake during a quiet weekend, this “quick bread” holds a permanent seat in the hall of culinary fame.
A Legacy of Resourcefulness
The story of banana bread is one of American ingenuity. While bananas arrived in the U.S. in the late 19th century, the recipe we recognize today gained massive popularity during the Great Depression. Resourceful homemakers, unwilling to waste expensive fruit that had turned soft and brown, discovered that these “spoiled” bananas were actually treasure troves of sugar and moisture.
By the 1930s, with the introduction of mass-produced baking powder and baking soda, banana bread became a staple of the “quick bread” movement—no yeast, no kneading, just pure, sweet efficiency. Today, it remains the ultimate “zero-waste” comfort food, turning the forgotten fruit on your counter into a gold-standard bakery treat.
2. Recipe Overview
- Cuisine Type: American / Bakery Classic
- Difficulty Level: Easy (Beginner-friendly)
- Prep Time: 15 minutes
- Cook Time: 60–65 minutes
- Total Time: Approx. 1 hour 20 minutes
- Dietary Classifications: Vegetarian (Can be easily adapted for Vegan or Gluten-Free diets).
3. Equipment and Tools
To achieve the perfect bake, precision in your tools is just as vital as the quality of your ingredients.
- Loaf Pan: Standard 9 x 5 inch (23 x 13 cm). A depth of at least 2.5 inches is recommended to allow for a dramatic dome rise.
- Mixing Bowls: One large bowl for mashing and wet ingredients; one medium bowl for sifting dry ingredients.
- Potato Masher or Fork: For achieving the perfect “chunky-smooth” banana consistency.
- Rubber Spatula: Essential for folding ingredients without overworking the gluten.
- Wire Cooling Rack: Crucial for preventing a soggy bottom during the cooling phase.
- Digital Kitchen Scale: Highly recommended for flour accuracy, though standard cups are provided.
4. Serving Suggestions
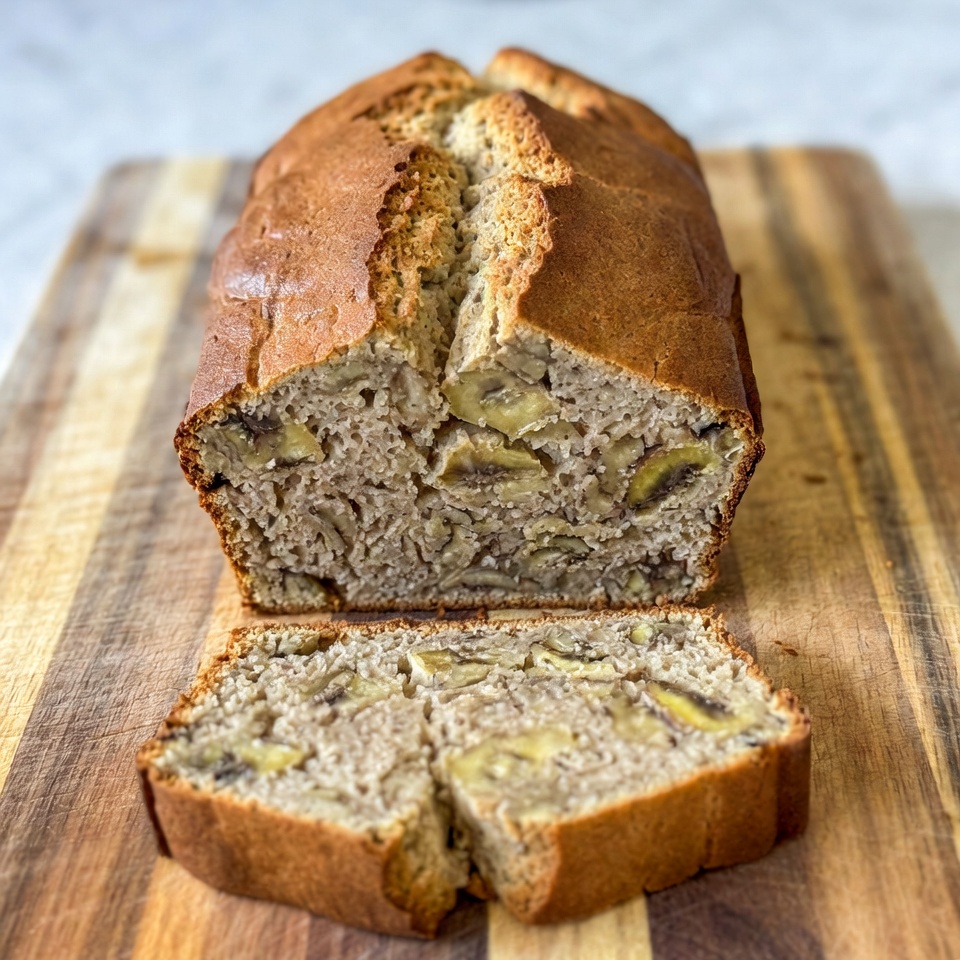
While a thick slice enjoyed warm is the gold standard, consider these elevated ways to serve your loaf:
- The Classic: Toasted with a generous smear of salted European-style butter.
- The Indulgent: A dollop of espresso-infused whipped cream or a drizzle of warm salted caramel.
- The Breakfast Power-Up: Served alongside Greek yogurt, a drizzle of honey, and fresh blueberries.
- Beverage Pairings:
- Coffee: A dark roast or a creamy latte cuts through the sweetness beautifully.
- Tea: Earl Grey or Masala Chai provides a spicy floral contrast to the banana.
- Evening: A small glass of chilled Tawny Port or a dessert sherry.
5. Nutritional Information
(Estimated per serving based on 10 slices per loaf)
| Nutrient | Amount per Serving |
| Calories | 235 kcal |
| Total Fat | 9g |
| Saturated Fat | 5g |
| Cholesterol | 45mg |
| Sodium | 185mg |
| Total Carbohydrates | 36g |
| Dietary Fiber | 2g |
| Sugars | 19g |
| Protein | 4g |
Health Insight: Bananas are a fantastic source of potassium and Vitamin B6. To lower the glycemic index, you can substitute half of the all-purpose flour with whole wheat pastry flour.
6. Storage and Reheating
- Room Temperature: Wrap tightly in plastic wrap or store in an airtight container for up to 3 days. Banana bread actually tastes better on day two as the flavors “settle.”
- Refrigeration: Not recommended for long-term storage as it can dry out the crumb, but it will last up to 6 days if kept in a sealed container.
- Freezing: This bread freezes beautifully. Wrap individual slices in parchment paper and then foil. Store in a freezer bag for up to 3 months.
- Reheating: For that “just-baked” feel, toast a slice in a pan with a little butter or microwave for 15–20 seconds.
7. Expert Tips and Variations
The “Brown Sugar” Secret
While white sugar provides structure, using a mix of white and dark brown sugar adds moisture and a subtle molasses undertone that makes the bread taste richer and more complex.
Common Mistakes to Avoid
- Under-ripe Bananas: If they aren’t covered in brown spots, they aren’t ready. The starch hasn’t converted to sugar yet, leading to a bland, starchy loaf.
- Over-mixing: Once the flour goes in, stop mixing as soon as you see no more white streaks. Over-mixing develops gluten, making the bread tough rather than tender.
Creative Variations
- The Nutty Professor: Add 1/2 cup of toasted walnuts or pecans for a crunch.
- Double Chocolate: Add 1/4 cup of cocoa powder to the dry mix and fold in 1/2 cup of dark chocolate chips.
- Seasonal Adaptation: In autumn, add 1 tsp of pumpkin pie spice and 1/4 cup of pumpkin purée for a hybrid loaf.
8. Ingredients Section
Wet Ingredients
- Bananas: 3 large, very ripe bananas (approx. 1.5 cups mashed). Look for skins that are at least 50% brown.
- Butter: 1/2 cup (113g) unsalted butter, melted and slightly cooled. (Substitution: Coconut oil for a dairy-free version).
- Sugar: 1/2 cup (100g) granulated white sugar and 1/4 cup (50g) packed light brown sugar.
- Egg: 1 large egg, room temperature, beaten.
- Vanilla: 1 tsp pure vanilla extract (avoid imitation for better depth).
Dry Ingredients
- Baking Soda: 1 tsp (ensure it is fresh by testing a pinch in vinegar).
- Salt: 1/4 tsp fine sea salt to balance the sweetness.
- Flour: 1.5 cups (190g) all-purpose flour, spooned and leveled.
9. Step-by-Step Instructions
- Preparation: Preheat your oven to 350°F (175°C). Grease your loaf pan with butter or use parchment paper with an overhang (a “sling”) for easy removal.
- Mashing: In a large mixing bowl, mash the bananas using a fork or potato masher. You want a liquid consistency with just a few small chunks remaining.
- Mixing Fats: Stir the melted butter into the mashed bananas until emulsified.
- The Sweeteners: Stir in the white sugar, brown sugar, beaten egg, and vanilla extract. Whisk gently until the mixture looks uniform.
- Leavening: Sprinkle the baking soda and salt over the wet mixture. Stir well to ensure the soda is evenly distributed before the flour is added.
- Incorporating Flour: Sift in the flour. Using a rubber spatula, use a “cut and fold” motion. Stop the moment the last streak of flour disappears. Do not over-mix.
- Baking: Pour the batter into the prepared pan. Bake for 60 to 65 minutes.
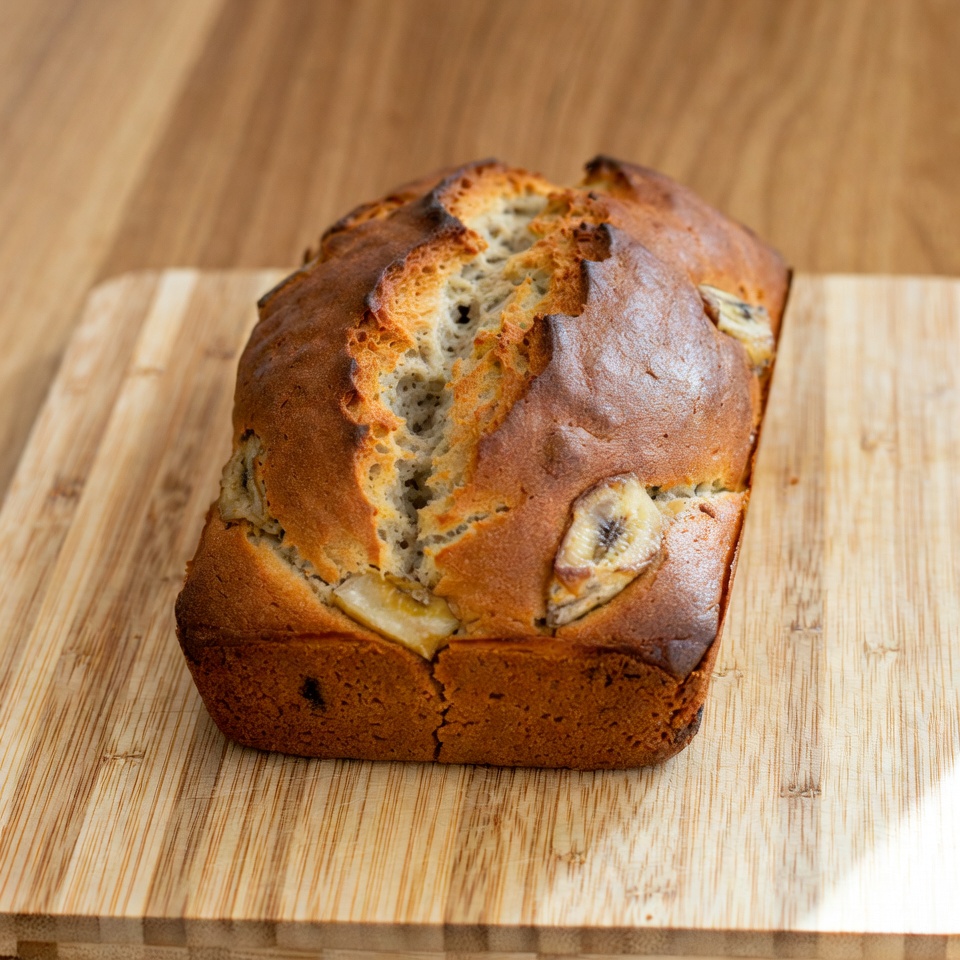
- Visual Cue: The top should be dark golden brown with a characteristic center split. A toothpick inserted into the thickest part should come out clean or with a few dry crumbs.
- Resting: Let the bread cool in the pan for 10 minutes to allow the structure to set. Move to a wire rack to cool completely.
10. Frequently Asked Questions (FAQ)
- Q: Can I use frozen bananas?
- A: Yes! Thaw them completely in a bowl. Do not discard the liquid that leaches out; that liquid contains intense banana essence.
- Q: My bread is too dark on top but raw in the middle. Help!
- A: This is common in hot ovens. Tent the loaf loosely with aluminum foil at the 40-minute mark to prevent over-browning while the center finishes cooking.
- Q: How do I ripen bananas in a hurry?
- A: Place unpeeled bananas on a baking sheet in a 300°F (150°C) oven for 15-20 minutes until the skins turn completely black. Let them cool before peeling.
- Q: Can I make this as muffins?
- A: Absolutely. Divide the batter into a greased muffin tin and bake at the same temperature for 18–22 minutes.
- Q: Why did my bread sink?
- A: This usually happens if the baking soda is expired or if the oven door was opened too frequently in the first 30 minutes, causing a temperature drop.


