1. Introduction: The Art of the Morning Ritual
There is something undeniably poetic about the smell of toasted batter wafting through a home on a slow Sunday morning. The waffle—that golden, grid-patterned marvel—is more than just breakfast; it is a testament to the beauty of simplicity. While pancakes are soft and comforting, the waffle offers a sophisticated textural contrast: a shatteringly crisp exterior that gives way to a cloud-like, steaming interior.
Tracing its roots back to ancient Greece—where obelios were cooked between hot metal plates—the waffle has evolved across centuries and borders. From the yeast-risen Liege waffles of Belgium to the convenient frozen varieties found in grocery stores, the identity of the waffle is vast. However, the “homestyle” version we cherish today bridges the gap between artisan craft and accessible home cooking. Mastering this dish is about understanding the chemistry of leavening and the delicate balance of fat and flour. In this guide, we will transform your breakfast routine into a professional-grade culinary experience.
2. Recipe Overview
- Cuisine Type: American / European Fusion
- Difficulty Level: Moderate (The secret is in the egg white aeration)
- Prep Time: 15 minutes
- Cook Time: 20 minutes
- Total Time: 35 minutes
- Dietary Classifications: Vegetarian (Can be adapted for Gluten-Free)
3. Equipment and Tools
To achieve bakery-quality results, specific tools are recommended:
- Belgian Waffle Maker: A deep-pocket iron (minimum 1-inch depth) is ideal for trapping syrup and ensuring structural integrity.
- Electric Stand or Hand Mixer: Essential for beating egg whites to the “stiff peak” stage.
- Balloon Whisk: For incorporating dry ingredients without overworking the gluten.
- Mixing Bowls: Two large stainless steel bowls (one for dry, one for wet/folding).
- Wire Cooling Rack: Placed over a baking sheet. This is the most important tool for maintaining crispness by allowing steam to escape from the bottom of the waffle.
- Digital Scale: Highly recommended for precise flour measurements ($1 \text{ cup} \approx 125 \text{g}$).
4. Serving Suggestions
Plating is the final flourish of your culinary creation.
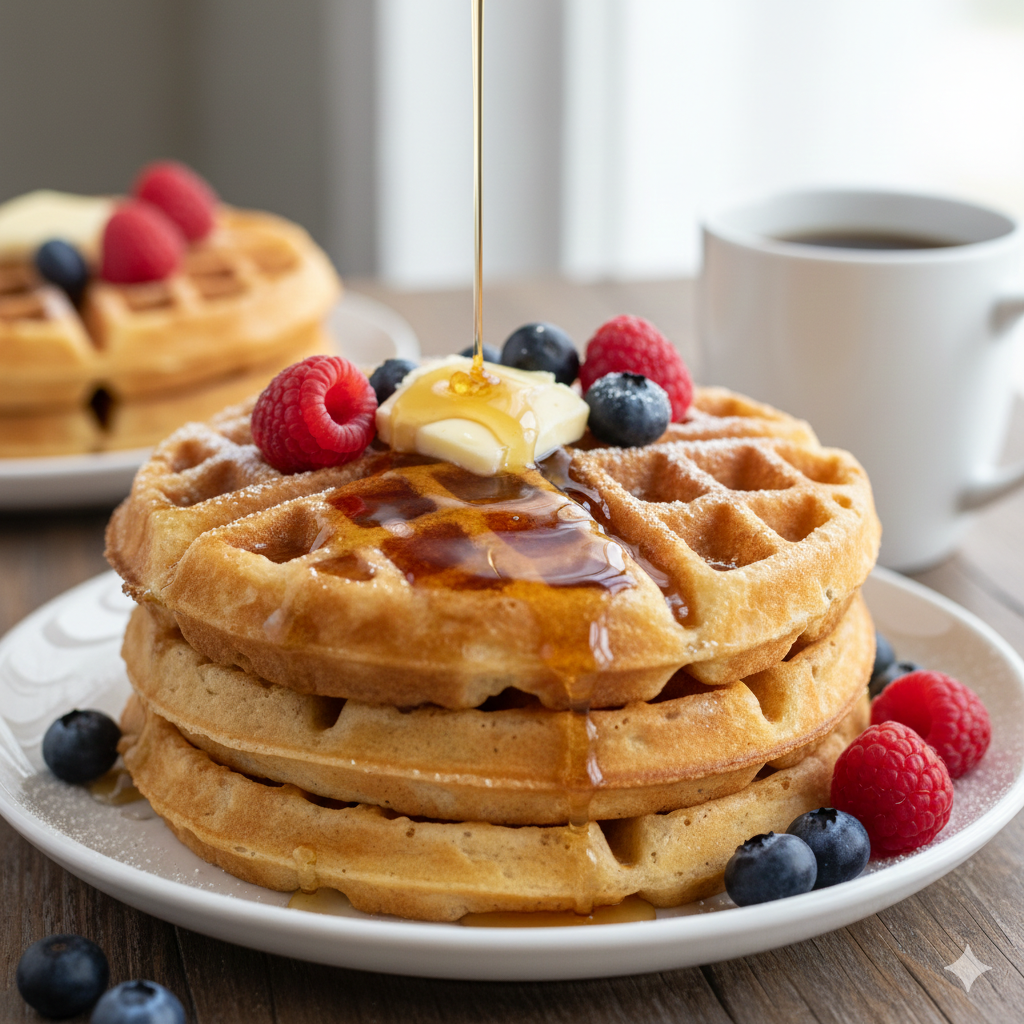
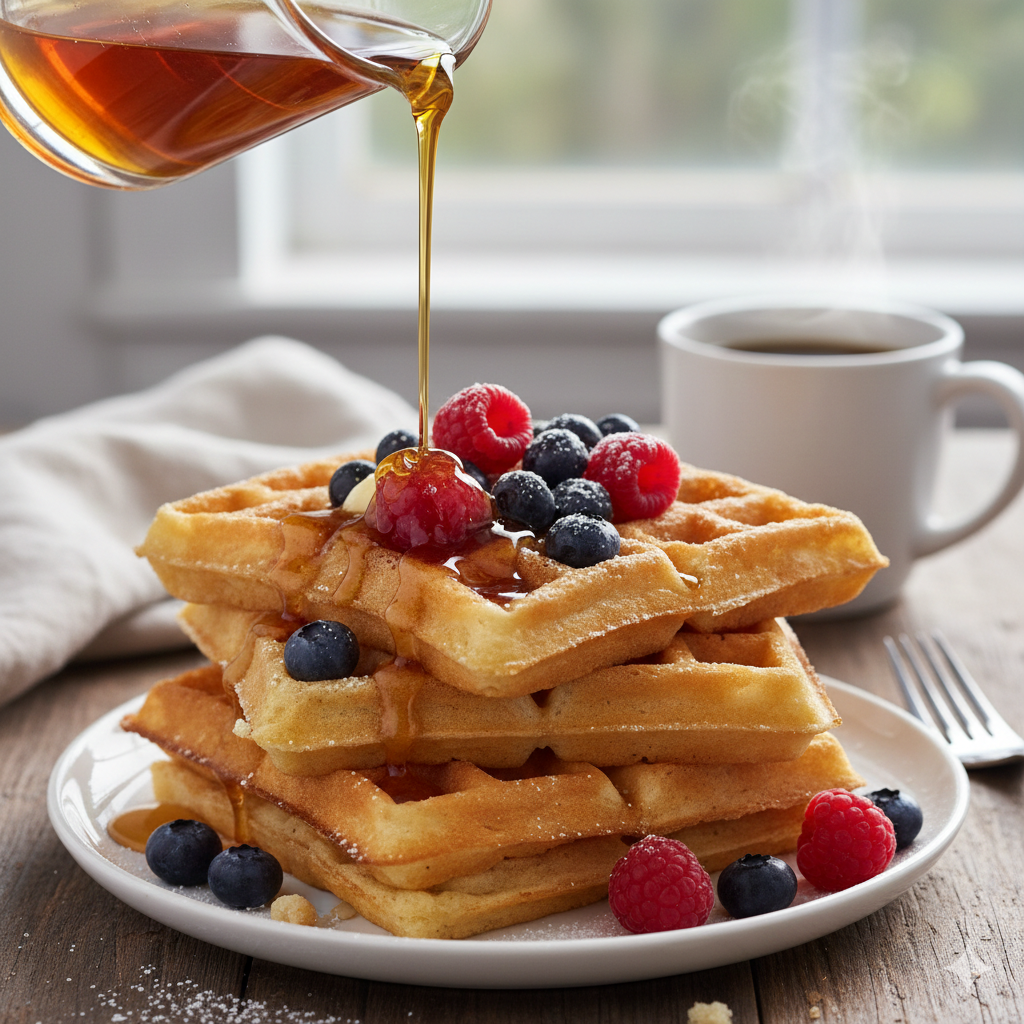
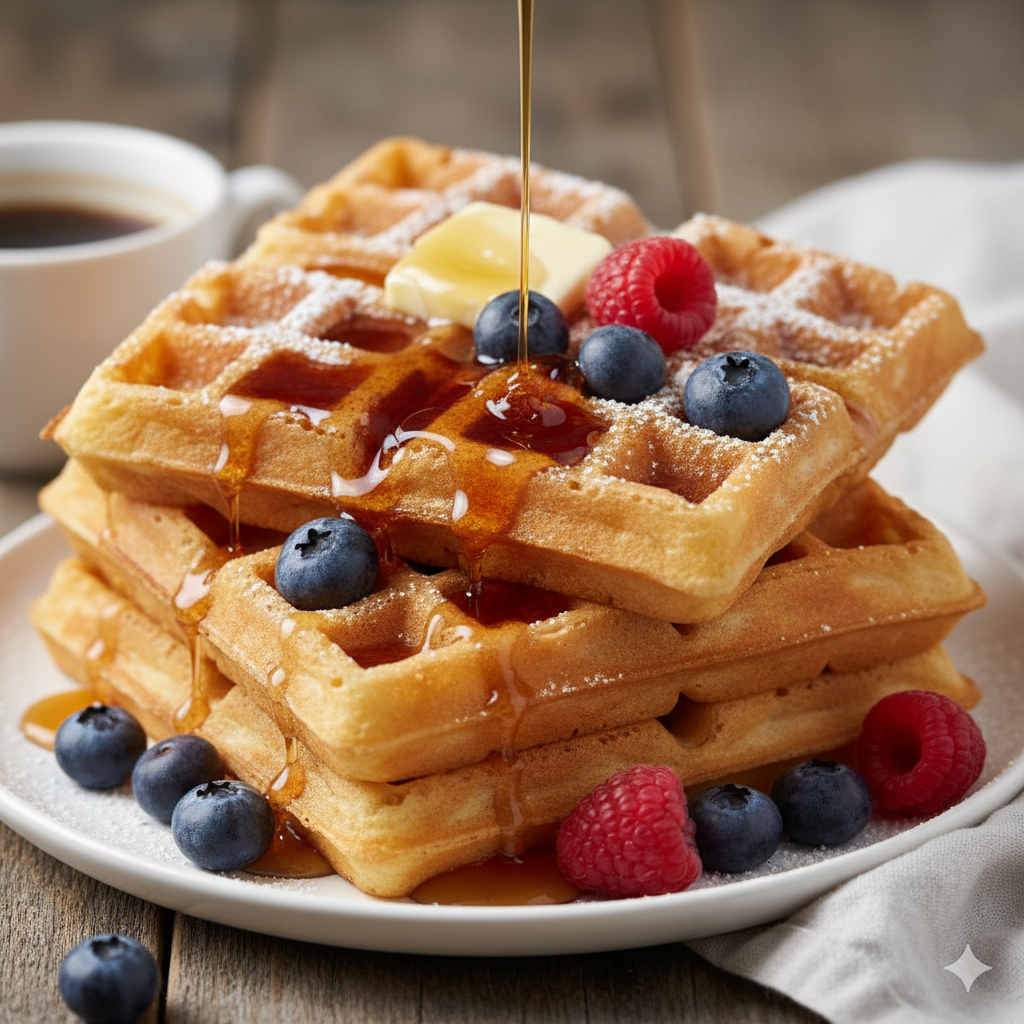
- The Classic: A warm pat of salted high-fat butter, pure grade-A maple syrup, and a light dusting of sifted powdered sugar.
- Fresh & Bright: Top with macerated strawberries, fresh blueberries, and a dollop of fresh vanilla-bean whipped cream.
- Savory Pairing: Serve alongside crispy thick-cut applewood smoked bacon or a side of maple-glazed breakfast sausage.
- Beverage Pairings: A robust, single-origin pour-over coffee or a chilled glass of fresh orange juice with a touch of rosemary.
5. Nutritional Information (Per Serving)
Note: Values are estimated based on a standard yield of 6 waffles.
- Calories: 320 kcal
- Total Fat: 16g
- Protein: 9g
- Carbohydrates: 35g
- Dietary Fiber: 1g
- Health Benefit: By using high-quality eggs and controlled portions of butter, these waffles provide a balance of protein and healthy fats to start the day.
6. Storage and Reheating
- Refrigeration: Store in an airtight container for up to 3 days.
- Freezing: Place cooled waffles in a single layer on a parchment-lined tray to flash-freeze. Once solid, transfer to a freezer-safe bag. They will keep for up to 2 months.
- Reheating: Skip the microwave. Place them directly into a 375°F ($190^\circ\text{C}$) toaster or convection oven for 3-5 minutes until the exterior returns to its original crisp state.
7. Expert Tips and Variations
- The Cornstarch Trick: Replacing 2 tablespoons of your flour with cornstarch is the secret to a professional-level “shatter-crisp” exterior.
- Avoid Overmixing: Treat your batter with kindness. A few small lumps are perfectly acceptable; over-mixing develops gluten, leading to a tough, bread-like texture.
- Seasonal Adaptation: During autumn, fold a teaspoon of pumpkin spice into your dry ingredients and serve with a dollop of cinnamon-infused cream.
8. Ingredients
- All-Purpose Flour: 2 cups (250g)
- Cornstarch: 2 tbsp (15g)
- Baking Powder: 1 tbsp (15g)
- Salt: ½ tsp (3g)
- Whole Milk: 1 ¾ cups (415ml)
- Unsalted Butter: ½ cup (113g), melted and cooled
- Large Eggs: 2, separated
- Vanilla Extract: 1 tsp (5ml)
9. Step-by-Step Instructions
- Preparation: Preheat your waffle iron. Ensure it is fully heated to the “ready” light before adding batter.
- Dry Mixture: In a large bowl, whisk together flour, cornstarch, baking powder, and salt.
- Wet Mixture: In a secondary bowl, whisk milk, melted butter, vanilla, and egg yolks.
- The Aeration: Beat the egg whites in a separate bowl until stiff, glossy peaks form. This provides the “lift.”
- Integration: Pour the wet mixture into the dry, stirring until just combined.
- The Fold: Gently fold the whipped egg whites into the batter with a rubber spatula. Do not deflate the bubbles.
- Cooking: Pour the batter into the center of the iron. Close the lid and cook according to your iron’s instructions until golden brown.
- The Crisp Finish: Transfer to a wire rack for 1 minute before serving to lock in the crunch.
10. Frequently Asked Questions (FAQ)
Q: Can I make these gluten-free?
A: Yes, substitute the flour with a high-quality 1:1 gluten-free baking blend.
Q: Why do my waffles get soft quickly?
A: Steam is the enemy of crispness. Always use a cooling rack rather than placing them on a flat plate.
Q: Is butter or oil better?
A: Butter provides flavor; oil provides a slightly lighter, crispier texture. A blend of both is often the professional choice.
Q: Can I add fruit directly to the batter?
A: It is better to place berries on top after cooking. Adding them to the batter often leads to soggy pockets.
Q: How do I know when the iron is ready?
A: If it doesn’t have an indicator light, sprinkle a single drop of water on the surface; it should “dance” and evaporate instantly.


