1. Introduction: The Legend of the Sweet Rainbow
Every year, as the calendar turns toward the seventeenth of March, a certain whimsical energy begins to take hold of the kitchen. It is a time for emerald greens, folklore of mischievous spirits, and the pursuit of that elusive pot of gold. Enter the Lucky Leprechaun Treat: a confectionary masterpiece that captures the very essence of Irish folklore in a single, chewy bite.
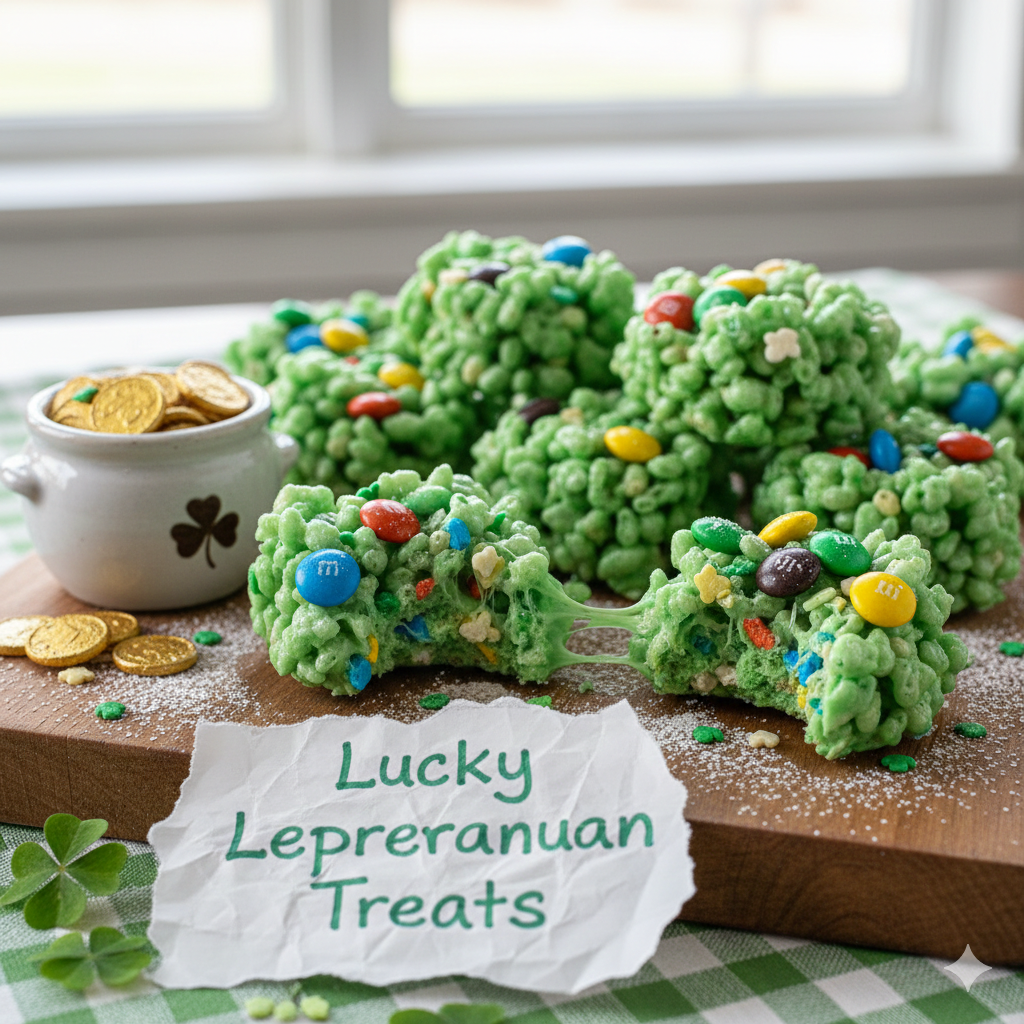
The origin of these treats is rooted in the classic American marshmallow cereal bar, but they have evolved into a cultural phenomenon for St. Patrick’s Day celebrations. Historically, cereal treats became a staple of home kitchens due to their simplicity, but the “Lucky Leprechaun” variation adds a layer of narrative. By utilizing toasted oat cereal with vibrant marshmallow “charms”—moons, stars, horseshoes, and rainbows—we aren’t just making a snack; we are building a story.
What makes this recipe unique is the “double-marshmallow” technique. Most recipes melt all the marshmallows into a binder, but the Lucky Leprechaun method reserves a portion of the charms to be folded in at the very end. This ensures that the rainbow colors remain visible and distinct, rather than melting into a muddy hue. It is a dish that appeals to the “inner child” while providing a sophisticated balance of salt and sugar that even the most discerning adult palate will appreciate.
2. Recipe Overview
- Cuisine Type: American Fusion / Holiday Specialty
- Difficulty Level: Beginner-Friendly
- Total Preparation Time: 15 Minutes
- Setting Time: 45 Minutes
- Total Time: 1 Hour
- Dietary Classifications: Vegetarian, Nut-Free, Gluten-Free (if using certified GF oats/cereal)
3. Equipment and Tools
To achieve the professional “bakery-style” height and texture for your Lucky Leprechaun Treats, having the right gear is non-negotiable.
Core Kitchen Tools
- Large Heavy-Bottomed Stockpot: A 6-quart (5.7L) capacity is ideal. The heavy bottom prevents the butter and marshmallow from scorching during the melting phase.
- 9×9-inch (23x23cm) Square Baking Pan: For extra-thick, gourmet-style treats, a smaller square pan is superior to a large rectangular one.
- Silicone Spatula: High-heat resistant. Marshmallows are notoriously sticky; silicone allows for easy folding without the “clump” factor.
- Parchment Paper: Essential for a “clean release.”
Specific Specifications
- Pan Depth: Ensure your pan is at least 2 inches (5cm) deep. These treats are best served thick to maintain their internal moisture.
- Volume Measurements: Standard US cups are used, but for the most consistent results, a digital kitchen scale is recommended (see ingredients for gram conversions).
4. Serving Suggestions
Plating and Presentation
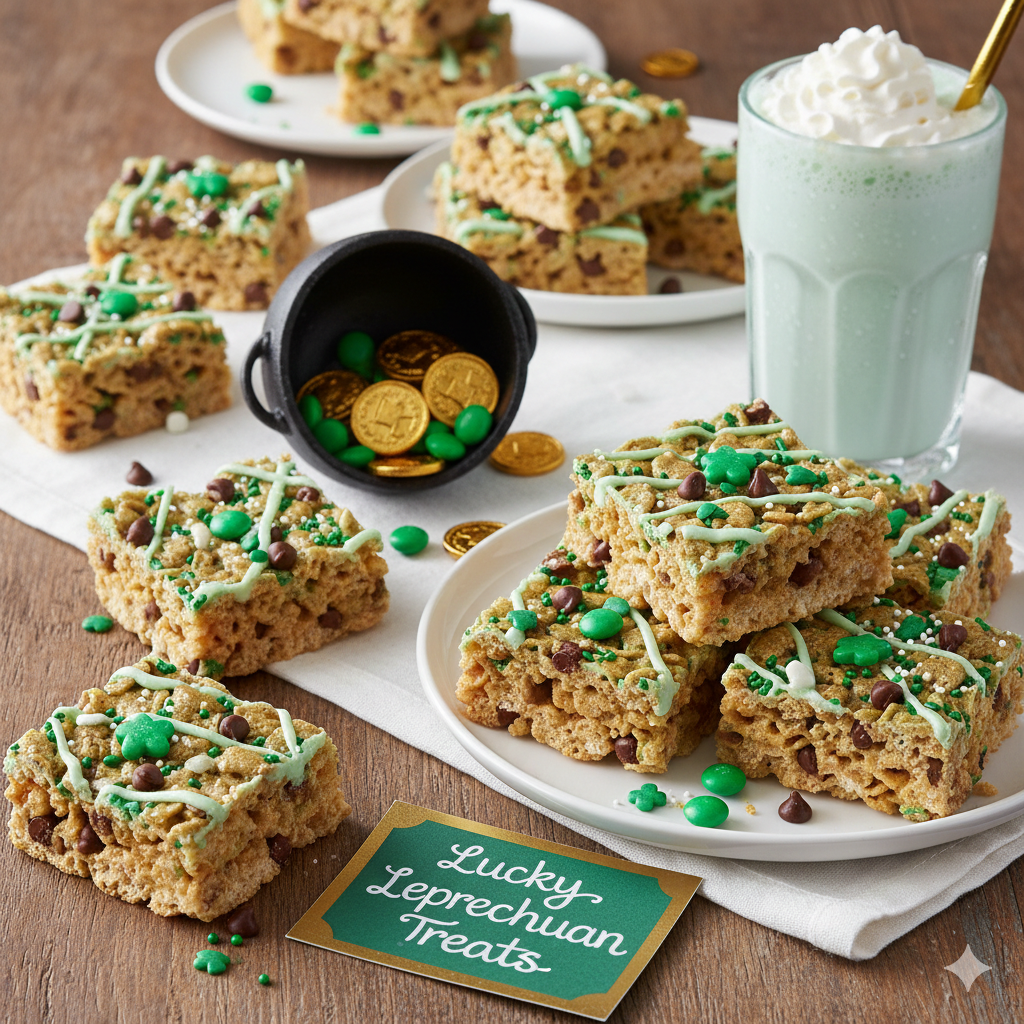
For a festive party spread, stack the treats in a pyramid shape on a dark green or black ceramic platter to make the rainbow colors “pop.”
Garnishes
- Edible Gold Dust: Lightly shimmer the white chocolate drizzle with gold luster dust.
- Shamrock Sprinkles: Use leaf-shaped green sprinkles for a themed touch.
- Rainbow Sour Belts: Cut small strips of rainbow candy and arch them over individual bars.
Beverage Pairings
- Non-Alcoholic: A minty “Shamrock” milkshake or a cold glass of whole milk.
- For Adults: An Irish Cream liqueur on the rocks or a dry Irish Stout. The bitterness of a stout perfectly cuts through the intense sweetness of the marshmallow.

5. Nutritional Information (Per Serving)
Based on 12 generous servings.
| Nutrient | Amount per Serving |
| Calories | 285 kcal |
| Total Fat | 9g |
| Saturated Fat | 6g |
| Cholesterol | 20mg |
| Sodium | 195mg |
| Total Carbohydrates | 48g |
| Dietary Fiber | 2g |
| Sugars | 26g |
| Protein | 3g |
Dietary Note: These treats are high in simple carbohydrates, making them an excellent “quick energy” snack for holiday activities, though they should be enjoyed as an occasional festive indulgence.
6. Storage and Reheating
Storage Guidelines
- Room Temperature: Store in an airtight container for up to 3 days. To keep them soft, place a slice of white bread in the container; the marshmallows will absorb the moisture from the bread.
- Refrigeration: Avoid! The refrigerator’s dry air turns the marshmallows rubbery and the cereal stale.
Freezing and Reheating
- Freezing: Wrap individual bars in plastic wrap, then place in a freezer bag. They last up to 6 weeks.
- Reheating: If they become slightly firm, microwave a single treat for 5-7 seconds. This briefly reactivates the marshmallow bonds without melting the chocolate drizzle.
7. Expert Tips and Variations
Professional Chef Secrets
- Brown the Butter: Instead of just melting the butter, cook it until it turns amber and smells nutty. This adds a “toffee” dimension to the flavor.
- The “Wet Hand” Technique: When pressing the mixture into the pan, dampen your hands slightly with water. This prevents the marshmallow from sticking to you better than butter or oil.
- Salt Your Sugar: Don’t skip the sea salt. It balances the sweetness of the white chocolate.
Seasonal Variations
- The Leprechaun’s Gold: Stir in 1/2 cup of butterscotch chips into the hot marshmallow mixture for a golden hue and rich flavor.
- Pot of Gold Bottoms: Dip the bottom of each bar in melted dark chocolate to represent the “pot.”
8. Ingredients Section
The Base
- 6 Cups (approx. 320g) Toasted Oat Cereal with Marshmallow Charms.
- 10 oz (283g) Fresh Mini Marshmallows (Quality matters—use a brand that feels soft to the touch).
- 6 tbsp (85g) European-style Salted Butter.
- 1 ½ tsp Pure Vanilla Bean Paste or Extract.
- ½ tsp Flaky Sea Salt.
The Topping
- ½ Cup White Chocolate Wafers (High cocoa butter content).
- 1 drop Green Gel Food Coloring (optional for drizzle).
- 1 tbsp Gold-colored sanding sugar.
9. Step-by-Step Instructions
- Preparation: Line your 9×9 pan with parchment paper, leaving a 2-inch overhang on the sides.
- The Butter Melt: In your stockpot, melt the butter over medium-low heat.
- Marshmallow Infusion: Add the mini marshmallows (reserve 1 cup for later). Stir constantly. As soon as the marshmallows look like a smooth “cloud,” remove from the heat immediately.
- Flavoring: Stir in the vanilla and sea salt.
- The Great Fold: Quickly but gently fold in the cereal. Once about 50% combined, add the reserved 1 cup of marshmallows. This creates those signature “gooey pockets.”
- The Transfer: Pour the mixture into the pan. Do not pack it down. Use a spatula to spread it to the edges. Packing it tightly results in a hard, crunchy bar rather than a soft, chewy one.
- The Gold Drizzle: Melt white chocolate in 20-second intervals in the microwave. Drizzle over the top in a wild, “rainbow” pattern.
- Setting: Let the treats rest at room temperature for at least 45 minutes.
- Slicing: Lift the parchment paper to remove the block. Use a large chef’s knife to slice into 12 squares.
10. Frequently Asked Questions (FAQ)
Q: Why are my treats too hard?
A: You likely overheated the marshmallows. Once they melt, they begin to undergo a structural change that turns them into hard candy if cooked too long. Always use low heat.
Q: Can I use large marshmallows?
A: Yes, but they take longer to melt. Cut them into quarters with kitchen shears first to ensure they melt evenly with the butter.
Q: How do I make these vegan?
A: Use vegan butter sticks and gelatin-free marshmallows. Note that vegan marshmallows often require a teaspoon of water to melt smoothly.
Q: Can I use different cereals?
A: Certainly! However, the oat-based cereal provides a specific “toasted” flavor that pairs best with the marshmallow charms.
Q: Are these safe for school lunches?
A: Yes! This recipe is naturally nut-free (always double-check your specific cereal brand’s label for cross-contamination).