1. Introduction: A Love Letter to a Diner Icon
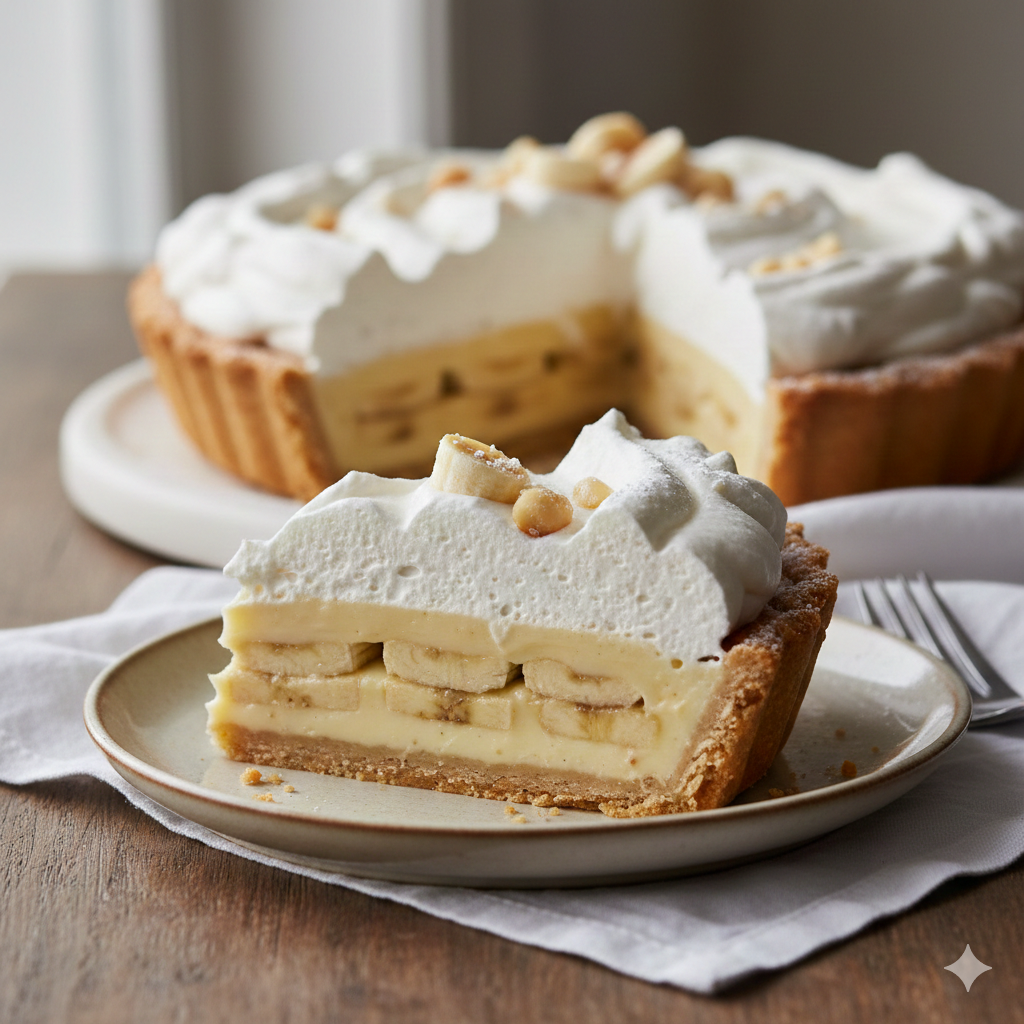
There is a specific kind of nostalgia that only a Classic Banana Cream Pie can evoke. It’s the centerpiece of the American glass dessert case—a towering architectural marvel of crust, custard, and cloud-like cream. While its origins trace back to the early 20th century as bananas became a staple import in the United States, the dish truly found its soul in the mid-century diners and family kitchens where “homemade” was the only standard.
What makes this recipe significant isn’t just the sugar; it’s the contrast. You have the structural integrity of a buttery, salty pastry shell, the soft yielding texture of ripened bananas, the tectonic weight of a rich egg-yolk custard, and the ethereal lightness of stabilized whipped cream. It is a dish of patience and temperature control. In this guide, we aren’t just making a pie; we are perfecting a craft that has delighted generations at Sunday dinners and holiday tables alike.
2. Recipe Overview
- Cuisine Type: American / Heritage Dessert
- Difficulty Level: Intermediate (Requires custard tempering and pastry handling)
- Prep Time: 45 minutes
- Cook Time: 20 minutes
- Chilling Time: 6 hours (minimum)
- Dietary Classifications: Vegetarian. (Note: Can be made Gluten-Free with a flour substitute in the crust and cornstarch as the primary thickener).
3. Equipment and Tools
To achieve a professional-grade finish, ensure you have the following tools prepared:
- Pie Plate: 9-inch (23 cm) glass or ceramic dish. A depth of at least 1.5 to 2 inches is recommended to accommodate the layers.
- Heavy-Bottomed Saucepan: 3-quart capacity. Heavy bottoms prevent the milk from scorching.
- Whisks: A fine-wire balloon whisk for the custard and a stiff whisk for the cream.
- Mixing Bowls: One large heat-proof bowl for tempering eggs and one chilled metal bowl for whipping cream.
- Fine-Mesh Strainer: Essential for removing any accidental bits of cooked egg from your custard.
- Rolling Pin: For the pastry crust.
- Pie Weights or Dried Beans: For “blind baking” the crust.
- Offset Spatula: For smoothing the custard and swirling the whipped cream.
4. Serving Suggestions
Plating Recommendations
Serve chilled on a pre-cooled dessert plate. A sharp, thin knife dipped in hot water and wiped dry between cuts will ensure clean, “magazine-ready” slices.
Garnish Ideas
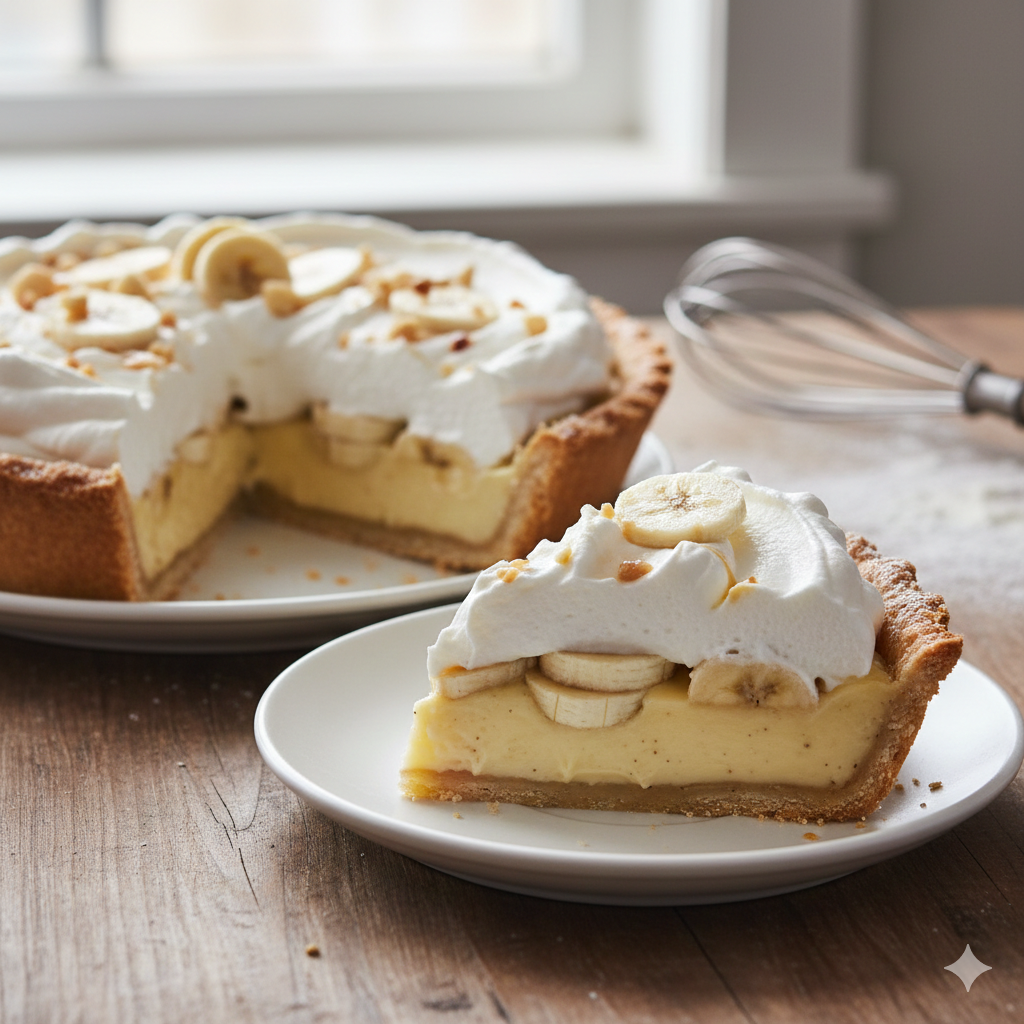
- Banana Coins: Add fresh slices just before serving to prevent browning.
- Toasted Macadamia Nuts: For a tropical, crunchy twist.
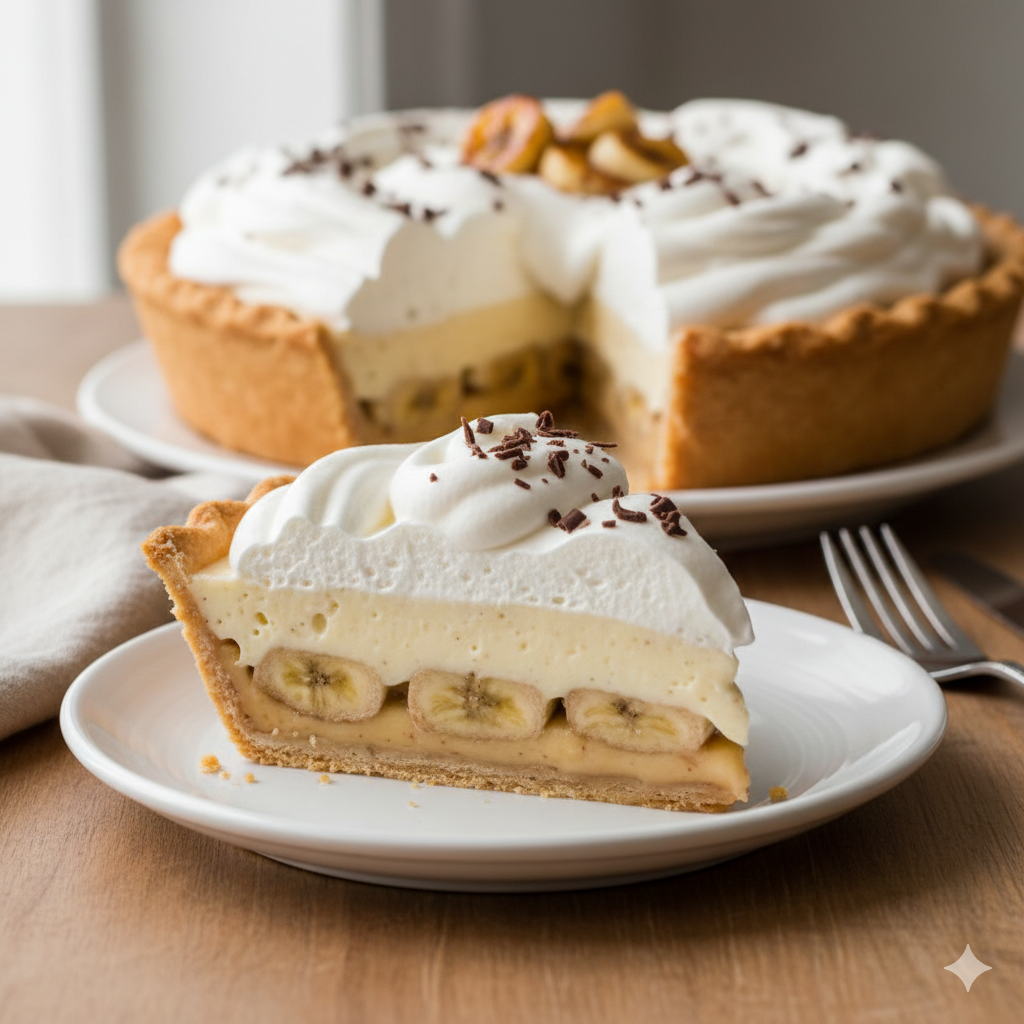
- Shaved Dark Chocolate: For a “Black and White” aesthetic.
- Caramel Drizzle: A light salted caramel lace over the top elevates the salt-to-sugar ratio.
Beverage Pairings
- Coffee: A dark roast or a double espresso cuts through the richness of the dairy.
- Wine: A Late Harvest Riesling or a glass of chilled Prosecco provides a bright acidity that cleanses the palate.
5. Nutritional Information (Per Serving)
Based on 8 servings per pie.
| Nutrient | Amount |
| Calories | 480 kcal |
| Total Fat | 28g |
| Saturated Fat | 16g |
| Cholesterol | 145mg |
| Sodium | 210mg |
| Total Carbohydrates | 52g |
| Dietary Fiber | 2g |
| Sugars | 34g |
| Protein | 7g |
Health Note: This dessert is an excellent source of Potassium from the bananas and Calcium from the milk/cream.
6. Storage and Reheating
Refrigeration
The Classic Banana Cream Pie must be kept refrigerated. It contains high amounts of dairy and eggs. Cover loosely with a pie dome or plastic wrap (propped up with toothpicks to avoid sticking to the cream). It will stay fresh for up to 3 days, though the crust may soften by day three.
Freezing
Freezing is not recommended for the fully assembled pie. The custard (pastry cream) can separate and become “weepy” or grainy upon thawing, and the bananas will turn mushy and gray.
Reheating
This dish is strictly served cold. Do not attempt to reheat.
7. Expert Tips and Variations
Professional Tips
- The Banana Barrier: To prevent a soggy crust, some chefs brush a thin layer of melted white chocolate over the cooled pie shell before adding the bananas.
- Tempering is Key: When adding hot milk to eggs, go slowly. If you scramble the eggs, you lose the silkiness.
Common Mistakes
- Under-cooking the Custard: If the custard doesn’t reach a “lazy bubble” (boil), the cornstarch won’t activate, and the pie will collapse when sliced.
- Using Overripe Bananas: While great for banana bread, overripe bananas are too soft for pie. Use bananas that are yellow with just a few brown spots (firm but sweet).
Creative Variations
- The Elvis: Add a thin layer of creamy peanut butter to the bottom of the crust.
- Coconut Cream Hybrid: Fold toasted coconut into the custard and use coconut extract in the whipped cream.
8. Ingredients Section
The All-Butter Crust
- All-Purpose Flour: 1 ½ cups (190g)
- Granulated Sugar: 1 tsp
- Salt: ½ tsp (fine sea salt)
- Unsalted Butter: ½ cup (113g), cold and cubed
- Ice Water: 3 to 5 tbsp
The Vanilla Bean Custard
- Whole Milk: 2 cups (475ml) – Use high-quality pasture-raised milk for best flavor.
- Granulated Sugar: ⅔ cup (135g)
- Cornstarch: ¼ cup (32g)
- Salt: ¼ tsp
- Egg Yolks: 4 large (save the whites for another use)
- Unsalted Butter: 2 tbsp (30g), softened
- Vanilla Bean Paste: 2 tsp (or pure vanilla extract)
The Filling & Topping
- Bananas: 3 to 4 medium, firm-ripe.
- Heavy Whipping Cream: 1 ½ cups (350ml), very cold.
- Powdered Sugar: 3 tbsp (30g)
9. Step-by-Step Instructions
Step 1: Prepare the Pastry Shell
- Mix: Pulse flour, sugar, and salt in a food processor. Add cold butter and pulse until it looks like coarse crumbs.
- Hydrate: Add ice water one tablespoon at a time until the dough just holds together.
- Chill: Form into a disk, wrap in plastic, and chill for 1 hour.
- Bake: Roll out the dough and fit into the 9-inch pie plate. Prick the bottom with a fork. Line with parchment and pie weights. Bake at 375°F (190°C) for 15 minutes, remove weights, and bake for another 10-12 minutes until golden. Cool completely.
Step 2: Craft the Custard (Pastry Cream)
- Whisk: In a medium bowl, whisk egg yolks until smooth.
- Combine: In the saucepan, whisk sugar, cornstarch, and salt. Gradually whisk in the milk.
- Thicken: Cook over medium heat, whisking constantly, until the mixture thickens and begins to bubble.
- Temper: Slowly pour about ½ cup of the hot milk mixture into the egg yolks, whisking vigorously. Pour the egg mixture back into the saucepan.
- Final Boil: Continue to cook for 2 minutes, whisking constantly.
- Finish: Remove from heat. Stir in the 2 tbsp butter and vanilla.
- Strain: Press the custard through a fine-mesh sieve into a clean bowl.
Step 3: Assembly
- Layer 1: Slice bananas into ¼-inch rounds. Arrange a dense layer over the bottom of the cooled crust.
- Layer 2: Pour the warm custard over the bananas, smoothing the top.
- Seal: Place plastic wrap directly on the surface of the custard to prevent a “skin” from forming.
- Chill: Refrigerate for at least 6 hours (preferably overnight).
Step 4: The Whipped Topping
- Whip: In a chilled bowl, beat heavy cream and powdered sugar until stiff peaks form.
- Top: Spread or pipe the cream over the chilled custard right before serving.
10. Frequently Asked Questions (FAQ)
Q: Why is my custard watery?
A: This usually happens if the cornstarch wasn’t cooked long enough to reach a boil, or if you over-stirred the custard after it cooled, breaking the starch bonds.
Q: Can I use store-bought crust?
A: Absolutely. A pre-baked frozen crust or a graham cracker crust works well, though a homemade butter crust offers the best structural contrast.
Q: How do I stop the bananas from turning brown?
A: By sealing them under the warm custard, you limit their exposure to oxygen. For the garnish on top, a quick toss in lemon juice will keep them bright.
Q: Can I use skim milk?
A: I don’t recommend it. The fat in whole milk is necessary for the custard to set properly and provide that signature mouthfeel.
Q: How do I know when the custard is “done”?
A: It should be the consistency of thick pudding and “coat the back of a spoon.” When you draw a finger through the coating on the spoon, the line should remain distinct.


