1. Introduction
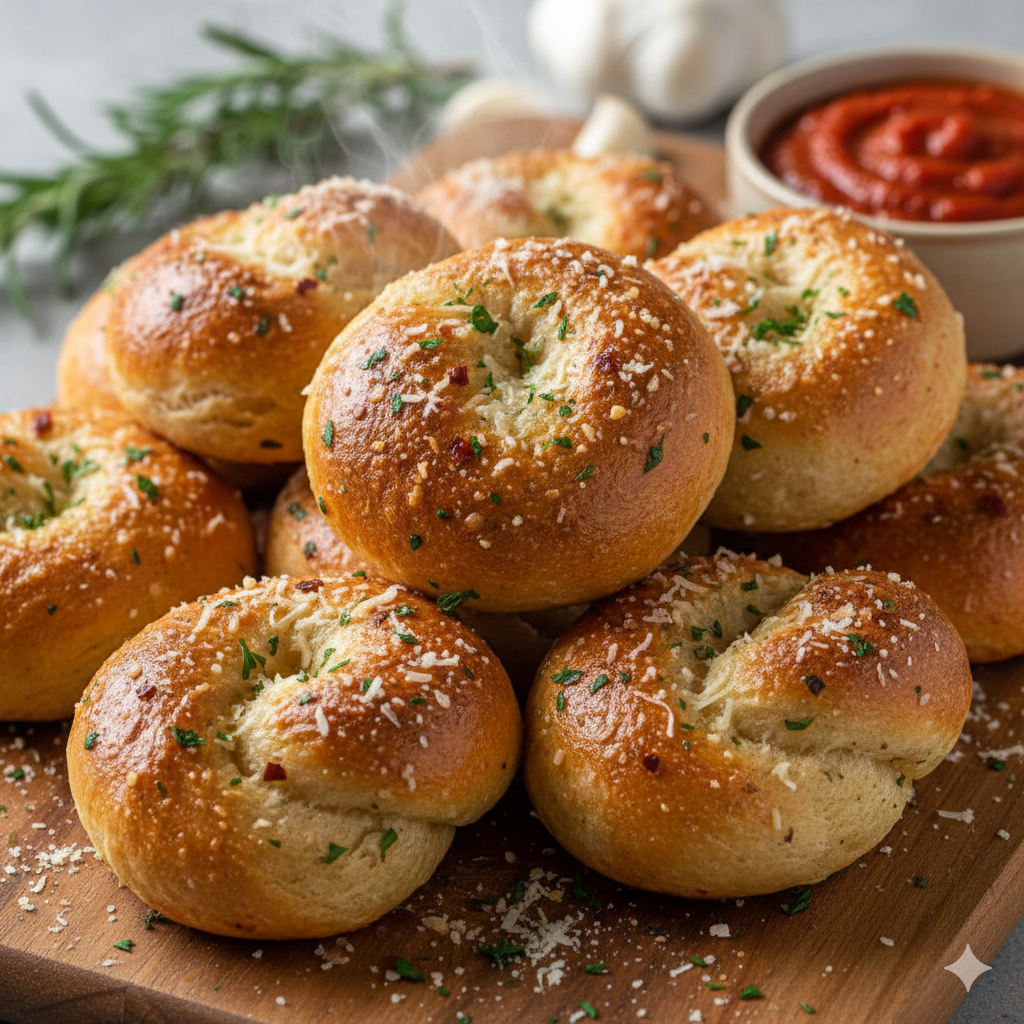
There is a specific, intoxicating aroma that defines the experience of a classic New York City pizzeria. It isn’t just the bubbling mozzarella or the simmering tomato sauce; it is the pungent, buttery, and yeasty scent of freshly baked Garlic Knots. Historically, these knots were born out of a thrifty kitchen philosophy—pizza makers used leftover dough scraps, tied them in loops, and drenched them in garlic oil to ensure nothing went to waste.
Today, Garlic Knots have transcended their “scrap” origins to become a centerpiece appetizer. However, the traditional dough-making process can be a deterrent for the home cook, often requiring hours of proofing. This recipe changes that narrative. By utilizing a “Quick Rise” method—optimizing water temperature and yeast activation—we bypass the long wait times without sacrificing the pillowy interior and golden-brown crust that define a perfect knot. Whether you are hosting a last-minute dinner party or satisfying a late-night craving, these knots provide gourmet satisfaction in a fraction of the time.
2. Recipe Overview
- Cuisine Type: Italian-American
- Difficulty Level: Intermediate (requires basic dough handling)
- Total Time: 35 Minutes (10 mins prep, 10 mins proof, 15 mins bake)
- Dietary Classifications: Vegetarian, Nut-Free, Soy-Free. (Vegan-friendly if using plant-based butter).
3. Equipment and Tools
To achieve professional-grade results, ensure you have the following tools prepared:
- Stand Mixer: Fitted with a dough hook (Hand-kneading is possible but adds 5–7 minutes to prep).
- Baking Sheet: Heavy-duty rimmed baking sheet (Standard 13×18 inch half-sheet).
- Parchment Paper or Silicone Mat: To prevent sticking and ensure even browning.
- Digital Kitchen Scale: For precise flour and water measurements.
- Thermometer: To measure water temperature ($40^\circ\text{C}$ to $45^\circ\text{C}$).
- Pastry Brush: For applying the garlic butter glaze.
- Bench Scraper: For dividing and portioning the dough cleanly.
- Large Mixing Bowl: For the quick proofing stage.
4. Serving Suggestions
Garlic knots are incredibly versatile. While they are a natural partner for Italian cuisine, they can be elevated through creative plating:
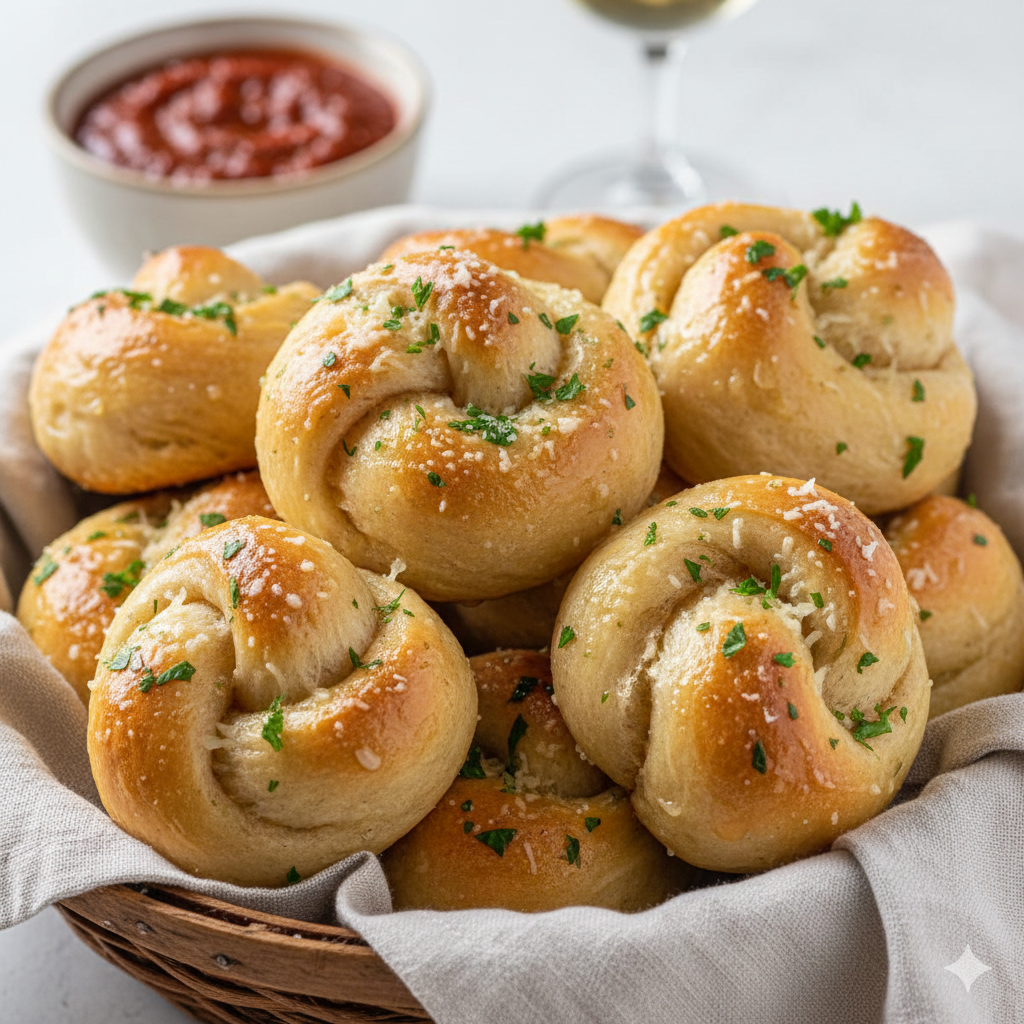
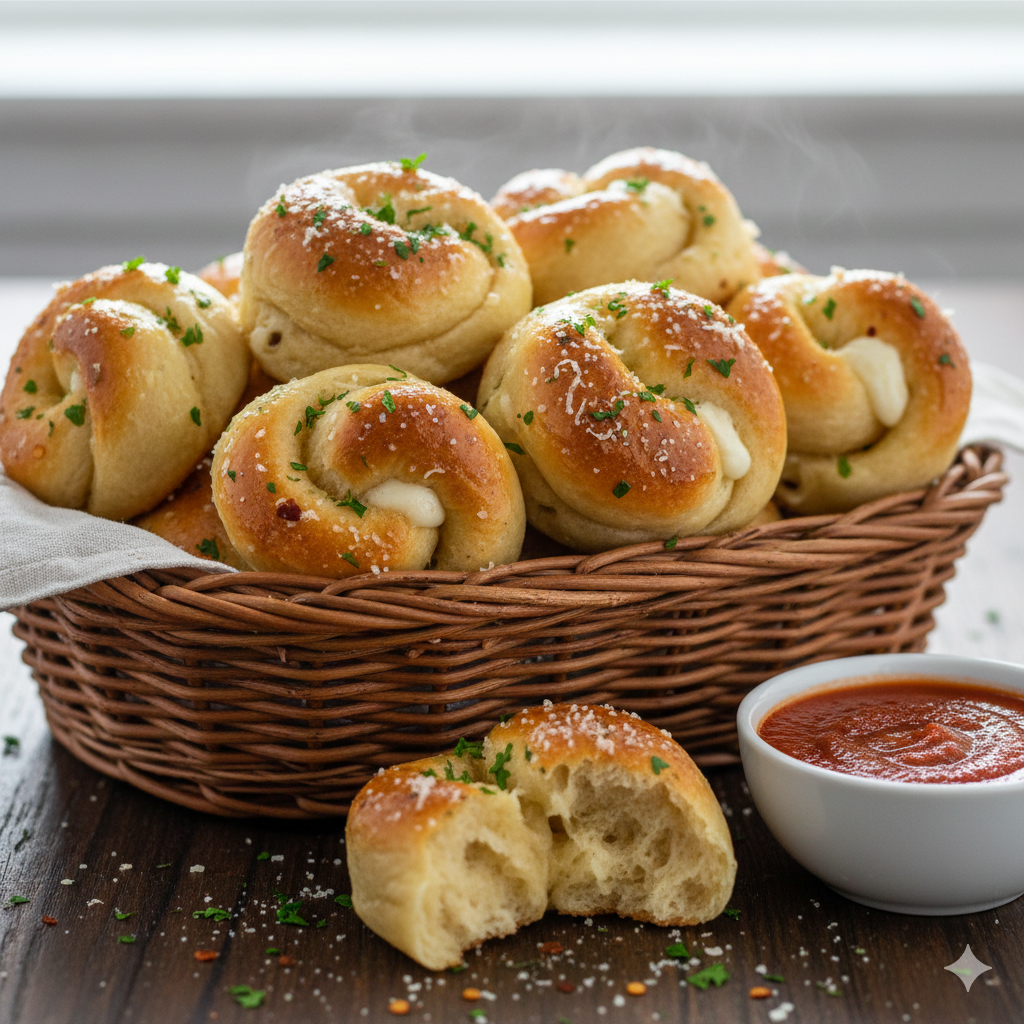
- The Classic Dip: Serve warm in a basket lined with a cloth napkin, accompanied by a small bowl of spicy Marinara or a rich Alfredo sauce.
- Garnish: A fresh dusting of finely grated Parmigiano-Reggiano and chiffonade-cut basil adds a pop of color and saltiness.
- Pairings: * Main: Classic Spaghetti Carbonara or a crisp Caesar Salad.
- Beverage: A crisp, high-acidity white wine like Pinot Grigio or a light Pilsner to cut through the richness of the butter.
5. Nutritional Information (Per Serving)
Serving size: 1 Large Knot
| Nutrient | Amount |
| Calories | 185 kcal |
| Total Fat | 8g |
| Saturated Fat | 4.5g |
| Cholesterol | 20mg |
| Sodium | 310mg |
| Total Carbohydrates | 24g |
| Dietary Fiber | 1g |
| Sugars | 1g |
| Protein | 4g |
Health Note: These knots are a high-energy carbohydrate source. Using fresh garlic provides Allicin, known for its antioxidant properties, though the primary appeal of this dish is its comfort-food profile.
6. Storage and Reheating
- Storage: Once completely cooled, store in an airtight container at room temperature for up to 2 days.
- Refrigeration: Not recommended, as it can cause the bread to go stale faster.
- Freezing: Flash-freeze baked knots on a tray, then transfer to a freezer bag for up to 3 months.
- Reheating: To maintain texture, avoid the microwave. Reheat in a $175^\circ\text{C}$ oven for 5–8 minutes until the exterior regains its crunch.
7. Expert Tips and Variations
Professional Chef Tips
- The Windowpane Test: Even with a quick rise, ensure the gluten is developed. Stretch a small piece of dough; if it becomes translucent without tearing, it’s ready.
- Double-Glazing: Brush half the garlic butter on before baking and the remaining half immediately after they come out of the oven. This creates layers of flavor.
Creative Variations
- Cheesy Centers: Wrap the dough around a small cube of mozzarella before tying the knot.
- “Everything” Knots: Add sesame seeds, poppy seeds, and dried onion to the butter topping.
- Sweet Variation: Swap garlic and parsley for cinnamon, sugar, and a vanilla glaze.
8. Ingredients Section
For the Dough
- Warm Water: 240ml (1 cup). Ensure temperature is between $40^\circ\text{C}$ and $45^\circ\text{C}$.
- Instant Yeast: 7g (1 packet / 2.25 tsp). Instant yeast is vital for the “quick rise.”
- Honey or Sugar: 1 tbsp (To feed the yeast).
- All-Purpose Flour: 375g to 400g (Approx. 3 to 3.25 cups). Bread flour can be substituted for a chewier texture.
- Sea Salt: 1.5 tsp.
- Olive Oil: 2 tbsp (Extra virgin for flavor).
For the Garlic Herb Butter
- Unsalted Butter: 115g (1/2 cup).
- Fresh Garlic: 4–5 cloves, minced (Avoid jarred garlic for this recipe).
- Fresh Parsley: 2 tbsp, finely chopped.
- Grated Parmesan: 2 tbsp (Optional).
- Red Pepper Flakes: A pinch for heat.
9. Step-by-Step Instructions
Step 1: Activate the Yeast
In the bowl of your stand mixer, combine the warm water, honey, and instant yeast. Stir gently and let it sit for 5 minutes. You should see a foamy “bloom” on the surface, indicating the yeast is alive.
Step 2: Mix the Dough
Add the olive oil and salt to the yeast mixture. With the mixer on low, gradually add the flour 1/2 cup at a time. Once the dough pulls away from the sides of the bowl, increase speed to medium.
Step 3: The Rapid Knead
Knead the dough for 5–7 minutes. The dough should be smooth, elastic, and slightly tacky but not sticky. If it’s too wet, add flour 1 tablespoon at a time.
Step 4: The Quick Proof
Cover the bowl with a warm, damp cloth. Place it in a warm environment (like an oven that was briefly turned on and then off). Let it rest for only 10–15 minutes. This isn’t a full rise, but it allows the gluten to relax.
Step 5: Shaping the Knots
Preheat your oven to $200^\circ\text{C}$ ($400^\circ\text{F}$). Turn the dough onto a lightly floured surface. Roll it into a rectangle about 1/2 inch thick. Cut into 12 even strips. Roll each strip into a “rope,” tie it into a simple knot, and tuck the ends underneath.
Step 6: The First Glaze
Melt the butter in a small saucepan over low heat. Add the minced garlic and cook for 1 minute—just until fragrant. Brush half of this mixture onto the raw knots.
Step 7: Baking
Place the knots on your prepared baking sheet. Bake for 12–15 minutes, or until the tops are a beautiful golden brown.
Step 8: The Finishing Touch
Immediately upon removing from the oven, toss the knots in a bowl with the remaining garlic butter, fresh parsley, and parmesan cheese. Serve while steaming hot.
10. Frequently Asked Questions (FAQ)
Q: Can I use active dry yeast instead of instant?
A: Yes, but you will need to proof the yeast in the water for a full 10 minutes and increase the rest time of the dough by an additional 20 minutes.
Q: Why are my knots tough instead of fluffy?
A: This usually happens from over-flouring the dough. The dough should remain slightly tacky. Also, ensure your water isn’t too hot (over $50^\circ\text{C}$), as it can kill the yeast.
Q: Can I make the dough ahead of time?
A: Absolutely. You can let the dough rise slowly in the refrigerator overnight. This actually develops more flavor!
Q: My knots are unraveling in the oven. What happened?
A: Ensure you are tucking the ends of the dough firmly underneath the knot before placing them on the baking sheet.
Q: Is there a gluten-free option?
A: You can use a 1:1 gluten-free baking flour, but you may need to add Xanthan gum if your blend doesn’t include it. Note that the texture will be denser.


