1. Introduction
There is a profound, almost alchemical transformation that occurs when you place a stick of butter in a saucepan and let it dance over a flame. It begins with a sizzle, graduates to a foamy simmer, and finally settles into a deep, amber liquid flecked with toasted milk solids. This is Beurre Noisette, or brown butter—the “liquid gold” that elevates a standard chocolate chip cookie from a childhood snack to a sophisticated culinary experience.
The chocolate chip cookie is arguably the most iconic American dessert, born out of the Toll House Inn in the 1930s. However, the modern iteration, characterized by its rippled edges and intense depth of flavor, owes much to the evolution of pastry techniques. By browning the butter, we introduce notes of toasted hazelnuts and butterscotch, cutting through the sugar’s sweetness with a savory complexity.
This recipe isn’t just about mixing ingredients; it’s about a sensory journey. From the intoxicating aroma of the browning butter to the tactile satisfaction of folding in hand-chopped chocolate chunks, these cookies are a testament to the idea that small, deliberate steps lead to extraordinary results. Whether you are baking for a holiday gathering or a quiet Tuesday night, these cookies represent the pinnacle of home baking.
2. Recipe Overview
- Cuisine Type: American / Contemporary Pastry
- Difficulty Level: Intermediate (requires precision in browning butter and temperature control)
- Prep Time: 20 minutes (plus 2 hours chilling time)
- Cook Time: 10–12 minutes per batch
- Total Time: Approx. 2 hours 32 minutes
- Dietary Classifications: Vegetarian. (Can be modified for Gluten-Free diets using high-quality 1-to-1 flour substitutes).
3. Equipment and Tools
To achieve professional-grade results, the specifications of your tools matter as much as your ingredients.
- Small Heavy-Bottomed Saucepan: Stainless steel is preferred over non-stick so you can accurately judge the color of the butter as it browns.
- Heat-Resistant Rubber Spatula: For scraping every bit of toasted milk solid from the pan.
- Stand Mixer or Electric Hand Mixer: Equipped with a paddle attachment.
- Digital Kitchen Scale: Measuring by weight (grams) is essential for consistency in pastry.
- Large Baking Sheets: Heavy-gauge aluminum (13×18 inches) ensures even heat distribution.
- Parchment Paper or Silicone Baking Mats: To prevent sticking and bottom-scorching.
- Wire Cooling Rack: To allow airflow and prevent the cookies from becoming soggy.
- Cookie Scoop: A #20 (3 tablespoon) scoop is recommended for uniform sizing.
4. Serving Suggestions
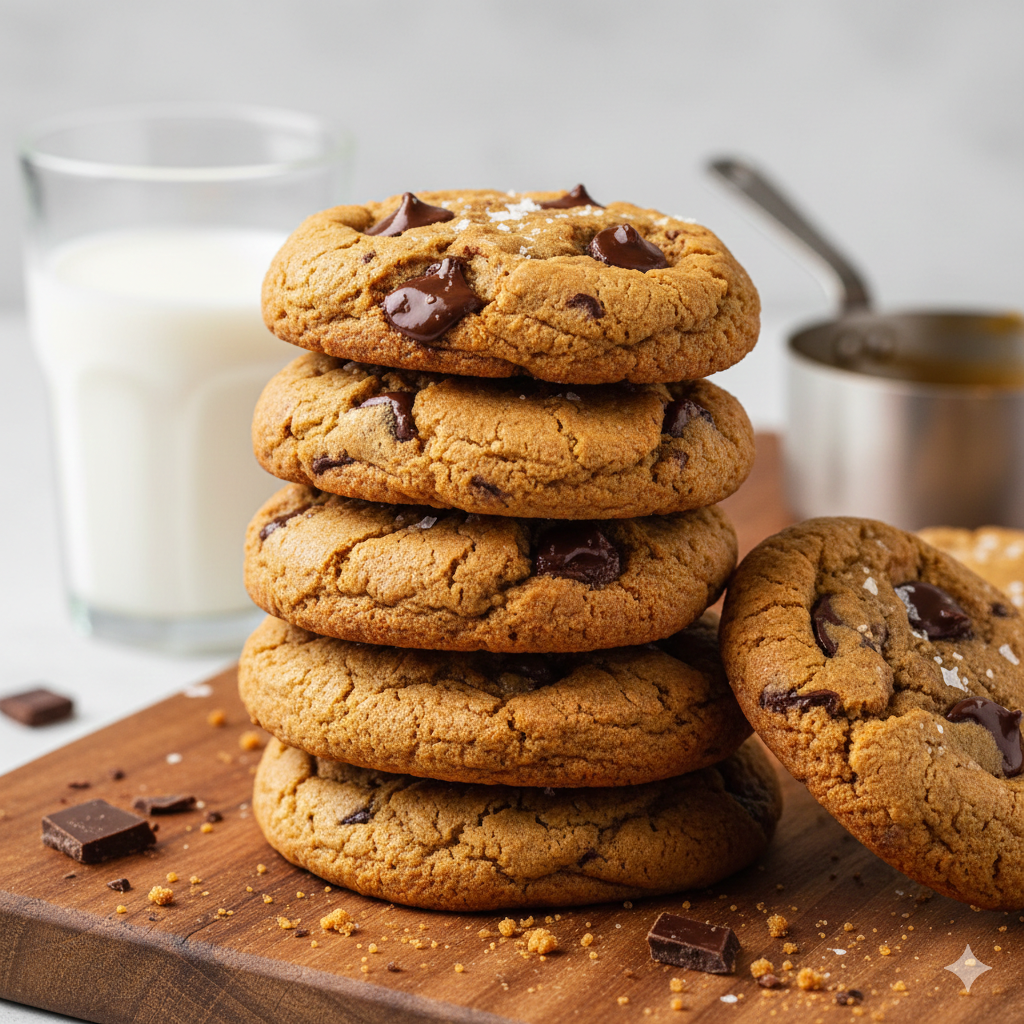
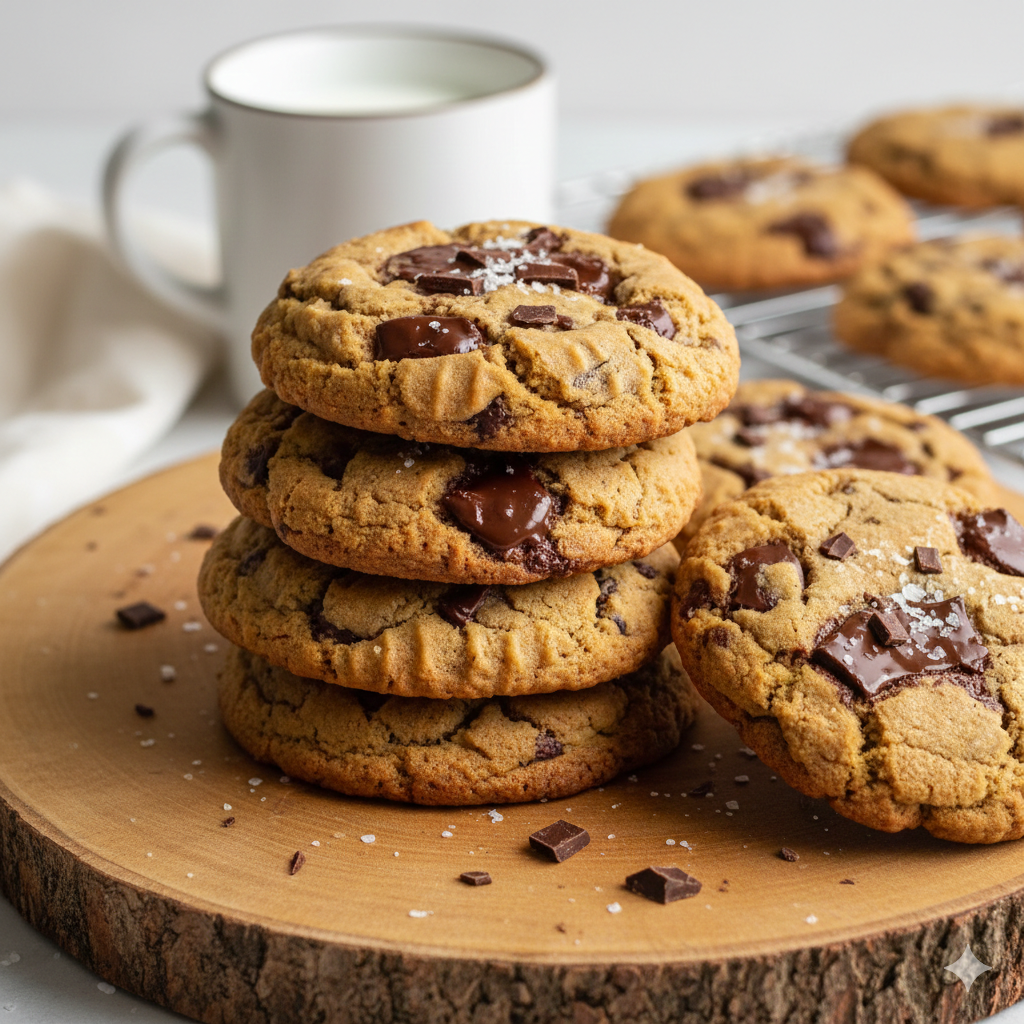
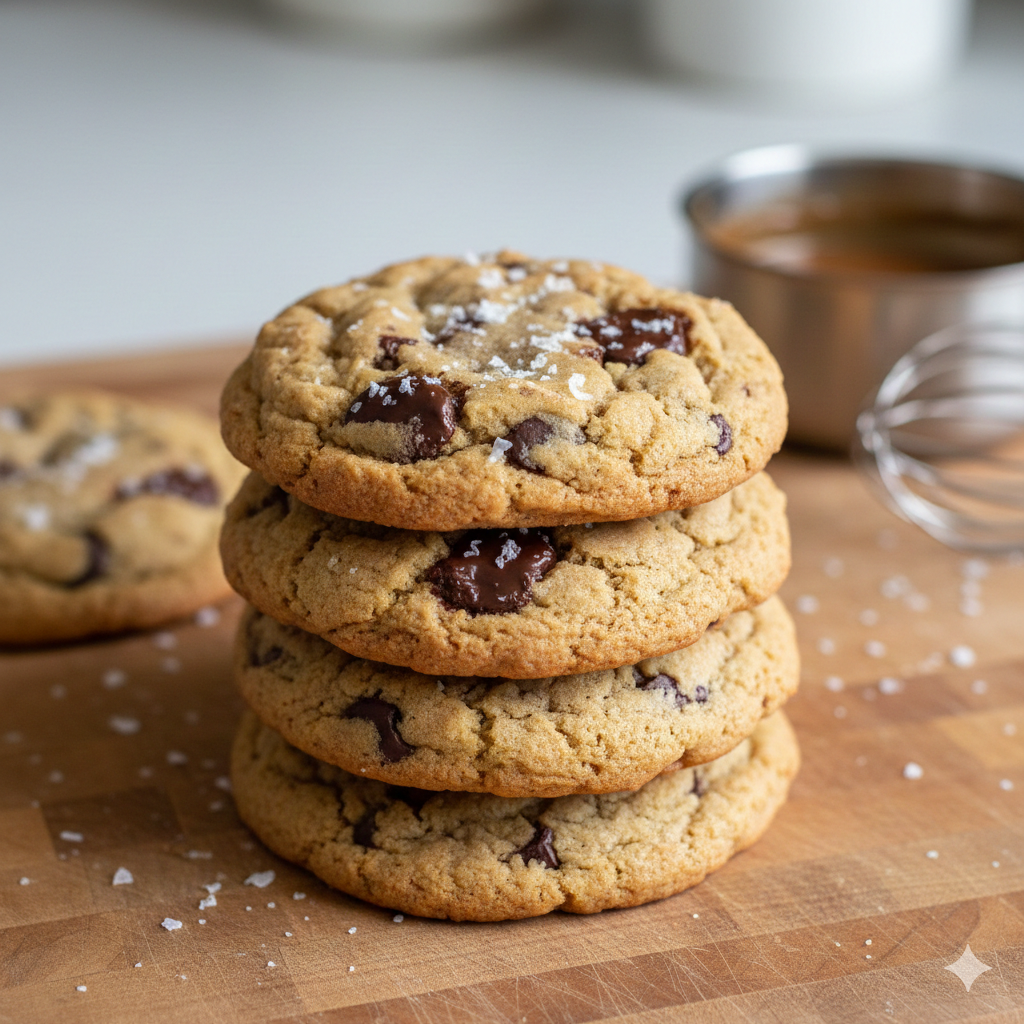
Plating: Serve these cookies slightly warm on a wooden board for a rustic feel, or stacked on a minimalist white ceramic plate to highlight their golden hues.
Garnish: A delicate sprinkle of Maldon Sea Salt immediately after baking is non-negotiable. The large flakes provide a textural crunch and balance the richness of the butter.
Pairings:
- Beverage: A cold glass of whole milk is the classic choice. For an adult pairing, try a glass of Tawny Port or a Bourbon-based cocktail; the caramel notes in the spirits mirror the brown butter.
- Side: A small scoop of high-quality Tahitian vanilla bean ice cream turns a single cookie into a plated “Pizookie” style dessert.
5. Nutritional Information
Per serving (one large cookie, approx. 60g)
| Nutrient | Amount |
| Calories | 280 kcal |
| Total Fat | 16g |
| Saturated Fat | 10g |
| Cholesterol | 45mg |
| Sodium | 190mg |
| Total Carbohydrates | 34g |
| Dietary Fiber | 1.5g |
| Sugars | 22g |
| Protein | 3g |
Health Note: While these are an indulgent treat, using high-quality dark chocolate (70% cacao) provides antioxidants. To reduce glycemic impact, you may substitute a portion of the flour with whole wheat pastry flour.
6. Storage and Reheating
Room Temperature: Store in an airtight container for up to 4 days. Include a slice of white bread in the container to keep the cookies soft.
Refrigeration: While you can refrigerate baked cookies, it may affect the “crunch” of the edges. It is better to refrigerate the raw dough for up to 72 hours to deepen the flavor.
Freezing: * Dough: Scoop into balls and freeze on a tray. Once solid, transfer to a freezer bag. Bake from frozen, adding 2 minutes to the timer.
- Baked: Wrap individually and freeze for up to 3 months.
Reheating: For that “just-out-of-the-oven” experience, microwave for 10 seconds or place in a 300°F (150°C) oven for 4 minutes.
7. Expert Tips and Variations
Professional Tips
- The “Ice Cube” Trick: Browning butter causes water loss through evaporation. To restore moisture and cool the butter faster, whisk in a single ice cube once the butter is browned.
- Chopped vs. Chips: Use high-quality chocolate bars and chop them by hand. This creates “chocolate pools” and varying textures that chips cannot replicate.
- The Pan Bang: Halfway through baking, lift the baking sheet and gently drop it against the oven rack. This collapses the cookies, creating those sought-after ripples.
Creative Variations
- The Espresso Kick: Add 1 tablespoon of espresso powder to the dry ingredients to enhance the chocolate.
- The Nutty Crunch: Fold in 1/2 cup of toasted, chopped pecans or macadamia nuts.
- The Miso Twist: Add 1 tablespoon of white miso paste to the butter for a funky, “umami” salted caramel flavor.
8. Ingredients Section
| Ingredient | Metric | Imperial | Recommendation |
| Unsalted Butter | 225g | 1 cup (2 sticks) | European-style (high fat) |
| Brown Sugar (Dark) | 200g | 1 cup packed | Ensures a chewy texture |
| Granulated Sugar | 100g | 1/2 cup | Provides crisp edges |
| Large Egg + 1 Yolk | 75g | 1 Egg + 1 Yolk | Room temperature |
| Vanilla Extract | 15ml | 1 tbsp | Pure extract or bean paste |
| All-Purpose Flour | 325g | 2 1/4 cups | Sifted |
| Baking Soda | 5g | 1 tsp | Freshness is key |
| Sea Salt (Fine) | 6g | 1 tsp | To balance the dough |
| Dark Chocolate | 250g | 9 oz | 60-70% Cacao, hand-chopped |
| Flaky Sea Salt | – | To taste | For finishing |
9. Step-by-Step Instructions
Step 1: Browning the Butter
Place the unsalted butter in a small stainless steel saucepan over medium heat. Melt the butter, then continue to cook, whisking constantly. The butter will bubble and pop, then begin to foam. Watch for small brown bits to form at the bottom. Once the liquid is a deep amber and smells like toasted nuts, remove from heat immediately. Pour into a heat-proof bowl, scraping all the brown bits out. Let it cool for 15 minutes.
Step 2: Preparing the Sugars
In the bowl of a stand mixer, combine the brown sugar and granulated sugar. Pour the slightly cooled brown butter over the sugars. Mix on medium speed for 2–3 minutes. The mixture should look like wet sand.
Step 3: Emulsifying the Liquids
Add the whole egg, the extra yolk, and the vanilla extract. Beat on medium-high for another 3 minutes. The Goal: You want the mixture to lighten in color and become fluffy. This indicates the sugar is partially dissolved and the fats are emulsified.
Step 4: Sifting Dry Ingredients
In a separate bowl, whisk together the flour, baking soda, and fine sea salt.
Step 5: Combining
Turn the mixer to the lowest setting. Gradually add the flour mixture. Mix only until a few streaks of flour remain. Do not overmix, as this develops gluten and makes the cookies tough.
Step 6: The Chocolate Fold
Add the chopped chocolate chunks. Use a spatula to fold them in by hand, ensuring the “chocolate dust” from the chopping board is included for a marbled effect.
Step 7: The Chill (Crucial)
Cover the dough and refrigerate for at least 2 hours (24 hours is optimal). This allows the flour to hydrate and the flavors to concentrate.
Step 8: Shaping and Baking
Preheat your oven to 350°F (175°C). Scoop 3-tablespoon mounds of dough onto prepared baking sheets, spaced 3 inches apart. Bake for 10–12 minutes. The edges should be golden brown, but the centers should still look slightly soft and “underdone.”
Step 9: The Finish
Remove from the oven and immediately sprinkle with flaky sea salt. Let the cookies rest on the hot baking sheet for 5 minutes to set before transferring to a wire rack.
10. Frequently Asked Questions (FAQ)
Q: Why did my cookies spread too much?
A: This usually happens if the butter was too hot when mixed with the sugar, or if the dough wasn’t chilled long enough. Ensure the brown butter has cooled to a semi-liquid state.
Q: Can I use salted butter?
A: Yes, but reduce the added fine sea salt by half to ensure the cookies aren’t overly salty.
Q: Why are my cookies cakey instead of chewy?
A: Cakey cookies result from over-measuring flour or over-beating the eggs. Use a scale for the flour and only mix until combined.
Q: Do I really need the extra egg yolk?
A: The extra yolk adds fat and protein without the water content of an egg white, resulting in a much fudgier, chewier center.
Q: How do I know when the butter is “done” browning?
A: It’s all in the smell and the foam. When the heavy bubbling subsides and a nutty aroma fills the kitchen, you have about 10 seconds before it burns. Be ready to pour!