1. Introduction: The Magic of the No-Bake Dessert
There is a specific kind of kitchen alchemy that happens when simple, cold ingredients transform into a decadent masterpiece without ever touching a flame. The No-Bake Cheesecake is the crown jewel of this category. While the traditional New York-style cheesecake demands water baths, precise temperature control, and the constant fear of the dreaded surface crack, the no-bake version is a celebration of texture and ease.
This recipe isn’t just a “shortcut.” It is a distinct culinary experience. Originating as a popular mid-century American dessert, the no-bake method relies on the structural integrity of chilled cream cheese and aerated heavy cream rather than baked eggs. The result? A filling that is lighter, airier, and more mousse-like than its baked counterpart.
Whether you are hosting a summer garden party and want to avoid heating up the house, or you’re a novice baker looking for a guaranteed win, this cheesecake is your secret weapon. It’s a canvas for creativity, a nostalgic nod to family gatherings, and—quite frankly—the most effortless way to impress a crowd.
2. Recipe Overview
- Cuisine Type: American / Dessert
- Difficulty Level: Easy (Beginner-friendly)
- Total Time: 6 hours 20 minutes (Prep: 20 mins | Chilling: 6 hours)
- Dietary Classifications: Vegetarian, Nut-Free (can be made Gluten-Free with specific crust substitutions)
3. Equipment and Tools
To achieve that professional, clean-edged look, having the right tools is essential.
- 9-inch Springform Pan: This is non-negotiable for a cheesecake. The removable sides allow you to present the cake without digging it out of a deep dish. Ensure it has a depth of at least 2.5 to 3 inches.
- Large Mixing Bowls: You will need two—one for the cream cheese mixture and one for whipping the cream.
- Electric Hand Mixer or Stand Mixer: Essential for aerating the heavy cream and ensuring the cream cheese is completely lump-free.
- Food Processor: For pulsing the graham crackers into a fine, sandy crumb. (Alternatively, a gallon-sized Ziploc bag and a rolling pin work for a manual approach).
- Rubber Spatula: For folding the whipped cream gently into the cheese base.
- Offset Spatula: For smoothing the top surface to a glass-like finish.
- Measuring Cups and Spoons: For precision in balancing the sweetness and acidity.
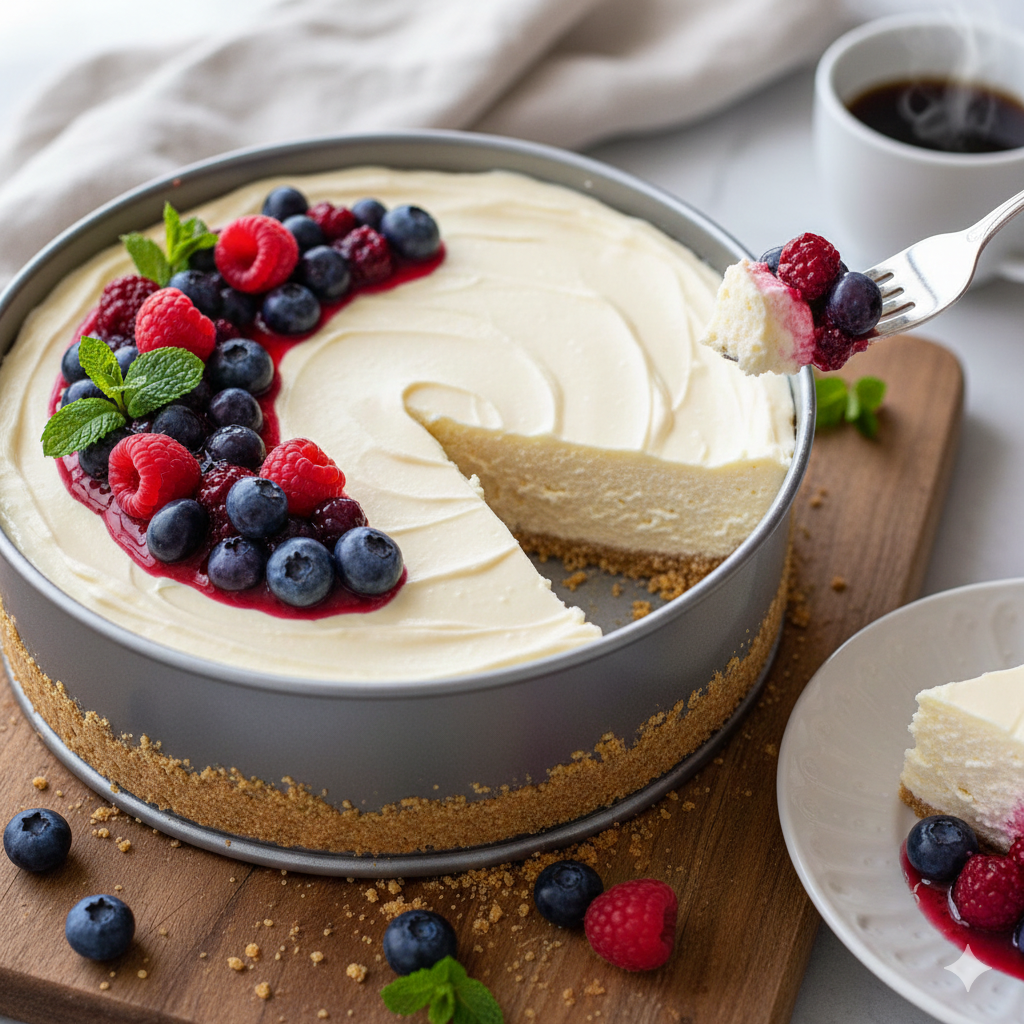
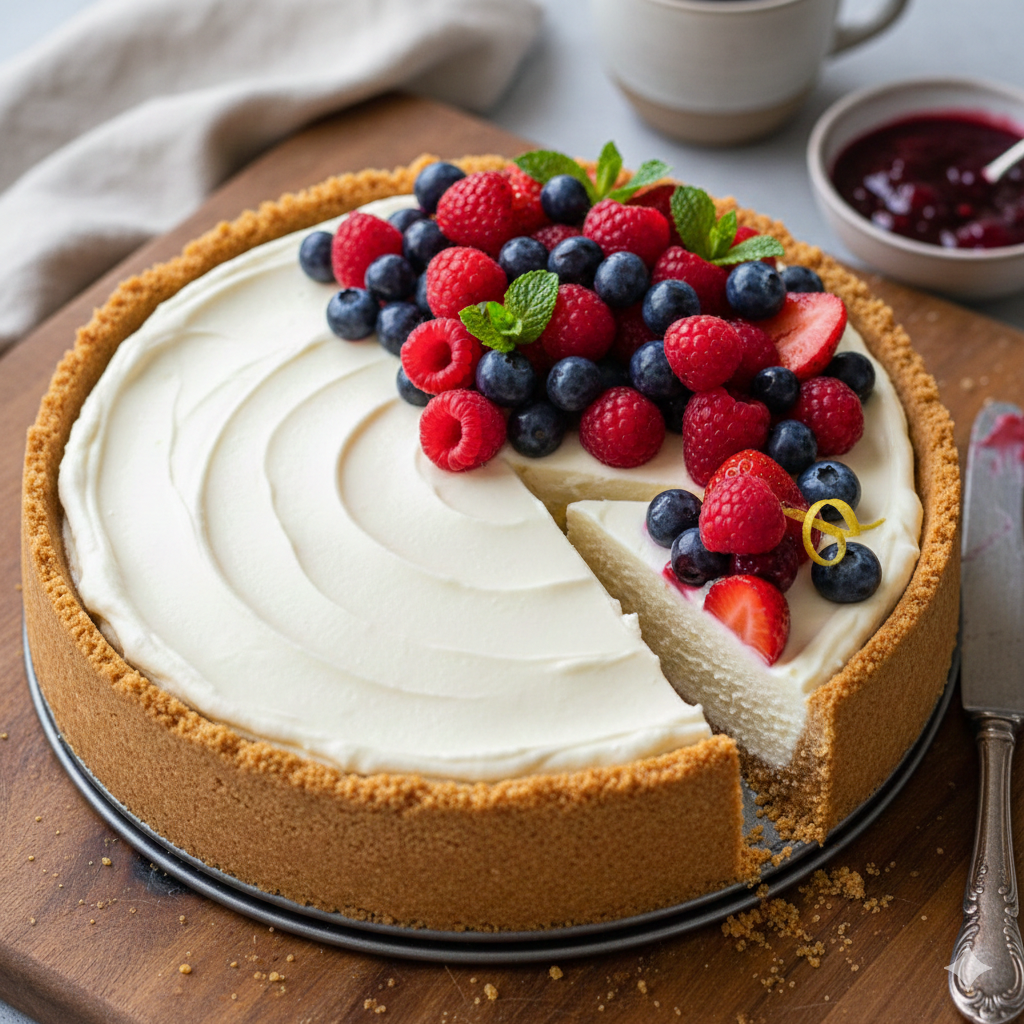
4. Serving Suggestions
A no-bake cheesecake is a blank slate. While it is delicious solo, these pairings elevate it to a gourmet level:
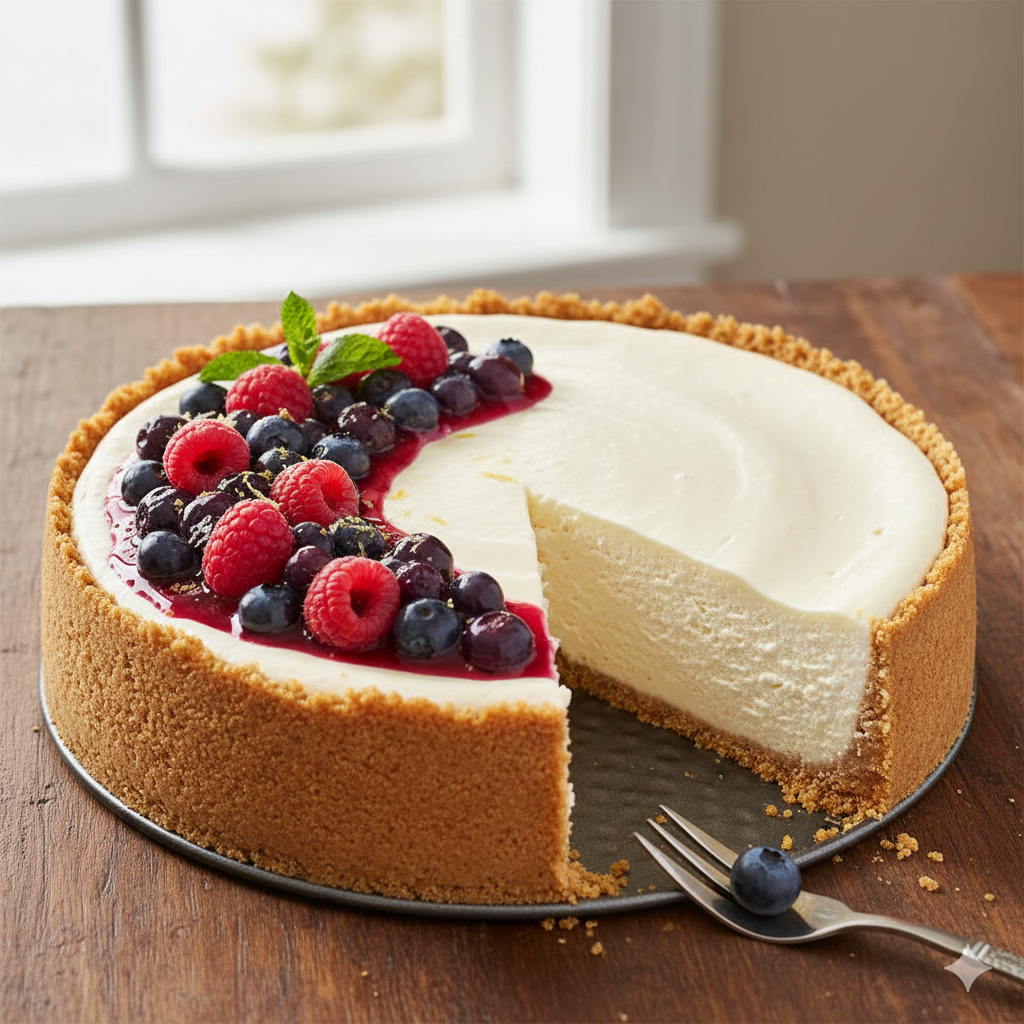
- The Classic Berry Compote: Simmer fresh blueberries, raspberries, or strawberries with a splash of lemon juice and sugar until thickened. Pour over individual slices just before serving.
- Garnish Ideas: Fresh mint leaves, lemon zest curls, or a dusting of shaved dark chocolate.
- Beverage Pairings: * Coffee: A dark roast or a double espresso cuts through the richness of the cream.
- Wine: A late-harvest Riesling or a sparkling Moscato d’Asti complements the tanginess of the cream cheese.
- Tea: Earl Grey, with its bergamot notes, provides a sophisticated floral contrast.
5. Nutritional Information (Per Serving)
Servings: 12
| Nutrient | Amount |
| Calories | 410 kcal |
| Total Fat | 32g |
| Saturated Fat | 19g |
| Cholesterol | 95mg |
| Sodium | 280mg |
| Total Carbohydrates | 28g |
| Dietary Fiber | 0g |
| Sugars | 18g |
| Protein | 5g |
Note: Nutritional values are estimates. Cream cheese is a good source of Vitamin A, while the high fat content provides lasting satiety—though moderation is key!
6. Storage and Reheating
Refrigeration
This cheesecake must stay cold. It can be stored in the refrigerator for up to 5 days. Keep it covered with plastic wrap or inside a cake carrier to prevent it from absorbing odors from other fridge items (like onions or garlic).
Freezing
No-bake cheesecake freezes beautifully.
- Chill the cake completely in the fridge first.
- Wrap the entire cake (or individual slices) tightly in plastic wrap, followed by a layer of aluminum foil.
- Freeze for up to 3 months.
- To Thaw: Place in the refrigerator overnight. Do not thaw at room temperature, as the structure may collapse.
Reheating
Do not reheat. This is a cold-set dessert. Heat will melt the fats and turn your masterpiece into a puddle.
7. Expert Tips and Variations
Professional Tips
- Room Temperature is Key: Your cream cheese must be soft. If it’s even slightly cold, you will end up with tiny white lumps that no amount of mixing can fix.
- Don’t Overbeat the Heavy Cream: Beat it until stiff peaks form, but stop there. If it turns grainy, you’ve gone too far toward making butter.
- The Clean Cut: For picture-perfect slices, dip a sharp knife in hot water and wipe it dry between every single cut.
Creative Variations
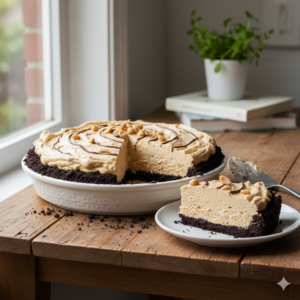
- Chocolate Lovers: Fold 1/2 cup of cocoa powder into the filling and use Oreo crumbs for the crust.
- Key Lime Twist: Add 2 tablespoons of lime zest and 1/4 cup of lime juice to the filling.
- Salted Caramel: Swirl store-bought or homemade salted caramel into the top of the filling before chilling.
8. Ingredients Section
The Crust
- Graham Cracker Crumbs: 1 ½ cups (Approx. 200g / 10-12 full sheets).
- Unsalted Butter: 6 tbsp (85g), melted.
- Granulated Sugar: 1/4 cup (50g).
- Salt: A pinch to balance the sweetness.
The Filling
- Full-Fat Cream Cheese: 16 oz (450g / two standard blocks), softened to room temperature.
- Powdered Sugar: 1 cup (120g), sifted to remove lumps.
- Sour Cream: 1/4 cup (60g) – adds a necessary tang that mimics baked cheesecake.
- Lemon Juice: 1 tsp, fresh.
- Vanilla Extract: 1 tsp, pure Madagascar vanilla recommended.
- Heavy Whipping Cream: 1 ½ cups (360ml), very cold.
9. Step-by-Step Instructions
Step 1: Prepare the Crust
In a medium bowl, combine the graham cracker crumbs, melted butter, sugar, and salt. Stir until the mixture resembles wet sand. Press the mixture firmly into the bottom and 1 inch up the sides of your 9-inch springform pan. Use the bottom of a flat measuring cup to pack it tightly.
Tip: Chill the crust in the freezer for 10 minutes while you make the filling to help it set.
Step 2: Beat the Cream Cheese
In a large bowl using an electric mixer, beat the softened cream cheese on medium-high speed until it is completely smooth and creamy (about 3 minutes). Scrape down the sides of the bowl frequently.
Step 3: Add Aromatics and Sugars
Add the powdered sugar, sour cream, lemon juice, and vanilla extract. Beat for another 2 minutes until the mixture is light and fluffy. Ensure there are no streaks of sour cream visible.
Step 4: Whip the Cream
In a separate, chilled bowl, beat the cold heavy whipping cream on high speed until stiff peaks form. Stiff peaks mean that when you lift the beaters, the cream stands straight up without drooping.
Step 5: The Gentle Fold
This is the most critical step. Using a rubber spatula, gently fold about 1/3 of the whipped cream into the cream cheese mixture to lighten it up. Then, add the remaining whipped cream and fold with a “cut and turn” motion until no white streaks remain.
Note: Do not use the electric mixer here, or you will deflate the air you just whipped into the cream.
Step 6: The Set
Pour the filling over the prepared crust. Use an offset spatula to smooth the top. Cover tightly with plastic wrap and refrigerate for at least 6 hours, though overnight is best. This time allows the fats to solidify and the flavors to meld.
10. Frequently Asked Questions (FAQ)
Q: Can I use low-fat cream cheese?
A: It is not recommended. No-bake cheesecake relies on the fat content of full-fat cream cheese to set. Low-fat versions often contain more moisture, which can result in a “soupy” or unstable cake.
Q: Why didn’t my cheesecake set?
A: Usually, this is due to either the cream cheese being too warm when mixed, or the heavy cream not being whipped to stiff enough peaks. Ensure you chill the cake for the full 6 hours.
Q: Can I use Cool Whip instead of heavy cream?
A: Yes, you can substitute 8 oz of whipped topping for the heavy cream and powdered sugar. However, the flavor will be significantly sweeter and less “authentic.”
Q: Do I need to bake the crust?
A: You don’t have to, but baking the crust at 350°F (175°C) for 8 minutes makes it crispier and prevents it from crumbling when served. If you do this, let it cool completely before adding the filling.
Q: How do I get the cheesecake off the bottom of the springform pan?
A: For easy removal, line the bottom of the pan with parchment paper before pressing in the crust.