1. Introduction: The Pursuit of Chocolate Perfection
There is a universal language spoken in the kitchen, and it smells remarkably like melting butter and high-quality cocoa. Among all the confections in the baker’s repertoire, the fudgy brownie stands as the ultimate crowd-pleaser. It is a dessert that transcends the simple boundary between a cookie and a cake, offering a dense, truffle-like experience that lingers on the palate.
The origin of the brownie is a bit of a culinary mystery, often attributed to the Palmer House Hotel in Chicago in the late 19th century. Legend has it that a socialite requested a dessert that was smaller than a slice of cake but still retained a cake-like richness for boxed lunches. Over the decades, the recipe evolved, diverging into two distinct camps: the cakey brownie and the fudgy brownie.
This recipe is firmly, unapologetically, for the fudgy lovers. This isn’t just about mixing sugar and flour; it’s about the science of fat-to-flour ratios and the transformative power of “blooming” cocoa powder. Whether you are baking for a childhood nostalgia trip or aiming to impress at a dinner party, these brownies represent the pinnacle of home baking—a sophisticated, deep-chocolate indulgence that manages to be both humble and extravagant.
2. Recipe Overview
- Cuisine Type: American Dessert
- Difficulty Level: Intermediate (requires careful melting and folding techniques)
- Prep Time: 20 minutes
- Cook Time: 25–30 minutes
- Total Time: 50 minutes (plus cooling time)
- Dietary Classifications: Vegetarian, Nut-Free (optional)
3. Equipment and Tools
To achieve the iconic crackly top and the precise internal texture, you will need the following tools:
- Baking Pan: 8×8 inch (20×20 cm) square metal baking pan.
- Note: Metal conducts heat more efficiently than glass, ensuring a better crust.
- Depth: Minimum 2 inches.
- Mixing Bowls: One large heat-proof bowl for the “double boiler” method and one medium bowl for dry ingredients.
- Whisk & Spatula: A sturdy balloon whisk for aerating eggs and a silicone spatula for gentle folding.
- Parchment Paper: Essential for “slinging” the brownies for easy removal.
- Kitchen Scale: Highly recommended for precise metric measurements.
- Sifter: To ensure the cocoa powder and flour are free of lumps.
4. Serving Suggestions
A brownie this rich deserves a thoughtful presentation.
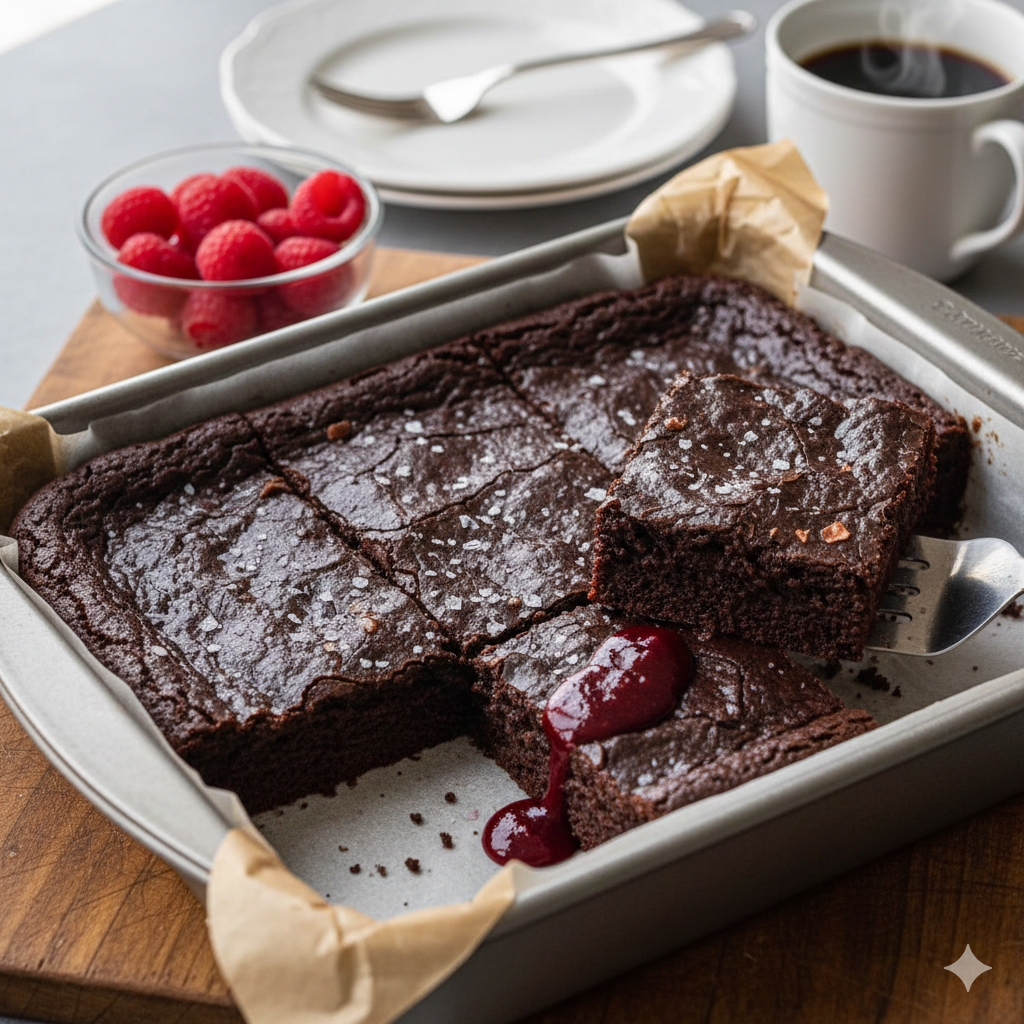
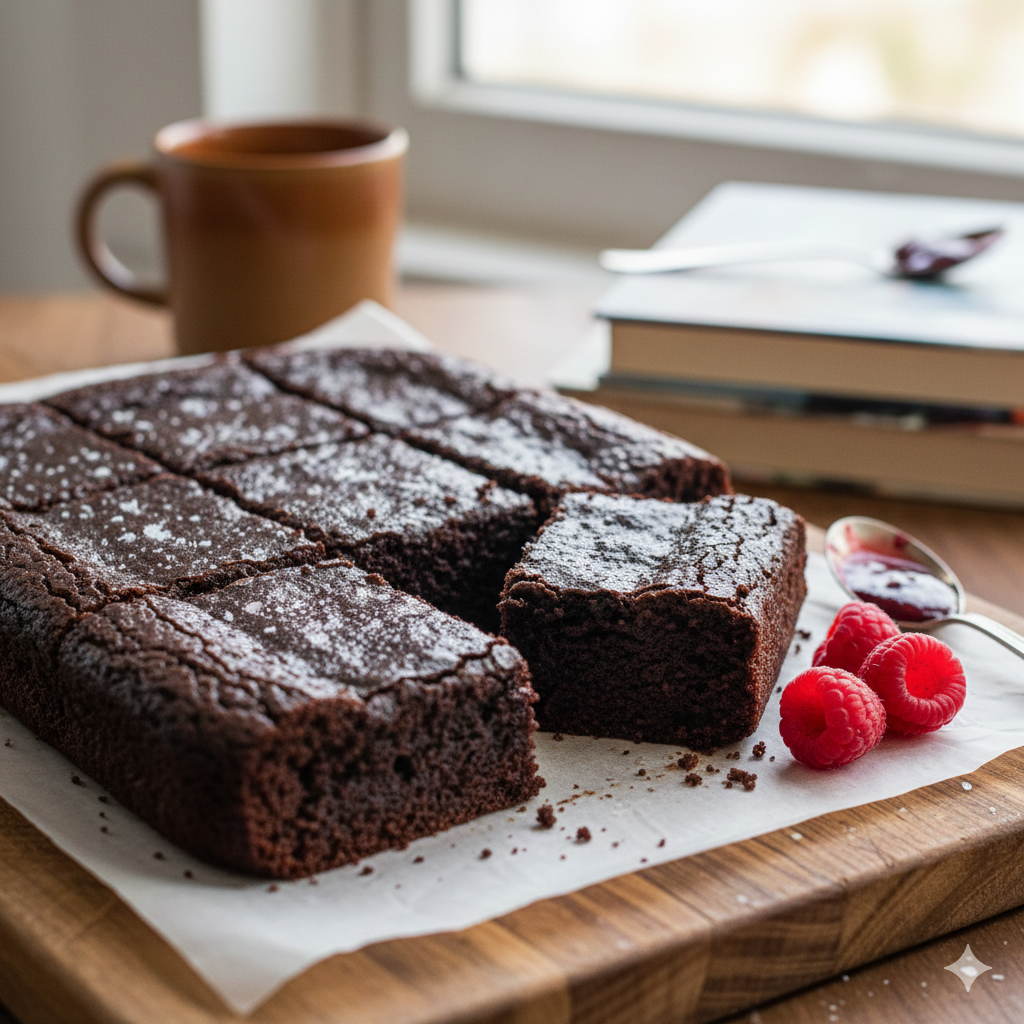
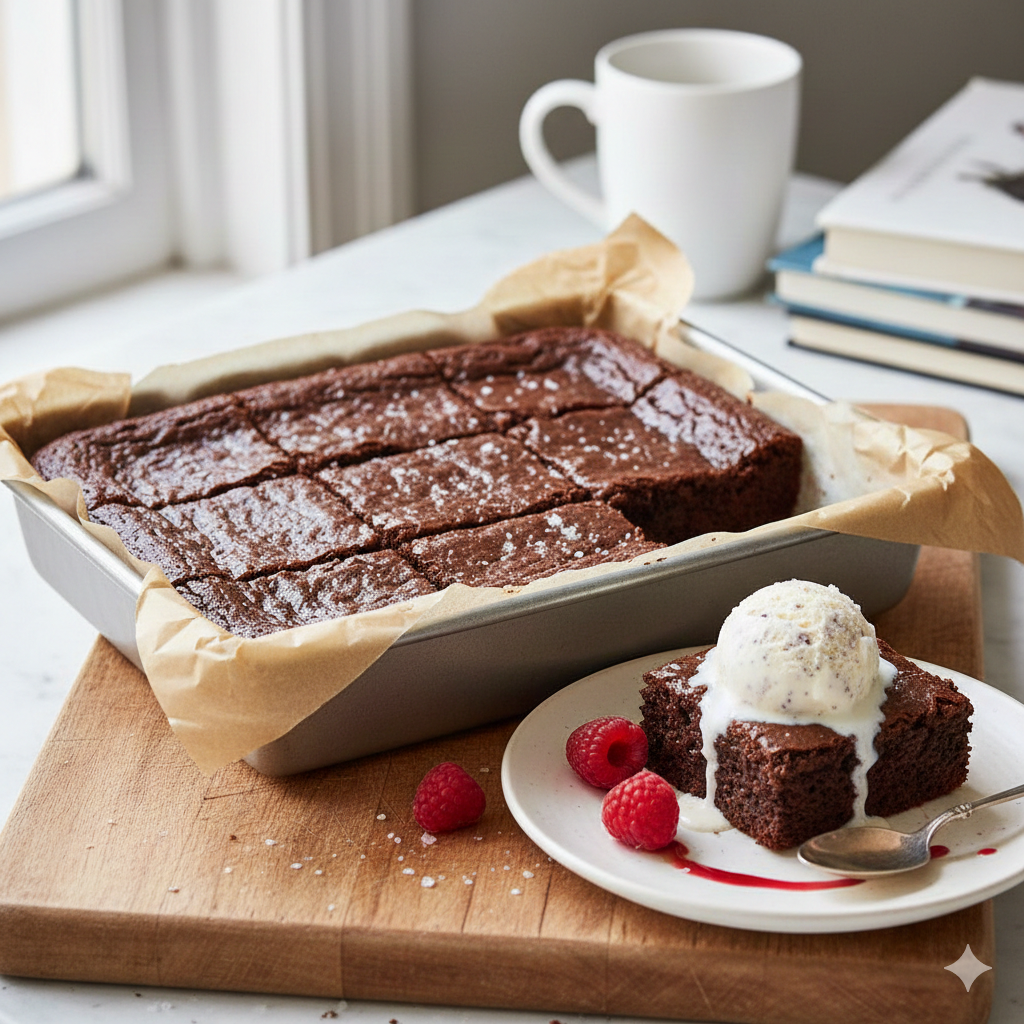
- Plating: Serve slightly warm with a dusting of sea salt flakes to cut through the sweetness.
- The Classic: A generous scoop of high-quality Madagascar vanilla bean ice cream.
- Garnish: Fresh raspberries or a drizzle of tart raspberry coulis to balance the heavy chocolate.
- Pairings: * Coffee: A dark roast espresso or a nutty cold brew.
- Wine: A robust Cabernet Sauvignon or a sweet Tawny Port.
- Non-Alcoholic: A glass of ice-cold whole milk.
5. Nutritional Information
Per Serving (Based on 16 squares)
| Nutrient | Amount |
| Calories | 280 kcal |
| Total Fat | 16g |
| Saturated Fat | 10g |
| Cholesterol | 55mg |
| Sodium | 110mg |
| Total Carbohydrates | 34g |
| Dietary Fiber | 2g |
| Sugars | 26g |
| Protein | 3g |
Health Note: While indulgent, dark chocolate contains flavonoids which are known antioxidants. To increase the health profile, consider using chocolate with a cacao percentage of $70\%$ or higher.
6. Storage and Reheating
- Room Temperature: Store in an airtight container for up to 3 days.
- Refrigeration: Brownies actually become fudgier in the fridge. They stay fresh for up to 7 days.
- Freezing: Wrap individual squares in plastic wrap, then place in a freezer bag. They last for 3 months. Thaw at room temperature.
- Reheating: To regain that “just baked” gooeyness, microwave for 10–15 seconds or place in a 150°C (300°F) oven for 5 minutes.
7. Expert Tips and Variations
Professional Tips
- The “Crackly Top” Secret: The shiny, paper-thin crust comes from dissolving the sugar completely into the eggs. Whisk your eggs and sugar for at least 3–5 minutes until the mixture is pale and “ribbon-like.”
- Don’t Overbake: A toothpick inserted into the center should come out with a few moist crumbs, not clean. If it’s clean, they are overbaked.
Variations
- The Nutty Professor: Add 1 cup of toasted walnuts or pecans for texture.
- Swirled Cheesecake: Dollop sweetened cream cheese on top and swirl with a knife before baking.
- Salted Caramel: Pour half the batter, add a layer of thick caramel, then top with the remaining batter.
8. Ingredients Section
The Wet Base
- Unsalted Butter: 225g (1 cup / 2 sticks) – Use high-quality European-style butter for better fat content.
- Dark Chocolate (60-70% Cacao): 200g (7 oz) – Chopped finely. Avoid chocolate chips as they contain stabilizers.
- Granulated Sugar: 250g (1 ¼ cups)
- Light Brown Sugar: 100g (½ cup, packed) – Adds moisture and a molasses undertone.
- Large Eggs: 3 whole eggs + 1 egg yolk (room temperature).
- Vanilla Extract: 1 tablespoon – Pure extract, not imitation.
The Dry Mix
- All-Purpose Flour: 125g (1 cup)
- Dutch-Processed Cocoa Powder: 50g (½ cup) – Provides a darker color and smoother flavor than natural cocoa.
- Espresso Powder: 1 teaspoon – Enhances the chocolate flavor without tasting like coffee.
- Sea Salt: ½ teaspoon
9. Step-by-Step Instructions
Step 1: Preparation and Lining
Preheat your oven to 175°C (350°F). Grease your 8×8 inch pan with butter and line with parchment paper, leaving an overhang on two sides to act as a handle.
Step 2: Melting the Chocolate and Butter
Using a double boiler (a bowl set over a pot of simmering water), melt the butter and chopped dark chocolate together. Stir occasionally until glossy and smooth. Remove from heat and let it cool slightly.
Culinary Note: Melting chocolate too fast can cause it to “seize” or separate. Keep the heat low and steady.
Step 3: The Egg-Sugar Aeration
In a large bowl, combine the granulated sugar, brown sugar, eggs, and egg yolk. Whisk vigorously for about 3-5 minutes. The mixture should double in volume and turn a pale, creamy color. This step is crucial for the brownie’s structure and top crust.
Step 4: Combining the Bases
Slowly stream the melted chocolate/butter mixture into the egg mixture, whisking constantly. Stir in the vanilla extract.
Step 5: Sifting and Folding
Sift the flour, cocoa powder, espresso powder, and salt directly into the wet ingredients. Using a silicone spatula, fold the ingredients together.
Technique: Do not whisk. Use a circular motion, cutting through the center and lifting from the bottom until no streaks of flour remain.
Step 6: The Bake
Pour the batter into the prepared pan and smooth the top. Bake for 25–28 minutes.
Visual Cue: The edges should be set and slightly pulling away from the sides, while the center should have a slight wobble if shaken gently.
Step 7: The Cooling Mandate
This is the hardest part. Let the brownies cool completely in the pan for at least 2 hours. This allows the fats to set and the fudgy texture to fully develop.
10. Frequently Asked Questions (FAQ)
Q: Can I use natural cocoa powder instead of Dutch-processed?
A: You can, but the brownies will be lighter in color and slightly more acidic. Dutch-processed is preferred for that deep “Oreo-like” darkness.
Q: My brownies are always too dry. What am I doing wrong?
A: You are likely overbaking them. Every oven is different. Start checking 5 minutes before the recipe suggests. Remember, they continue to cook in the hot pan after being removed from the oven.
Q: Why didn’t I get the shiny top?
A: Usually, this is because the sugar didn’t dissolve. Make sure your eggs are at room temperature and you whisk them with the sugar long enough to create that meringue-like layer.
Q: Can I make these gluten-free?
A: Yes! Substitute the all-purpose flour for a 1:1 gluten-free baking blend. Since these brownies rely more on chocolate and fat for structure than gluten, they adapt very well.
Q: Why add espresso powder?
A: It’s a baker’s secret! Coffee acts as a flavor catalyst for chocolate, making it taste richer and more complex without adding a distinct coffee flavor.