1. Introduction
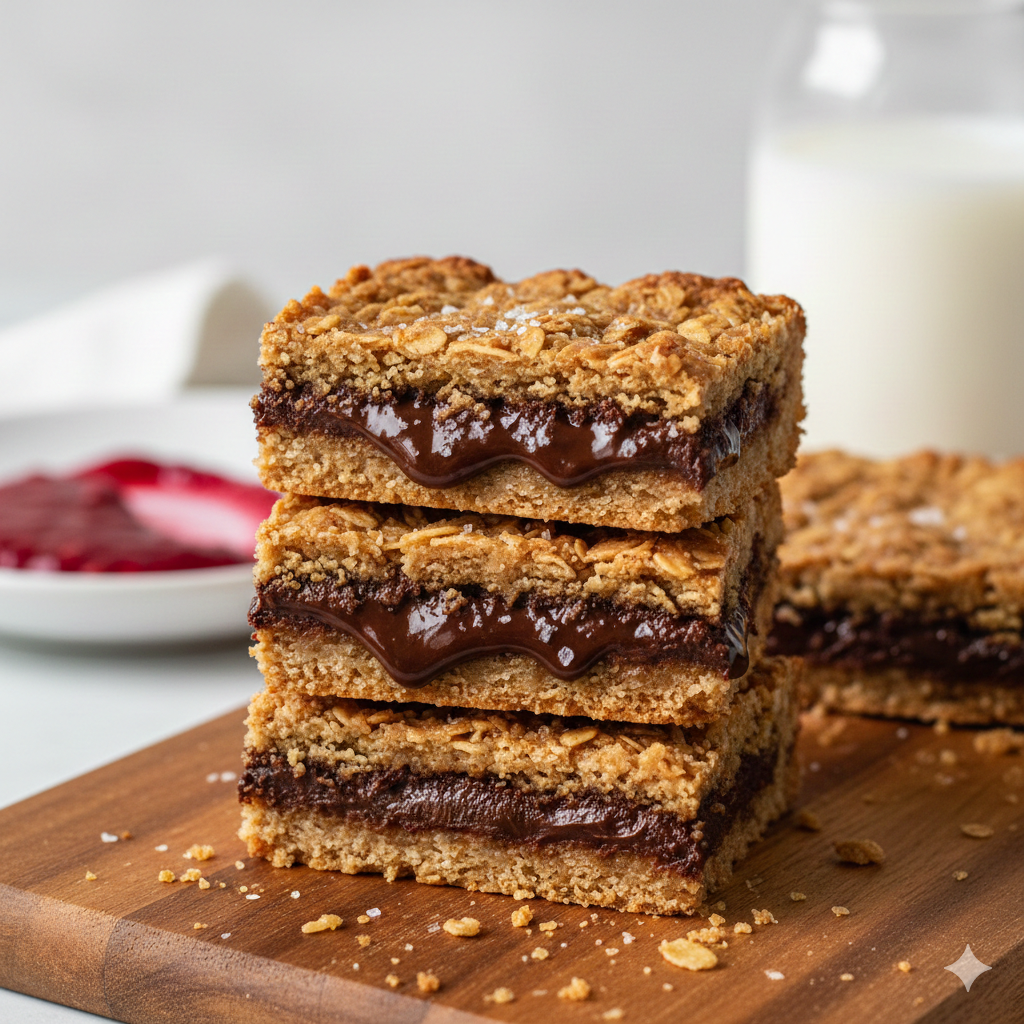
There is a specific kind of magic that happens when the rustic, humble texture of toasted oats meets the sophisticated, silky depths of premium chocolate fudge. Oatmeal Fudge Bars are more than just a traybake; they are a nostalgic journey. Often appearing at family reunions, bake sales, and cozy holiday gatherings, these bars represent the pinnacle of “comfort food.”
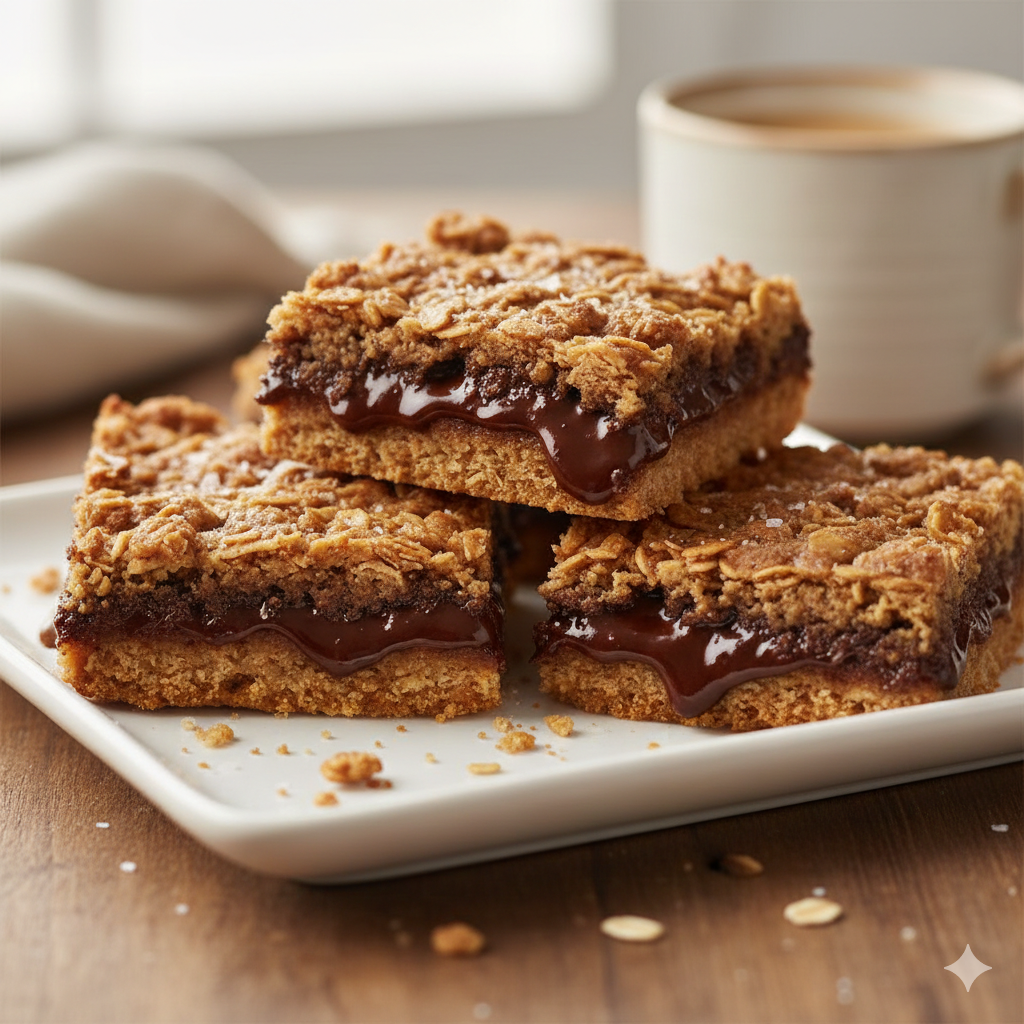
The beauty of this dish lies in its contrast. You have the crunchy, buttery crumble on the top and bottom, acting as a sturdy frame for a center that is dense, gooey, and unapologetically rich. Historically, these bars gained popularity in mid-century American kitchens as a way to stretch pantry staples like oats and sweetened condensed milk into a dessert that felt luxurious. Today, they remain a staple for home bakers because they require no fancy equipment—just a love for the timeless pairing of grains and cocoa.
Whether you are looking for a back-to-school snack that feels like a hug or a sophisticated dessert to pair with an espresso after dinner, these bars deliver a multi-layered sensory experience that appeals to every generation.
2. Recipe Overview
- Cuisine Type: American / Contemporary Bakery
- Difficulty Level: Intermediate (Requires temperature control for the fudge)
- Prep Time: 20 minutes
- Cook Time: 30 minutes
- Total Time: 50 minutes (plus cooling time)
- Dietary Classifications: Vegetarian (Can be modified for Gluten-Free)
3. Equipment and Tools
To achieve the perfect texture—neither too crumbly nor too hard—you need the right tools.
- Baking Pan: 9×9 inch (23×23 cm) square metal baking pan.
- Specification: Use a pan with a minimum depth of 2 inches (5 cm).
- Mixing Bowls: One large bowl for the oat mixture and one medium heat-proof bowl for the fudge.
- Saucepan: Small, heavy-bottomed saucepan for melting the chocolate.
- Measuring Tools: A full set of dry measuring cups and liquid measuring spoons.
- Kitchen Scale: Highly recommended for precision (especially for the butter and chocolate).
- Parchment Paper: Crucial for lifting the bars out of the pan for clean slicing.
- Rubber Spatula: For folding and ensuring no chocolate is left behind.
4. Serving Suggestions
These bars are rich, so presentation and pairing are key to balancing the palate.
- Plating: Serve at room temperature for a chewy texture, or slightly warmed for a “lava cake” effect. Cut into 2-inch squares.
- Garnish: A light dusting of Maldon sea salt over the warm chocolate layer enhances the cocoa notes. Alternatively, a sifted layer of powdered sugar adds a professional finish.
- Side Dishes: Serve with a side of tart raspberry coulis or a scoop of high-quality Madagascar vanilla bean ice cream.
- Beverage Pairings:
- Coffee: A dark roast espresso or a nutty flat white.
- Wine: A fortified wine like a Tawny Port or a sweet Sherry.
- Non-Alcoholic: A cold glass of whole milk or an oat-milk latte.

5. Nutritional Information
(Estimated per serving, based on 16 servings)
| Nutrient | Amount |
| Calories | 340 kcal |
| Total Fat | 18g |
| Saturated Fat | 11g |
| Cholesterol | 35mg |
| Sodium | 180mg |
| Total Carbohydrates | 42g |
| Dietary Fiber | 2g |
| Sugars | 28g |
| Protein | 4g |
Health Insight: Oats provide beta-glucans, which are excellent for heart health, though these bars should be enjoyed as a moderate indulgence due to the sugar and butter content.
6. Storage and Reheating
- Room Temperature: Store in an airtight container for up to 3 days.
- Refrigeration: Will last up to 7 days. Note that the fudge will firm up significantly when cold.
- Freezing: Wrap individual bars in plastic wrap and place in a freezer bag. They stay fresh for up to 3 months.
- Reheating: Microwave a single bar for 10-15 seconds to restore the “just-baked” gooeyness of the fudge.
7. Expert Tips and Variations
Professional Tips
- The “Press” Technique: When laying the bottom crust, press firmly. If it’s too loose, the bars will crumble when cut.
- Cooling is Mandatory: Do not cut these while hot. The fudge needs at least 2 hours to set, or you will end up with a delicious—but messy—soup.
Variations
- The Nutty Crunch: Add 1/2 cup of toasted chopped walnuts or pecans to the oat mixture.
- Salted Caramel: Drizzle 1/4 cup of thick salted caramel sauce over the fudge layer before adding the top crumble.
- Gluten-Free: Substitute all-purpose flour with a 1:1 gluten-free baking blend and ensure your oats are certified GF.
8. Ingredients Section
For the Oat Crust and Topple
- Butter: 1 cup (225g) unsalted butter, softened to room temperature.
- Brown Sugar: 1 ½ cups (300g) packed light brown sugar.
- Vanilla Extract: 2 teaspoons pure Madagascar vanilla.
- Eggs: 1 large egg, room temperature.
- All-Purpose Flour: 2 cups (250g).
- Rolled Oats: 3 cups (270g) old-fashioned rolled oats (avoid instant oats).
- Baking Soda: 1 teaspoon.
- Salt: ½ teaspoon fine sea salt.
For the Fudge Filling
- Chocolate Chips: 1 ½ cups (250g) semi-sweet or dark chocolate (60% cocoa).
- Sweetened Condensed Milk: 1 can (14 oz / 397g).
- Butter: 2 tablespoons (30g).
- Salt: A pinch to balance the sweetness.
9. Step-by-Step Instructions
Step 1: Preparation and Oven Calibration
Preheat your oven to 350°F (175°C). Line your 9×9 inch baking pan with parchment paper, leaving an overhang on two sides (the “sling” method) for easy removal.
Step 2: Creaming the Base
In a large mixing bowl, cream the softened butter and brown sugar together using a hand mixer or stand mixer. Beat for about 3 minutes until the mixture is light, fluffy, and increased in volume. Add the egg and vanilla extract, beating until fully incorporated.
Step 3: Incorporating Dry Ingredients
In a separate bowl, whisk together the flour, baking soda, and salt. Gradually add this to the butter mixture. Finally, fold in the rolled oats using a sturdy spatula. The dough will be thick and slightly tacky.
Step 4: Layering the Bottom
Reserve about 1 ½ cups of the oat mixture for the topping. Take the remaining mixture and press it evenly into the bottom of your prepared pan. Use the back of a spoon or a flat-bottomed measuring cup to ensure a level, compressed surface.
Step 5: Crafting the Fudge
In a small saucepan over low heat, combine the sweetened condensed milk, chocolate chips, and 2 tablespoons of butter. Stir constantly.
Pro Tip: Do not let the mixture boil. You want a slow melt to keep the chocolate tempered and glossy. Once smooth, remove from heat.
Step 6: Assembly
Pour the warm chocolate fudge over the bottom oat layer, spreading it to the edges with an offset spatula. Take the reserved oat mixture and drop small clumps of it over the top of the fudge. It won’t cover the chocolate completely—you want some “fudge windows” to peek through.
Step 7: The Bake
Bake for 25 to 30 minutes. The edges should be a light golden brown, and the oat crumbles on top should look set. The center may still seem slightly jiggly, but it will firm up as it cools.
Step 8: The Cooling Phase
Remove from the oven and place on a wire rack. Allow to cool completely at room temperature. For the cleanest cuts, refrigerate for 1 hour before lifting the parchment sling and slicing.
10. Frequently Asked Questions (FAQ)
Q: Can I use Quick Oats instead of Rolled Oats?
A: You can, but the texture will be much softer and less “chewy.” Rolled oats provide the structural integrity that makes these bars famous.
Q: Why did my fudge turn out grainy?
A: This usually happens if the chocolate is overheated. Always use low heat and stir continuously. If using a microwave, heat in 20-second bursts.
Q: Can I make this recipe vegan?
A: Yes. Use vegan butter sticks, a flax egg, and coconut-based sweetened condensed milk with dairy-free chocolate chips.
Q: How do I get perfectly clean slices?
A: Chill the bars first. Use a large chef’s knife dipped in hot water and wiped dry between every single cut.
Q: Is it possible to reduce the sugar?
A: You can reduce the brown sugar in the crust by 1/4 cup, but do not alter the sweetened condensed milk, as it is vital for the fudge’s consistency.