1. Introduction
There is a specific kind of magic found in a warm oatmeal raisin cookie that no other dessert can quite replicate. While chocolate chip cookies often take the spotlight, the oatmeal raisin cookie is the soulful, sophisticated cousin of the cookie world. It evokes memories of grandmother’s kitchen, crisp autumn afternoons, and the comforting scent of ground cinnamon wafting through a house.
The history of this cookie is rooted in the transition from traditional Scottish oatcakes—which were savory and sturdy—to the sweetened, spiced versions popularized in America during the late 19th century. By the time Fannie Farmer included a recipe for them in her 1896 cookbook, they had become a staple of the “wholesome” dessert category.
What makes this particular recipe significant is its balance. We aren’t just making a cookie; we are engineering a texture that is crisp on the very edges while remaining dense, buttery, and “bendy” in the center. Whether you are a seasoned baker or a novice looking for a reliable win, this guide will walk you through the science of the perfect chew.
2. Recipe Overview
- Cuisine Type: American / Bakery Classic
- Difficulty Level: Easy to Intermediate
- Prep Time: 15 minutes
- Chill Time: 30 minutes (Optional but recommended)
- Bake Time: 10–12 minutes
- Total Time: Approx. 57 minutes
- Dietary Classifications: Vegetarian (Can be modified for Gluten-Free or Vegan)
3. Equipment and Tools
To achieve professional results, ensure you have the following specifications ready:
- Stand Mixer or Electric Hand Mixer: For proper aeration of the butter and sugar.
- Baking Sheets (Half-Sheet Pans): Approximately 13 x 18 inches. Heavy-duty aluminum is preferred for even heat distribution.
- Parchment Paper or Silicone Baking Mats: To prevent sticking and ensure even browning.
- Mixing Bowls: One large bowl for wet ingredients, one medium for sifting dry ingredients.
- Whisk and Rubber Spatula: For folding in the oats without crushing them.
- Cookie Scoop: A #40 scoop (about 1.5 to 2 tablespoons) for uniform sizing.
- Wire Cooling Rack: Essential for preventing soggy bottoms after baking.
- Measuring Tools: A digital kitchen scale is highly recommended for accuracy, though standard US cups are provided.
4. Serving Suggestions
These cookies are versatile enough for a school lunchbox or a sophisticated dinner party platter.
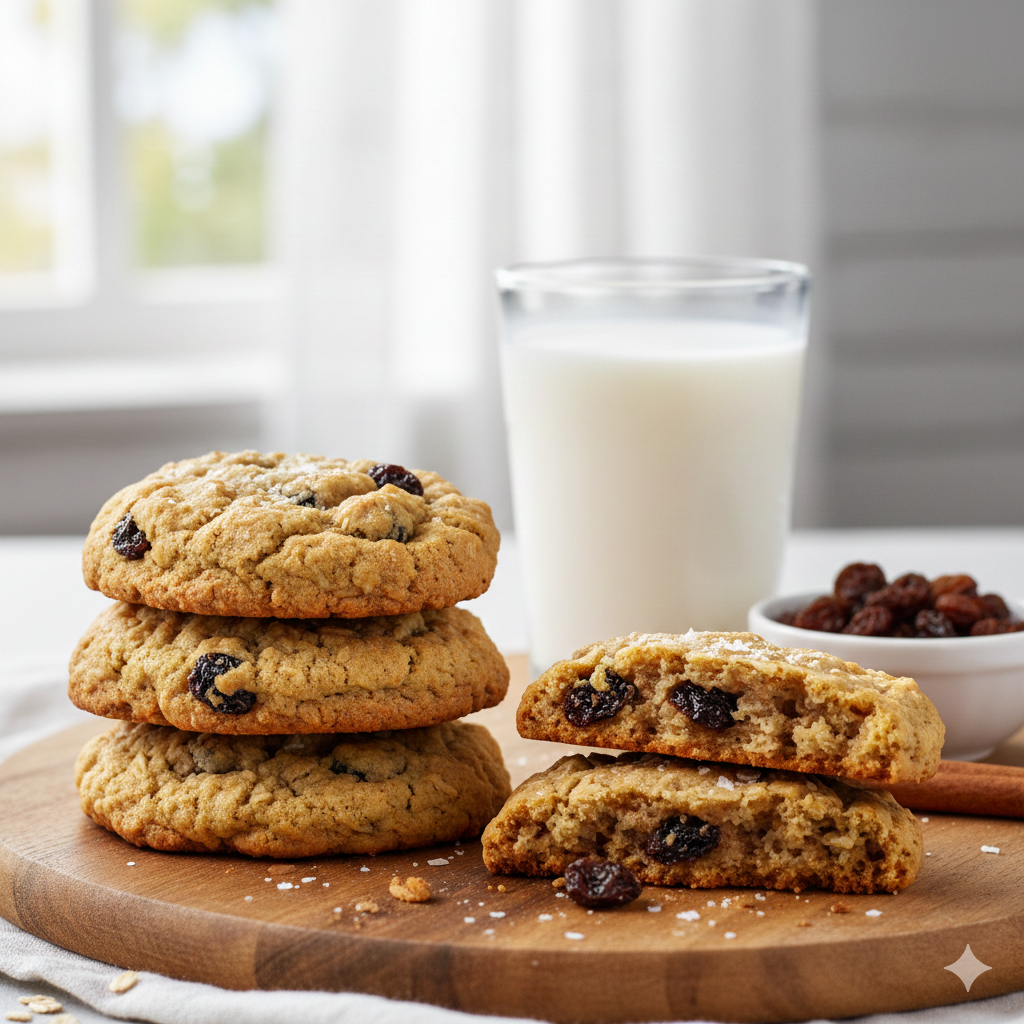
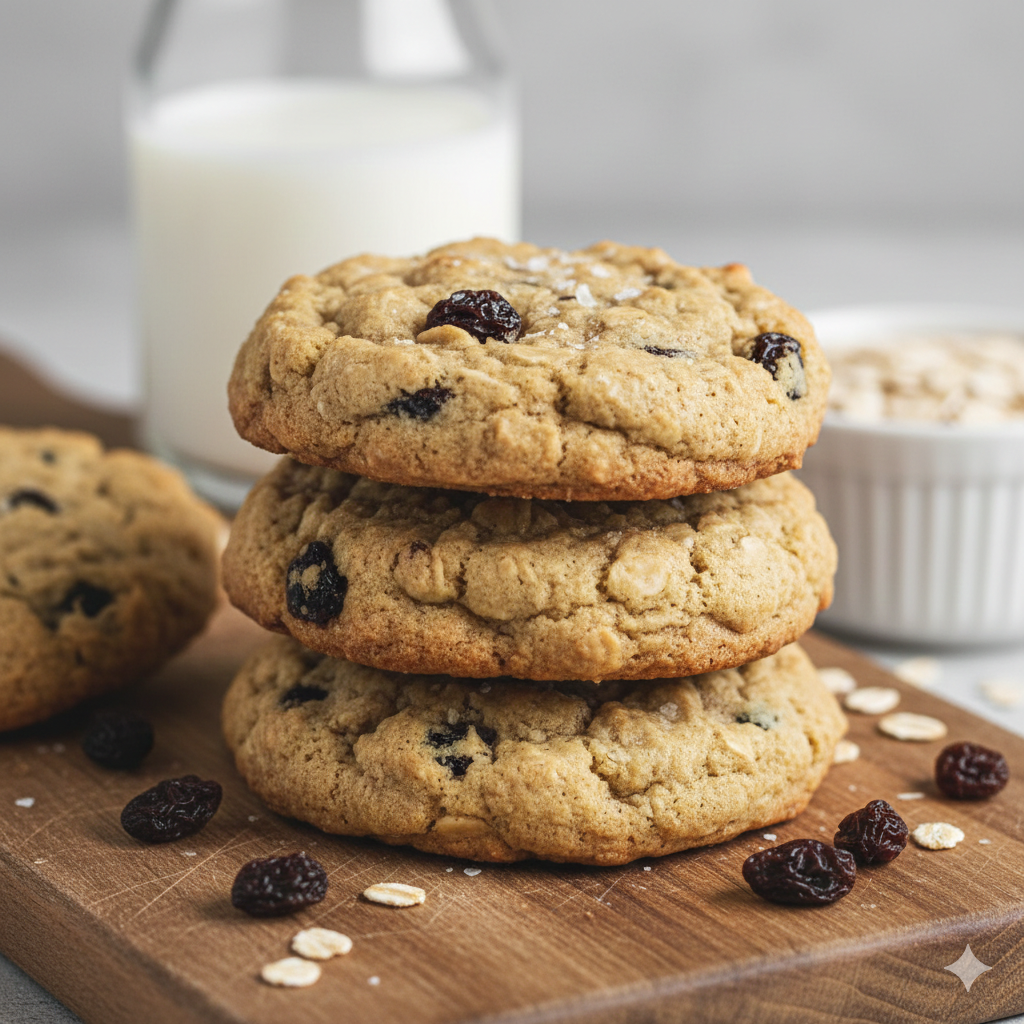
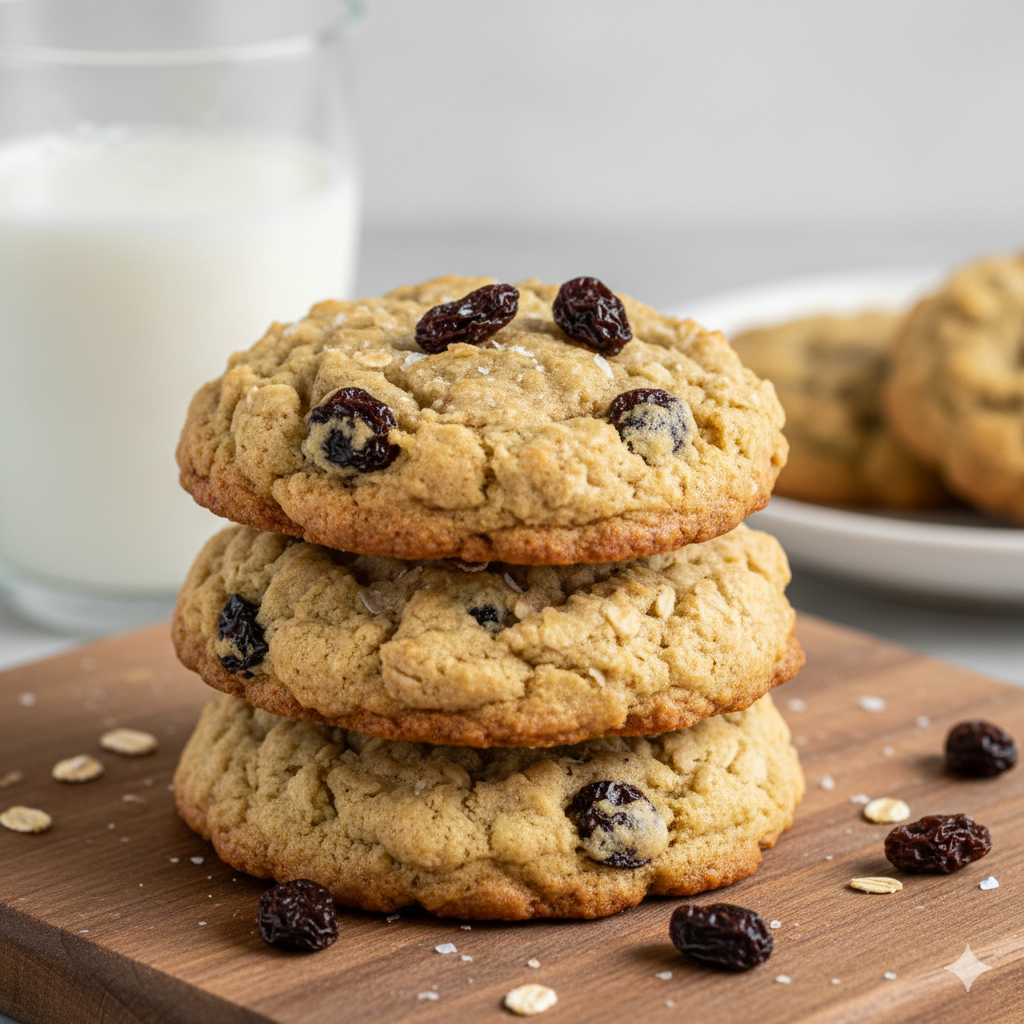
- Plating: Stack them three-high on a rustic wooden board or a white ceramic plate to highlight the golden-brown edges.
- Garnish: A very light dusting of flaky sea salt immediately after baking enhances the caramel notes of the brown sugar.
- Beverage Pairings: * Classic: A tall glass of cold whole milk or oat milk.
- Hot: A dark roast coffee or an Earl Grey tea.
- Evening: A glass of Tawny Port or a spiced bourbon-based cocktail.
- Ice Cream Sandwich: Press a scoop of salted caramel or vanilla bean ice cream between two cooled cookies for an elevated dessert.
5. Nutritional Information (Per Cookie)
Note: Based on a yield of 24 cookies.
| Nutrient | Amount |
| Calories | 185 kcal |
| Total Fat | 8g |
| Saturated Fat | 5g |
| Cholesterol | 25mg |
| Sodium | 140mg |
| Total Carbohydrates | 26g |
| Dietary Fiber | 1.5g |
| Sugars | 14g |
| Protein | 3g |
Health Benefits: Oats provide a source of beta-glucan (a heart-healthy soluble fiber), while raisins offer a quick energy boost and antioxidants.
6. Storage and Reheating
To maintain that “just-baked” softness, follow these guidelines:
- Room Temperature: Store in an airtight container for up to 5 days. Pro tip: Place a slice of white bread in the container; the cookies will absorb the moisture from the bread and stay soft longer.
- Refrigeration: Not recommended, as the fridge can dry out the starch in the cookies.
- Freezing: * Baked: Freeze in a single layer, then transfer to a freezer bag for up to 3 months.
- Dough: Scoop into balls and freeze. Bake directly from frozen, adding 2 minutes to the bake time.
- Reheating: To regain that gooey center, microwave a single cookie for 8–10 seconds.
7. Expert Tips and Variations
Professional Chef Tips
- The Butter Temperature: Ensure your butter is “cool room temperature” (approx. 18°C or 65°F). If it’s too oily/soft, the cookies will spread into puddles.
- Don’t Overmix: Once you add the flour, mix only until no white streaks remain. Overworking develops gluten, which makes cookies tough.
Creative Variations
- The “Everything” Oat: Add 1/2 cup of chopped walnuts and 1/4 cup of dark chocolate chips.
- Tropical Twist: Swap raisins for dried pineapple and add 1/2 cup of shredded coconut.
- Gluten-Free: Use a 1:1 gluten-free baking flour blend and ensure your oats are certified GF.
8. Ingredients Section
| Ingredient | Imperial | Metric | Notes |
| Unsalted Butter | 1 cup (2 sticks) | 226g | Softened to room temp |
| Light Brown Sugar | 1 cup (packed) | 200g | Provides moisture and chew |
| Granulated Sugar | 1/2 cup | 100g | Helps with crisp edges |
| Large Eggs | 2 | 100g | Room temperature |
| Vanilla Extract | 1 tbsp | 15ml | Use pure extract |
| All-Purpose Flour | 1.5 cups | 190g | Sifted |
| Ground Cinnamon | 1 tsp | 2.6g | Freshly opened is best |
| Baking Soda | 1 tsp | 5g | For browning and lift |
| Salt | 1/2 tsp | 3g | Fine sea salt |
| Old Fashioned Oats | 3 cups | 270g | Not Instant or Steel Cut |
| Raisins | 1 cup | 150g | Soak in warm water for 10 min then pat dry |
9. Step-by-Step Instructions
Step 1: Creaming the Base
In the bowl of your stand mixer, combine the softened butter, brown sugar, and granulated sugar. Beat on medium-high speed for 3–4 minutes until the mixture looks pale and fluffy. This creates the air pockets necessary for a light texture.
Step 2: Liquid Emulsion
Add the eggs one at a time, beating well after each addition. Scrape down the sides of the bowl. Pour in the vanilla extract and mix for another 30 seconds.
Step 3: Dry Ingredient Integration
In a separate bowl, whisk together the flour, cinnamon, baking soda, and salt. Turn the mixer to the lowest setting and gradually add the flour mixture. Mix until just combined.
Step 4: The Heart of the Cookie
Fold in the old-fashioned oats and the (drained/dried) raisins by hand using a rubber spatula. This prevents the oats from breaking and ensures a chunky, hearty texture.
Step 5: The Chill (Crucial Step)
Cover the dough and refrigerate for at least 30 minutes. This allows the oats to hydrate and the fats to solidify, preventing excessive spreading in the oven.
Step 6: Portioning and Baking
Preheat your oven to 350°F (175°C). Scoop rounded tablespoons of dough onto your prepared baking sheets, spaced 2 inches apart. Bake for 10–12 minutes.
- Visual Cue: The edges should be golden brown, but the centers should still look slightly underbaked and soft.
Step 7: The Set
Let the cookies rest on the baking sheet for 5 minutes before transferring them to a wire rack. They will firm up as they cool.
10. Frequently Asked Questions (FAQ)
Q: Can I use Quick Oats instead of Old Fashioned?
A: You can, but the texture will be different. Quick oats are thinner and will result in a softer, more cake-like cookie. Old Fashioned oats provide the classic “chew.”
Q: Why did my cookies come out flat?
A: This usually happens if the butter was too warm or if the dough wasn’t chilled. It can also happen if your baking soda is expired.
Q: My raisins are hard and dry. How do I fix this?
A: Soak your raisins in hot water or apple juice for 10 minutes before adding them to the dough. Just be sure to pat them completely dry first!
Q: Can I reduce the sugar?
A: You can reduce the granulated sugar by 25%, but be aware that sugar isn’t just for sweetness—it also affects the structure and moisture of the cookie.
Q: How do I get perfectly round cookies?
A: Use the “scooting” method! Immediately after taking them out of the oven, place a circular glass or cookie cutter over the hot cookie and gently move it in a circular motion to pull the edges inward.