Title: Fudgy Double Chocolate Cookies: The Ultimate Decadent Recipe
Meta Description: Master the art of the perfect Fudgy Double Chocolate Cookie. A rich, brownie-like treat with melted chips and a crinkle top. Better than any bakery!
1. Introduction
There is a specific kind of magic that happens when chocolate transcends being a mere flavor and becomes an experience. The Fudgy Double Chocolate Cookie isn’t just a snack; it is a cocoa-intensive event. Often described as the “brownie’s sophisticated cousin,” these cookies offer the best of both worlds: the portable convenience of a handheld treat and the dense, melting heart of a premium dark chocolate torte.
The origin of the double chocolate cookie is rooted in the American obsession with the “Toll House” style, but it took a turn toward decadence in the late 20th century as high-quality Dutch-processed cocoa became more accessible to home bakers. This recipe is born from years of kitchen trials—a quest to find the perfect ratio of fat to flour that prevents the cookie from becoming “cakey” and instead keeps it luxuriously fudgy.
What sets this particular version apart is the bloom. By whisking the cocoa powder into melted butter or hot chocolate, we “wake up” the flavor, ensuring every bite resonates with a deep, earthy richness that lingers on the palate. Whether you are baking for a holiday gathering or a rainy Tuesday night, these cookies are a testament to the idea that there is no such thing as “too much chocolate.”
2. Recipe Overview
- Cuisine Type: American / Contemporary Bakery
- Difficulty Level: Intermediate (Requires careful temperature control and folding techniques)
- Prep Time: 20 minutes
- Chill Time: 30 minutes (Essential for texture)
- Cook Time: 10 minutes
- Total Time: 1 hour
- Dietary Classifications: Vegetarian, Nut-Free (Can be adapted for Gluten-Free)
3. Equipment and Tools
To achieve professional results, ensure your kitchen is stocked with the following:
- Digital Kitchen Scale: Essential for precision (grams vs. ounces).
- Stand Mixer or Electric Hand Mixer: To achieve the necessary aeration of eggs and sugar.
- Large Mixing Bowl: For the main batter.
- Sifter/Fine Mesh Strainer: To prevent cocoa clumps.
- Silicone Spatula: For gentle folding of chocolate chips.
- Baking Sheets (Half-Sheet Pans): Heavy-gauge aluminum is recommended for even heat distribution.
- Parchment Paper or Silicone Baking Mats: To prevent sticking and ensure a clean bottom.
- Medium Cookie Scoop: (Approx. 1.5 to 2 tablespoons) for uniform sizing.
- Wire Cooling Rack: To prevent the bottoms from getting soggy during cooling.
4. Serving Suggestions
These cookies are a powerhouse on their own, but you can elevate the experience with these pairings:
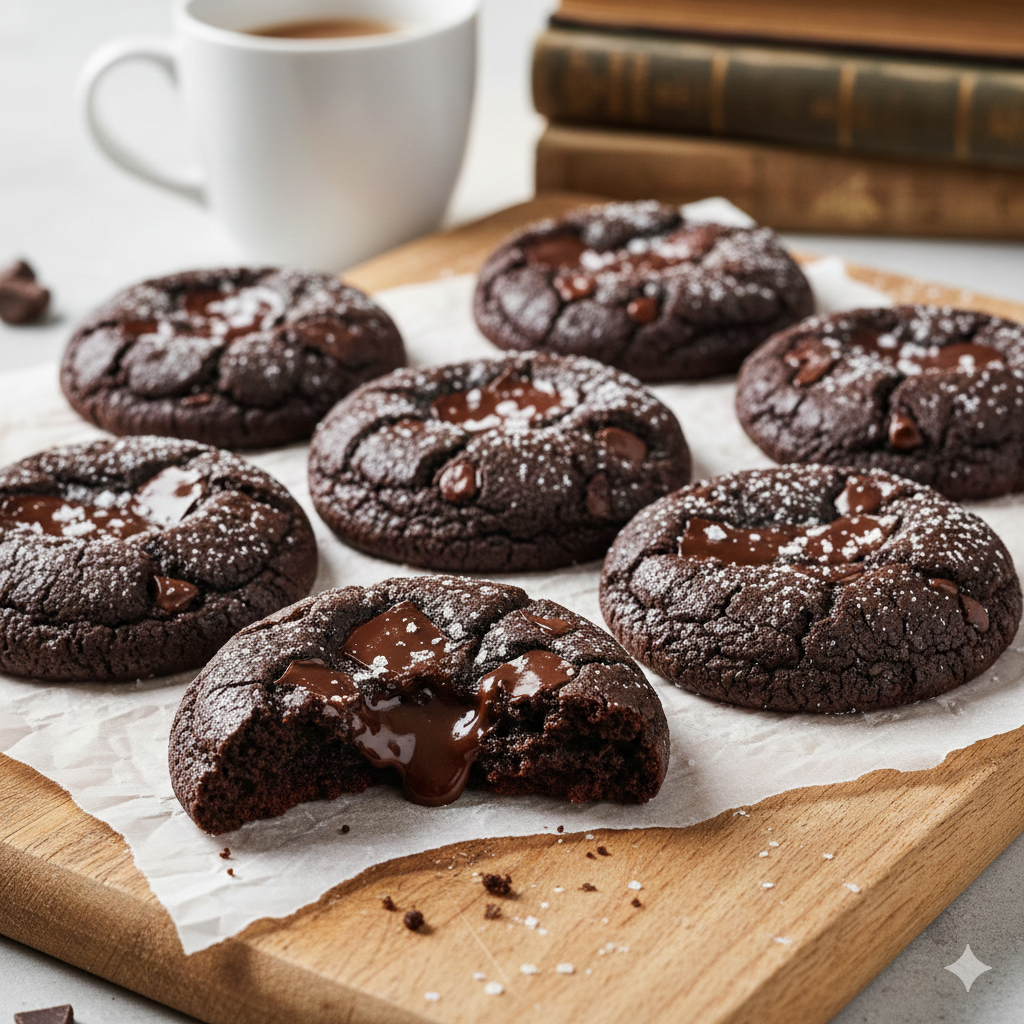
- Plating: Serve warm on a matte ceramic plate with a light dusting of flakey sea salt (Maldon is a favorite).
- Garnish: A fresh sprig of mint or a few raspberries on the side adds a tart contrast to the heavy chocolate.
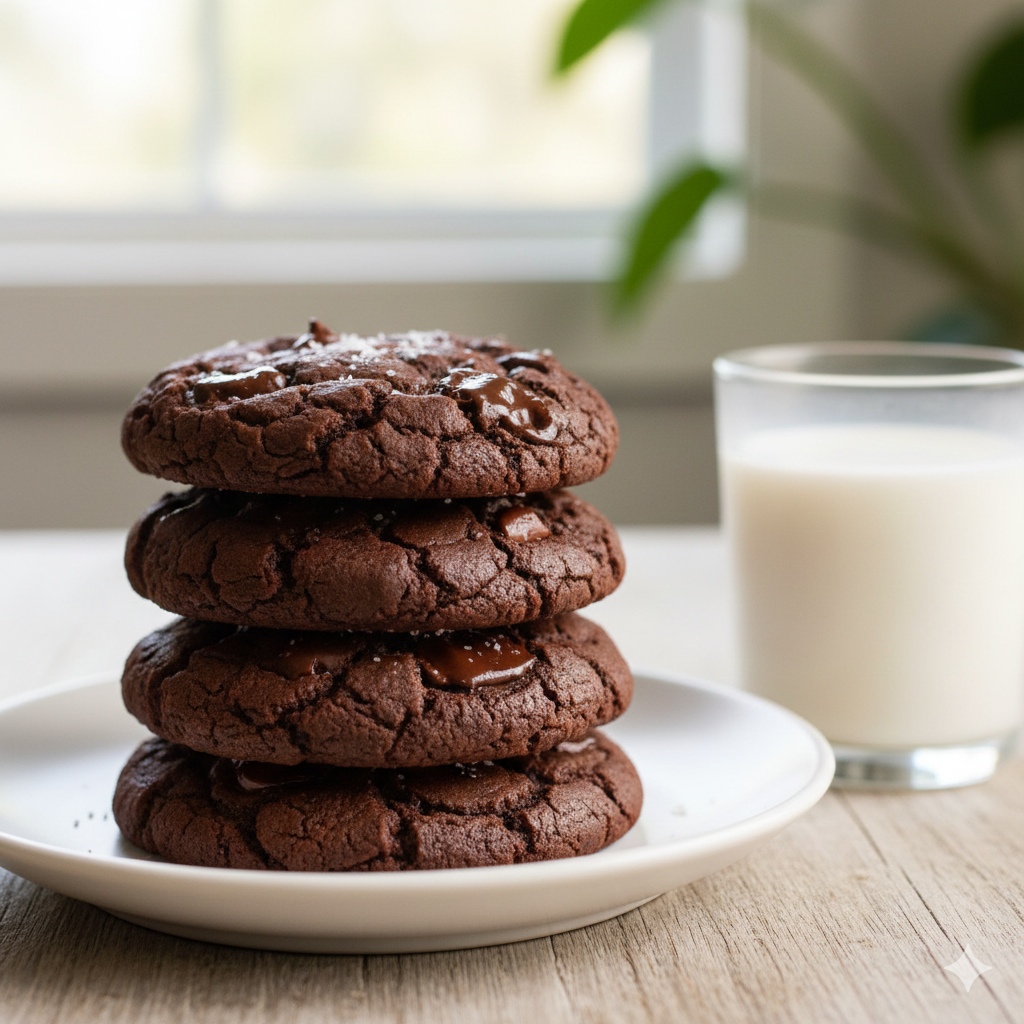
- Beverage Pairing: * Classic: A cold glass of whole milk or oat milk.
- Sophisticated: A double shot of espresso or a robust Cabernet Sauvignon.
- Dessert Style: Sandwich a scoop of vanilla bean or salted caramel ice cream between two cookies for the ultimate “Double Chocolate S’more.”
5. Nutritional Information
(Per serving, based on 1 cookie of an 18-cookie batch)
| Nutrient | Amount |
| Calories | 210 kcal |
| Total Fat | 12g |
| Saturated Fat | 7g |
| Cholesterol | 35mg |
| Sodium | 115mg |
| Total Carbohydrates | 26g |
| Dietary Fiber | 2g |
| Sugars | 18g |
| Protein | 3g |
Potential Health Benefits: High-quality dark chocolate (70% cocoa or higher) contains flavonoids and antioxidants which can support heart health and improve mood by stimulating endorphins.
6. Storage and Reheating
To maintain that “just-out-of-the-oven” fudginess:
- Room Temperature: Store in an airtight container for up to 4 days. Place a piece of white bread in the container to keep them soft.
- Refrigeration: Not recommended as it can dry out the crumb, but they will last up to 7 days if sealed tightly.
- Freezing: * Dough: Flash freeze individual scoops on a tray, then move to a freezer bag. Bake from frozen (add 2 minutes to cook time).
- Baked: Wrap individually in plastic wrap and freeze for up to 3 months.
- Reheating: Microwave for 8–10 seconds for a “molten” effect.
7. Expert Tips and Variations
Professional Chef Tips
- The Egg Secret: Beat your eggs and sugars for at least 4–5 minutes until the mixture is pale and “ribbon-like.” This creates the coveted crinkle top.
- Quality Matters: Since chocolate is the primary flavor, use a high-quality cocoa powder (like Valrhona or Guittard) rather than a generic brand.
- The “Pan Bang”: Halfway through baking, gently lift and drop the baking sheet against the oven rack. This collapses the air pockets, creating those beautiful fudgy ripples.
Creative Variations
- The Mexican Hot Chocolate: Add 1 tsp of cinnamon and a pinch of cayenne pepper.
- The White Out: Swap semi-sweet chips for white chocolate chunks and macadamia nuts.
- The Espresso Kick: Add 1 tablespoon of instant espresso powder to the flour to intensify the chocolate notes.
8. Ingredients Section
The Dry Mix
- All-Purpose Flour: 190g (1 ½ cups) – Spoon and leveled.
- Unsweetened Cocoa Powder: 45g (½ cup) – Dutch-processed preferred.
- Baking Powder: 5g (1 tsp).
- Fine Sea Salt: 3g (½ tsp).
The Wet Mix
- Unsalted Butter: 115g (½ cup/1 stick) – Melted and slightly cooled.
- Light Brown Sugar: 150g (¾ cup) – Packed.
- Granulated White Sugar: 100g (½ cup).
- Large Eggs: 2 – Room temperature.
- Pure Vanilla Extract: 10ml (2 tsp).
The Mix-Ins
- Semi-Sweet Chocolate Chips: 175g (1 cup).
- Dark Chocolate Bar (70%): 50g, chopped into irregular chunks for varying textures.
9. Step-by-Step Instructions
Step 1: Prep and Melt
Preheat your oven to 175°C (350°F). Line two large baking sheets with parchment paper. In a small microwave-safe bowl, melt the butter in 30-second increments. Once melted, whisk in the cocoa powder while the butter is still warm. This “blooms” the cocoa, releasing its full aromatic potential.
Step 2: The Aeration (Crucial Step)
In your stand mixer fitted with the paddle attachment, combine the brown sugar, white sugar, and eggs. Beat on medium-high speed for 5 minutes. You are looking for a thick, pale, foam-like consistency. This aeration is what gives the cookie its structure and shiny crust.
Step 3: Combine Liquids
Turn the mixer to low and slowly stream in the butter-cocoa mixture and the vanilla extract. Mix until just combined. Do not overbeat at this stage.
Step 4: Incorporate Dry Ingredients
In a separate bowl, whisk together the flour, baking powder, and salt. Fold these into the wet ingredients by hand using a silicone spatula. Stop as soon as you see no more white streaks of flour. Overmixing will lead to a tough, bread-like cookie.
Step 5: The Chocolate Fold
Gently fold in the chocolate chips and the chopped chocolate chunks. The dough will be very thick and somewhat sticky.
Step 6: The Chill
Cover the bowl and refrigerate for 20–30 minutes. This allows the flour to hydrate and prevents the cookies from spreading too thin in the oven.
Step 7: Scoop and Bake
Using a cookie scoop, place mounds of dough about 2 inches apart on the prepared sheets. Bake for 9–11 minutes.
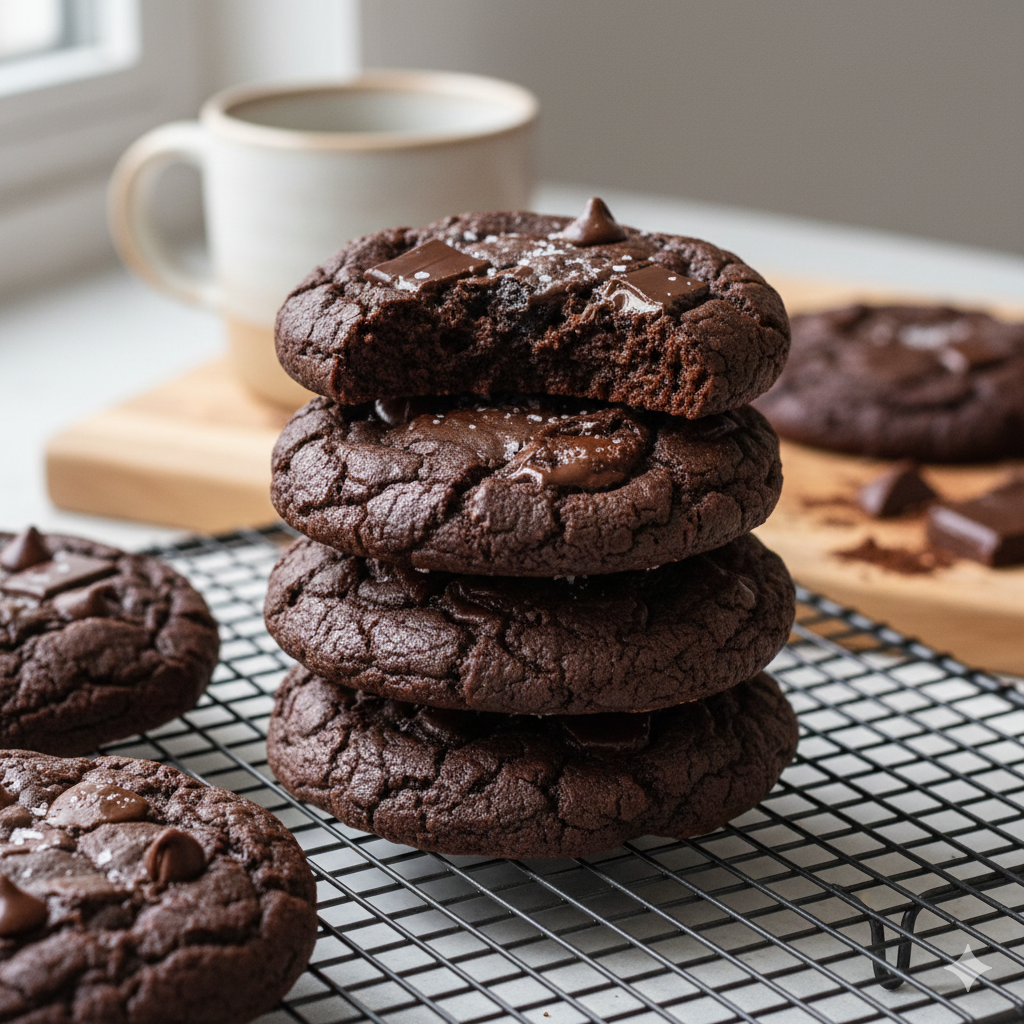
- Visual Cue: The edges should be set, but the centers should still look slightly underdone and soft. They will firm up as they cool.
Step 8: The Finish
Remove from the oven and immediately sprinkle with a tiny bit of sea salt. Let them rest on the baking sheet for 10 minutes before moving to a wire rack.
10. Frequently Asked Questions (FAQ)
Q: Why are my cookies flat?
A: This usually happens if the butter was too hot when added to the eggs, or if the dough wasn’t chilled. Also, ensure your baking powder isn’t expired!
Q: Can I make these gluten-free?
A: Yes! Replace the all-purpose flour with a high-quality 1:1 gluten-free baking flour blend. Because these are fudgy, they adapt to GF flour better than crispy cookies do.
Q: My cookies didn’t get a “crinkle” top. What happened?
A: The crinkle comes from the interaction between the sugar and the beaten eggs. Ensure you beat the eggs and sugar long enough—it should look like thick cake batter before you add the flour.
Q: Can I use cacao powder instead of cocoa powder?
A: Cacao is more acidic and less processed. While it works, it may make the cookies slightly more bitter and dry. If using cacao, add an extra tablespoon of sugar.
Q: Why use both chips and chopped chocolate?
A: Chips are designed to hold their shape, giving you “pockets” of chocolate. Chopped chocolate melts into the dough, creating “pools” of chocolate. The combination provides the best texture.