1. Introduction: A Love Letter to the Berry Patch
There is something inherently nostalgic about the scent of butter and sugar browning in an oven, especially when paired with the sharp, floral aroma of ripening raspberries. Raspberry Crumble Bars—often called “Streusel Bars” or “Crumb Squares”—occupy that magical middle ground between a sophisticated tart and a humble cookie.
Historically, fruit-based bars emerged from the European tradition of “tray bakes,” designed to feed large families or workers with seasonal harvests. While the classic apple crumble is a staple of British comfort food, the raspberry variation brings a vibrant, acidic brightness that elevates the dessert into something truly gourmet.
The beauty of this recipe lies in its duality. You have a singular dough that performs two jobs: it acts as a dense, sandy shortbread base and a light, golden-brown crumble topping. Whether you are hosting a summer garden party or looking for a bright spot in the middle of winter using frozen berries, these bars are a testament to the fact that the simplest ingredients often yield the most spectacular results.
2. Recipe Overview
- Cuisine Type: American / European Fusion
- Difficulty Level: Easy to Intermediate
- Prep Time: 20 minutes
- Cook Time: 45 minutes
- Total Time: 1 hour 5 minutes (plus cooling time)
- Dietary Classifications: Vegetarian (Can be made Vegan or Gluten-Free with substitutions)
3. Equipment and Tools
To achieve the perfect texture—where the base is firm enough to hold but the topping remains airy—having the right tools is essential.
- Baking Pan: One 9×9 inch (23×23 cm) square metal baking pan. Metal is preferred over glass for crisper edges.
- Parchment Paper: For “sling” style lining to ensure easy removal.
- Mixing Bowls: One large bowl for the dough and one medium bowl for the fruit filling.
- Pastry Cutter or Fork: For cutting cold butter into the flour.
- Digital Kitchen Scale: For precision (highly recommended over volume cups).
- Zester/Microplane: For fresh lemon zest.
- Cooling Rack: To prevent the bottom from becoming soggy after baking.
4. Serving Suggestions
These bars are versatile enough to be dressed up or down depending on the event.
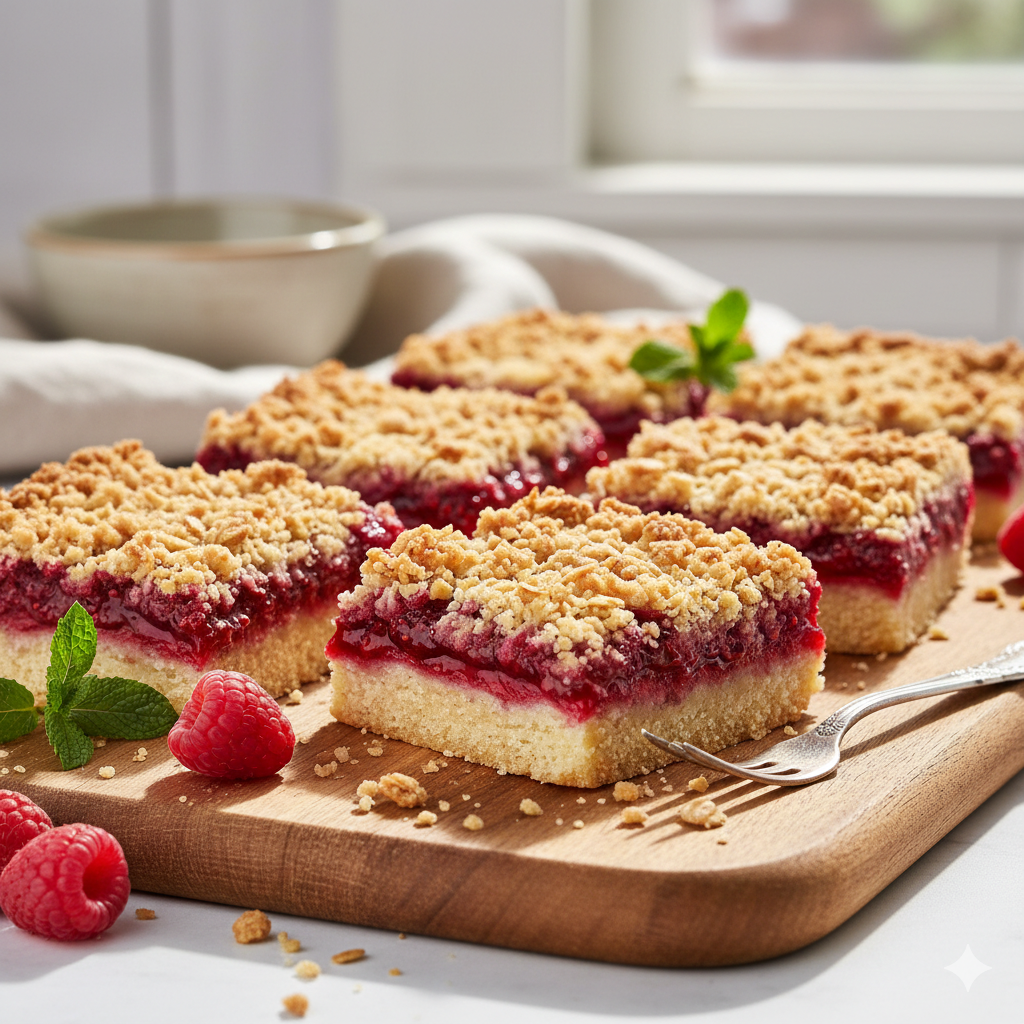
- The Afternoon Tea Approach: Serve chilled or at room temperature, cut into small 1-inch squares. Pair with an Earl Grey tea or a light Hibiscus herbal infusion.
- The Decadent Dessert: Serve warm with a generous scoop of high-quality Madagascar Vanilla Bean ice cream. The heat from the bars will melt the ice cream into a creamy sauce that balances the tart berries.
- Garnish Ideas: A light dusting of powdered sugar (confectioners’ sugar) or a few fresh mint leaves adds a professional “bakery-style” finish.
- Beverage Pairing: For an adult treat, a chilled Rosé or a sweet Moscato d’Asti complements the raspberry notes beautifully.
5. Nutritional Information (Per Serving)
Serving size: 1 bar (based on 16 squares)
| Nutrient | Amount |
| Calories | 245 kcal |
| Total Fat | 12g |
| Saturated Fat | 7g |
| Cholesterol | 30mg |
| Sodium | 110mg |
| Total Carbohydrates | 32g |
| Dietary Fiber | 2g |
| Sugars | 18g |
| Protein | 3g |
Health Benefits: Raspberries are high in antioxidants, fiber, and Vitamin C. Using oats in the crumble topping adds whole grains and heart-healthy beta-glucan.
6. Storage and Reheating
Because of the fresh fruit content, moisture management is key to keeping these bars delicious.
- Room Temperature: Store in an airtight container for up to 2 days.
- Refrigeration: Best kept in the fridge for up to 5 days. This keeps the fruit filling set and the crust firm.
- Freezing: Wrap individual bars in plastic wrap and place in a freezer-safe bag. They freeze beautifully for up to 3 months.
- Reheating: To restore the “crunch” of the crumble, toast in a 350°F (175°C) oven for 5-8 minutes. Avoid microwaving, as it can make the crust soft.
7. Expert Tips and Variations
Professional Chef Tips
- The Cold Butter Rule: Ensure your butter is “fridge-cold.” If it gets too warm during mixing, the crust will be oily rather than flaky.
- The Par-Bake: Always pre-bake the bottom crust. This creates a barrier so the fruit juices don’t turn the base into mush.
Creative Variations
- The Almond Twist: Replace 1/2 cup of flour with almond flour and add 1/2 teaspoon of almond extract to the dough.
- The “Double Berry”: Mix raspberries with blackberries or blueberries for a more complex flavor profile.
- White Chocolate Drizzle: Once cooled, drizzle melted white chocolate over the top for extra sweetness.
8. Ingredients Section
The Crust and Crumble
- All-Purpose Flour: 1.5 cups (190g)
- Old-Fashioned Rolled Oats: 1 cup (90g) — Adds texture and chew.
- Granulated Sugar: 1/2 cup (100g)
- Light Brown Sugar (Packed): 1/4 cup (50g) — Adds a caramel note.
- Unsalted Butter (Cold, Cubed): 3/4 cup (170g)
- Baking Powder: 1/2 tsp
- Salt: 1/4 tsp
The Raspberry Filling
- Fresh or Frozen Raspberries: 3 cups (approx. 340g)
- Granulated Sugar: 1/3 cup (65g) — Adjust based on berry sweetness.
- Cornstarch: 1 tbsp — The thickening agent.
- Fresh Lemon Juice: 1 tbsp
- Lemon Zest: 1 tsp
9. Step-by-Step Instructions
Step 1: Preparation and Lining
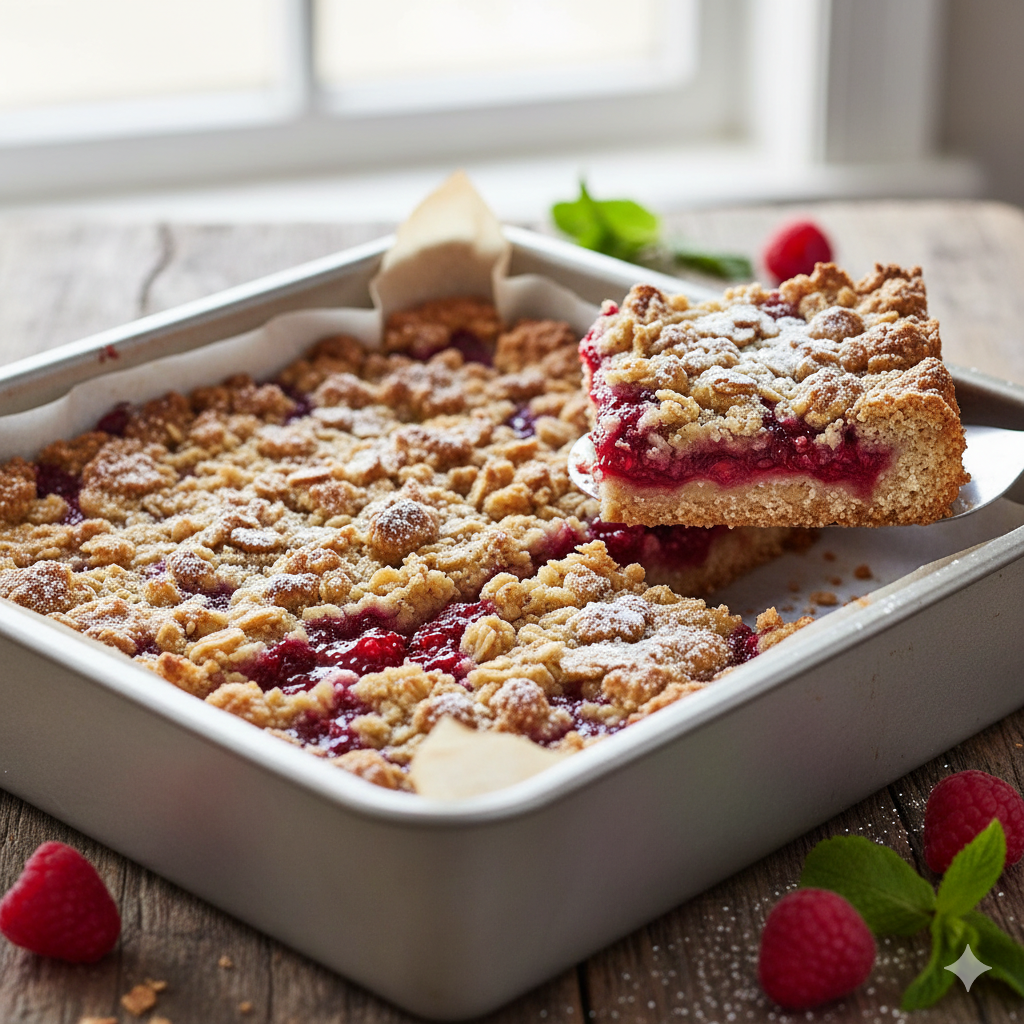
Preheat your oven to 350°F (175°C). Grease your 9×9 inch pan and line it with parchment paper, leaving an overhang on two sides. This “sling” allows you to lift the entire block of bars out once cooled.
Step 2: Create the Dough
In a large bowl, whisk together the flour, oats, sugars, baking powder, and salt. Add the cold, cubed butter. Using a pastry cutter or your fingertips, work the butter into the dry ingredients until the mixture resembles coarse crumbs with some pea-sized pieces remaining.
Step 3: The Par-Bake
Reserve 1.5 cups of the crumble mixture for the topping. Press the remaining mixture firmly into the bottom of the prepared pan. Use the bottom of a measuring cup to ensure an even, flat layer. Bake for 12–15 minutes until just beginning to set.
Step 4: Prepare the Filling
While the base bakes, toss the raspberries, sugar, cornstarch, lemon juice, and zest in a medium bowl. If using frozen berries, do not thaw them; use them straight from the freezer to prevent excess bleeding.
Step 5: Assembly
Spread the raspberry mixture evenly over the par-baked crust. Sprinkle the reserved crumble mixture over the top, squeezing some of it in your hand to create larger “clumps” for better texture.
Step 6: The Final Bake
Return to the oven and bake for 30–35 minutes. The filling should be bubbling at the edges, and the crumble topping should be a beautiful golden brown.
Step 7: The Cooling Mandate
Crucial Step: Allow the bars to cool completely in the pan on a wire rack. Then, refrigerate for at least 2 hours before slicing. This allows the cornstarch to fully set the fruit layer, ensuring clean cuts.
10. Frequently Asked Questions (FAQ)
Q: Can I use raspberry jam instead of fresh berries?
A: Yes! You can replace the berry mixture with 1 cup of high-quality raspberry preserves. Skip the cornstarch and extra sugar if using jam.
Q: Why are my bars falling apart when I cut them?
A: This usually happens if the bars are still warm. The fruit filling and butter-based crust need time to solidify. Chill them thoroughly for the best results.
Q: Can I make this gluten-free?
A: Absolutely. Substitute the all-purpose flour for a 1:1 gluten-free baking blend and ensure your oats are certified gluten-free.
Q: Can I use other fruits?
A: Yes! This recipe works perfectly with strawberries, blueberries, or even chopped peaches. Just ensure you adjust the sugar based on the fruit’s natural sweetness.
Q: Do I need to thaw frozen raspberries?
A: No. Thawing them makes them too mushy and releases too much water. Bake them from frozen, but you may need an extra 2-3 minutes of bake time.