1. Introduction: The Magic of the Instant Cookie
We’ve all been there: the craving for a buttery, crisp-yet-tender sugar cookie strikes, but the recipe demands a two-hour nap in the refrigerator. In a world that moves fast, sometimes the traditional “chill and wait” method feels like a barrier to culinary joy. Enter the No-Chill Sugar Cookie.
This recipe is a game-changer for holiday baking marathons, last-minute school fundraisers, or rainy afternoon projects with kids. Born out of the professional need for a reliable, “no-spread” dough, these cookies are engineered to keep their precise edges. Whether you are cutting out intricate snowflakes or simple circles, what goes into the oven is exactly what comes out—no bloated stars or unrecognizable blobs.
Culturally, the sugar cookie is a canvas. From the Zuckerkuchen roots in Europe to the iconic American bake sale staple, this cookie represents celebration. By removing the chilling step, we aren’t just saving time; we are making the art of cookie decorating more accessible and spontaneous.
2. Recipe Overview
- Cuisine Type: American / Pastry
- Difficulty Level: Easy to Intermediate (Beginner-friendly dough, skill varies with decorating)
- Prep Time: 15 minutes
- Cook Time: 8–10 minutes
- Total Time: 25 minutes
- Dietary Classifications: Vegetarian (Contains eggs and dairy). See variations for Gluten-Free options.
3. Equipment and Tools
To achieve professional results, ensure you have the following specifications ready:
- Stand Mixer or Electric Hand Mixer: A paddle attachment is preferred to avoid incorporating too much air.
- Baking Sheets: Large, rimless or low-rimmed heavy-gauge aluminum sheets (13″ x 18″ half-sheets).
- Rolling Pin: A weighted marble or silicone rolling pin. Adjustable thickness rings are highly recommended for a consistent 1/4-inch (6mm) depth.
- Silicone Baking Mats or Parchment Paper: Essential for a non-stick surface and to prevent over-browning.
- Cookie Cutters: Metal or high-quality 3D-printed plastic cutters with sharp edges.
- Cooling Rack: Wire mesh to allow airflow under the cookies.
- Measuring Tools: A digital kitchen scale for metric precision is superior to volume cups.
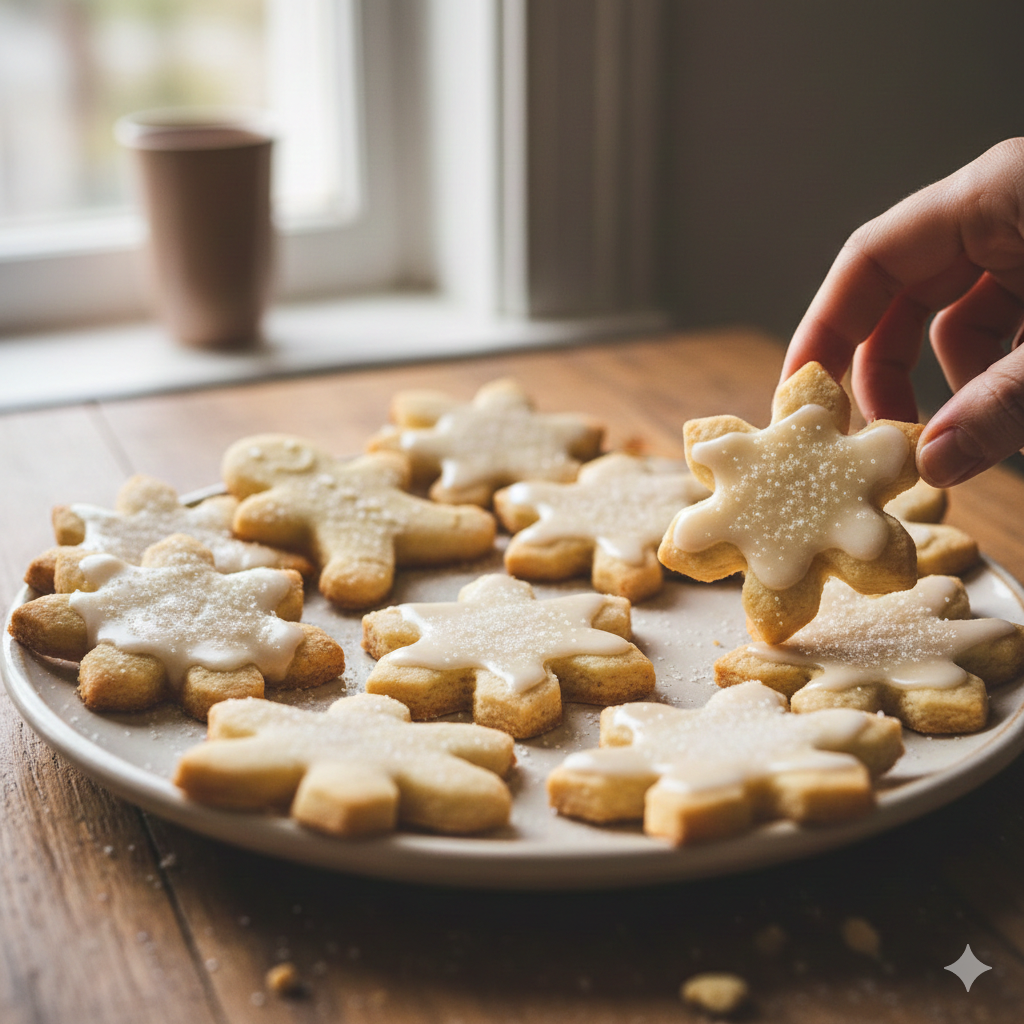
4. Serving Suggestions
- Plating: Arrange on a vintage ceramic platter or tiered stand.
- Garnish: Flood with Royal Icing, a simple Lemon Glaze, or a dusting of sanding sugar before baking.
- Pairings:
- Beverage: A cold glass of whole milk, Earl Grey tea, or a dry Prosecco for adult gatherings.
- Side: Serve alongside a tart raspberry coulis for dipping.
5. Nutritional Information
(Per cookie, based on 24 servings without icing)
| Nutrient | Amount |
| Calories | 165 kcal |
| Total Fat | 8g |
| Saturated Fat | 5g |
| Cholesterol | 35mg |
| Sodium | 110mg |
| Total Carbohydrates | 21g |
| Dietary Fiber | 0.5g |
| Sugars | 10g |
| Protein | 2g |
6. Storage and Reheating
- Room Temperature: Store in an airtight container for up to 5 days. Add a slice of white bread to the container to keep them soft.
- Refrigeration: Not recommended for baked cookies as it can dry them out, but iced cookies may be refrigerated if using perishable fillings.
- Freezing:
- Unbaked dough: Wrap tightly in plastic wrap and freeze for up to 3 months.
- Baked cookies: Freeze in layers separated by parchment for up to 2 months.
- Reheating: If you prefer a “fresh-out-of-the-oven” feel, microwave for 5–8 seconds.
7. Expert Tips and Variations
Professional Tips
- The Butter Temperature: Your butter should be “cool-room temperature.” It should indent when pressed but not be greasy or shiny.
- Avoid Over-Creaming: Only cream the butter and sugar until combined. Over-aerating causes the cookies to puff and lose their shape in the oven.
- Flour the Surface: Use a light hand with flour when rolling. Excess flour can make the cookies tough.
Creative Variations
- Citrus Zest: Add the zest of one lemon or orange to the sugar for a bright, floral note.
- Almond Spice: Replace half the vanilla extract with almond extract and add a pinch of cardamom.
- Chocolate Sugar Cookies: Replace 1/4 cup of flour with high-quality Dutch-process cocoa powder.

8. Ingredients Section
| Ingredient | Imperial | Metric | Notes |
| Unsalted Butter | 1 Cup | 227g | High-fat European style preferred |
| Granulated Sugar | 1 Cup | 200g | Fine baker’s sugar works best |
| Large Egg | 1 | 50g | Room temperature |
| Vanilla Extract | 1 tsp | 5ml | Pure Madagascar Vanilla |
| Almond Extract | 1/2 tsp | 2.5ml | Optional, for “bakery” flavor |
| All-Purpose Flour | 3 Cups | 375g | Spooned and leveled |
| Baking Powder | 1.5 tsp | 7g | Ensure it is fresh |
| Salt | 1/2 tsp | 3g | Fine sea salt |
9. Step-by-Step Instructions
Step 1: Prep the Environment
Preheat your oven to 350°F (175°C). Line two large baking sheets with parchment paper or silicone mats. Ensure your workspace is clean and lightly floured.
Step 2: Cream Butter and Sugar
In your stand mixer, combine the cool-room temperature butter and granulated sugar. Beat on medium speed for about 2 minutes. You are looking for a cohesive paste, not a fluffy white cloud.
Step 3: Incorporate Wet Ingredients
Add the egg, vanilla, and almond extract. Mix on low until the egg is fully emulsified. Scrape down the sides of the bowl to ensure no butter streaks remain.
Step 4: Add Dry Ingredients
In a separate bowl, whisk together the flour, baking powder, and salt. Gradually add the dry mixture to the mixer while running on low. Stop the mixer as soon as the flour streaks disappear and the dough begins to pull away from the sides of the bowl.
Step 5: The Rolling Process
Divide the dough into two manageable balls. Place one ball on a floured surface. Roll out to a consistent 1/4-inch thickness. If the dough feels too soft to handle, you can dust it with a tiny bit of flour, but this recipe is designed to be rolled immediately.
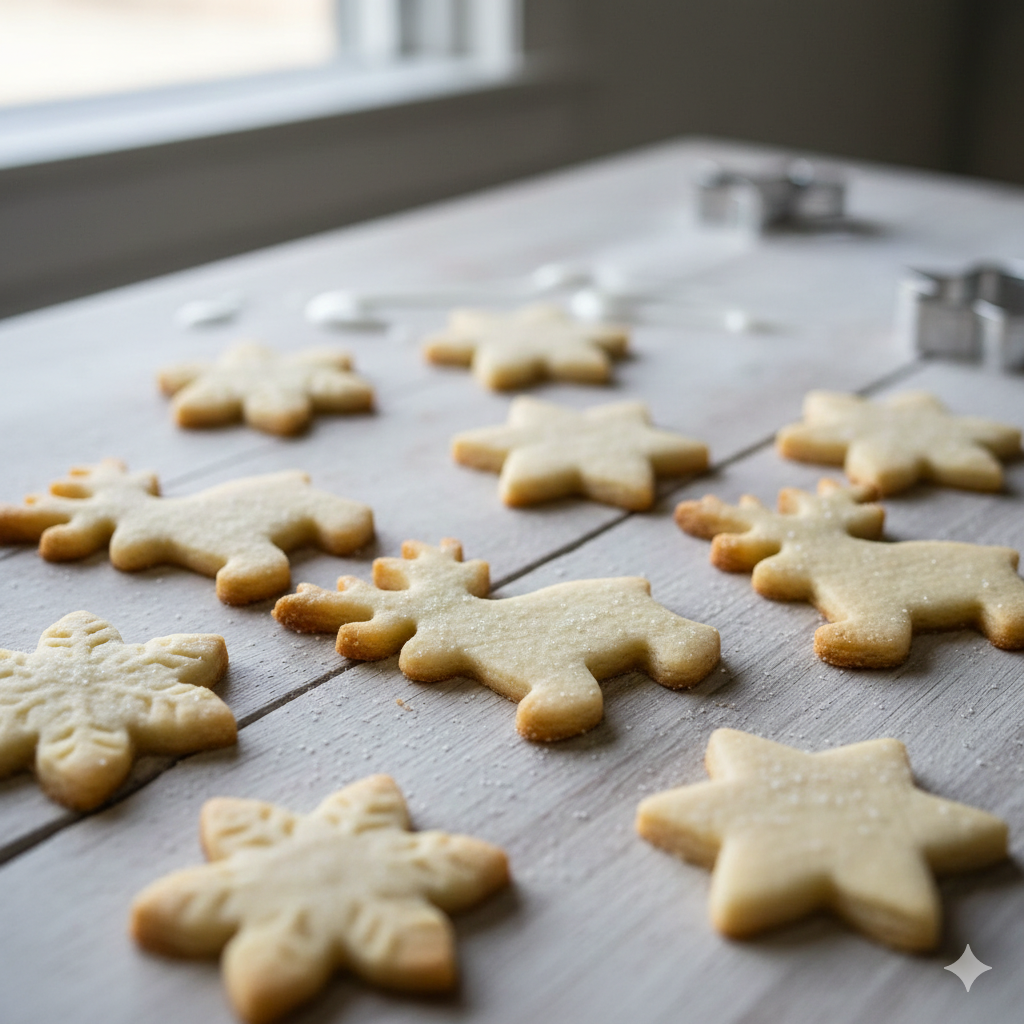
Step 6: Cutting Shapes
Press your cookie cutters firmly into the dough. Lift the shapes gently with a tapered offset spatula and place them 1 inch apart on the prepared baking sheets.
Step 7: Baking to Perfection
Bake for 8 to 11 minutes.
- Visual Cue: The cookies should look “set” and matte on top. Do not wait for the edges to brown; if they turn golden, they will be crunchy rather than soft.
Step 8: Cooling
Let the cookies rest on the baking sheet for 5 minutes to firm up. Transfer to a wire rack to cool completely before decorating.
10. Frequently Asked Questions (FAQ)
Q: Why did my cookies spread?
A: This usually happens if the butter was too warm (melted) or if you over-creamed the butter and sugar, adding too much air. Ensure the butter is cool to the touch.
Q: Can I use salted butter?
A: Yes, but reduce the added salt in the recipe to 1/4 teaspoon.
Q: Why are my cookies dry and crumbly?
A: This is often caused by over-measuring the flour. Always use a scale or the “spoon and level” method rather than scooping directly with the measuring cup.
Q: How do I get sharp edges on my shapes?
A: Use a cold cookie cutter and dip it in flour between every few cuts.
Q: Can I make this dough in advance?
A: Absolutely. While it doesn’t require chilling, it can sit in the fridge for up to 3 days. Just let it sit at room temperature for 20 minutes before rolling so it doesn’t crack.