1. Introduction: A Nostalgic Journey in Every Bite
There are few desserts that command as much nostalgic power as the 7-Layer Magic Bar. Also known across various regions as Hello Dollies or Coconut Dream Bars, these treats represent a pinnacle of mid-century American baking—a time when efficiency met indulgence.
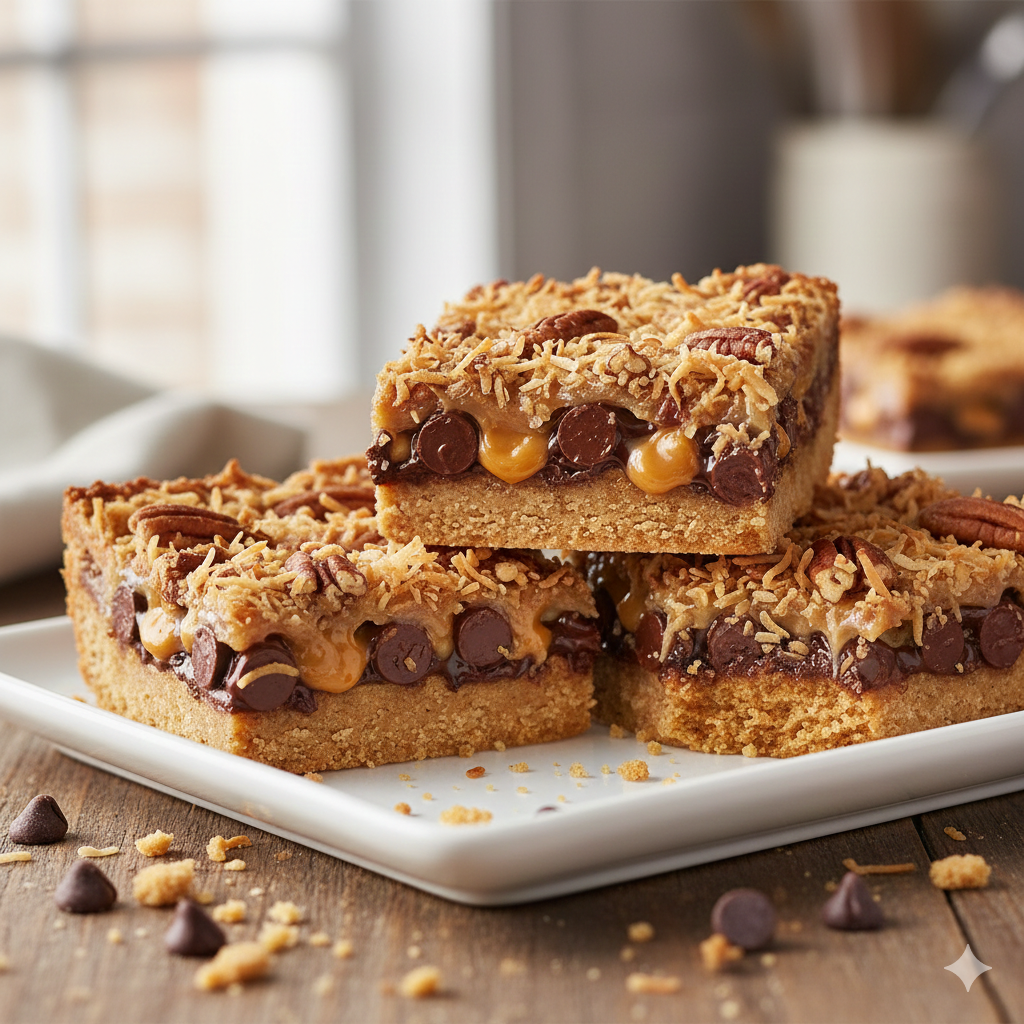
The “magic” isn’t just a clever marketing name from the back of a condensed milk can; it refers to the unique preparation method. Unlike traditional brownies or cakes that require vigorous whisking and aeration, these bars are built. You layer individual ingredients into a pan, and through the alchemy of the oven, the sweetened condensed milk seeps through the cracks, binding crunchy nuts, sweet chocolate, and chewy coconut into a cohesive, caramelized masterpiece.
Whether you first encountered these at a childhood potluck or discovered them in a grandmother’s hand-written recipe card, the 7-Layer Magic Bar remains a staple because it hits every sensory note: the saltiness of the butter, the crunch of the pecans, the snap of the chocolate, and the pillowy softness of the coconut. It is a symphony of textures that feels both sophisticated and delightfully rustic.
2. Recipe Overview
Before we dive into the layers, let’s look at the “at-a-glance” details of this culinary project.
- Cuisine Type: American / Dessert
- Difficulty Level: Beginner (No mixer required!)
- Prep Time: 15 Minutes
- Cook Time: 25–30 Minutes
- Total Time: 45 Minutes (plus cooling time)
- Dietary Classifications: Vegetarian. (Can be modified for Gluten-Free or Vegan diets).
3. Equipment and Tools
To achieve the perfect bake, you need the right vessels. Using a pan that is too large will result in thin, brittle bars, while a pan too small will leave the center undercooked and “soupy.”
| Tool | Specification | Purpose |
| Baking Pan | 9×13 inch (Rectangle) | Standard size for optimal thickness |
| Mixing Bowl | Medium | For combining graham cracker crumbs and butter |
| Measuring Cups | Standard US/Metric | Ensuring ratios of chocolate to coconut are balanced |
| Parchment Paper | High-heat resistant | Essential for easy removal and “clean” slicing |
| Offset Spatula | Small | For evening out the layers |
Pro Tip: Ensure your 9×13 pan has a depth of at least 2 inches. The bars will bubble up slightly as the condensed milk caramelizes, and you want to prevent any overflow.
4. Serving Suggestions
Presentation is everything. While these bars are delicious straight from the pan, a little effort goes a long way.
- Plating: Cut into small 2-inch squares. Because these are incredibly rich, smaller portions are usually preferred.
- Garnish: A light dusting of Maldon sea salt over the warm chocolate chips can cut through the sweetness beautifully.
- Pairings:
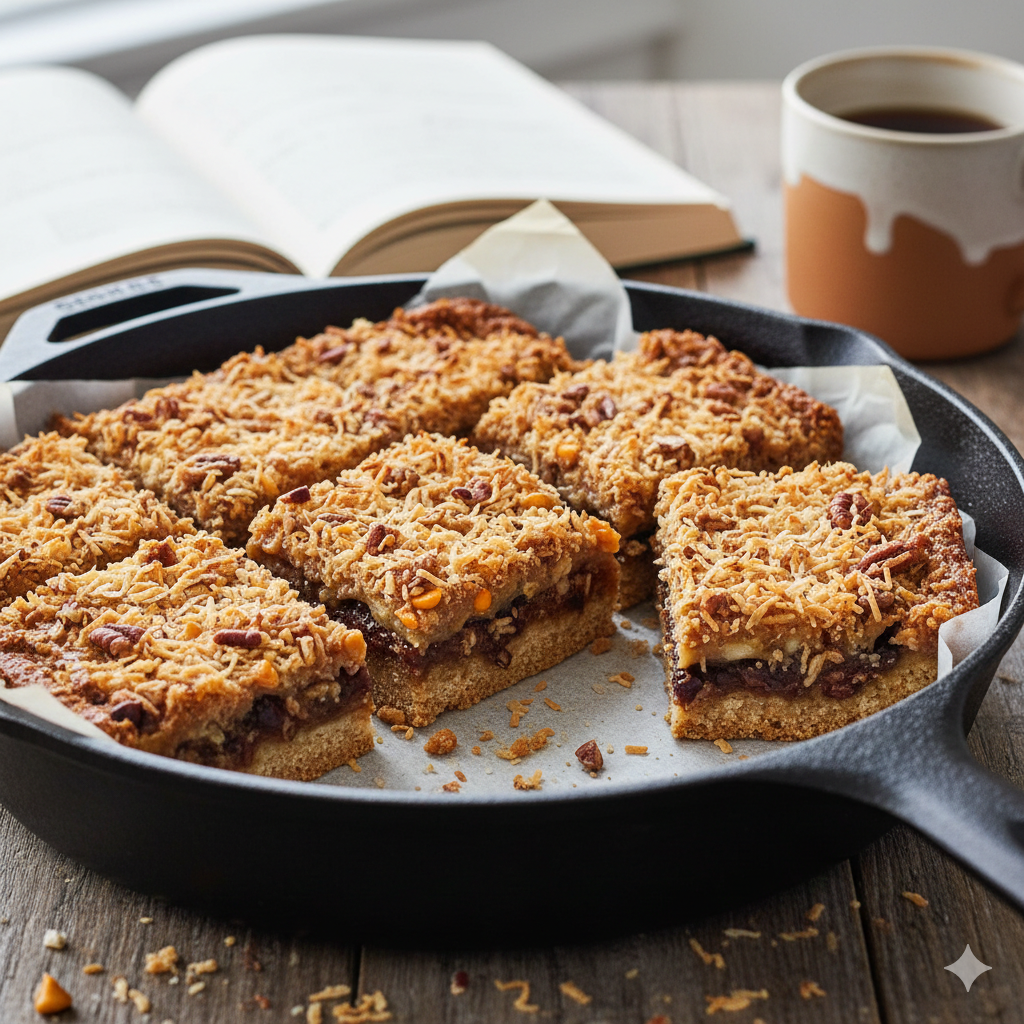
- Coffee: A dark roast or a double shot of espresso balances the sugary profile.
- Milk: A cold glass of whole milk is the traditional pairing.
- Wine: If serving at a dinner party, a Tawny Port or a sweet Sherry complements the toasted pecans and butterscotch.
5. Nutritional Information
Note: Based on a yield of 24 bars.
| Metric | Amount per Serving |
| Calories | 280 kcal |
| Total Fat | 16g |
| Saturated Fat | 9g |
| Carbohydrates | 32g |
| Sugar | 24g |
| Protein | 3g |
Dietary Note: These bars are high in energy and healthy fats from the nuts, but they are a “treat” food meant for occasional indulgence.
6. Storage and Reheating
Because of the high sugar and fat content, these bars have an excellent shelf life.
- Room Temperature: Store in an airtight container for up to 5 days.
- Refrigeration: If you prefer a chewier, firmer bar, keep them in the fridge for up to 10 days.
- Freezing: These freeze beautifully. Wrap individual squares in plastic wrap and place them in a freezer bag. They stay fresh for 3 months.
- Reheating: If you want that “just out of the oven” gooeyness, microwave a single bar for 10–15 seconds.
7. Expert Tips and Variations
The “Golden Rule” of Slicing
Never slice 7-layer bars while they are warm. The condensed milk needs to fully set to create the structural integrity required for a clean cut. For the sharpest edges, chill the pan in the fridge for 2 hours before slicing with a hot, dry knife.
Creative Variations
- The Tropical Bar: Swap pecans for macadamia nuts and add a layer of dried pineapple bits.
- The Peanut Butter Twist: Replace the butterscotch chips with peanut butter chips and use crushed pretzels instead of graham crackers for the base.
- The Dark Harvest: Use dark chocolate chunks (70% cacao) and walnuts to create a less sweet, more earthy flavor profile.
8. Ingredients Section
To make the quintessential 7-layer bar, quality matters. Use high-fat European butter if possible for a richer crust.
The Seven Layers (In Order)
- Butter: 1/2 cup (115g) unsalted, melted.
- Graham Cracker Crumbs: 1 1/2 cups (150g).
- Chocolate Chips: 1 cup (170g) semi-sweet.
- Butterscotch Chips: 1 cup (170g).
- Chopped Nuts: 1 cup (120g) pecans or walnuts.
- Sweetened Condensed Milk: 1 can (14 oz / 396g). Do not use evaporated milk.
- Shredded Coconut: 1 1/3 cups (130g) sweetened or unsweetened.
9. Step-by-Step Instructions
Step 1: Preparation
Preheat your oven to 350°F (175°C). Line your 9×13 inch baking pan with parchment paper, leaving an inch of overhang on the sides to act as “handles.”
Step 2: The Foundation
In a medium bowl, mix the melted butter and graham cracker crumbs until the mixture resembles wet sand. Dump the mixture into the prepared pan and press firmly into an even layer using the bottom of a measuring cup.
Step 3: Layering the Sweets
Distribute the semi-sweet chocolate chips evenly over the crust. Follow immediately with an even layer of butterscotch chips.
Step 4: The Crunch
Sprinkle the chopped pecans over the chips. Using your palms, lightly press down on the layers to ensure they are packed together.
Step 5: The “Magic” Binder
Pour the sweetened condensed milk evenly over the entire pan. Try to cover as much surface area as possible; this is the “glue” that holds the bar together.
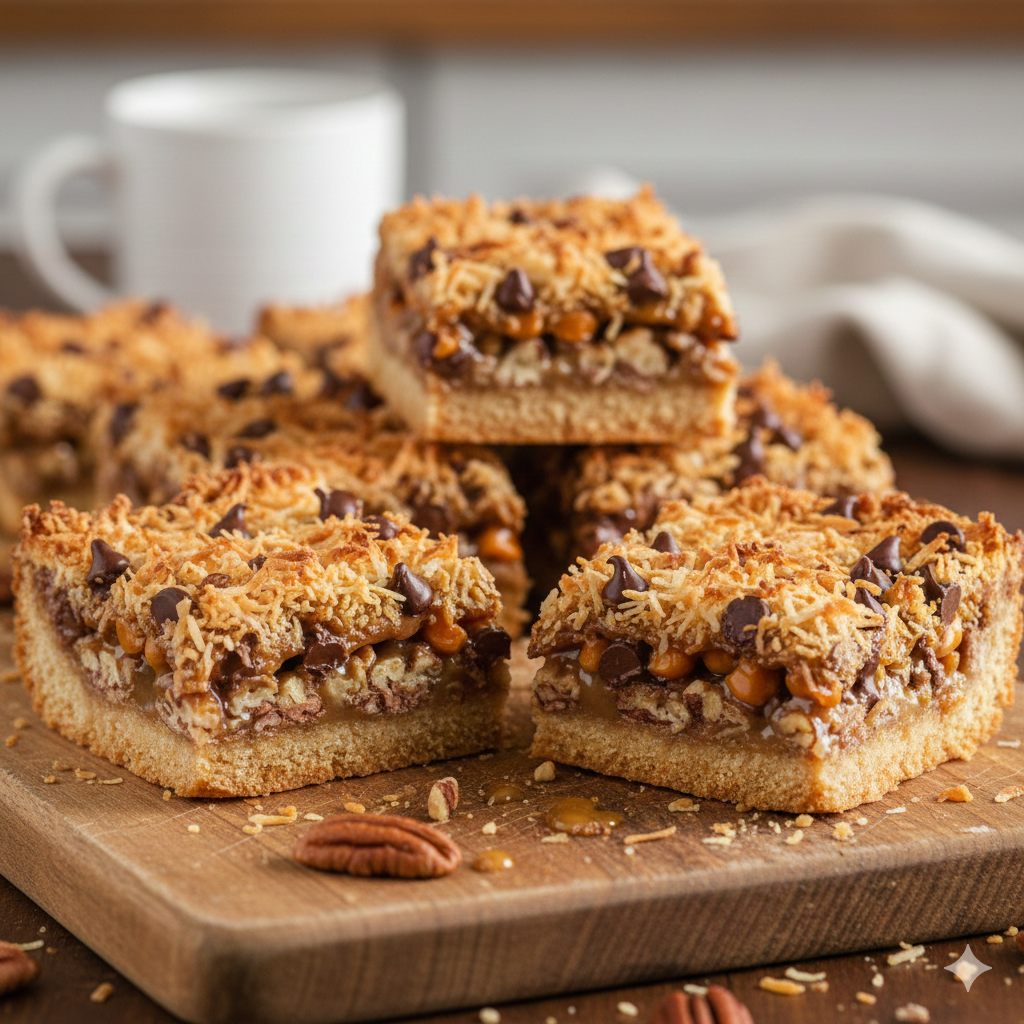
Step 6: The Topping
Finish by sprinkling the shredded coconut over the top.
Step 7: The Bake
Slide the pan into the center rack of the oven. Bake for 25–30 minutes.
- Visual Cue: The edges should be bubbling and a deep golden brown, and the coconut on top should be lightly toasted.
10. Frequently Asked Questions (FAQ)
Q: Can I use Evaporated Milk instead of Sweetened Condensed Milk?
A: No. Evaporated milk lacks the sugar content and thickness required to caramelize and bind the ingredients. Your bars will be soggy and won’t set.
Q: Why did my bars crumble when I cut them?
A: This usually happens if they haven’t cooled long enough or if the graham cracker crust wasn’t pressed down firmly enough before baking.
Q: How do I make this Gluten-Free?
A: Simply swap the graham cracker crumbs for a certified gluten-free graham cracker brand or use a mix of almond flour and sugar.
Q: Is it better to put the coconut under or over the milk?
A: Putting the coconut on top allows it to toast and get crunchy. If you prefer a “fudgier” coconut texture, pour the milk over the coconut.