1. Introduction: A Symphony of Layers
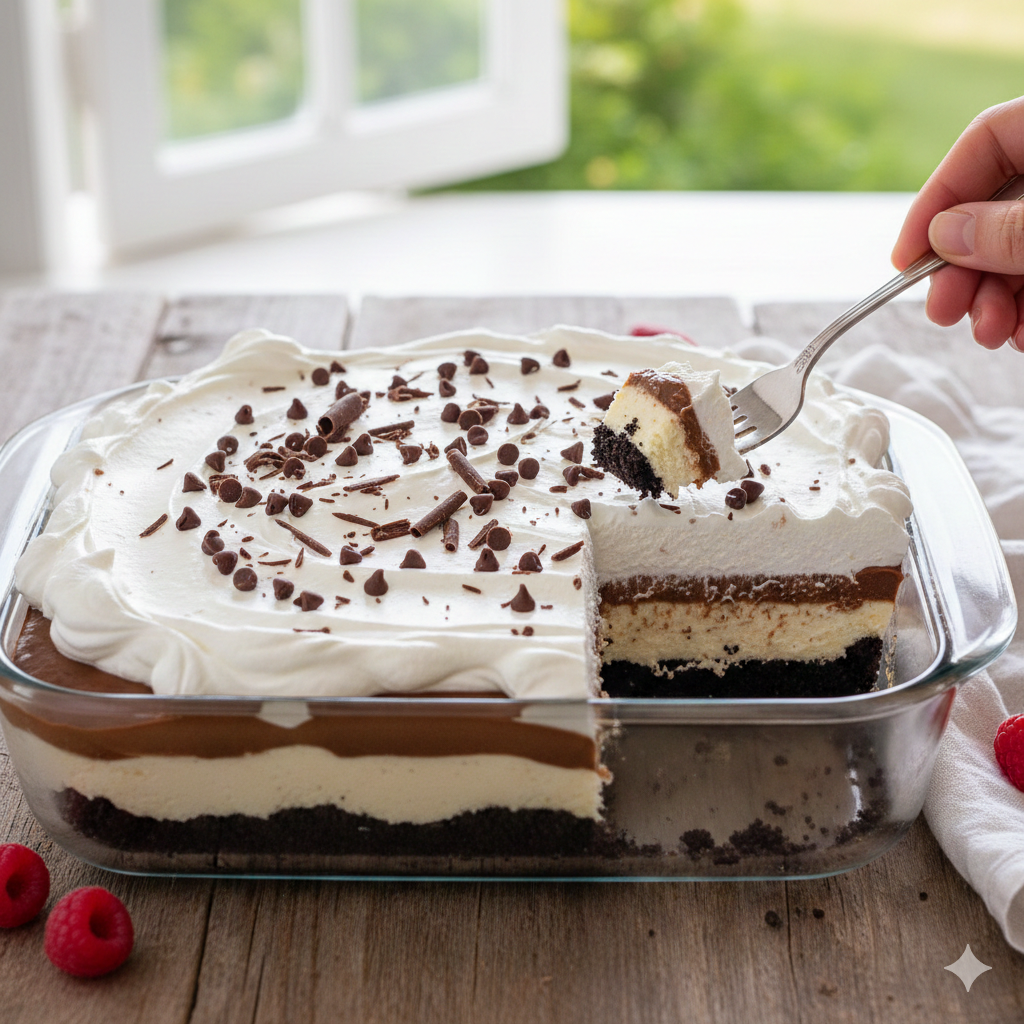
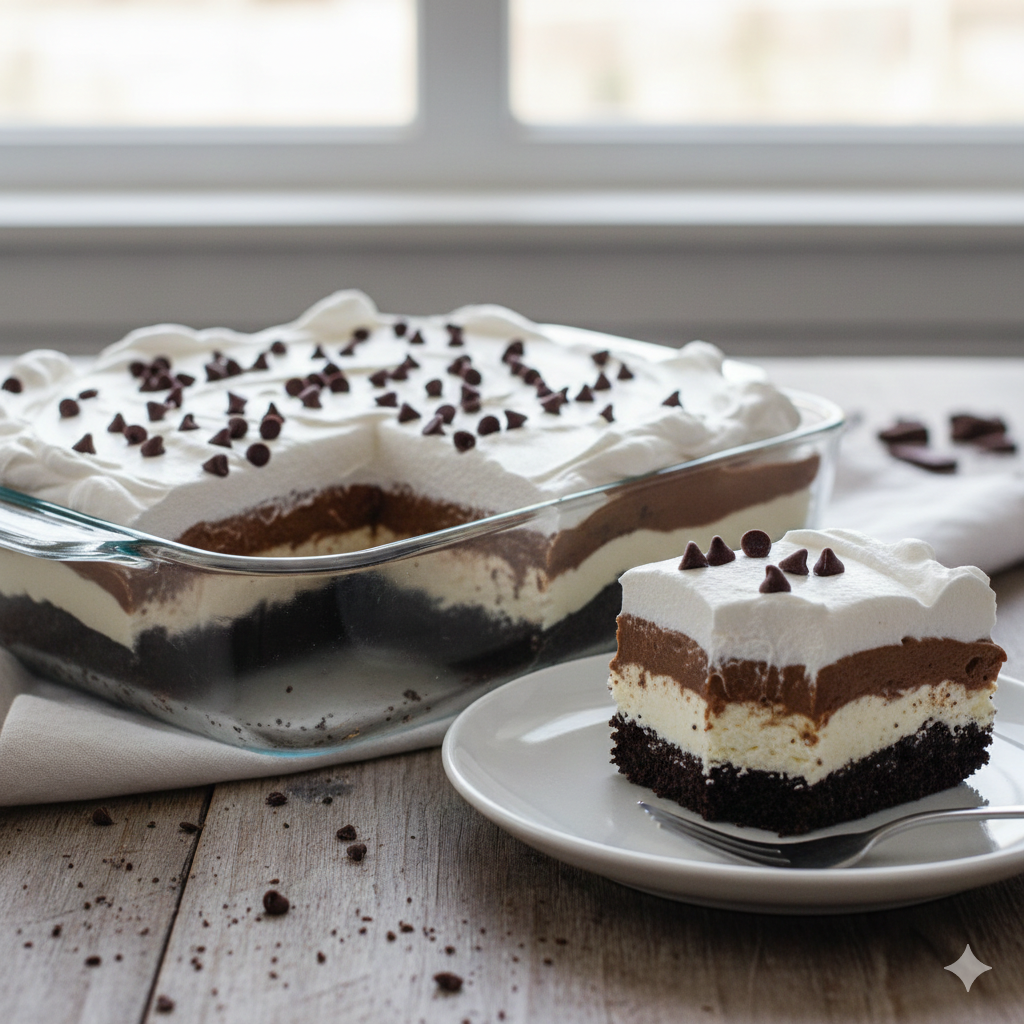
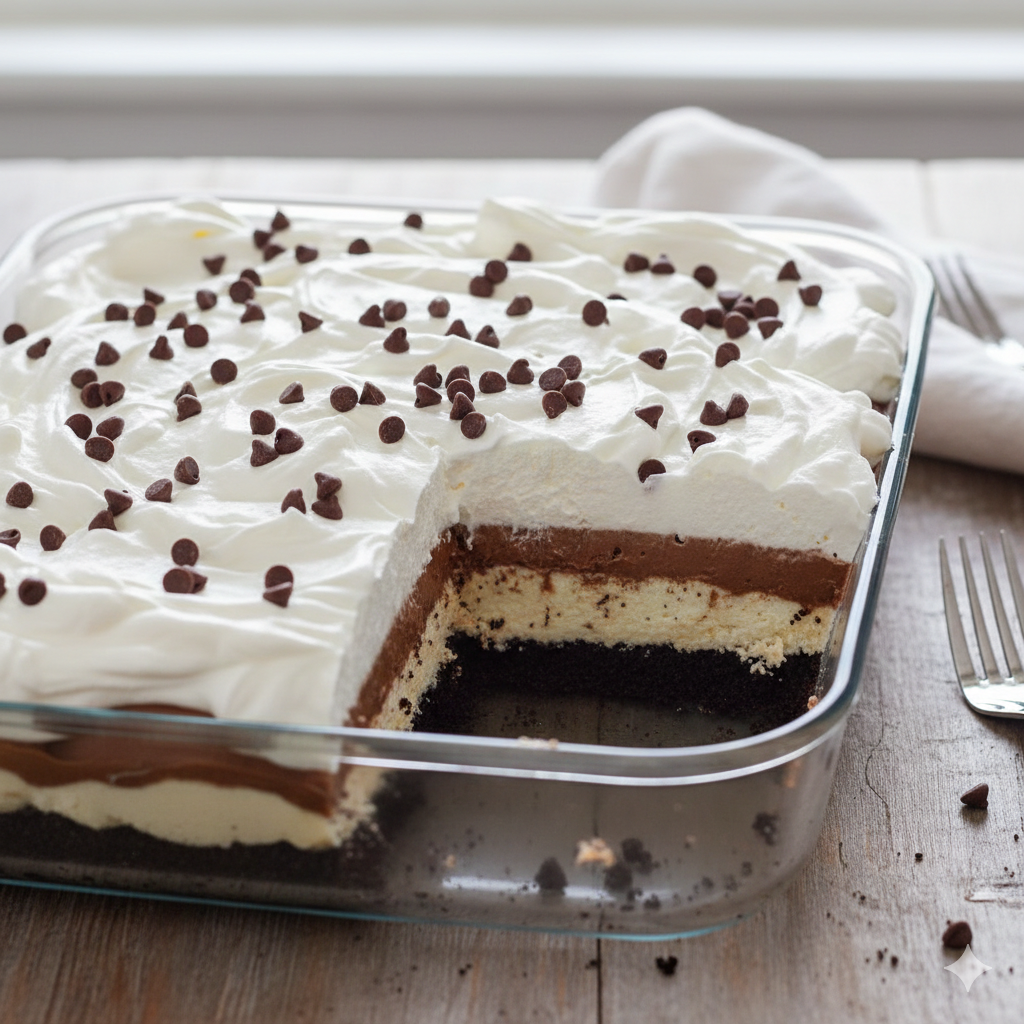
There are desserts that satisfy a craving, and then there are desserts that stop time. The No-Bake Chocolate Lasagna falls firmly into the latter category. Imagine a dessert that marries the crunch of a dark cocoa cookie, the tang of silky cheesecake, the nostalgia of rich chocolate pudding, and the ethereal lightness of fresh whipped cream. It is a visual marvel—a “lasagna” of sweetness that requires absolutely zero time in the oven.
The origin of “dessert lasagnas” or “lush cakes” traces back to the mid-century American potluck culture. These dishes were designed for conviviality; they are large-format, easily transportable, and universally loved. This specific iteration has become a viral sensation because it respects the three pillars of modern home baking: minimal effort, maximum texture, and high-impact presentation.
Whether you are hosting a summer barbecue where the thought of turning on the oven feels like a chore, or you need a reliable holiday showstopper that can be made a day in advance, this recipe is your secret weapon. It’s not just a cake; it’s a cooling, creamy experience that evokes childhood joy with every bite.
2. Recipe Overview
- Cuisine Type: American Fusion / Contemporary Dessert
- Difficulty Level: Easy (Beginner-friendly)
- Total Preparation Time: 30 minutes (Plus 4 hours chilling time)
- Cooking Time: 0 minutes (No-bake)
- Dietary Classifications: Vegetarian
3. Equipment and Tools
To achieve the perfect structural integrity for your layers, using the right tools is essential.
| Equipment | Specification | Purpose |
| Baking Dish | 9×13 inch (Standard) | Ensures even layers and easy slicing. |
| Mixing Bowls | Large and Medium | For preparing separate pudding and cream layers. |
| Electric Hand Mixer | Multi-speed | Essential for whipping the cream cheese to a lump-free silkiness. |
| Food Processor | High-power | For pulsing Oreos into a fine, sandy crumb. |
| Offset Spatula | Stainless steel | To achieve perfectly flat, professional-looking layers. |
| Silicone Spatula | Flexible edge | For folding the whipped topping without deflating it. |
4. Serving Suggestions
Plating Recommendations:
For the cleanest slices, ensure the lasagna has chilled for at least 4 hours (overnight is better). Use a sharp knife dipped in hot water and wiped dry between every single cut. This prevents the white and dark layers from smearing into one another.
Garnish Ideas:
- Mini Chocolate Chips: Adds a much-needed textural snap to the soft layers.
- Chocolate Shavings: Use a vegetable peeler on a room-temperature Hershey’s bar for elegant curls.
- Fresh Berries: A side of tart raspberries or sliced strawberries cuts through the richness beautifully.
Beverage Pairings:
- Coffee: A dark roast or a double shot of espresso balances the sugar profile.
- Milk: A classic ice-cold glass of whole milk is the traditionalist’s choice.
- Wine: A late-harvest Syrah or a delicate Port complements the deep cocoa notes.
5. Nutritional Information (Per Serving)
Servings: 16
- Calories: 385 kcal
- Total Fat: 22g
- Saturated Fat: 13g
- Carbohydrates: 44g
- Sugar: 32g
- Protein: 4g
- Sodium: 310mg
Health Note: While this is an indulgent treat, you can reduce the caloric density by utilizing sugar-free pudding mix or a “lite” whipped topping.
6. Storage and Reheating
Refrigeration: This dessert thrives in the cold. Keep it covered with plastic wrap or a fitted lid in the refrigerator for up to 5 days.
Freezing:
You can freeze Chocolate Lasagna! Wrap it tightly in a double layer of foil. It will stay fresh for up to 1 month. To serve, thaw in the fridge for 2 hours for a “semi-freddo” texture, or serve frozen for a taste similar to an ice cream cake.
Reheating:
Do not reheat. This dish contains stabilized cream and gelatinized pudding which will melt into a liquid state if exposed to heat.
7. Expert Tips and Variations
Professional Tips
- Temperature Matters: Ensure your cream cheese is truly at room temperature. If it’s even slightly cold, you will end up with small white lumps in your middle layer that are impossible to smooth out.
- The “Double Chill”: If you have time, chill the crust for 10 minutes in the freezer before adding the cheesecake layer. This prevents the crumbs from lifting into the white cream.
Common Mistakes to Avoid
- Using Cook-and-Serve Pudding: You must use Instant Pudding. Cook-and-serve pudding will not set properly in this environment and will lead to a “soupy” lasagna.
- Over-mixing the Topping: When combining the whipped topping with the cream cheese, use a “folding” motion (cut through the middle, scrape the bottom, and turn over). Stirring vigorously will destroy the air bubbles.
Creative Variations
- Peanut Butter Twist: Add 1/2 cup of creamy peanut butter to the cream cheese layer for a “Reese’s” style dessert.
- Mint Chocolate: Use Mint Oreos for the base and add a drop of peppermint extract to the pudding.
8. Ingredients Section
The Crust
- 36 Oreos (standard stuffing, not Double Stuf) – approx. 400g
- 6 tbsp Unsalted Butter, melted – 85g
The Cream Cheese Layer
- 8 oz Cream Cheese, softened – 225g
- 1/4 cup Granulated Sugar – 50g
- 2 tbsp Cold Milk – 30ml
- 8 oz Whipped Topping (e.g., Cool Whip), thawed – 225g
The Chocolate Layer
- 2 packages (3.9 oz each) Instant Chocolate Pudding – 220g total
- 3 1/4 cups Cold Whole Milk – 770ml (Note: We use less milk than the box calls for to ensure a firm set).
The Topping
- 8 oz Whipped Topping – 225g
- 1/2 cup Mini Chocolate Chips – 90g
9. Step-by-Step Instructions
Step 1: The Foundation
Pulse the Oreos in a food processor until they reach a fine crumb consistency. Pour in the melted butter and pulse until the mixture resembles wet sand. Press this firmly into the bottom of your 9×13 dish.
- Technique: Use the bottom of a flat measuring cup to pack the crumbs tightly. This prevents the crust from crumbling when served.
Step 2: The Cheesecake Core
In a large bowl, beat the softened cream cheese with the sugar and 2 tablespoons of milk until fluffy. Gently fold in 8 oz of whipped topping using a spatula. Spread this evenly over the Oreo crust.
- Visual Cue: The layer should be stark white and smooth, covering all the black crumbs.
Step 3: The Pudding Infusion
In a separate bowl, whisk together the two boxes of instant pudding and the 3 1/4 cups of cold milk. Whisk for about 2 minutes until it begins to thicken. Let it sit for 3-5 minutes to reach a “soft set” state, then pour over the cream cheese layer.
- Timing Tip: Work quickly here. Once the pudding sets fully, it becomes harder to spread smoothly.
Step 4: The Final Flourish
Once the pudding has firmed up slightly (after about 10 minutes in the fridge), spread the remaining 8 oz of whipped topping over the top. Sprinkle the mini chocolate chips evenly across the surface.
Step 5: The Essential Chill
Cover and refrigerate for at least 4 hours. This allows the layers to bond and the moisture from the pudding to slightly soften the Oreo crust to a “cake-like” texture.
10. Frequently Asked Questions (FAQ)
Q: Can I use homemade whipped cream instead of whipped topping?
A: Yes, but you must stabilize it. Homemade whipped cream can weep over time. Add 1/4 tsp of cream of tartar or a bit of powdered sugar to keep it firm.
Q: My pudding layer is runny. What happened?
A: This usually happens if you used too much milk or if you used “Cook and Serve” pudding. Always use “Instant” and reduce the milk slightly from the package directions for a sturdier dessert.
Q: Can I make this gluten-free?
A: Absolutely. Simply swap the Oreos for Gluten-Free chocolate sandwich cookies. The rest of the ingredients are naturally gluten-free (but always check your pudding labels!).
Q: How do I get those perfect, clean layers?
A: The secret is the freezer. Pop the dish in the freezer for 15 minutes between each layer. This “flsh-freezes” the top of the previous layer so the next one doesn’t mix into it.


