1. Introduction
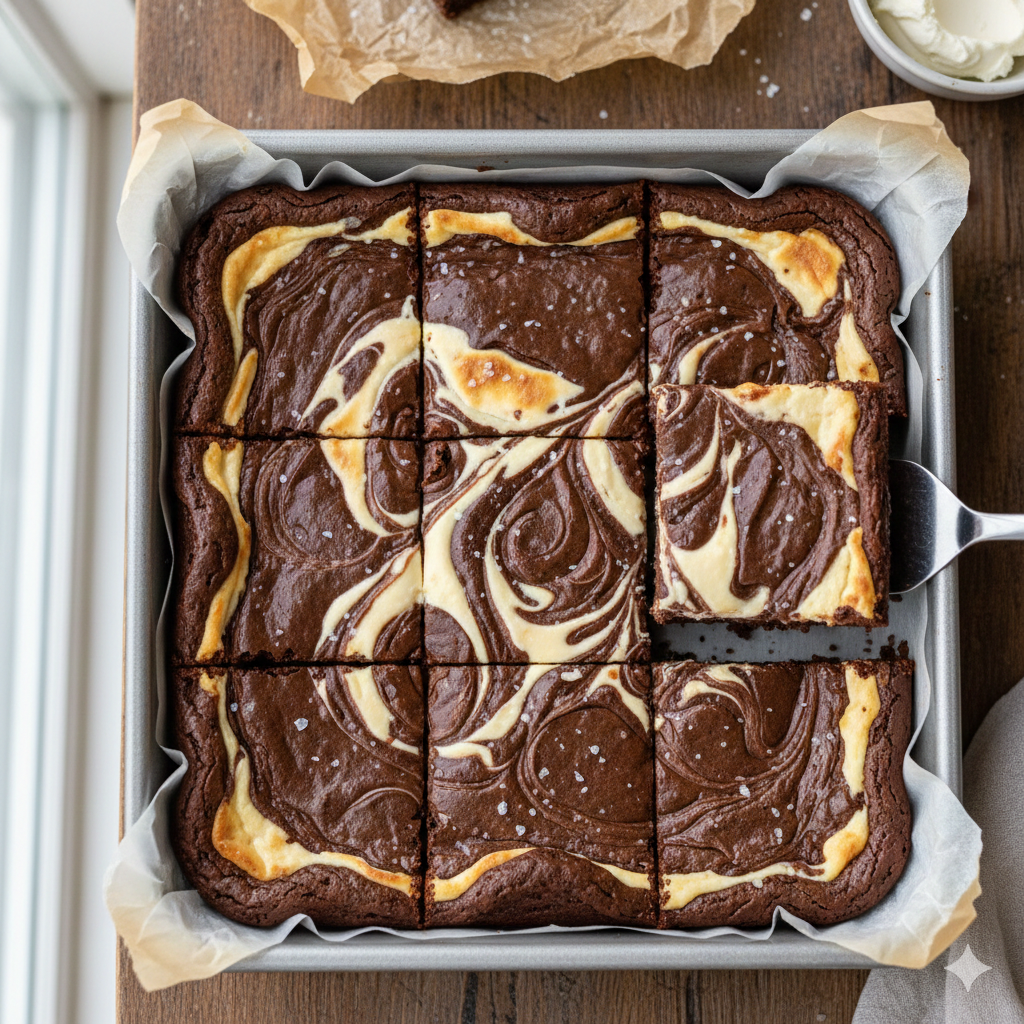
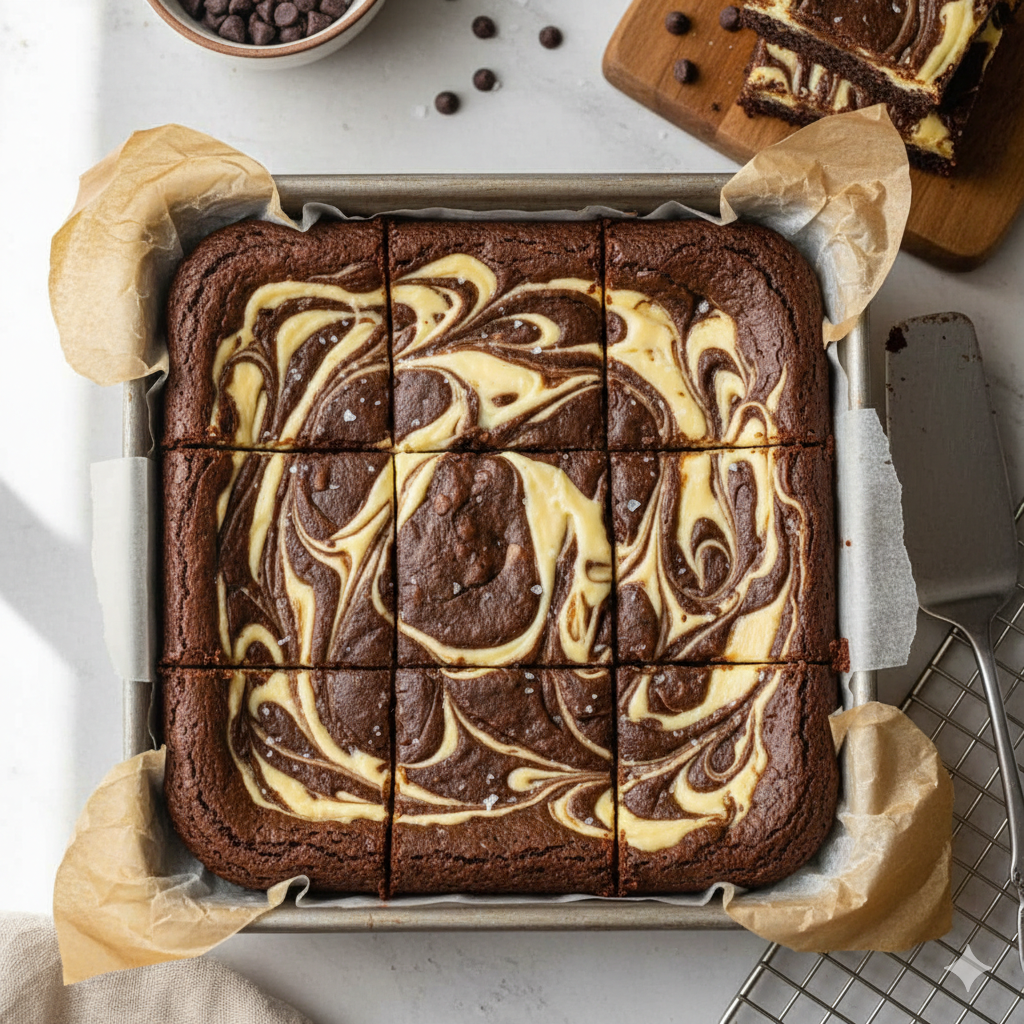
There is a specific kind of magic that happens when two world-class desserts collide. The Cheesecake Swirl Brownie—often referred to as the “Black and White Brownie”—is the ultimate peace treaty between chocolate lovers and cheesecake fanatics.
This recipe isn’t just about throwing two batters into a pan; it’s about the architectural contrast of textures. You have the dense, fudgy, almost truffle-like base of a dark chocolate brownie playing against the tangy, silk-smooth ribbons of a classic New York-style cheesecake.
Historically, the marbled brownie gained massive popularity in American bakeries during the late 20th century as home bakers looked for ways to elevate the standard boxed mix. However, the version we are crafting today is a far cry from a box. We are using browned butter, high-quality cocoa, and real vanilla bean to create a dessert that looks like a piece of contemporary art and tastes like a five-star pastry shop staple. Whether you’re bringing these to a bake sale or serving them at a sophisticated dinner party, they represent the pinnacle of “comfort gourmet.”
2. Recipe Overview
- Cuisine Type: American Fusion
- Difficulty Level: Intermediate (Requires careful swirling and temperature control)
- Prep Time: 25 minutes
- Cook Time: 35–40 minutes
- Total Time: 1 hour (plus cooling time)
- Dietary Classifications: Vegetarian, Nut-Free (Optional)
3. Equipment and Tools
To achieve the perfect “crinkle top” on the brownie and a smooth set on the cheesecake, the right gear is essential.
- Baking Pan: 8×8 inch (20×20 cm) square metal baking pan.
- Note: Glass pans retain heat differently and may result in overcooked edges.
- Lining: High-quality parchment paper (leave an overhang for easy lifting).
- Mixing Bowls: One large heat-proof bowl for the chocolate, one medium bowl for the cheesecake.
- Whisk & Silicone Spatula: For folding and emulsifying.
- Electric Hand Mixer: Essential for aerating the cream cheese.
- The “Swirler”: A wooden skewer, butter knife, or offset spatula.
- Digital Scale: For precise metric measurements (highly recommended).
4. Serving Suggestions
These brownies are incredibly rich, so a little goes a long way.
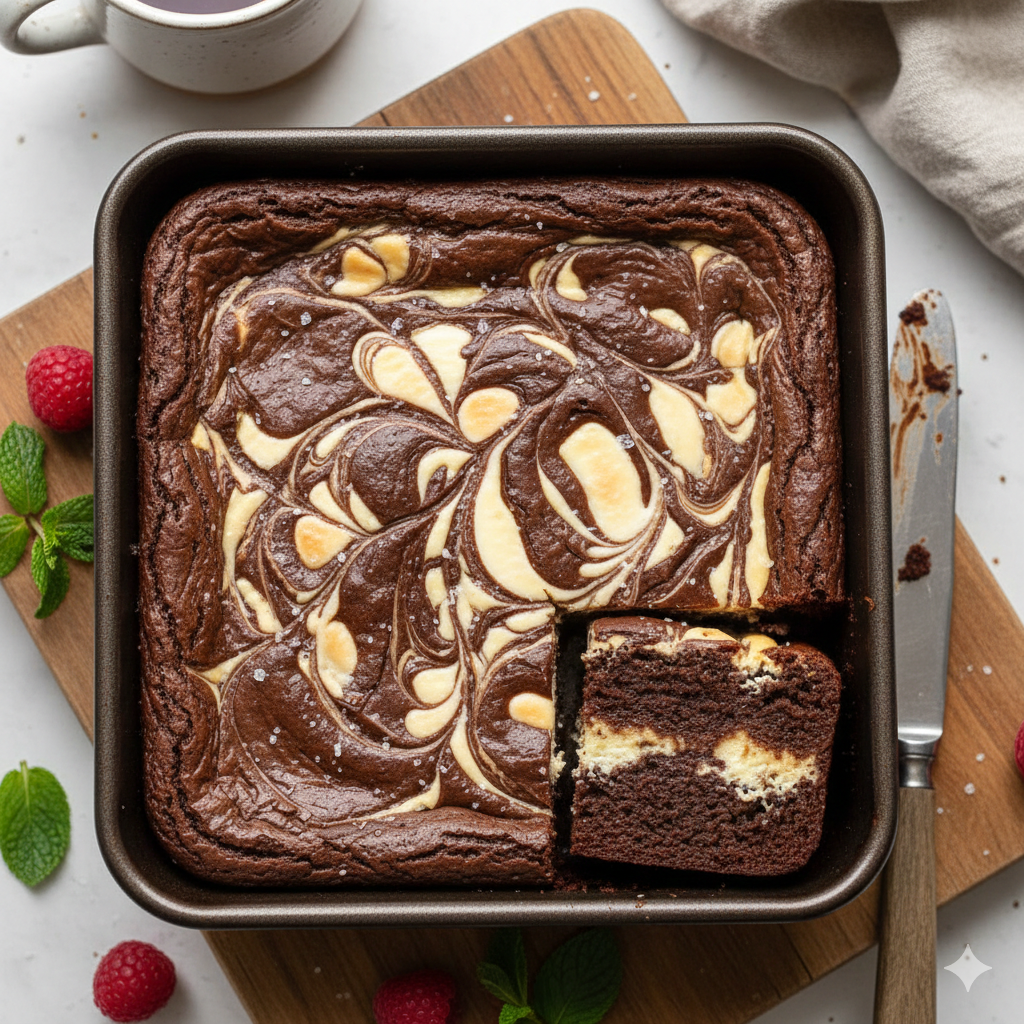
- Plating: Serve a square slightly chilled for a fudge-like texture, or at room temperature for a softer bite. Use a hot knife (dipped in hot water and wiped dry) for clean, professional edges.
- Garnish: A light dusting of sea salt flakes (Maldon) enhances the chocolate, or a few fresh raspberries to cut through the creaminess.
- Beverage Pairings: * Coffee: A dark roast espresso or a creamy latte.
- Wine: A late-harvest Zinfandel or a chilled glass of Tawny Port.
- Non-Alcoholic: A cold glass of whole milk or an Earl Grey tea.
5. Nutritional Information
(Per serving, based on 16 squares)
| Nutrient | Amount per Serving |
| Calories | 285 kcal |
| Total Fat | 18g |
| Saturated Fat | 11g |
| Cholesterol | 75mg |
| Sodium | 140mg |
| Total Carbohydrates | 29g |
| Sugar | 22g |
| Protein | 4g |
Health Note: These are an indulgent treat. To boost the profile slightly, use dark chocolate with at least 70% cocoa solids for a higher antioxidant count.
6. Storage and Reheating
- Refrigeration: Because of the cream cheese content, these must be refrigerated. Store in an airtight container for up to 5 days.
- Freezing: These freeze beautifully. Wrap individual squares in plastic wrap and then foil. They stay fresh for up to 3 months.
- Reheating: If you prefer them warm, microwave for only 10–15 seconds. Do not overheat, or the cheesecake swirl will lose its structural integrity.
7. Expert Tips and Variations
Professional Chef Tips
- Room Temperature Ingredients: Your cream cheese and eggs must be at room temperature. If the cream cheese is cold, the cheesecake swirl will be lumpy.
- The “Underbake” Rule: Brownies continue to cook in the pan after being removed from the oven. Pull them out when a toothpick has a few moist crumbs attached—not clean.
- Don’t Over-Swirl: If you swirl too much, the colors blend into a muddy gray. Aim for 5–6 “S” motions across the pan.
Creative Variations
- The Pumpkin Swirl: Replace half the cream cheese with pumpkin purée and pumpkin spice for a fall version.
- Salted Caramel: Drizzle salted caramel over the brownie batter before adding the cheesecake layer.
- Gluten-Free: Swap the all-purpose flour for a 1:1 gluten-free baking flour blend.
8. Ingredients Section
The Brownie Base
- Unsalted Butter: 115g (1/2 cup / 1 stick)
- Dark Chocolate (60-70%): 150g (approx. 1 cup chopped)
- Granulated Sugar: 200g (1 cup)
- Large Eggs: 2 (room temperature)
- Vanilla Extract: 10ml (2 tsp)
- All-Purpose Flour: 95g (3/4 cup)
- Unsweetened Cocoa Powder: 25g (1/4 cup)
- Sea Salt: 1/2 tsp
The Cheesecake Swirl
- Full-Fat Cream Cheese: 225g (8 oz / 1 block)
- Granulated Sugar: 50g (1/4 cup)
- Large Egg: 1 (room temperature)
- Vanilla Bean Paste or Extract: 5ml (1 tsp)
9. Step-by-Step Instructions
Step 1: Prep and Preheat
Preheat your oven to 325°F (165°C). Position the rack in the center. Grease your 8×8 inch pan and line it with parchment paper, ensuring the paper hangs over two sides like “handles.”
Step 2: Melt the Chocolate Base
In a small saucepan over low heat, melt the butter. Once melted, add the chopped dark chocolate. Stir constantly until smooth. Remove from heat and let it cool for 5 minutes.
Technique: Do not let the chocolate boil; high heat breaks the emulsion and makes brownies greasy.
Step 3: Emulsify the Brownie Batter
Whisk the sugar into the cooled chocolate mixture. Add the eggs one at a time, whisking vigorously after each addition until the batter looks glossy. Stir in the vanilla.
Step 4: Fold in Dry Ingredients
Sift the flour, cocoa powder, and salt over the wet ingredients. Using a silicone spatula, gently fold the mixture until just combined. Reserve about 1/4 cup of this batter for the top. Pour the rest into the prepared pan.
Step 5: Create the Cheesecake Mixture
In a separate bowl, beat the softened cream cheese and sugar until smooth and aerated (about 2 minutes). Add the egg and vanilla, beating on low until just incorporated. Do not overmix, or you’ll incorporate too much air, causing the cheesecake to puff and crack.
Step 6: The Marble Technique
Drop spoonfuls of the cheesecake mixture over the brownie base. Take the reserved brownie batter and drop small dollops in the gaps. Using a skewer, gently swirl the two batters together.
Step 7: Bake to Perfection
Bake for 35–40 minutes. The edges should be set and slightly pulled away from the sides, but the center should still have a very slight jiggle.
Step 8: The Cooling Ritual
This is the hardest part: Let them cool completely in the pan. Then, refrigerate for at least 2 hours before slicing. This sets the cheesecake and creates that fudgy brownie texture.
10. Frequently Asked Questions (FAQ)
Q: Can I use low-fat cream cheese?
A: It is not recommended. Low-fat cream cheese has a higher water content, which can make the swirl watery and prevent it from setting properly.
Q: Why did my cheesecake swirl sink to the bottom?
A: This usually happens if the brownie batter is too thin or if you swirled too aggressively. Ensure your brownie batter is thick and fudgy before layering.
Q: How do I get that shiny, crackly brownie top?
A: The secret is dissolving the sugar completely in the butter/chocolate and whisking the eggs well. This creates a thin layer of meringue-like crust on top.
Q: Can I double this recipe for a 9×13 pan?
A: Yes! Double all ingredients and increase the bake time to 45–50 minutes.
Q: Why are my brownies cakey instead of fudgy?
A: You likely used too much flour or overbeat the eggs. Measure your flour by weight for the most accurate results.


